*Some of the links in this post are affiliate links. As an Amazon Affiliate, I earn a commission from qualifying purchases. This means that if you click on the link and purchase the item, I will receive an affiliate commission at no extra cost to you. All opinions remain my own.*
Have you seen all of the Cow pictures on the web?
I love each and every one of them.
So much so that I found a person online to show you step by step on how to paint one.
It is so simple.
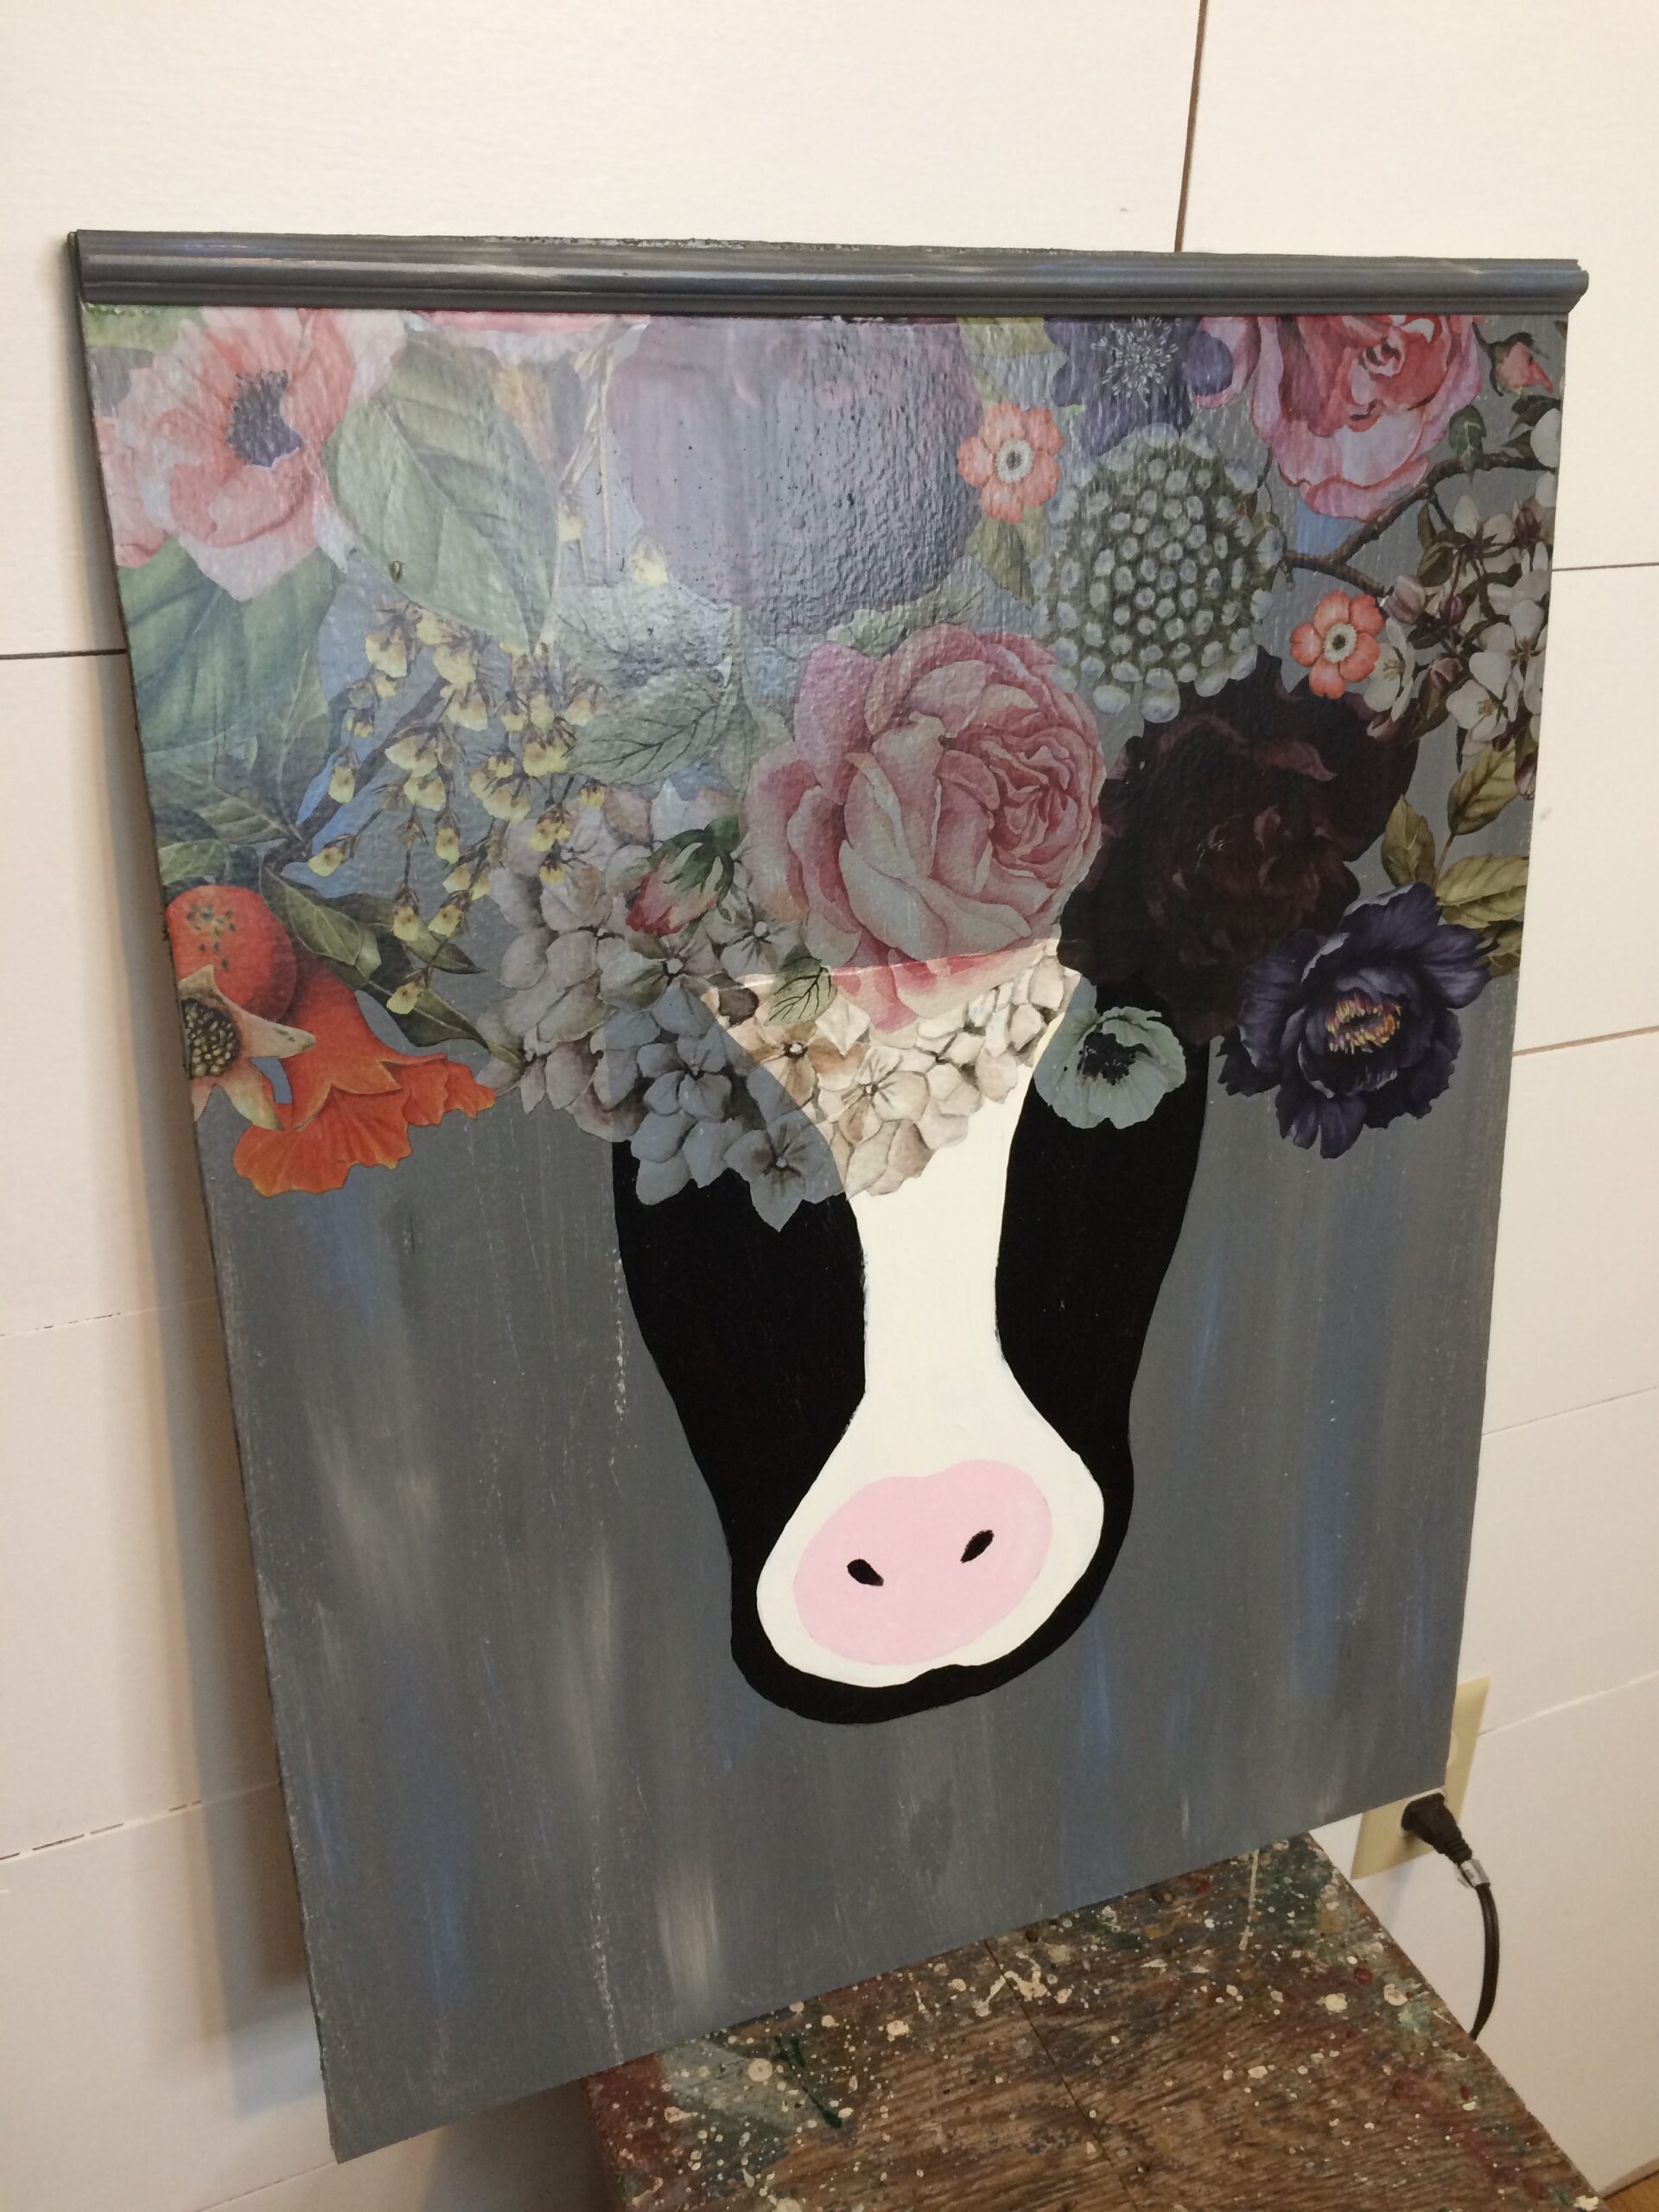
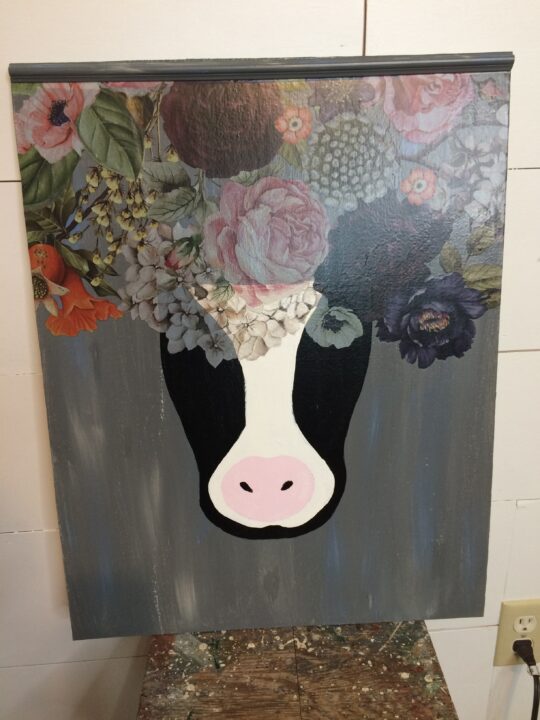
Isn’t she Awesome!
I love her.
My daughter wanted it, so now I need to make another one.
Steps to painting a cow.
Step 1
You need a board to paint her on.
I had a board that came off a pallet.
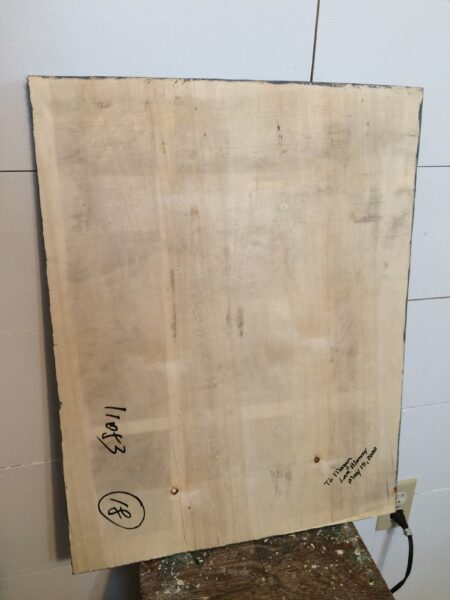
It worked great and it was thin.
I did not use the pallets mind you, just the thin wood on top of it!
I also had my husband cut it down to 18″ wide and 23″ tall.
If you watch the video, you will know I made mine bigger.
Step 2
Paint your board in whatever color you choose.
For the background, I choose the paint I had on hand.
Satin Gray by Modern Masters.
After I painted the gray onto the board, I felt it needed something more.
I used White Interior paint called Color Place from Walmart and Waterlily from DIY paint.
I just took a brush and ran it up & down the board.
It adds a little dimension to your project.
I thought I had a picture of this step.
Let dry.
Step 3
Sand your background.

Adds more dimension.
You can’t mess up.
Make it your own.
Step 4
Painting the Cow face.
Start by downloading the cow face print.
I am sending you to a YouTube channel of the Cow tutorial.
This is where I learned to paint the cow.
She also has a PDF file to download of the cow face, the Youtube video is here.
Take the PDF file, download it, print it out, and then cut the templates out.
I made them a little bigger by laying the template where I wanted it to be on the board.
Then I just made a pencil mark about an inch away from the template.
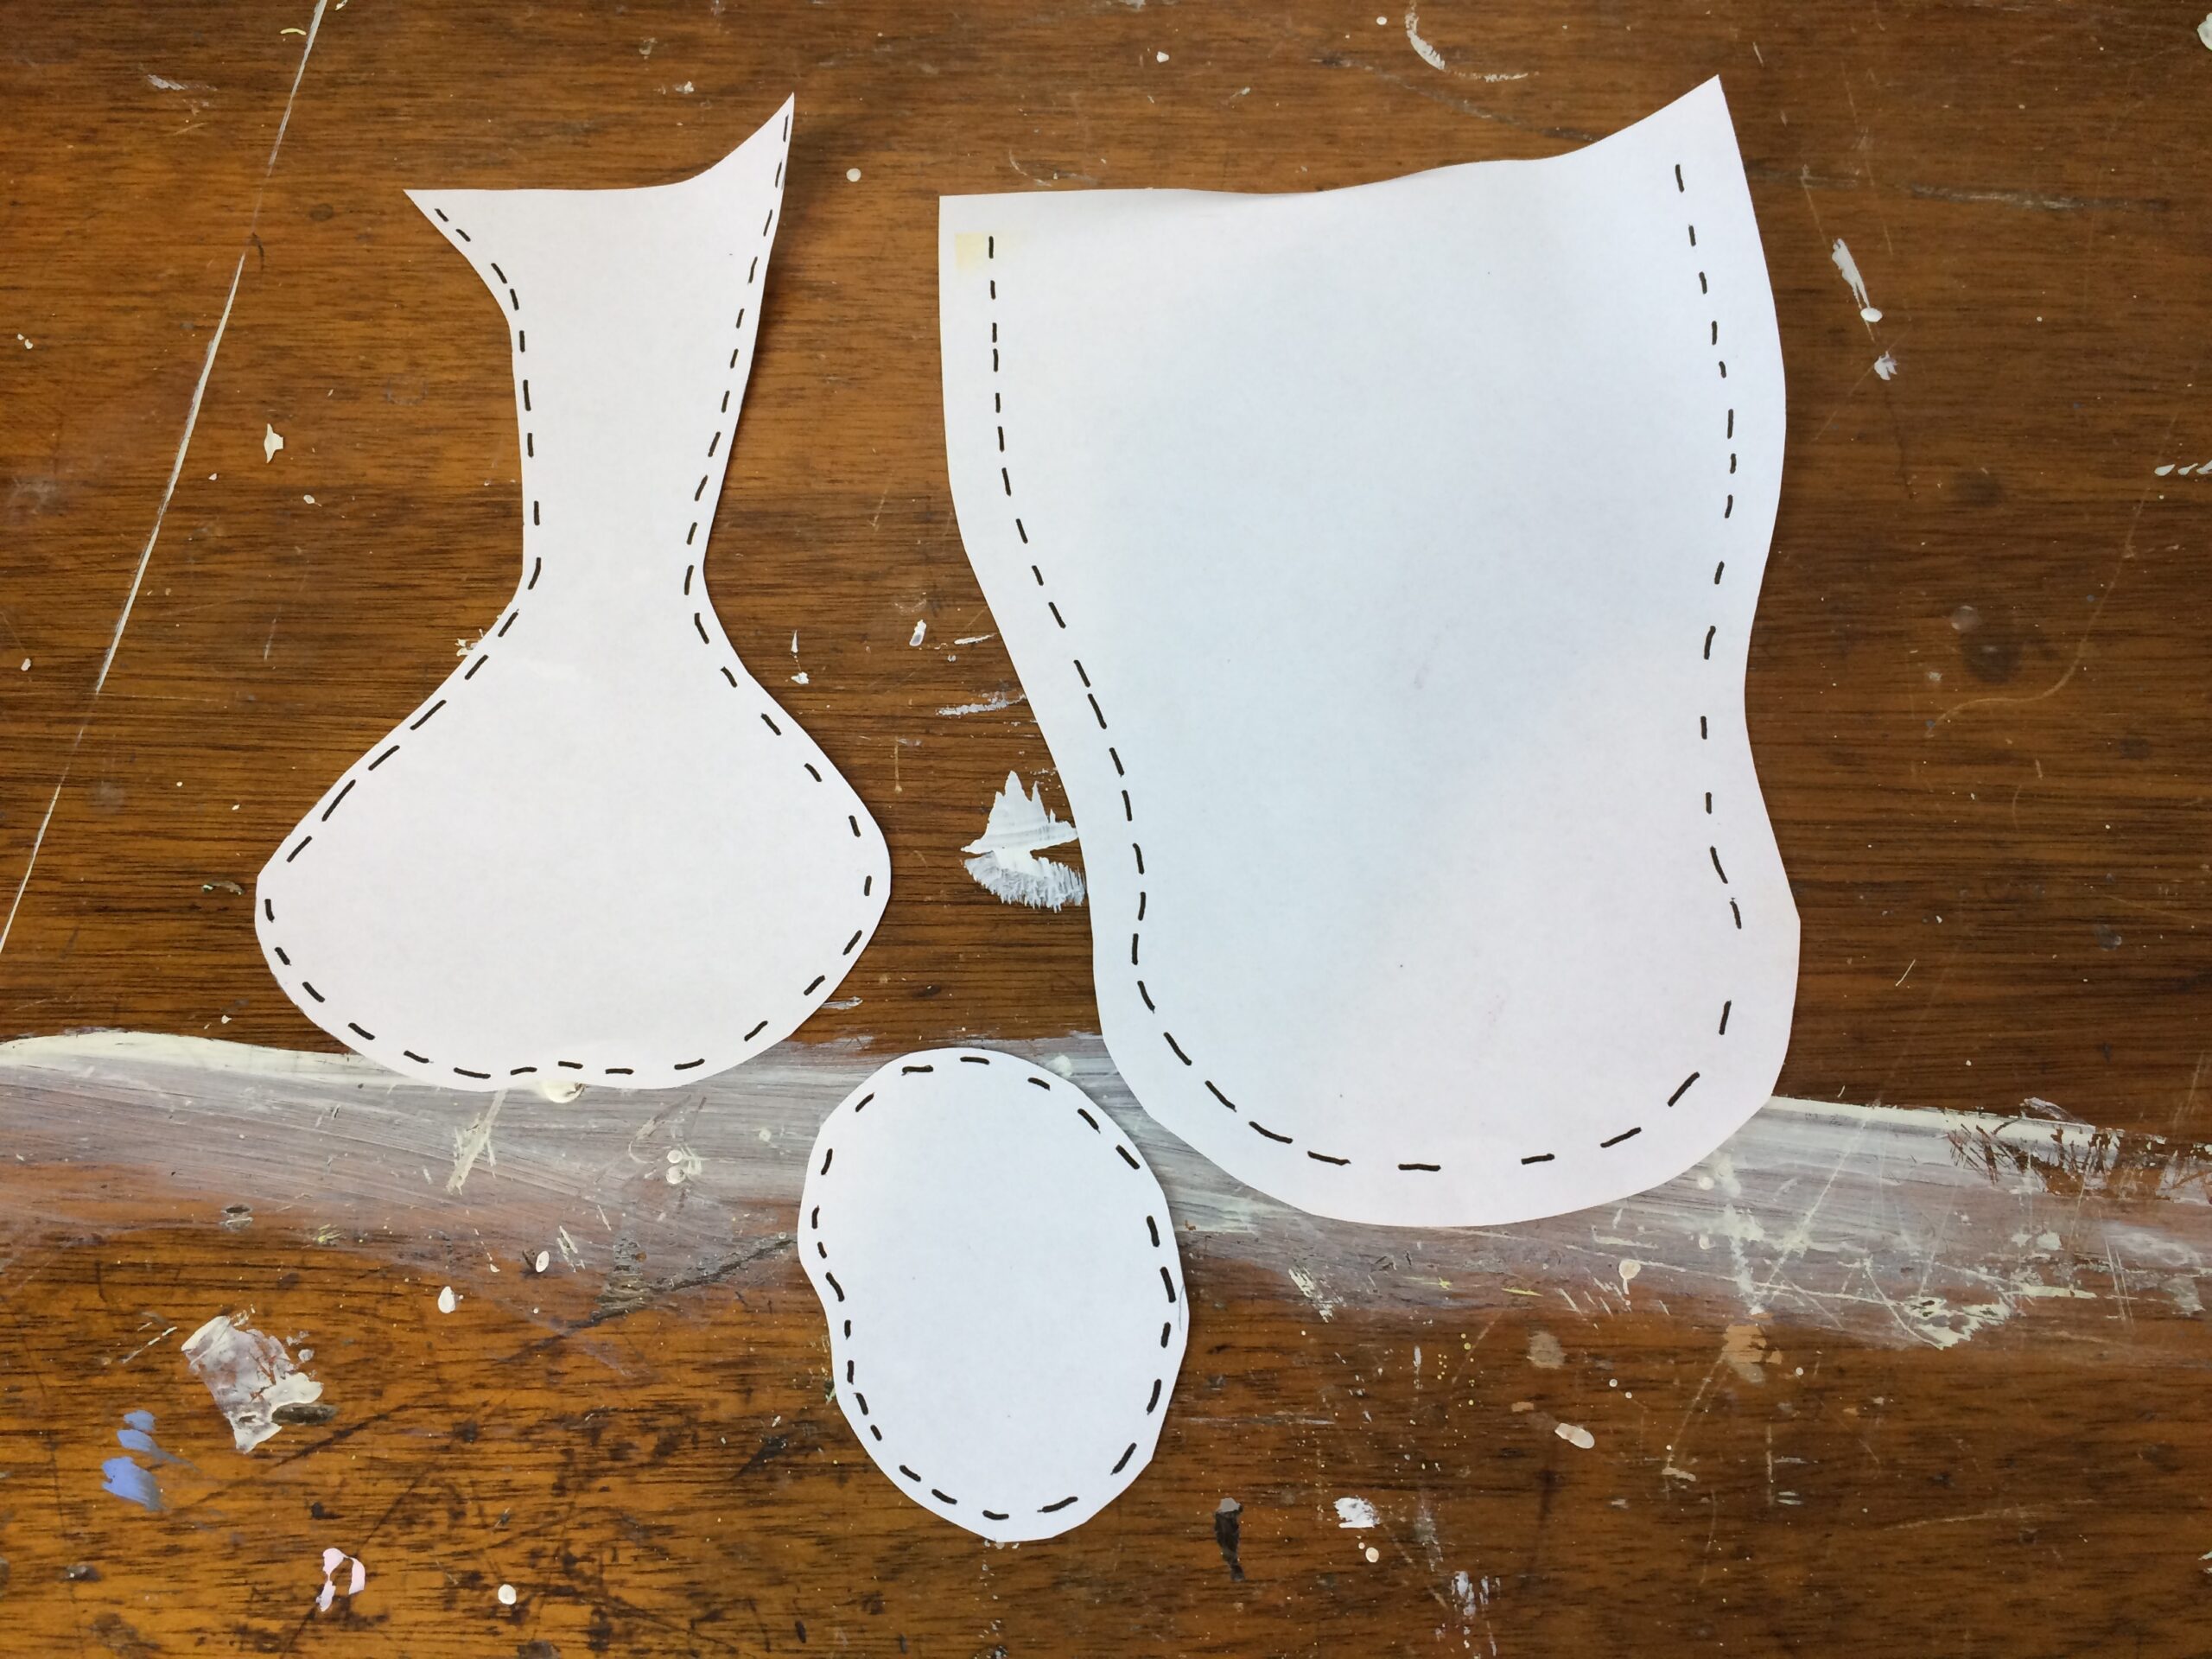
Step 5
Place the face template where you want it on the painted board and lightly trace around it with a pencil.
Step 6
Paint her face black.
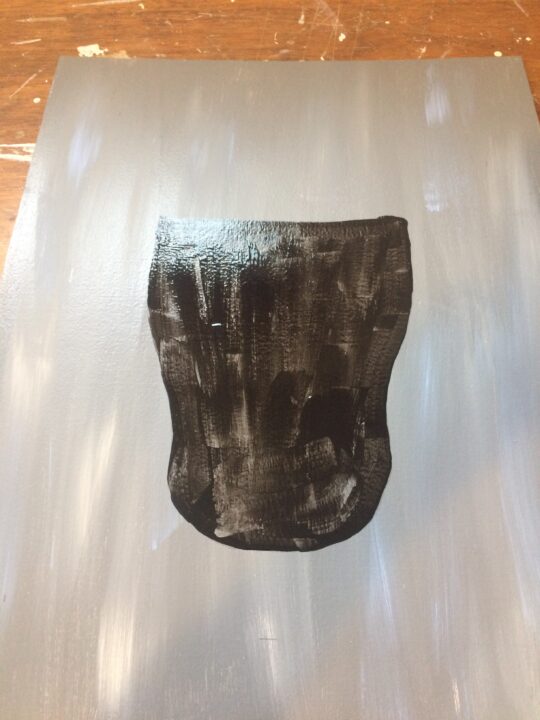
You can see the variegated background I was talking about.
The cow face takes a couple of coats of paint.
Let dry between coats.
Then you repeat the process with the nose and then the nostril.

Painting whatever color you choose.
I choose white paint (from Walmart) for the strip down the nose, hot pink mixed with white paint (from Walmart) for the nose, and black for the nostrils.
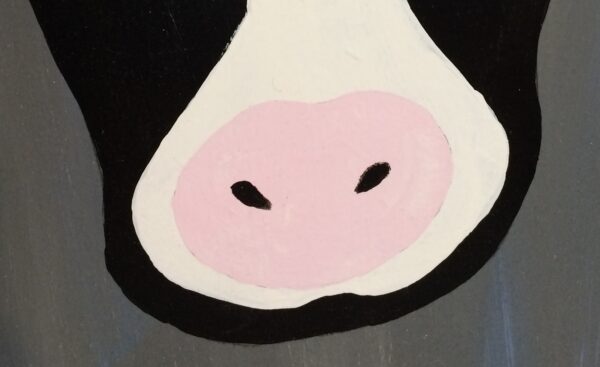
They also needed two coats of paint, drying in between coats.
Step 7
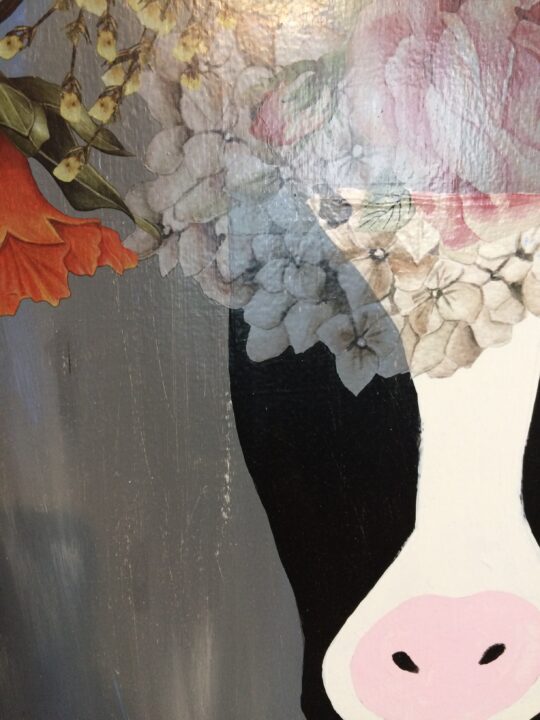
You will need a transfer to crown her with.
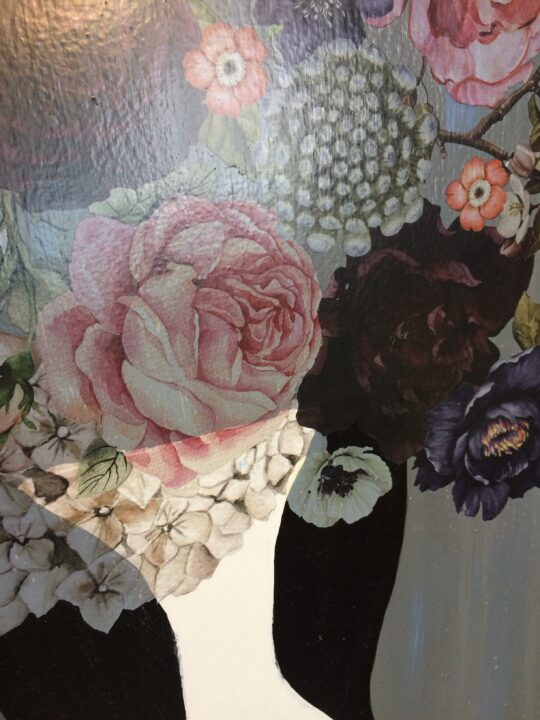
The one in the tutorial and the one that I also used is Wondrous Floral by re-design.
It comes with 3 sheets and you could technically make 3 cows with this.
Each looking different!
Economical and fun!
Win-win.
Step 8
Once your paint is dry, you want to apply your transfer.
Transfers are simple to apply.
They come with a clear backing so they will not stick to your work until you peel it off.
Before peeling the transfer off the protective backing, you want to place it on the cow and decide where you want to place it.
Make any necessary cuts and then peel the protective backing off.
Take your time with this process because once you have that backing off, it can stick to anything it comes in contact with and you would have to commit or remove it.
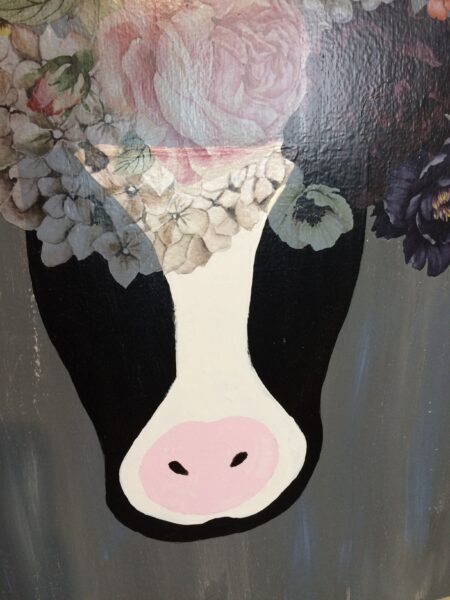
It’s easy, just take your time.
The video explains all of this too!
Once you have the transfer down, you will take the stick it comes with and start rubbing it onto the board.
What this does is release the transfer onto your project.
Keep going until the whole picture is off the protective backing.
Step 9
Take a cloth and run over your transfer to make sure it is in place.
Step 10
I added a small strip of molding to the top of the picture.
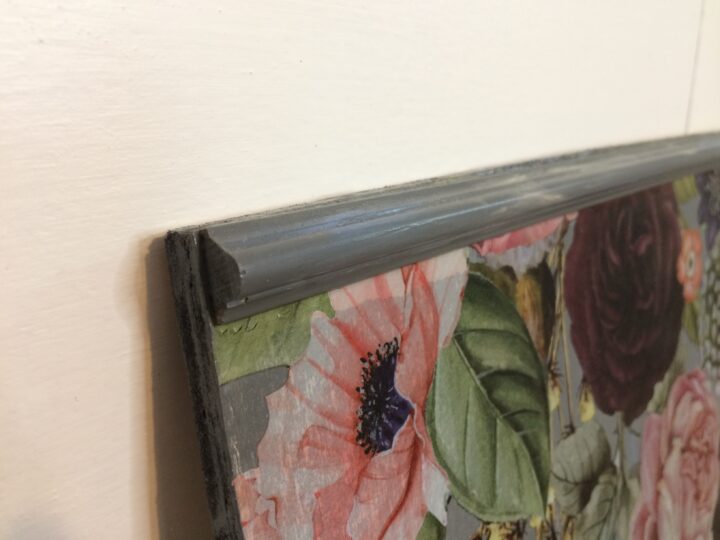
This is optional. In the video, it does not do this.
Before applying the molding to the picture I painted it in the same gray paint as the background.
Let dry.
Step 11
Add Titebond to the back of the molding.
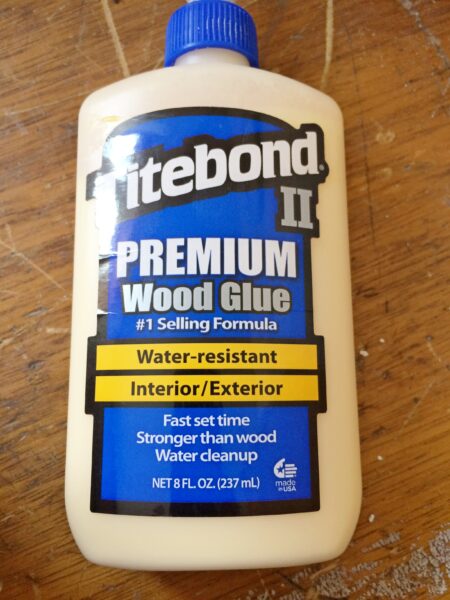
Attach it to the picture and clamp it down so it stays in place.
Let it dry.
Viola, you are done.
A masterpiece!
Step 12
Add a hanger to the back and you are golden.
I will be painting another one with the extra transfers that came with this one.
I think it will be a white background with the black cow!
Don’t forget to pin me!!
*Some of the links in this post are affiliate links. As an Amazon Affiliate, I earn a commission from qualifying purchases. This means that if you click on the link and purchase the item, I will receive an affiliate commission at no extra cost to you. All opinions remain my own.*