Today I have another simple and fast project, a beautiful frame I found at Goodwill.
*This post contains Amazon affiliate links in which I earn a small percentage from qualifying purchases through these links, at no extra cost to you. Thank you for helping to support my blog! *
Can I just say that as I am typing this, it is 19 degrees and snowing! I hope it is warmer where you are!
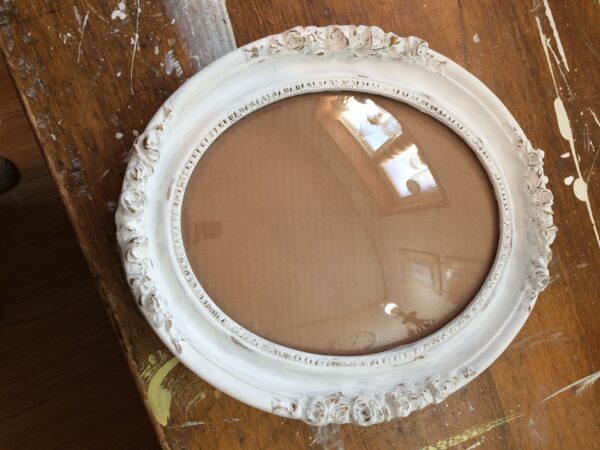
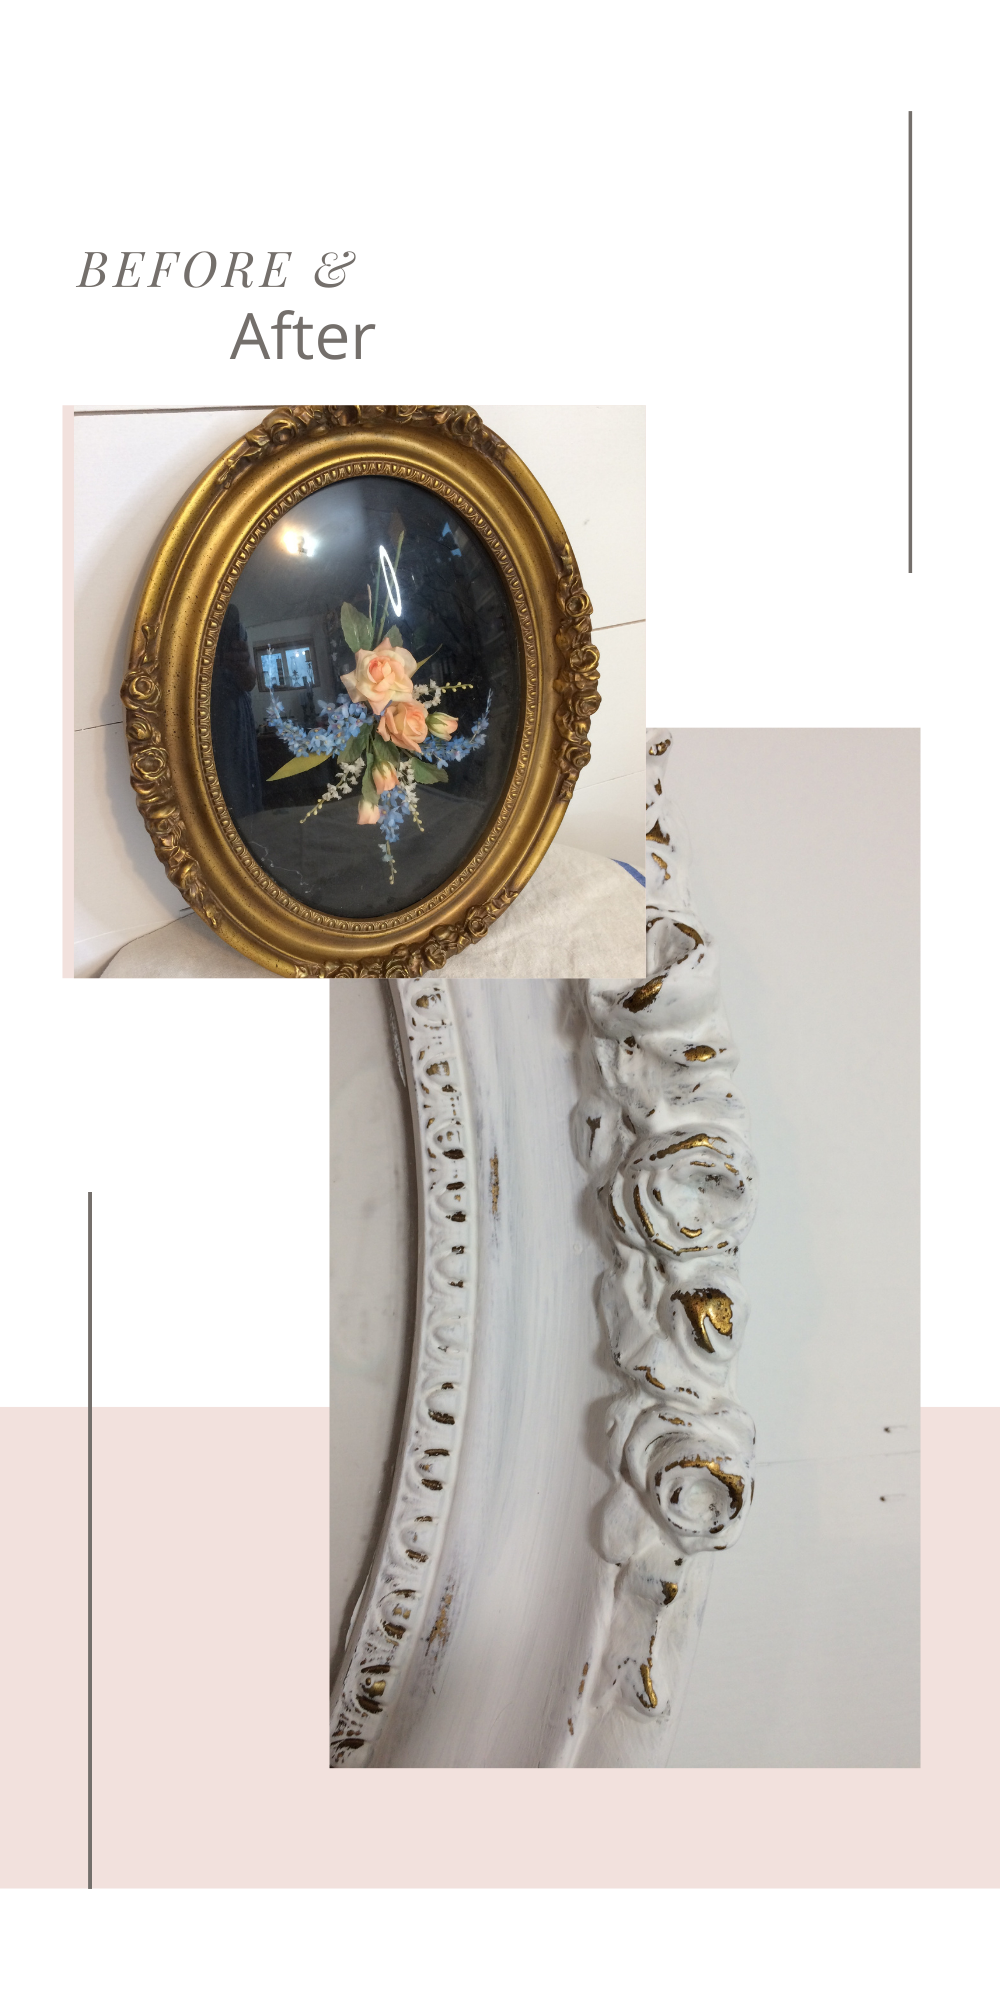
This picture frame is gorgeous!
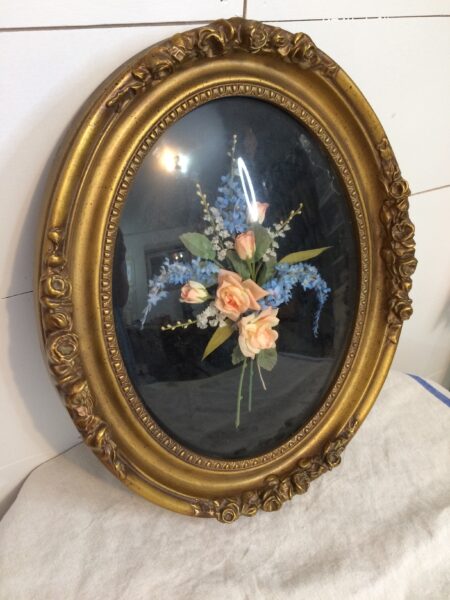
It’s upside down in the pictures but it doesn’t matter. I tore it out! Sorry if you are one of the peeps that liked it but it is not cutting it for me. The frame is 11×14. Pretty good size.
This has been in my stash for eons and I finally decided to do something with it.
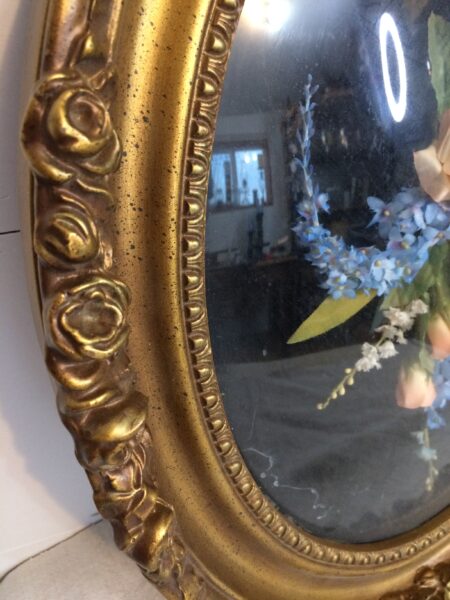
Just look at those details! And did I mention that the glass is a bubble shape! So cool. Now I’m not a big fan of gold frames so you already know I’m going to paint it!
It was difficult working on this project but it all came together. (I just want to insert here that I do have a time, lol, with all my projects). I was able to take the green felt backing out of the frame, no problem.
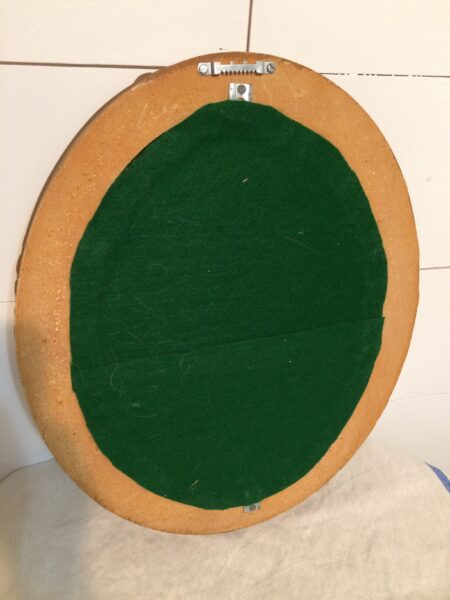
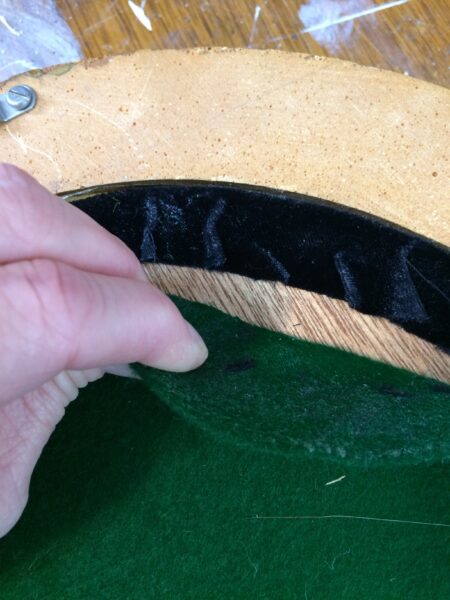
It was when I went to take the black fabric off of the wood backing that I knew it was glued down pretty good. Someone attached it very well with glue and I could not for the life of me take it off. Trust me, I pulled and pulled but nothing was coming off.
So I moved on to the glass and decided to take it out so I could paint the whole frame without getting it onto the glass itself. Nope. Not. Happening.
It was hot glued to the frame. Not wanting to risk breaking the glass, I painted the frame with Rust-oleum Linen White Chalk Paint. Did the best I could as to not paint the glass.
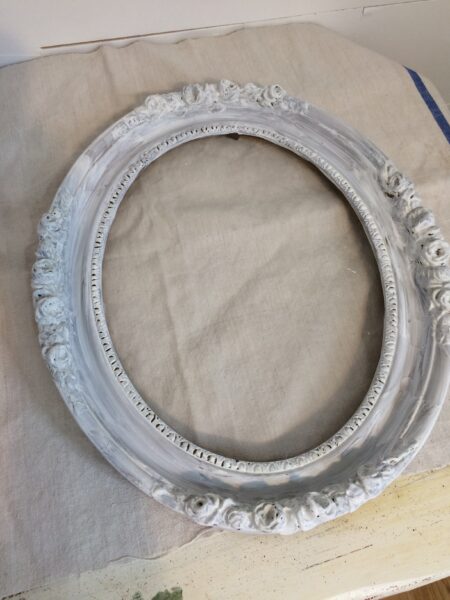
1st coat of paint
Clean your frame first before you start painting. You can sand your piece first if you would like but I have not had a problem with chalk paint adhering to a piece, so I skip this step.
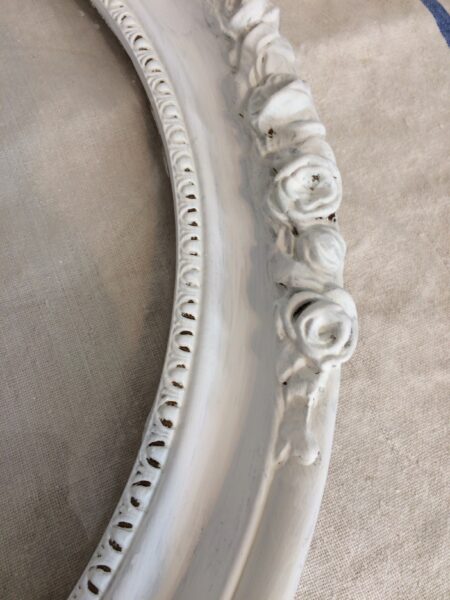
To bring out the details, love those little roses, I took a wet paper towel and just rubbed the high spots off. Super simple. It brings the gold back in but just a small amount and not overwhelming like before! The chalk paint will come off pretty easily this way. By the way, you don’t have to be careful when painting the flowers, makes it look great if the paint doesn’t get into all the nooks and crannies.
Doesn’t this step just add to the overall look of the frame?
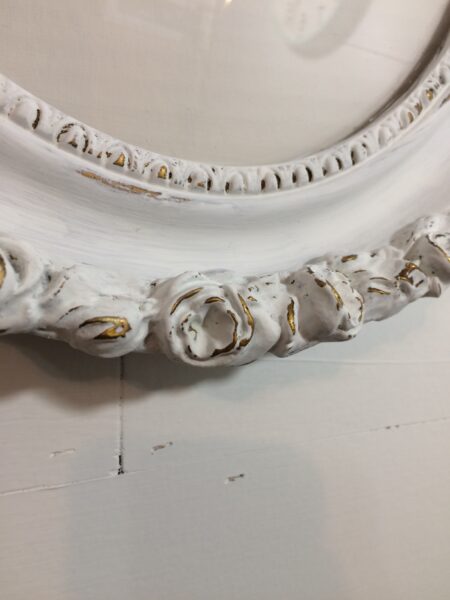
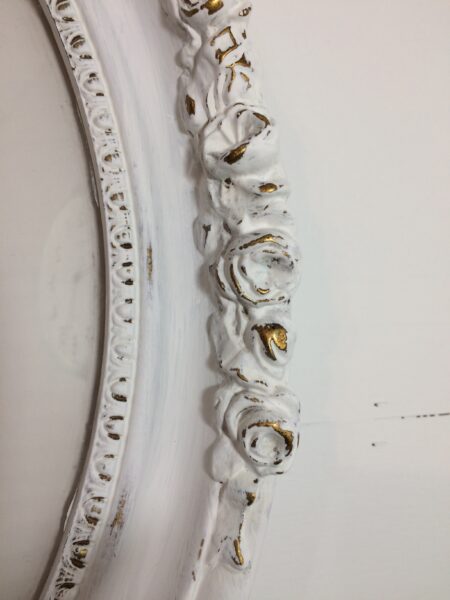
Take as much paint off as you wish or leave more on. No wrong or right answer, just personal taste.
I really didn’t want to cut a thin piece of board for this project because I’m still not the best with the jigsaw. With that said, what to do for a backing. I collect big boxes because honestly, you never know when you are going to need one in the crafting/DIY world. There was a huge box leftover from Ed’s (husband) TV that would be perfect.
Take the backing off the picture frame and place it onto the cardboard and trace around it with a pencil or pen. There’s your template. Cut that out and pop it into the frame. It was literally that easy.
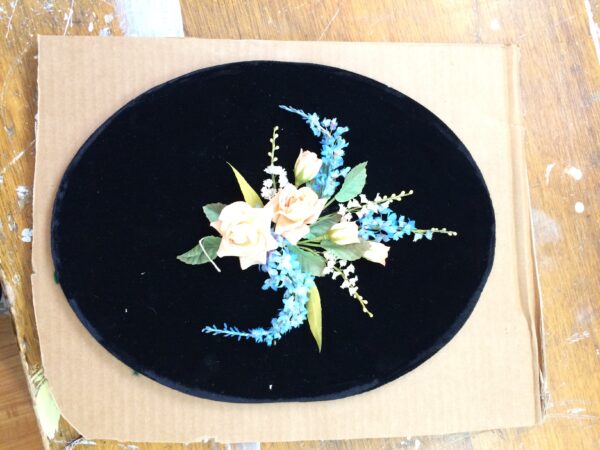
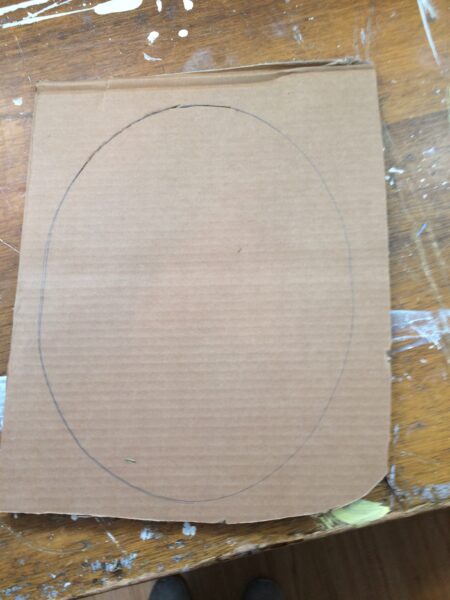
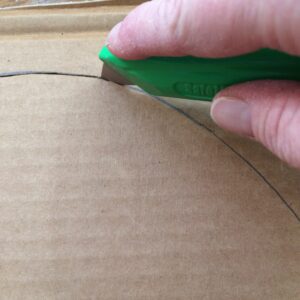
The cardboard is brown and I didn’t have anything to insert into it. I decided to paint the cardboard with some leftover paint I had. You could also use chalk paint. Side Note: The cardboard didn’t expand like I thought it would, bonus. Apply another coat of paint, let it dry, and done.
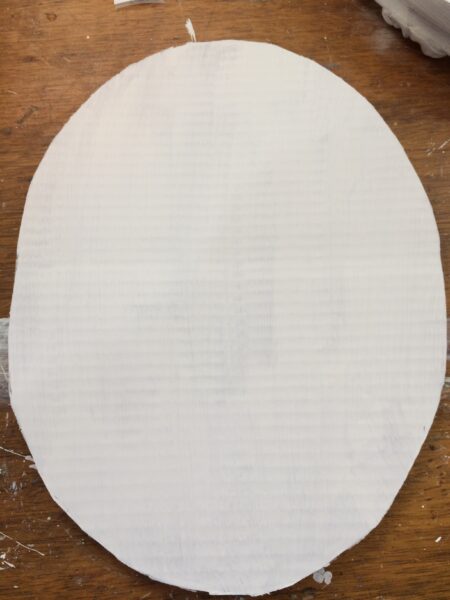
As I said, I have nothing to put into it. I tried a beautiful handkerchief I had, some lace, some patterned fabric, but I didn’t like any of them. So it’s not hanging up yet but I can’t wait to find a print to put in it.
I also should mention I thought about adding transfers (just letters or partials I have) or molds.
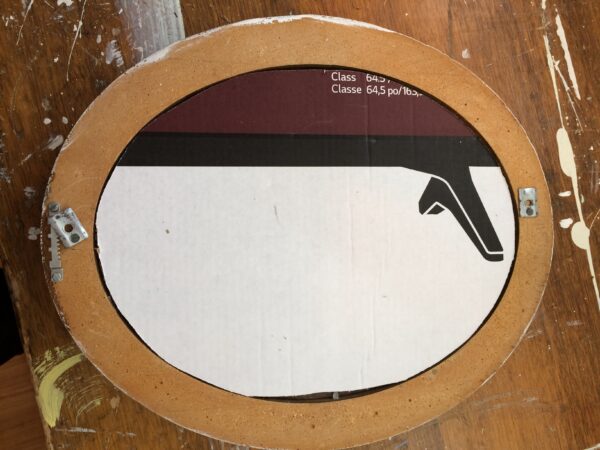
The cardboard was close to the same thickness as the wooden board I took out.
Here it is hanging for the after photo!
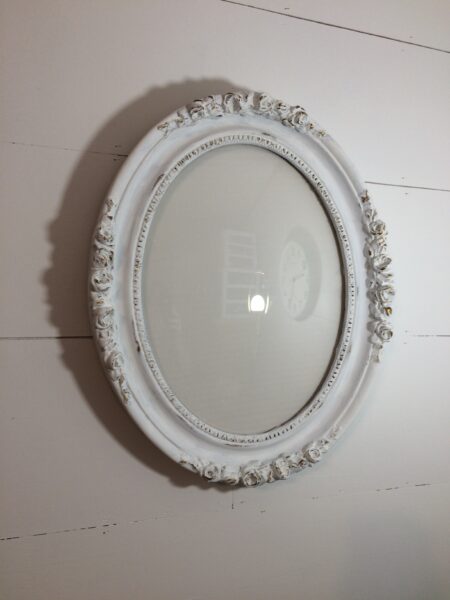
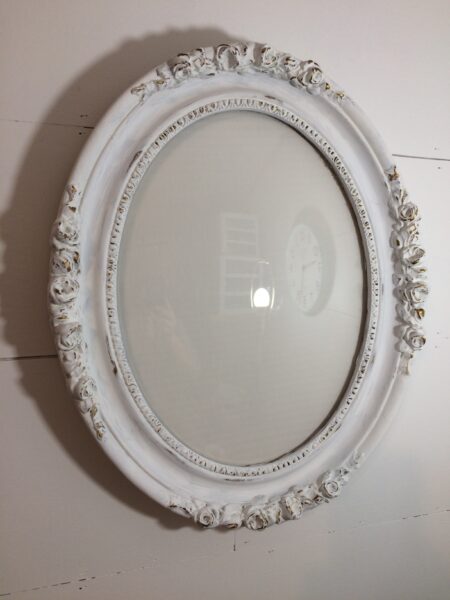
Love it!!
Do you have a suggestion of what to put in it?
Let me know in the comments.
*This post contains Amazon affiliate links in which I earn a small percentage from qualifying purchases through these links, at no extra cost to you. Thank you for helping to support my blog! *

What a fabulous transformation! This is beautiful. I’ve been going through my stash too trying to finish up little projects here and there and it feels so good. Love the way this came together, CoCo
Thank you CoCo, so many projects, so little time, lol!