Happy Saturday Friends.
Today I’m excited to share with you a very simple project.
It’s simple, it’s easy and it is repurposed!
Years ago, I found this sign at GW for $6.99. I love the Amazing Grace song written here but it is not the look I want. I think this would be considered primitive but not quite sure about that!
*This post contains Amazon affiliate links in which I earn a small percentage from qualifying purchases through these links, at no extra cost to you. Thank you for helping to support my blog! *
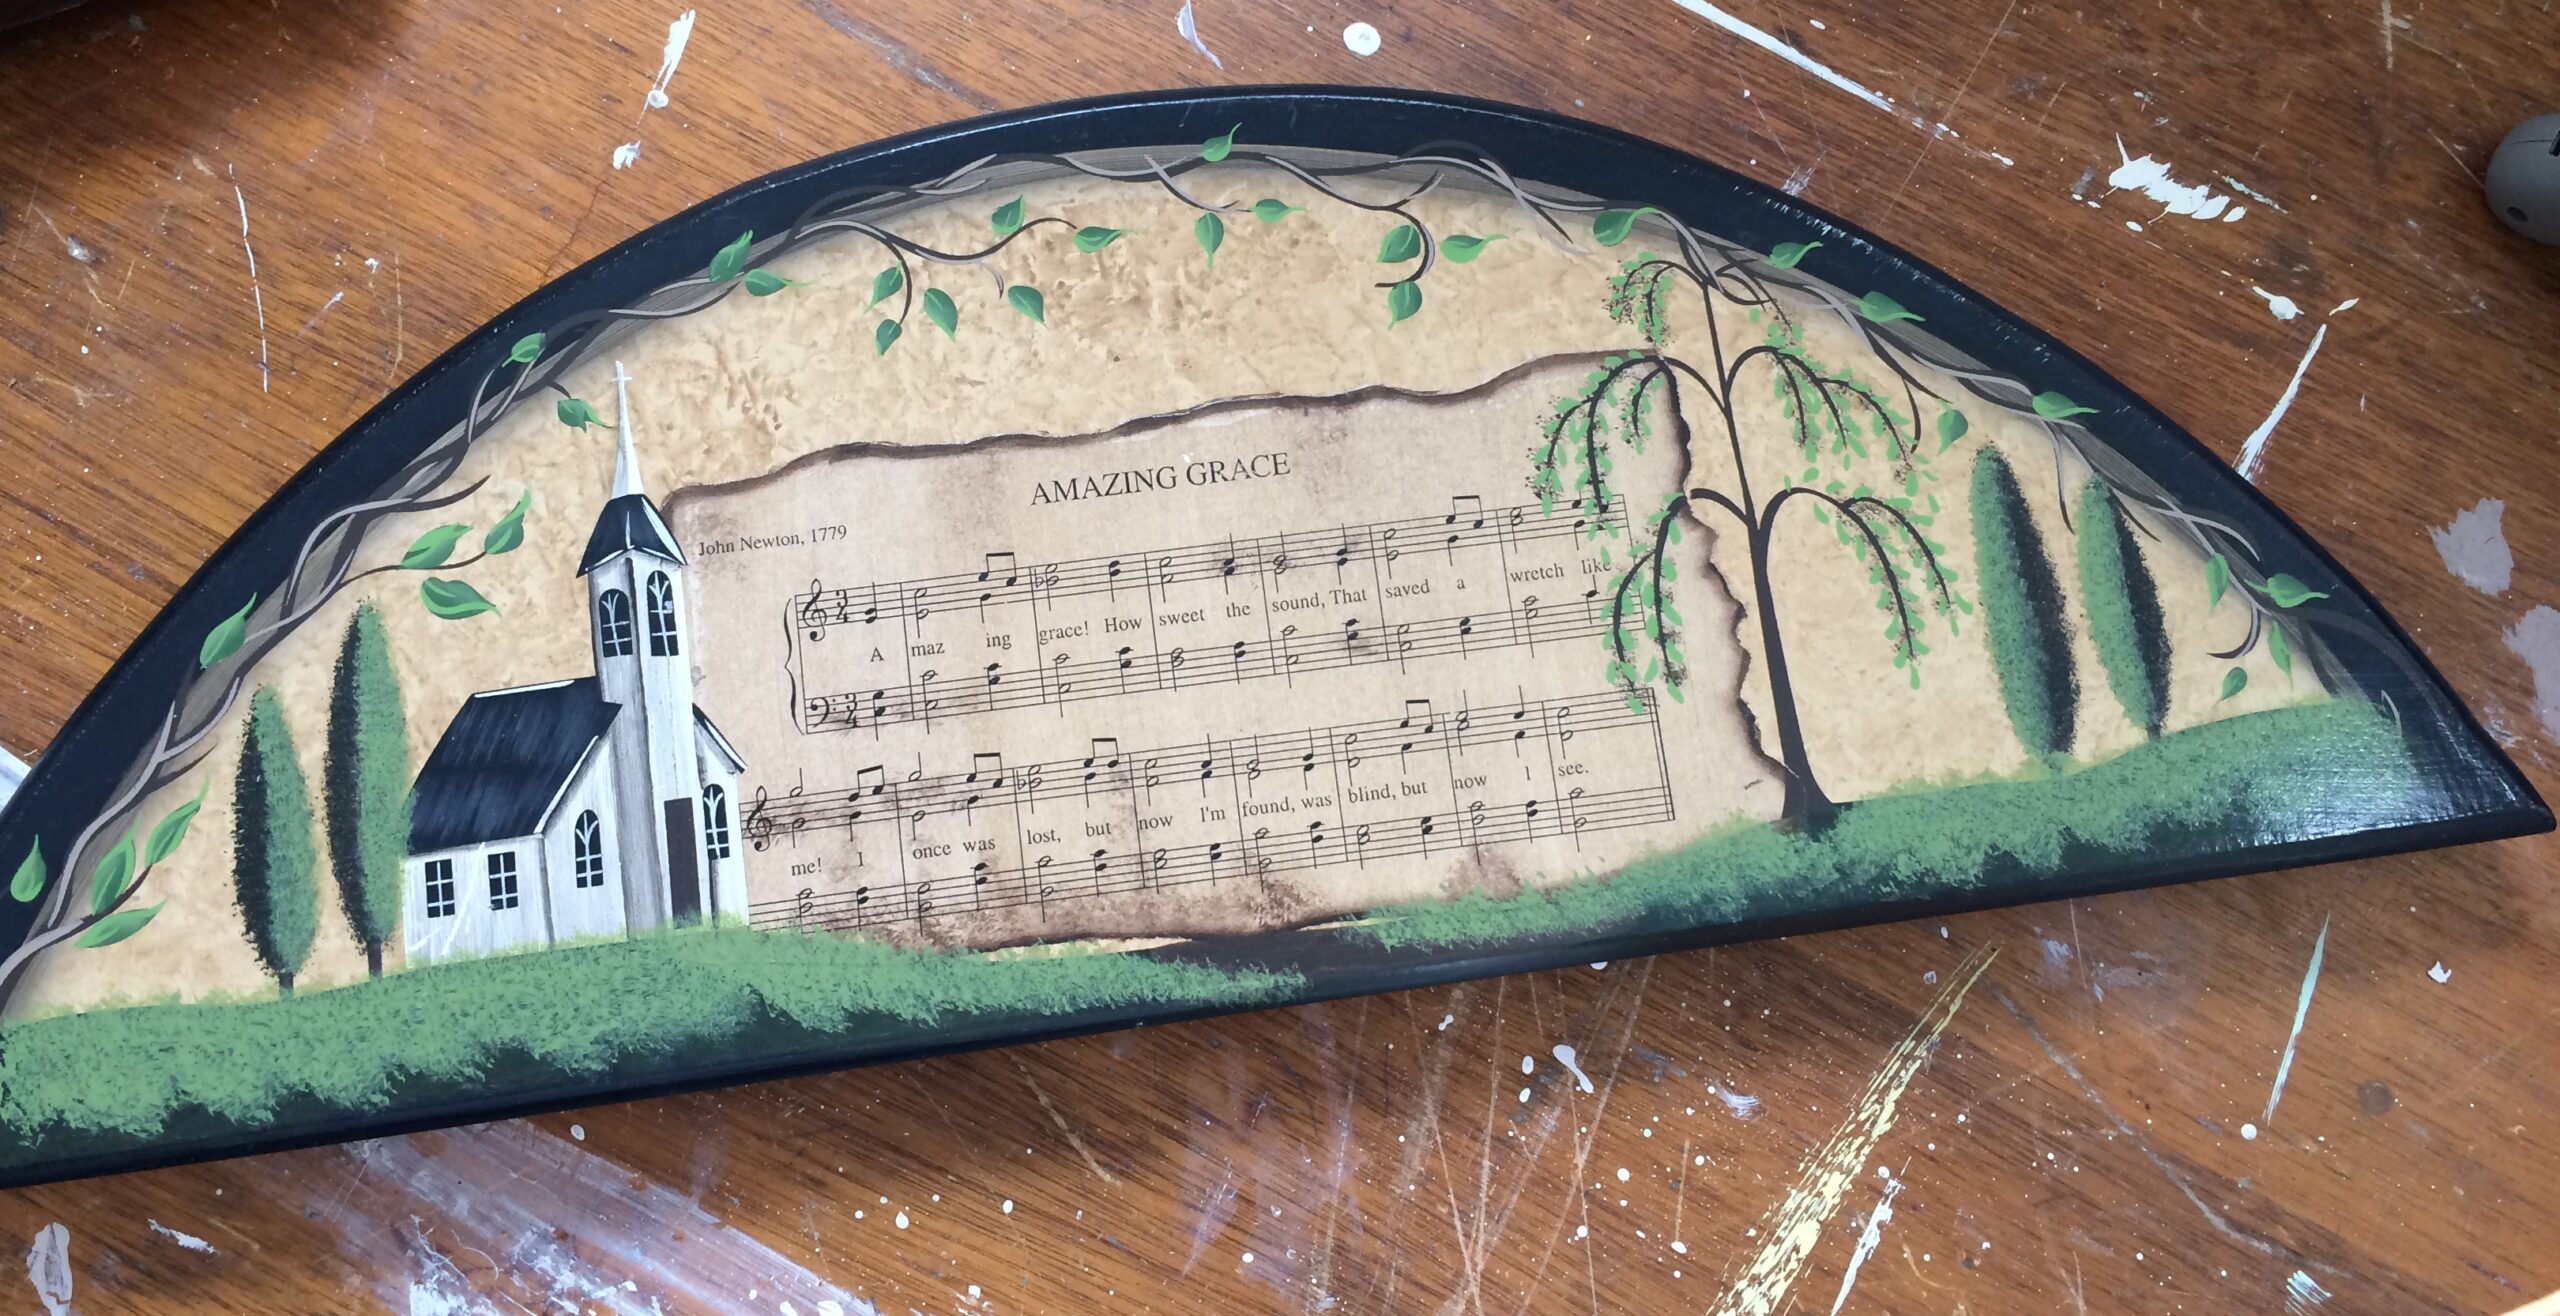
Well, I finally did something with it, want to see it?
It is not a very big sign measuring 8 1/2″ tall and 24″ long.
I start out by painting it with Rust-oleum Chalk paint in Linen White. #1 because I have it on hand and #2 because I do not like to sand, and chalk paint has great adhesion, in my opinion.
I’m sorry, I do not have a picture for these next two steps.
After letting the chalk paint dry, I did a light sanding and then applied Falling Snow by Behr as the next coat.
Behr Ultra has a stain-blocking paint and primer all in one and I like to add it on top of the chalk paint. I have heard of people putting just the Behr Ultra on because of the built-in primer and the results were fine.
Now if you have followed me for a while, you know I love transfers. Today we are putting a transfer on this sign.
This transfer to be exact.
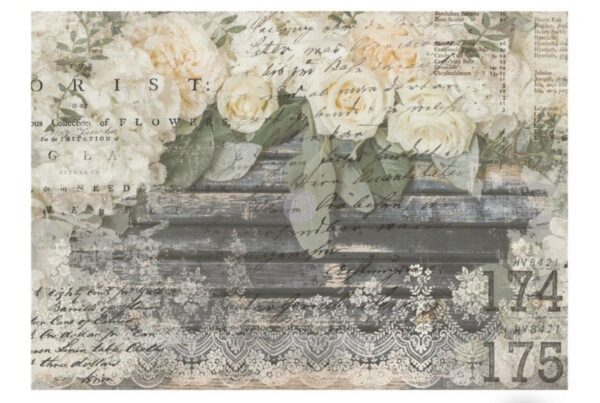
Isn’t she lovely?
I’m only using a small portion of this transfer!
The name of the transfer is White Fleur by re-design. I got mine off of Etsy. I took a quick look and found one on eBay for $40. I bought it with the intention of using it on another project but that fell through.
To get started, cut your transfer to the size and shape you need leaving the backing on. Once you are happy with the placement of the transfer, peel the backing off and apply the transfer to the project. Just remember when you place your transfer down it is like a big sticker and you are committed when it touches your project, there is no turning back. Take the scraper that is given with the transfer and go back and forth until the design starts to come off. Once you have the design on your project you want to go over it with a soft cloth or the backing it came on to make sure it stays on your project.
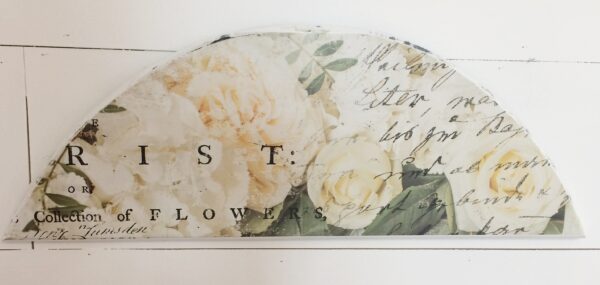
It seems a little intimating at first but you get more comfortable the more you do them.
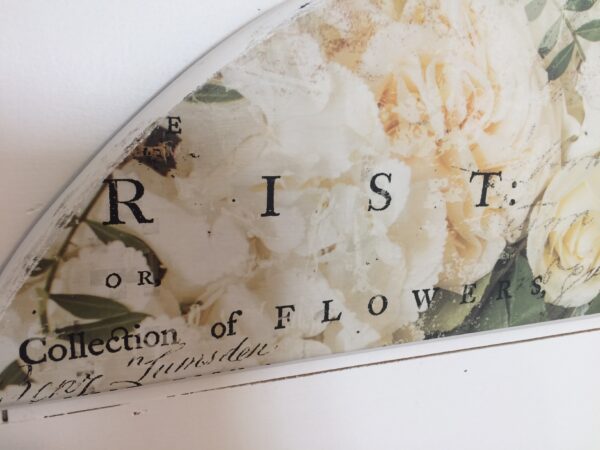
That’s it, you’re done!
Don’t you just love the after?
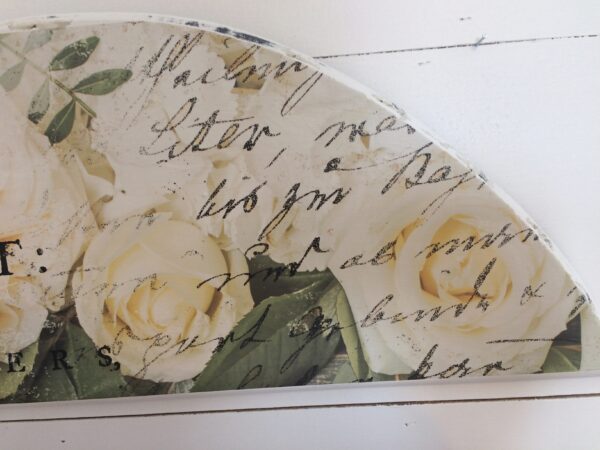
I think it’s beautiful!
It already has a hanger on the back. You could add 3 or 4 hooks to the front for coats, purses, necklaces, scarves, etc.
I am always amazed at what a transfer or decoupage can do to a piece.
Here are some of my other projects you might want to check out that have transfers on them.
See how easy you can transform a project from ho-hum to Amazing!
It makes a project stand out and it is fairly easy.
I am not sealing it because it will be inside and protected but you may want to think about sealing it if will be used for something more than a wall hanging!
If you would like to buy this sign, you can do so here.
I hope you enjoyed another simple project and hope it will inspire you to make or repurpose something today! Until next week, have a wonderful weekend!


*This post contains Amazon affiliate links in which I earn a small percentage from qualifying purchases through these links, at no extra cost to you. Thank you for helping to support my blog! *
You are so creative Cheryl that is crazy! It doesn’t even look like the same sign. Love the transfer you used and how you gave a completely fresh feel to this piece. It’s beautiful Hugs, CoCo
Thank you so much CoCo, I appreciate your sweet comments and stopping by!