Happy Saturday Everyone.
I am so excited to get this next project crossed off my list.
I’m always struggling to keep up with these projects. Do any of you feel the same way? The good news is, this one is done.
For some reason, I can’t find the before picture. Just imagine it was brown, lol, just like the table under it!
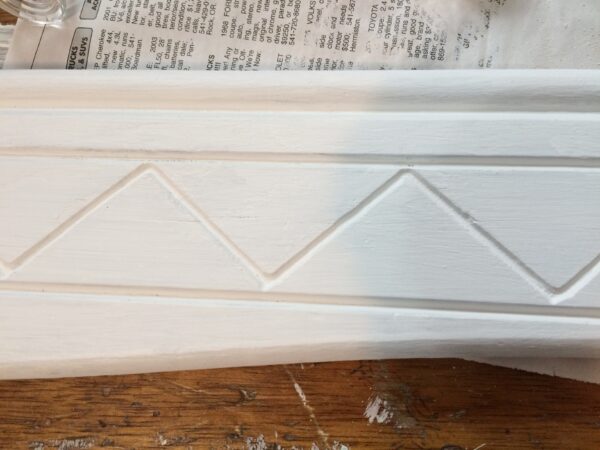
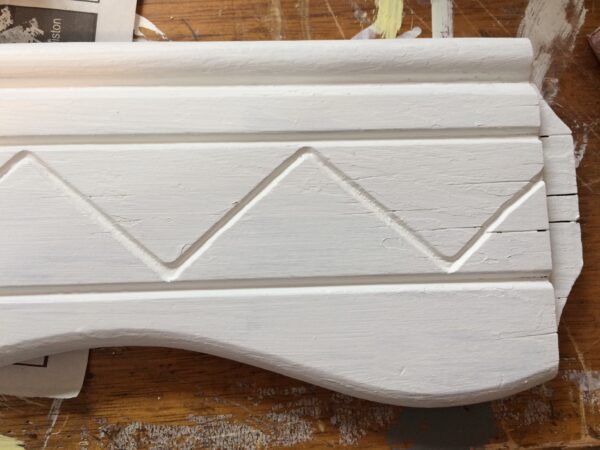
How this project came about: Our neighbors had an old house on their property. I don’t know the history of that house but our neighbors were using it for a storage shed. When these neighbors passed away the property was sold and the new owners decided to tear down the old house. You all, this house had dirt floors, that is how old it was. I can’t even imagine that.
They took all the wood and put it into a pile to burn.
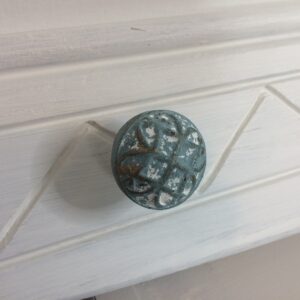
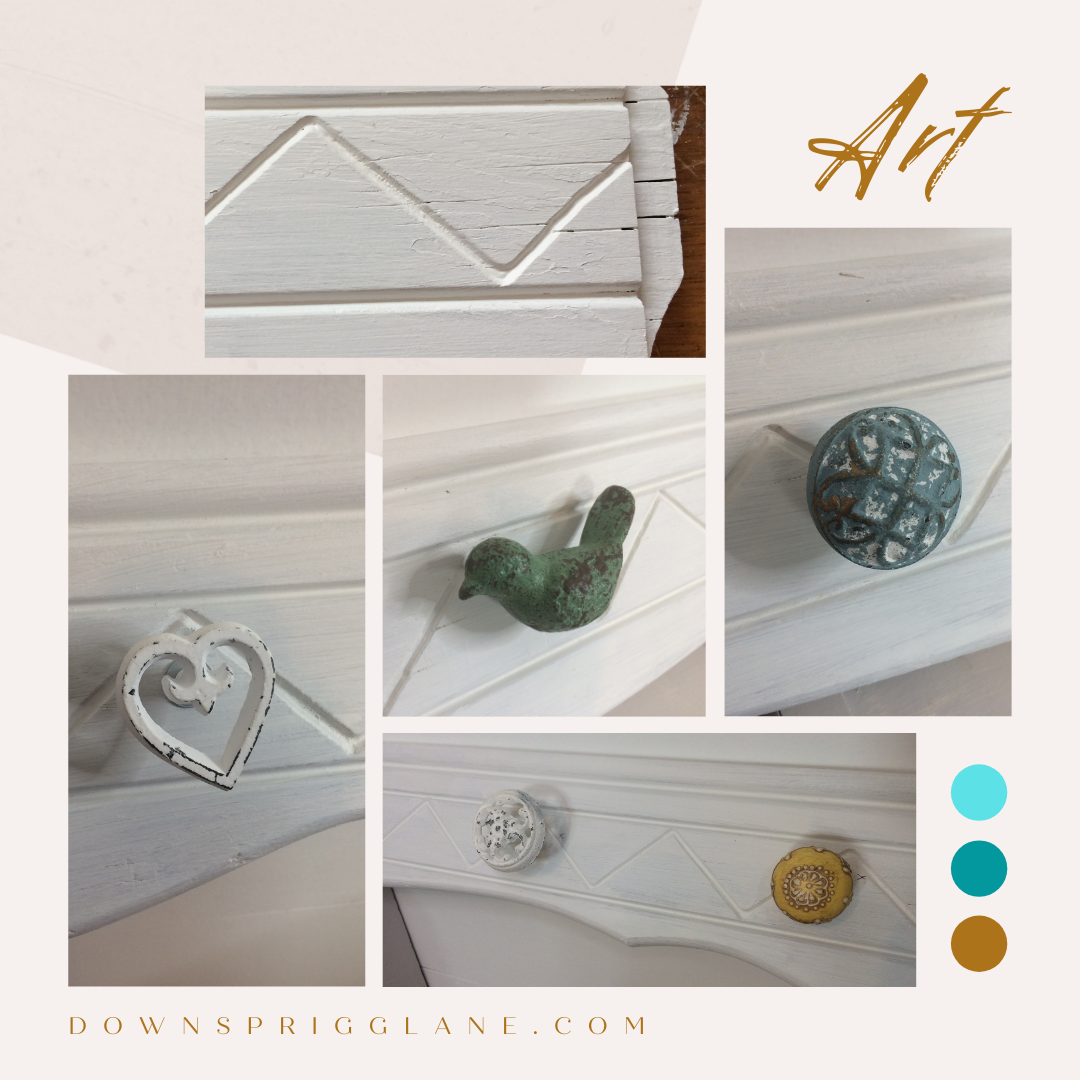
Of course, I had to go look through it. I love looking through things like this. You never know what you may find. Such as this board I am using for this project. Do you love the design on it? I also came across another board that had been painted yellow, I have no idea where this board was located in that house but I took that too! You can see that project here.
Like so many of my projects, I had no clue what I was going to do with it! It has been in my stash for years. Last year I was taking things out to spray paint and gave this board one coat of primer. Then it sat for another year. I was thinking it might look pretty cool with knobs on it. I have a small knob collection of sorts but I didn’t like the choices I had. In my mind, I thought it would be cool to have different knobs on it. I couldn’t find anything online so I waited for our store, Hobby Lobby to open. I was finally able to go about a month ago and buy them at 50% off. Yay!
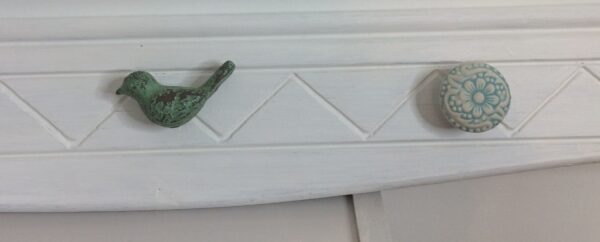
I have to tell you that it took me literally 5 minutes to pick out the knobs for this project and 20 minutes waiting in line.
When I got home I started playing around with them to see what worked and what didn’t. Friends, my favorite one is the cast iron bird. Love it, Love it, Love it. My daughter’s favorite is the yellow knob on the end. What is yours?
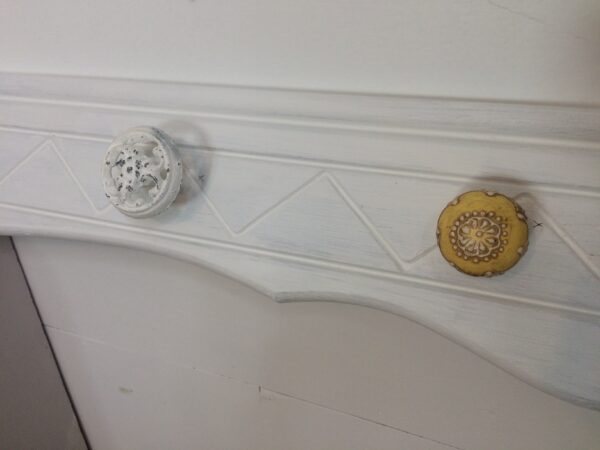
I’ll just say it again, I love the design of this board. I don’t know where it was originally in this house but I only found one. Once I knew I wanted to make a coat rack with it, I had to decide what to paint it. It had already been primed so it wouldn’t bleed through. So after playing with the knobs, I decided to leave it with just the primer, not adding any paint. I didn’t give it full coverage and my plan last year was to go over it again with paint but I like the look of just the primer.
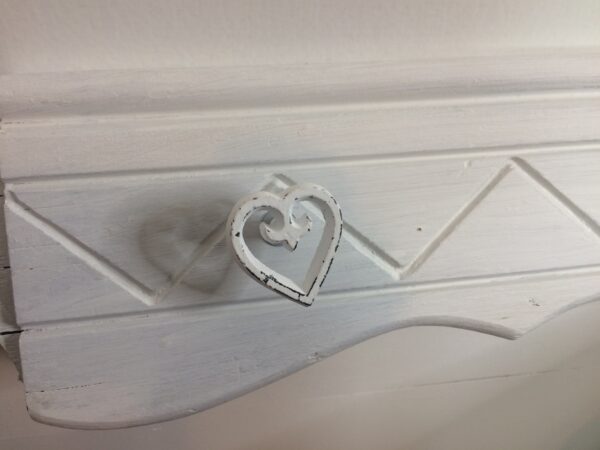
Oh man, you would think that this would be a pretty simple project but the first obstacle I had was not having the knobs I wanted. The second was that when you measured the board to find the center, it didn’t line up with what looks like should be center. Hope that makes sense. The curve at the bottom – yeah, you would have thought that was the middle or center if you will. You would be wrong.
So I eyeballed it and went with my gut feelings. For the most part, it looks pretty good and you can’t tell so much, I hope, lol.
First, drill holes for the knobs to go.
Second, because I wanted the back to be flush when this piece was hung, I had to figure out how to accomplish that without a countersunk drill bit.
There is a nut that fits at the end of the screw on the knob and that is the part that needed to be recessed into the hole.

I had seen this little trick somewhere on YouTube and decided to try it. First, you will take the nut that holds the knob in place and you will find a drill bit that is a little bigger than the nut. (The diameter of the drill bit will be a bit bigger than the diameter of the nut). Second, take that nut and put it next to the drill bit, take masking tape and wrap it around the drill bit. (putting the tape up the drill bit, not at the end of the drill bit) Does this make sense? This will tell you how far to drill into the back of the hole without drilling all the way through to the other side. And in case I didn’t make this part clear, you will be drilling in the back of your project, not the front where the knobs are.
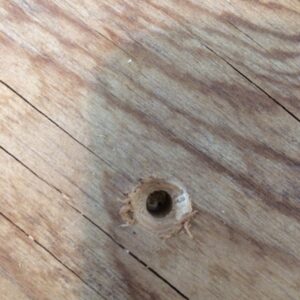
Since these screws were so long and made for drawers and such, my husband cut them down where the nut starts with an angle grinder. Now this board lays flush to the wall. If you have to use the angle grinder, be very careful. It can do a lot of damage.
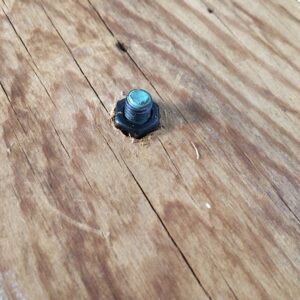
In the picture above, my husband hadn’t cut off the screw.
Add your hanging material of choice on the back and you are ready to hang.
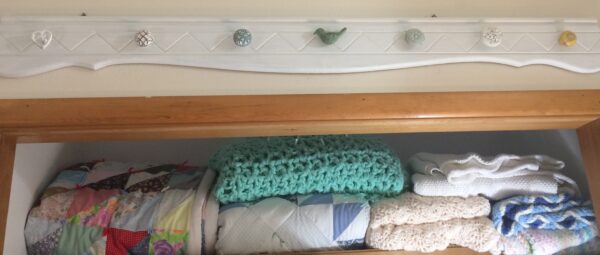
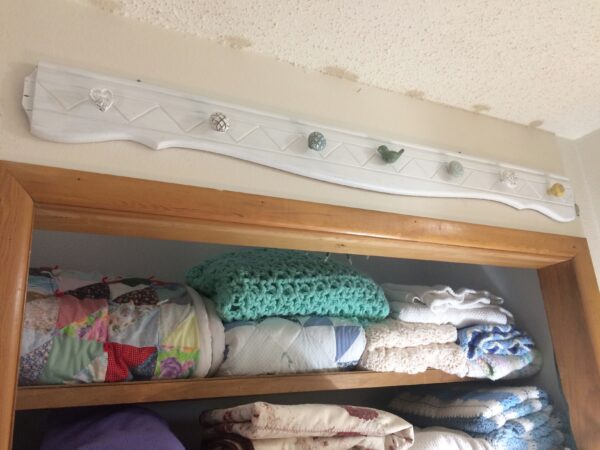
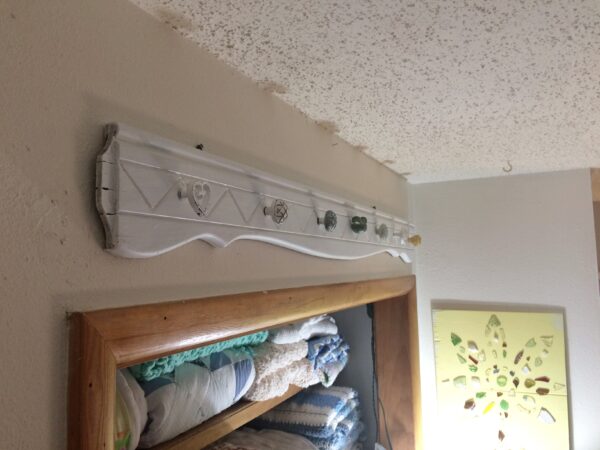
Are you loving the knobs?
Me too! It turned out so cute.
It was surprisingly hard.
It’s a little uneven.
Of course, I am not using it as a coat rack or calling it as such.
I am calling it a knobby jobby. Compliments of my daughter, lol.
Have a great day people.
Cheryl,
It turned out so cute!!!! What a fun way to repurpose a little bit of history!
Happy day!
KariAnne