Hello, Amazing Friends!
Today I am sharing a DIY project that I just absolutely love.
*This post contains Amazon affiliate links in which I earn a small percentage from qualifying purchases through these links, at no extra cost to you. Thank you for helping to support my blog! *
We are making a Two-Tiered Tray!
Say that 3 times fast, I dare you!
We are making it out of things laying around the house! Like this Recycled Flag.
Isn’t that awesome?!
Great on the budget and you have a beautiful tray when you are all done!
All you have to do is look around your house and see what you might have available.
Let’s get to it.
Here is what I started with.
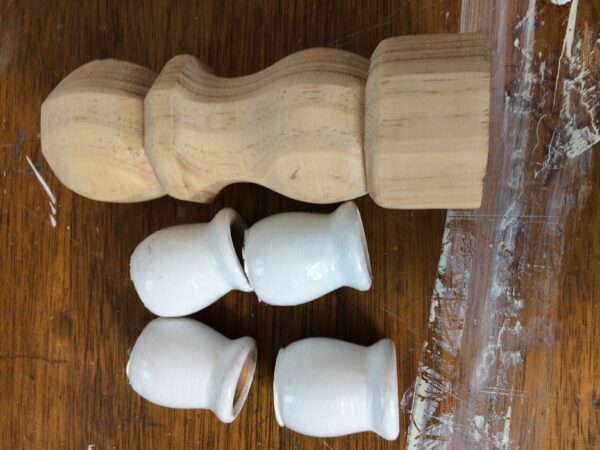
4 wooden candle holders.
1 wooden leg.
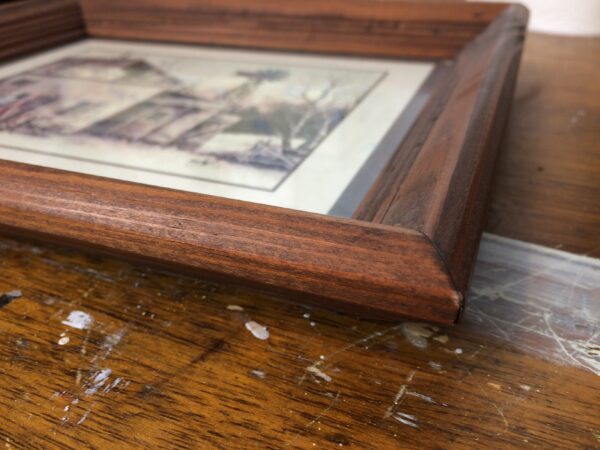
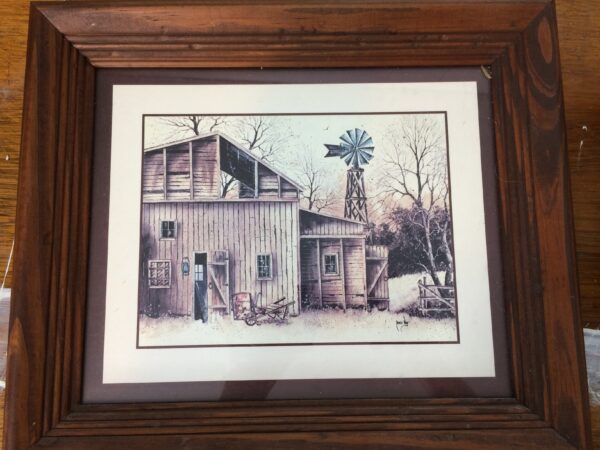
1 picture of a barn or an 8×10 picture frame.
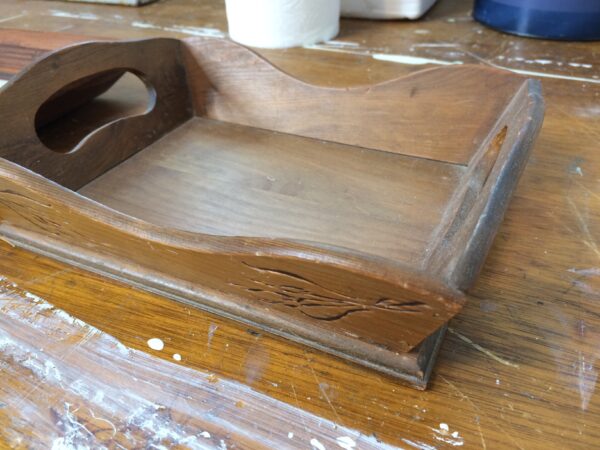
1 wooden box. In its previous life, it was a napkin holder.
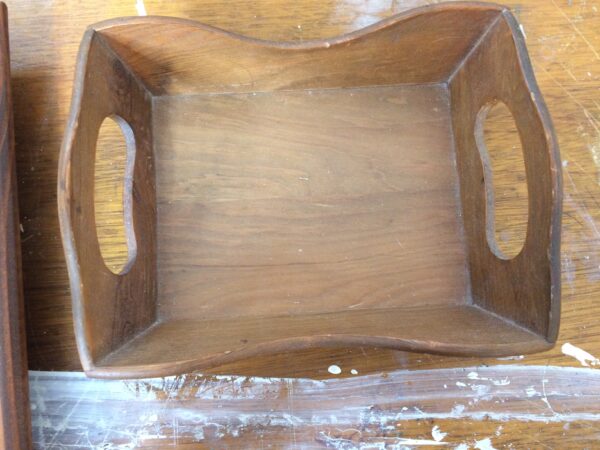
Some of these items were actually headed to Goodwill but then I had a light bulb moment!!
You ever have one of those times you want to throw things out or donate but something holds you back?
I could see this DIY project in my head.
AND I didn’t have a tray.
AND it is very budget-friendly.
Here is how it went down.
Gather your items.
Sand and clean them!
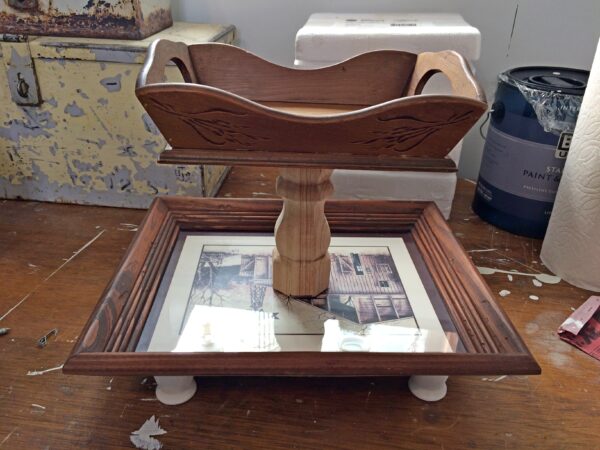
Take your picture in the frame, glass and all. Yes, you heard me right!
Glue the wooden candle holders onto the back of the frame. I used Gorilla glue, clear, and a dab of hot glue.
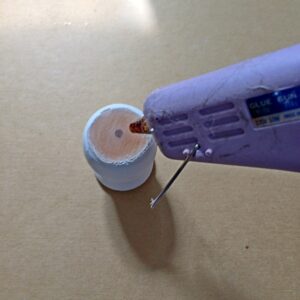
Now the candle holder legs you see in the above picture were already painted. I just sanded them down and glued them to the back of the picture frame.
My backing would not come off without major reconstruction. So I just left it and glued the wooden candlesticks in place.
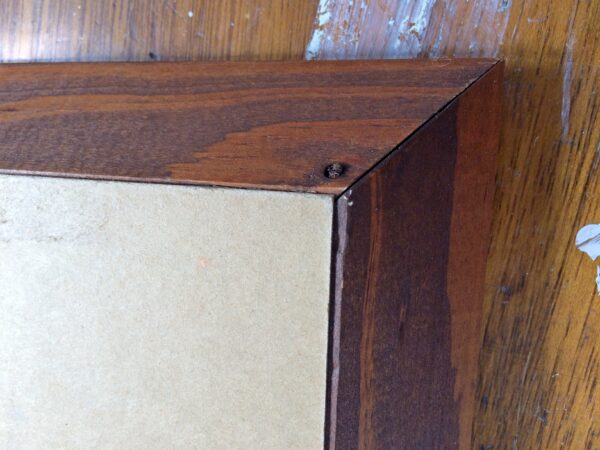
Let this set up and dry because you will be moving it.
Once the (legs) have dried, add the next element. The wooden leg.
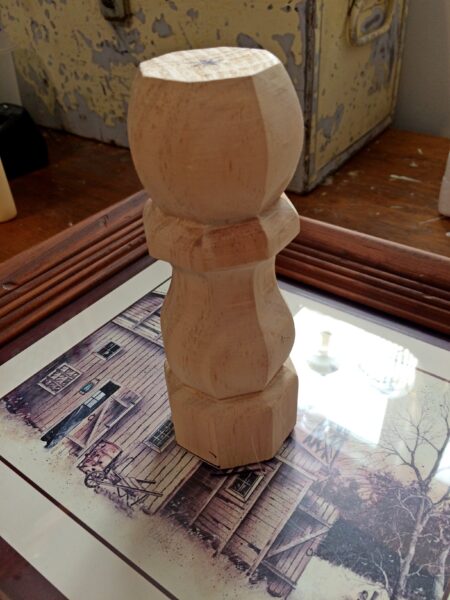
The wooden leg was the right height. Cut it to your desired size if it is too long. I also measured it and marked it with a marker to make sure it was centered on the glass.
Glue the leg onto the glass with Gorilla glue.
After the leg is glued on, take the next (tray) and glue it to the wooden leg in the middle. I eyeballed this, so just center it the best you can.
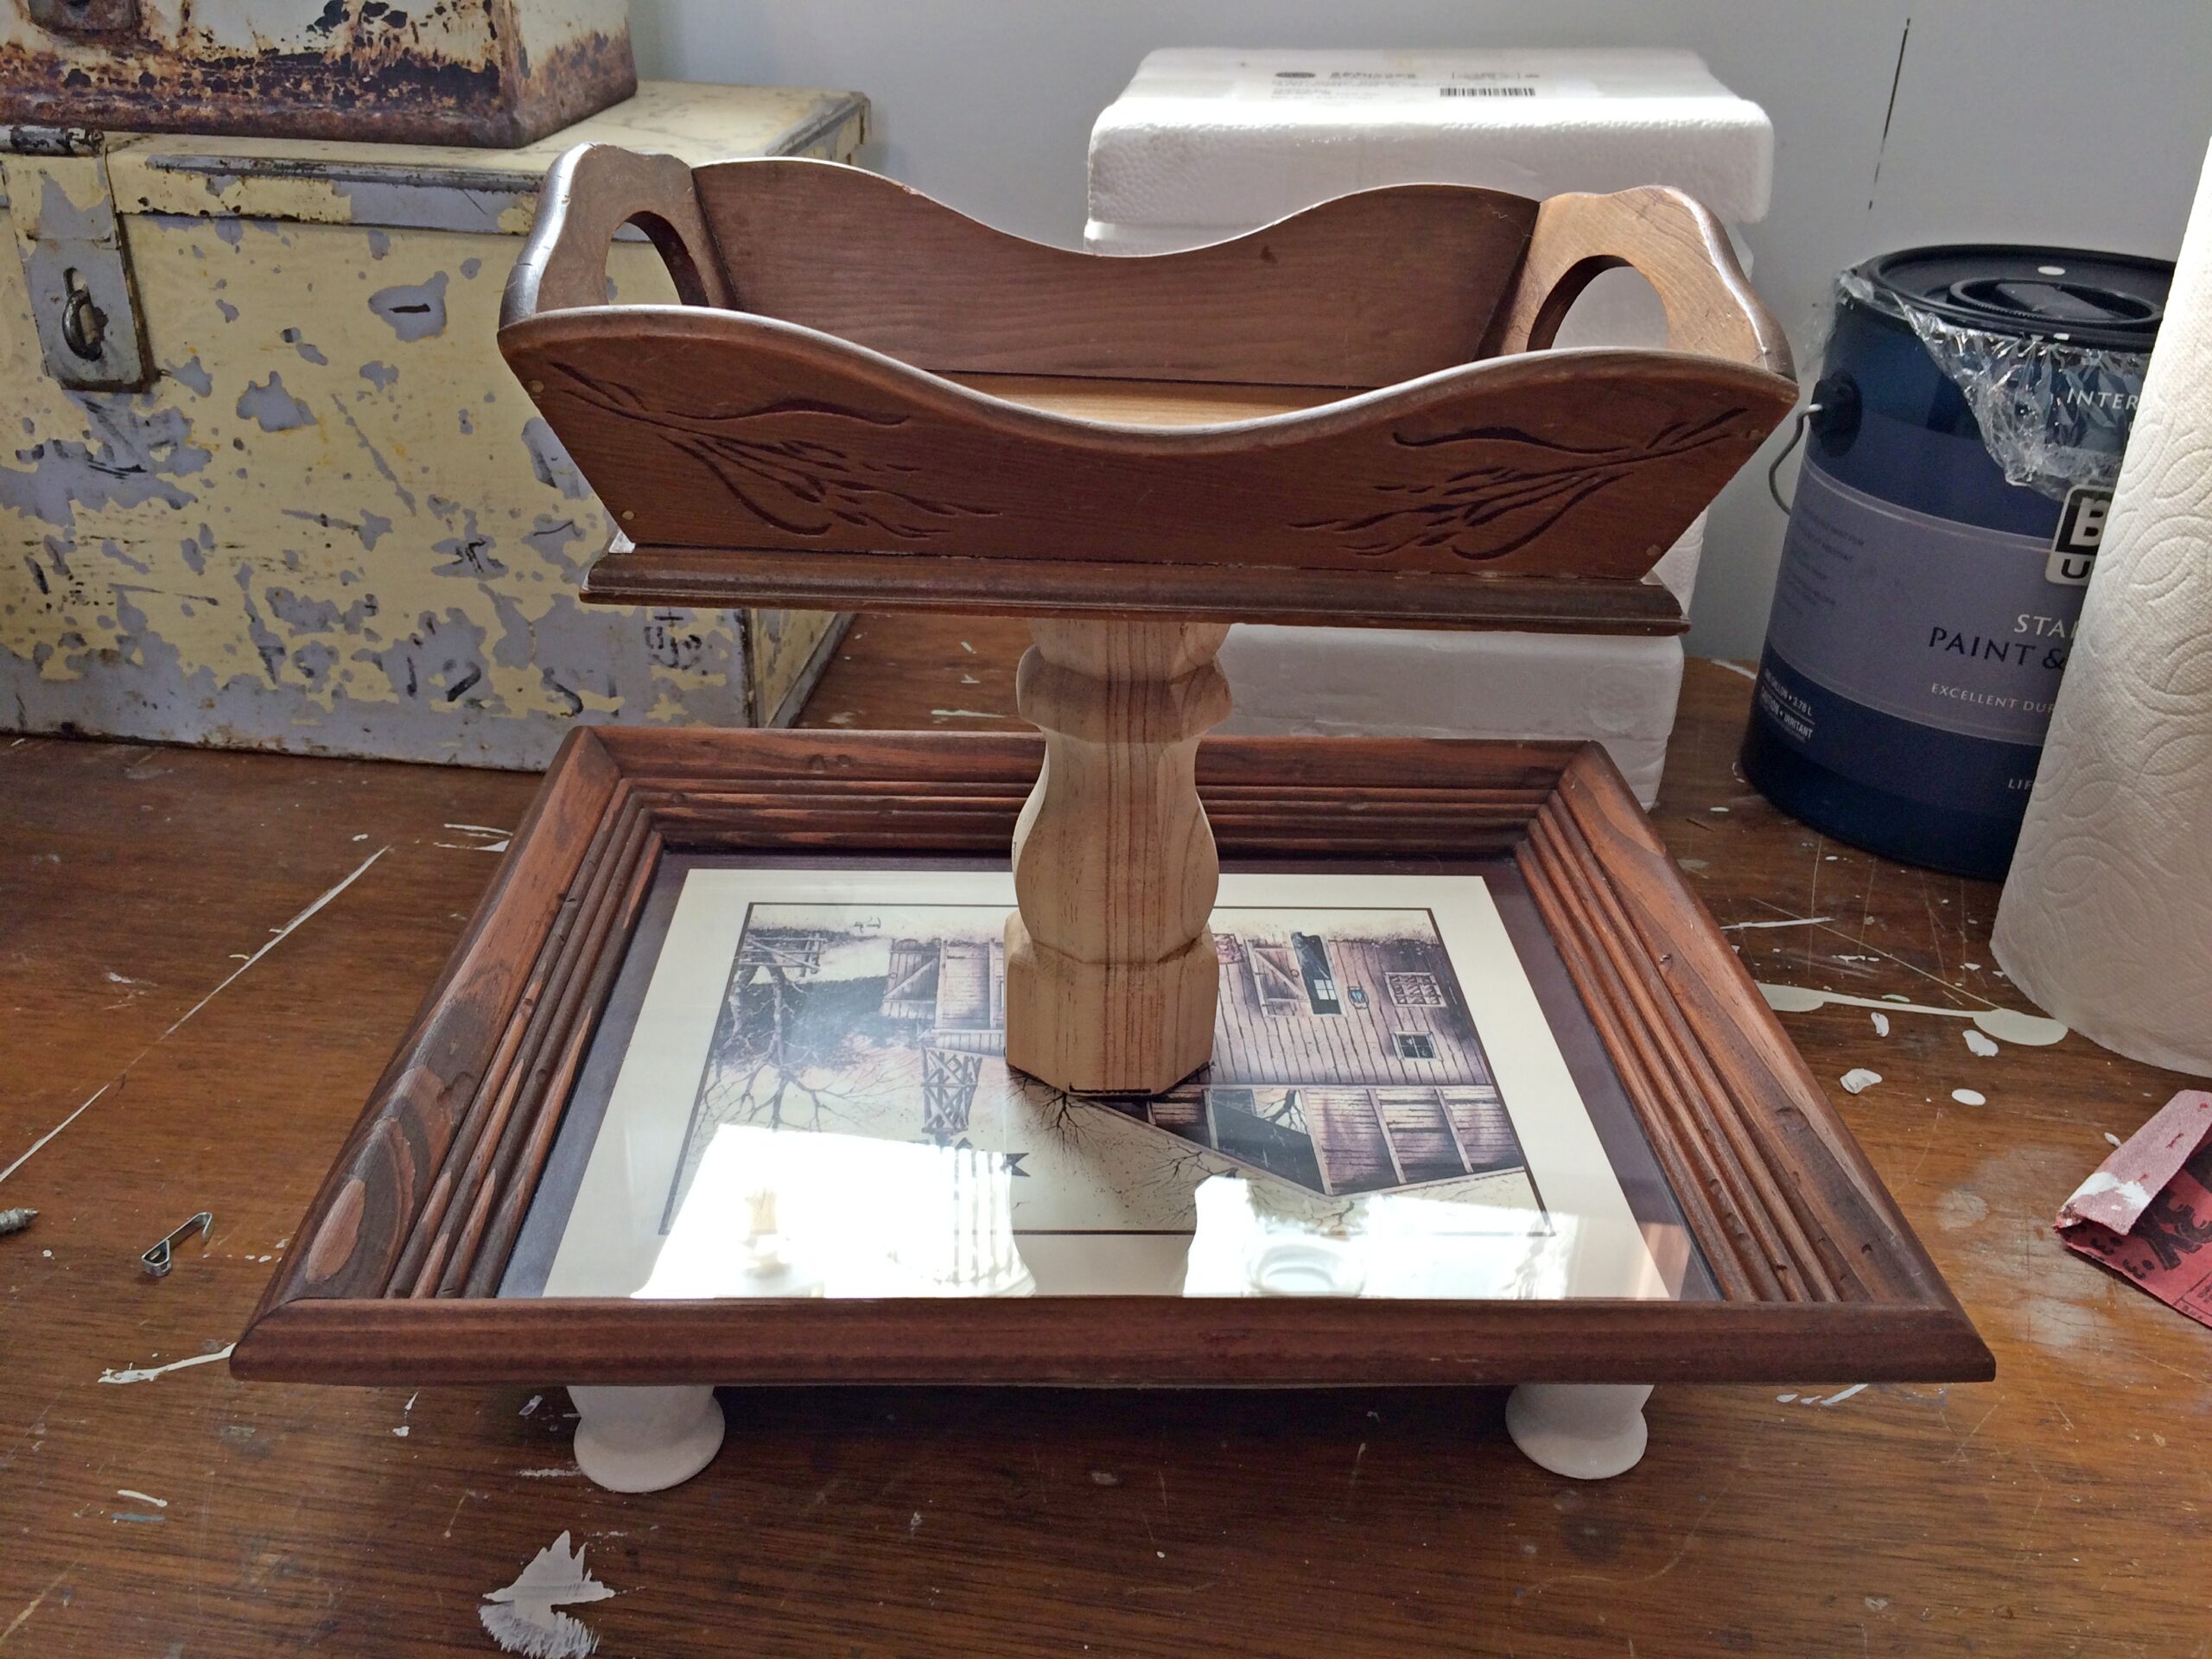
Let that dry.
At this stage, I was getting so excited!
Isn’t it taking shape?
Aren’t you loving it?!
I first painted the tray with Rust-oleum Aged Gray Chalk Paint but decided instead that I wanted it white.
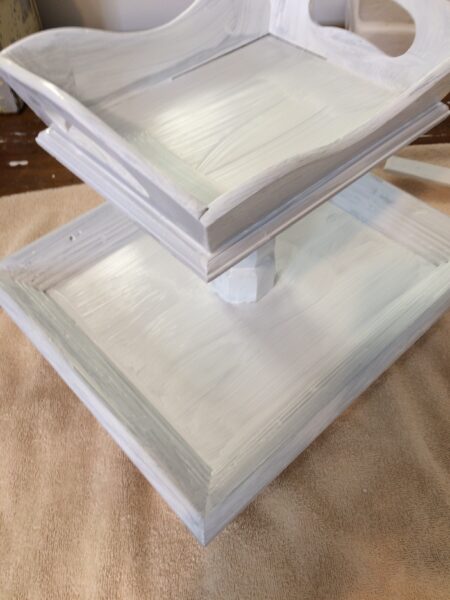
It got two coats of the gray before I changed my mine, then two coats of the white. Drying in between each coat of paint.
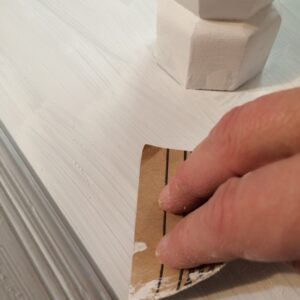
I also sanded in between coats. It is chalk paint and it is really easy to sand.
Once the paint is all dry, it is time to sand or distress it!
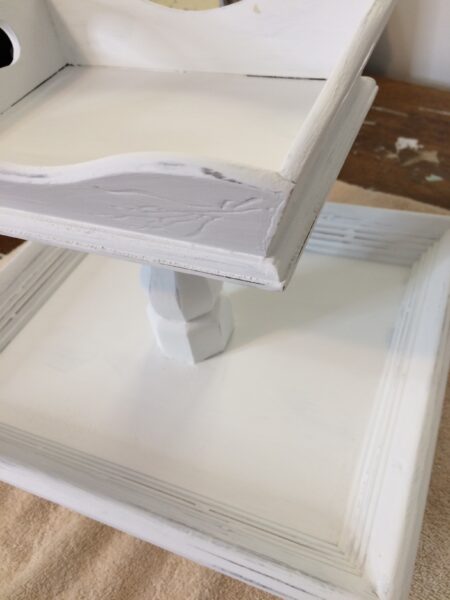
Heavy or light distressing, make it your own!
I lightly distressed it.
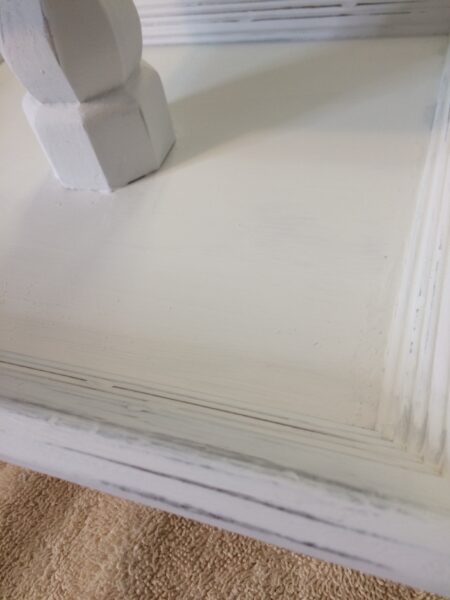
Seal it with a clear coat. I sprayed three coats, drying between each one.
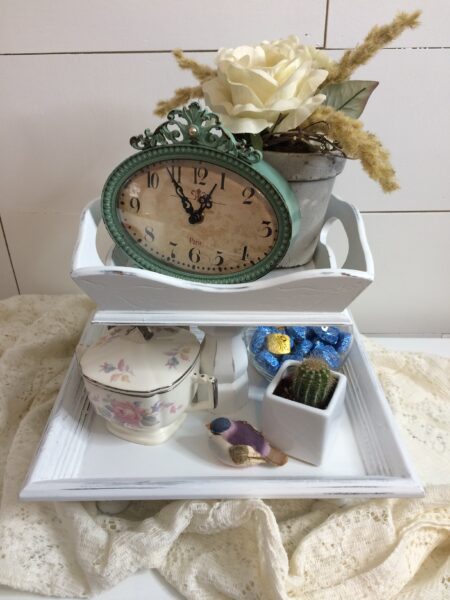
Isn’t it Awesome!!
Here is one example of how to decorate your tray.
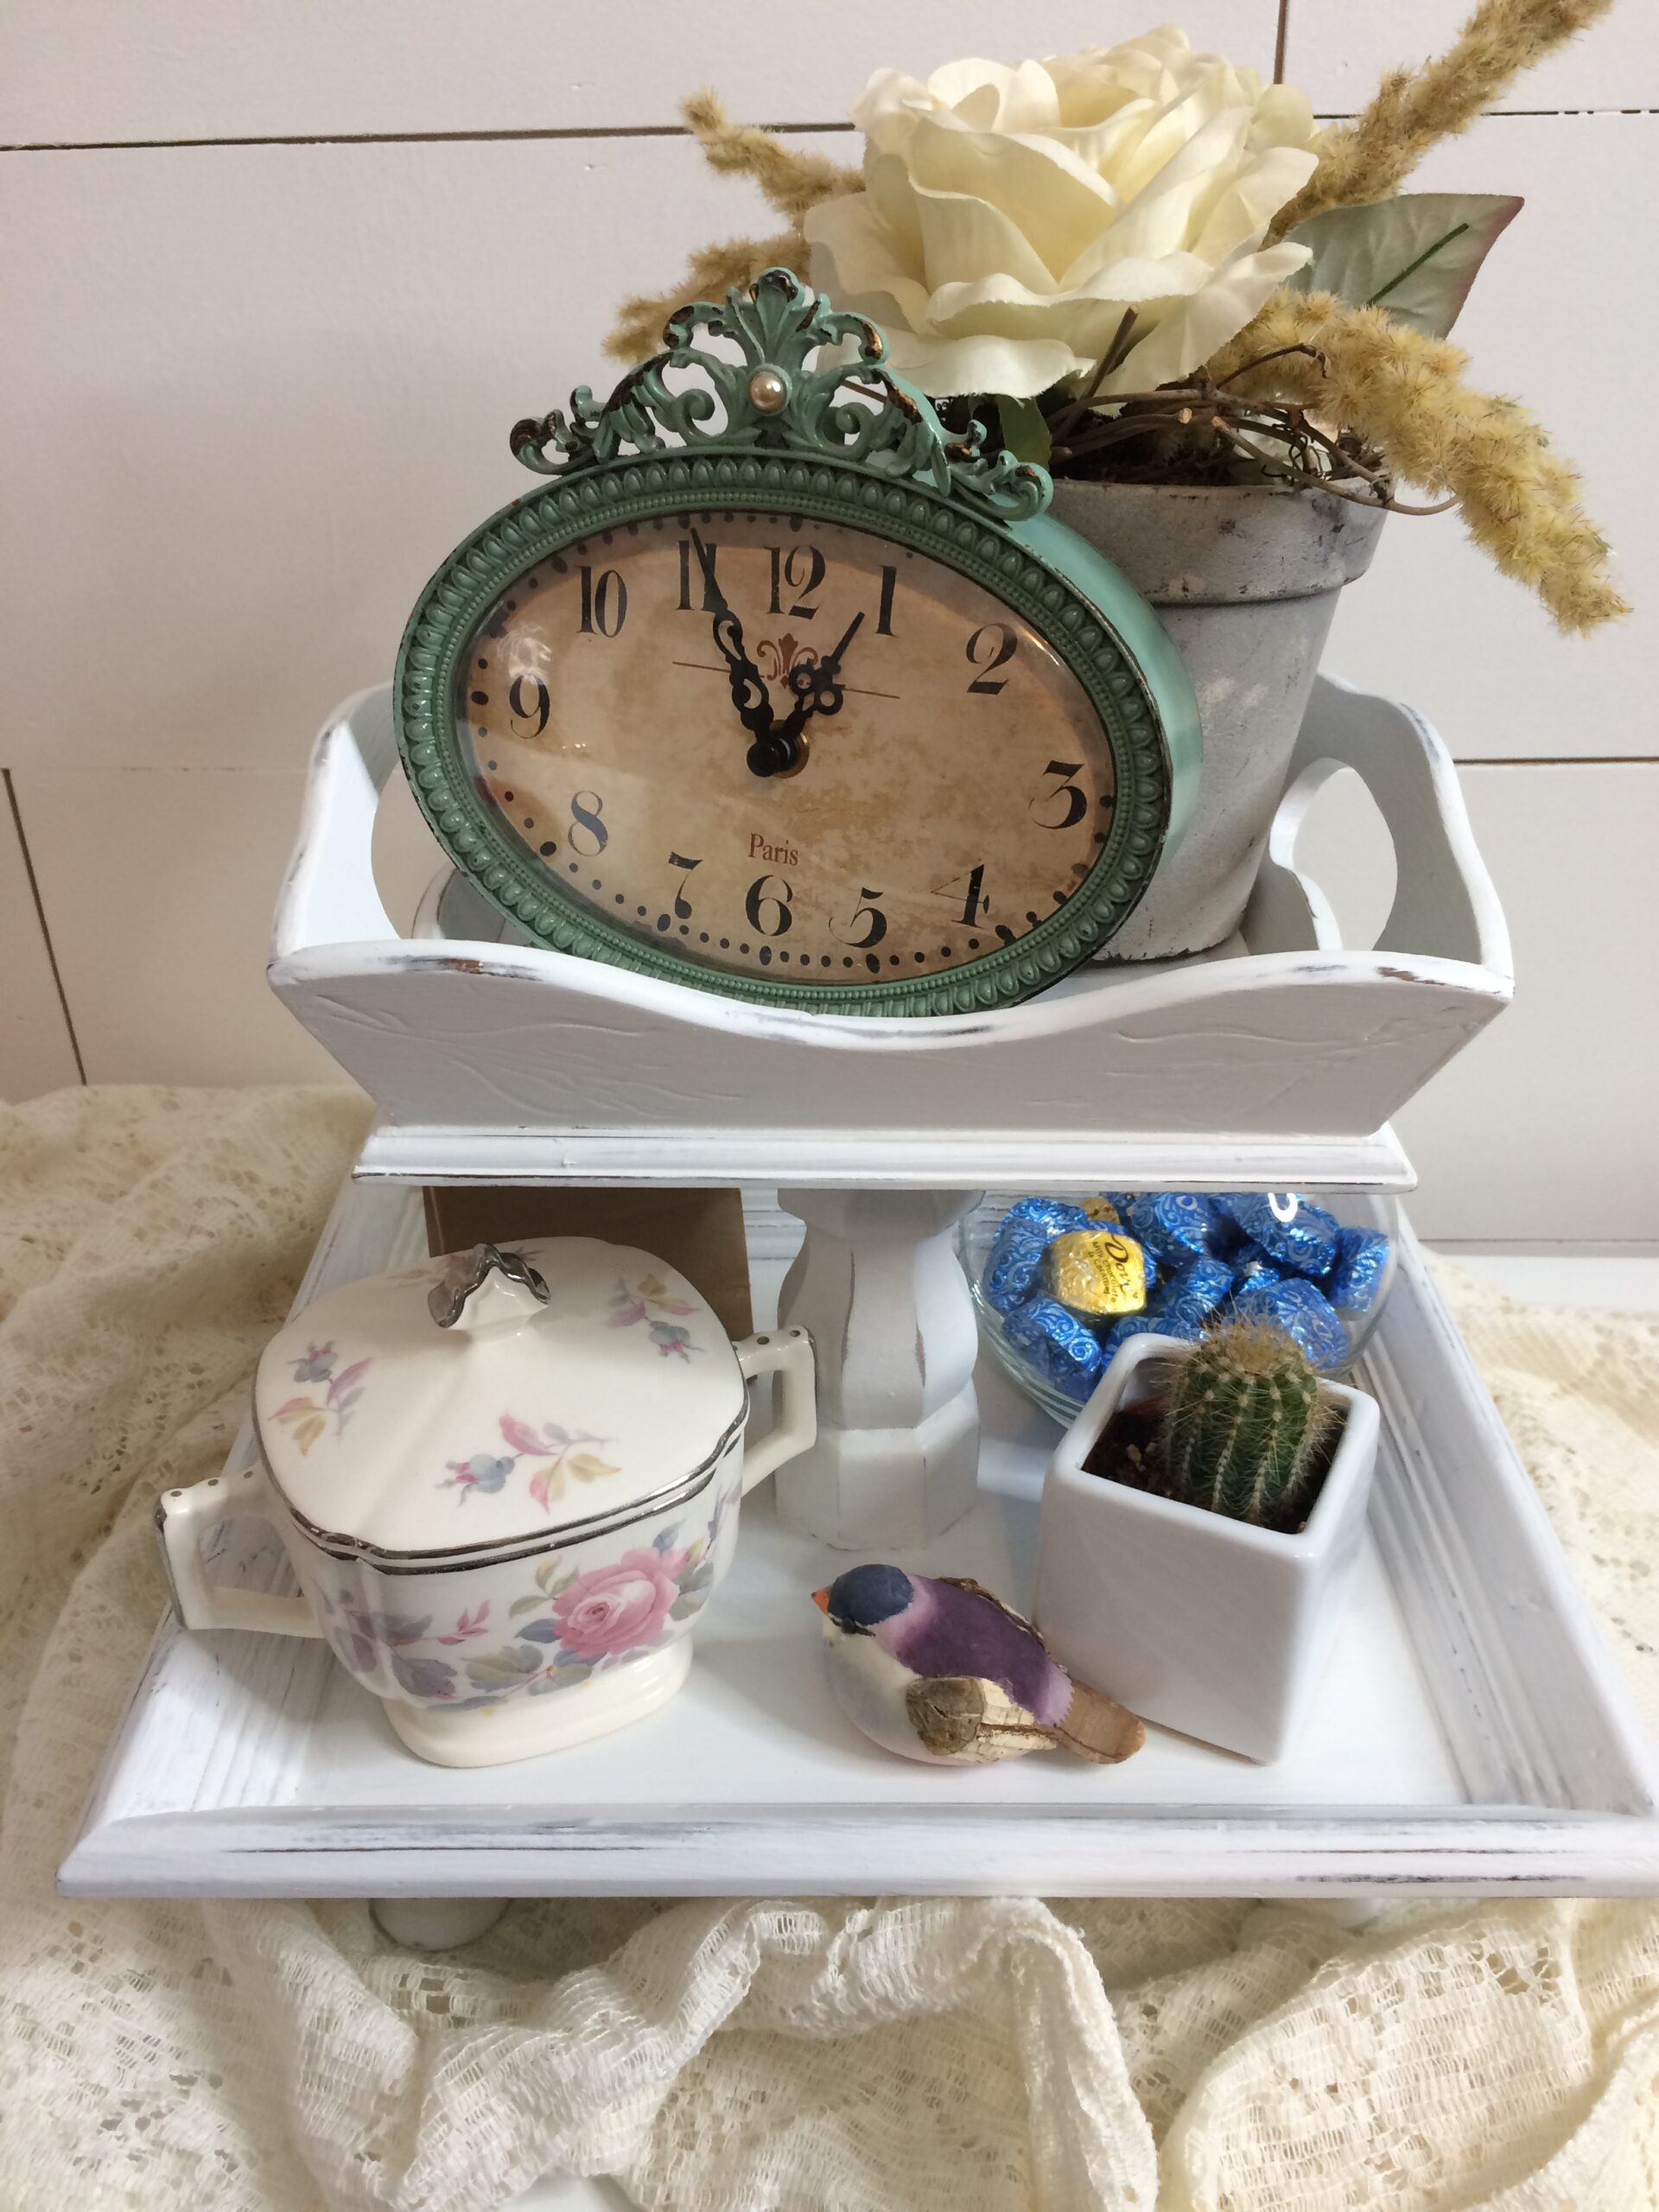
I love it!
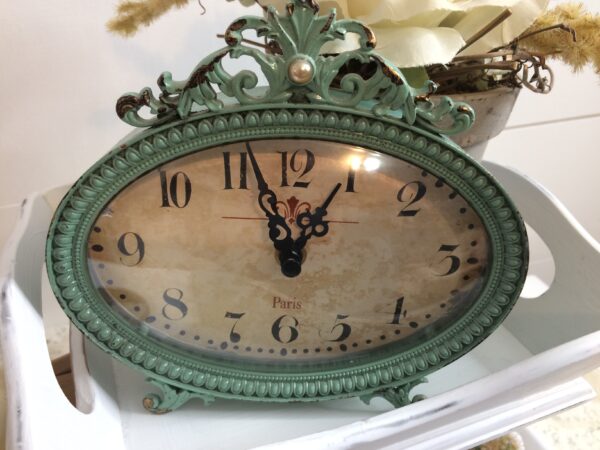
Go find some items around your house and make a tray you love.
I love how mine is square.
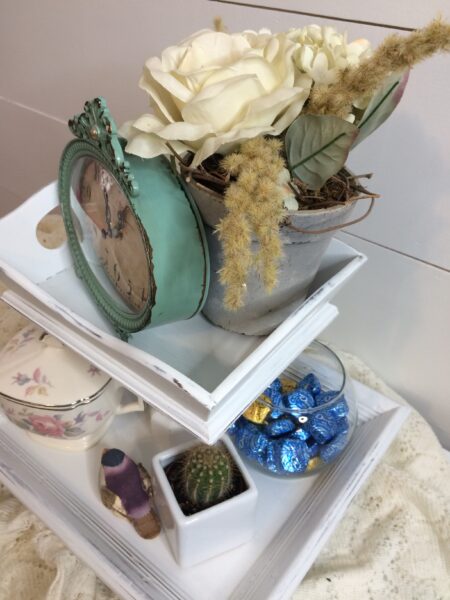
Style it and show it off!
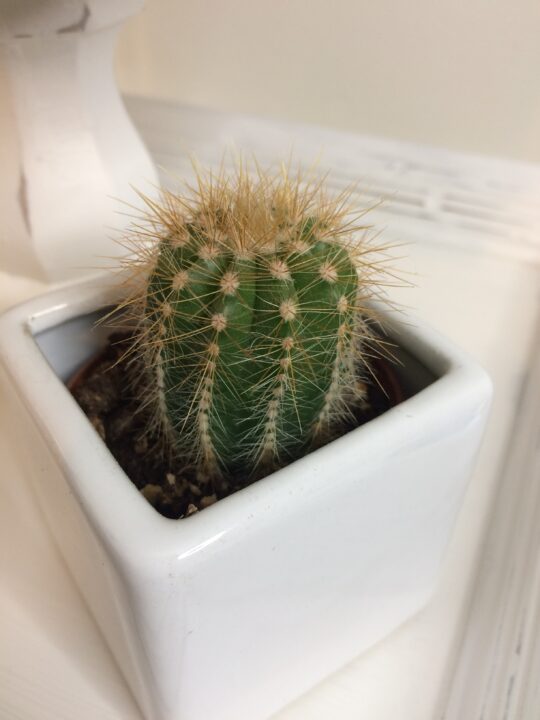
Come back and show me something you made from scraps around the house!!
Here is another recycled project you might like.
Check out some of these DIY’s that are budget-friendly.
Before & After Chair Makeover.
A cute & silly Egg Carton everyone needs in their kitchen.
And a total transformation on this Metal Box.
One more. Your new tray would look good on one of these.
Need ideas to decorate your newly made tray.
These are so popular right now!
Everyone should have a set of these on their tray!
Add this to your tray for an elegant look.
Start thinking about Christmas and decorating your tray.
Start with adding colorful bulbs to your tray.
Add in some Christmas picks, with some red mixed in to give it some color.
Hope I gave you some ideas to make your tiered tray extra special!
*This post contains Amazon affiliate links in which I earn a small percentage from qualifying purchases through these links, at no extra cost to you. Thank you for helping to support my blog! *
Linking up with: