*Some of the links in this post are affiliate links. As an Amazon Affiliate, I earn a commission from qualifying purchases. This means that if you click on the link and purchase the item, I will receive an affiliate commission at no extra cost to you. All opinions remain my own.*
Hi Friends.
I have a cute project for you today.
We are going to start off by finding a book you don’t want or one you have been saving for a craft project.
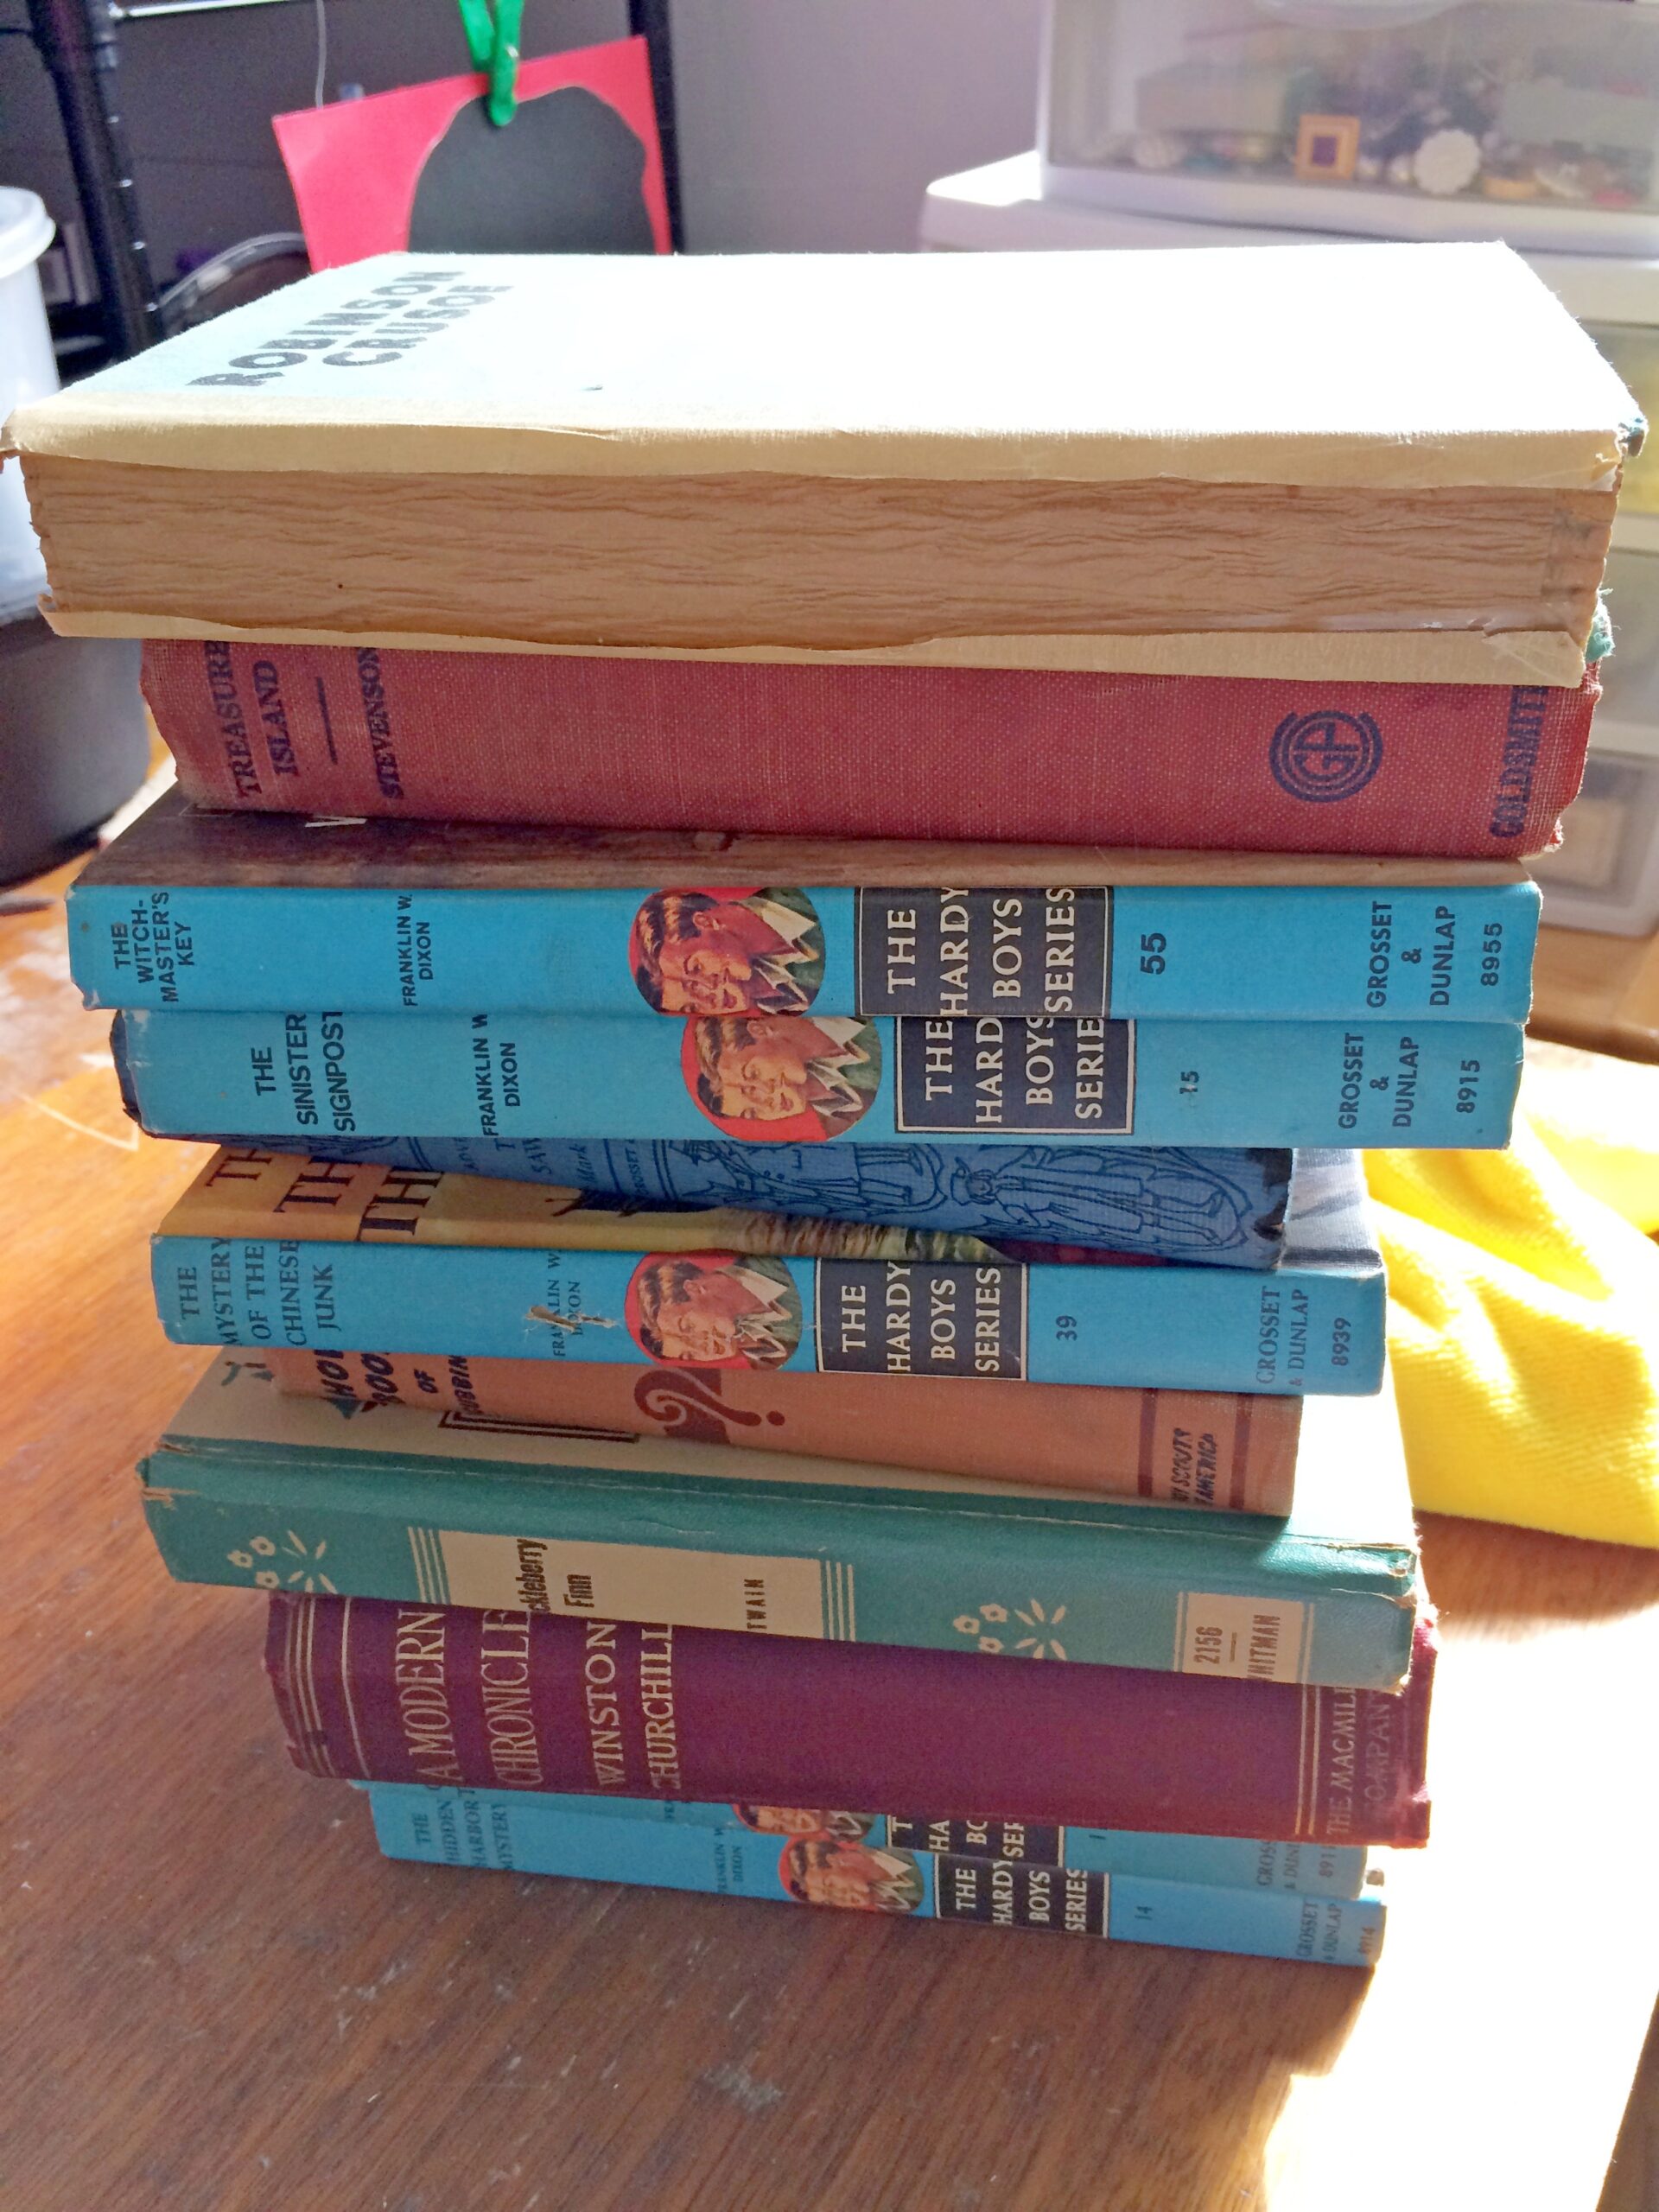
I used 4 hardbound books I bought at yard sales.
I have not used paperbacks, so I can’t tell you how those would turn out.
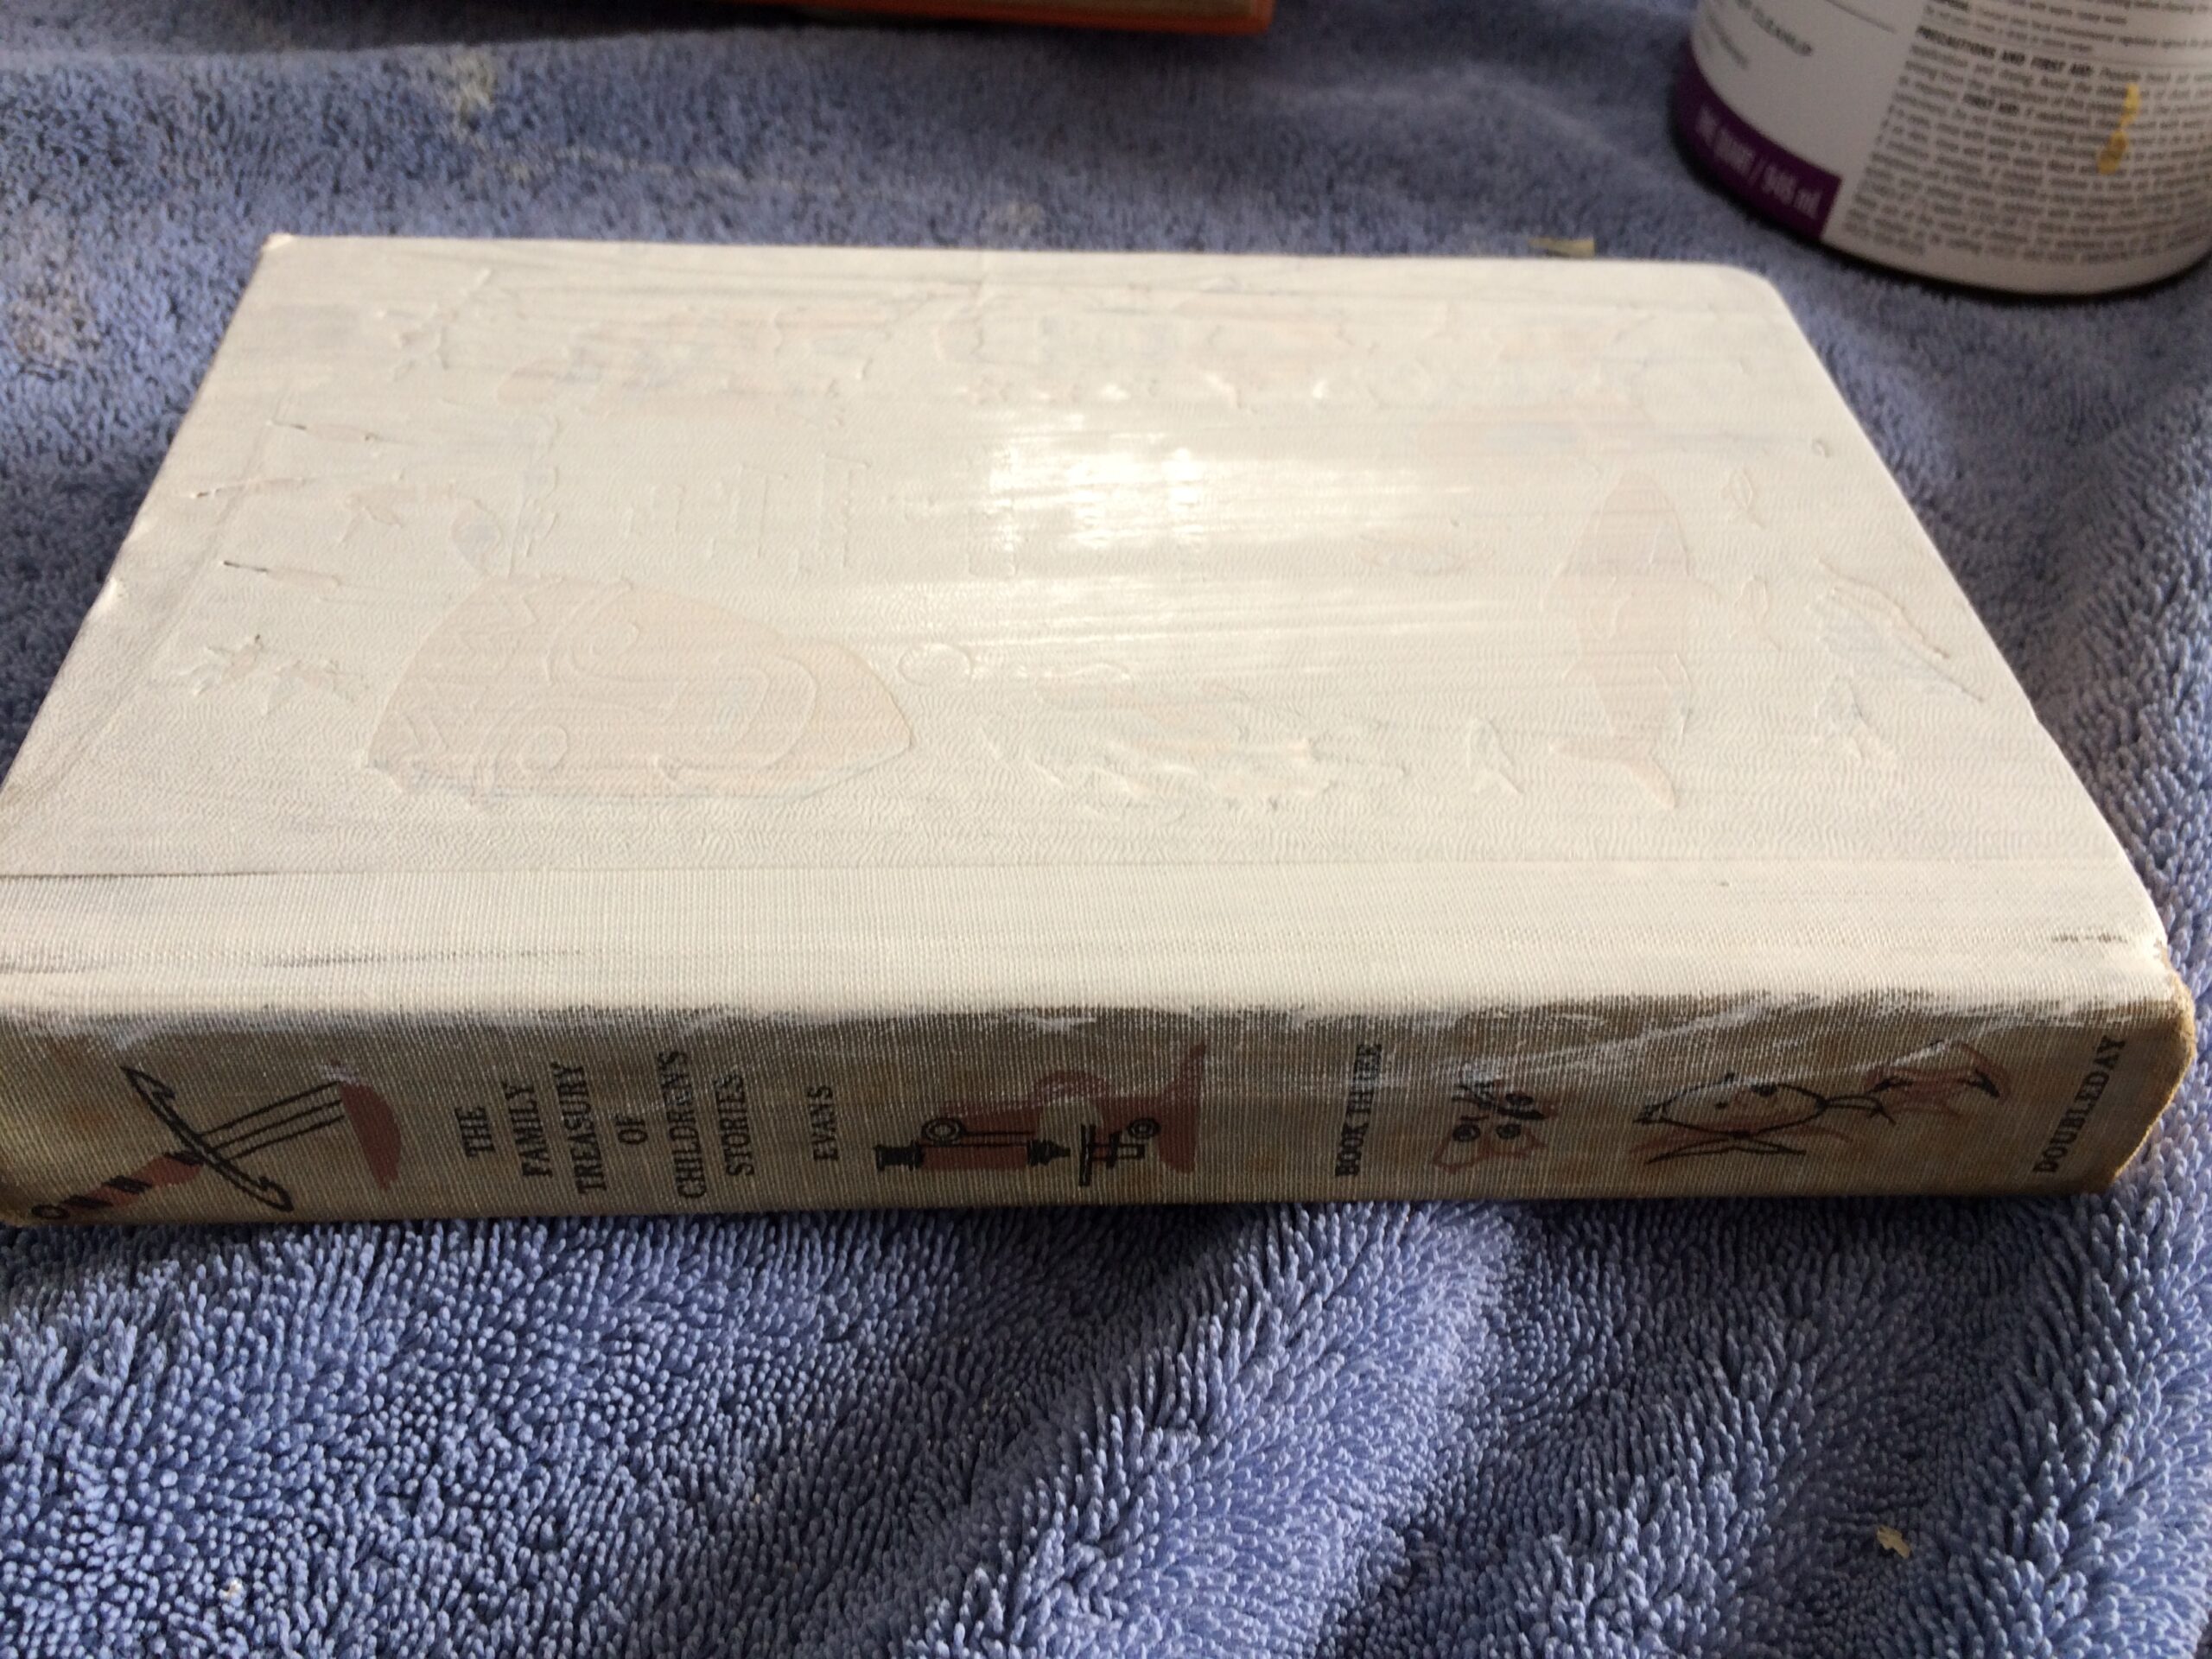
You are going to take the number of books you want to use and paint the front and back covers.
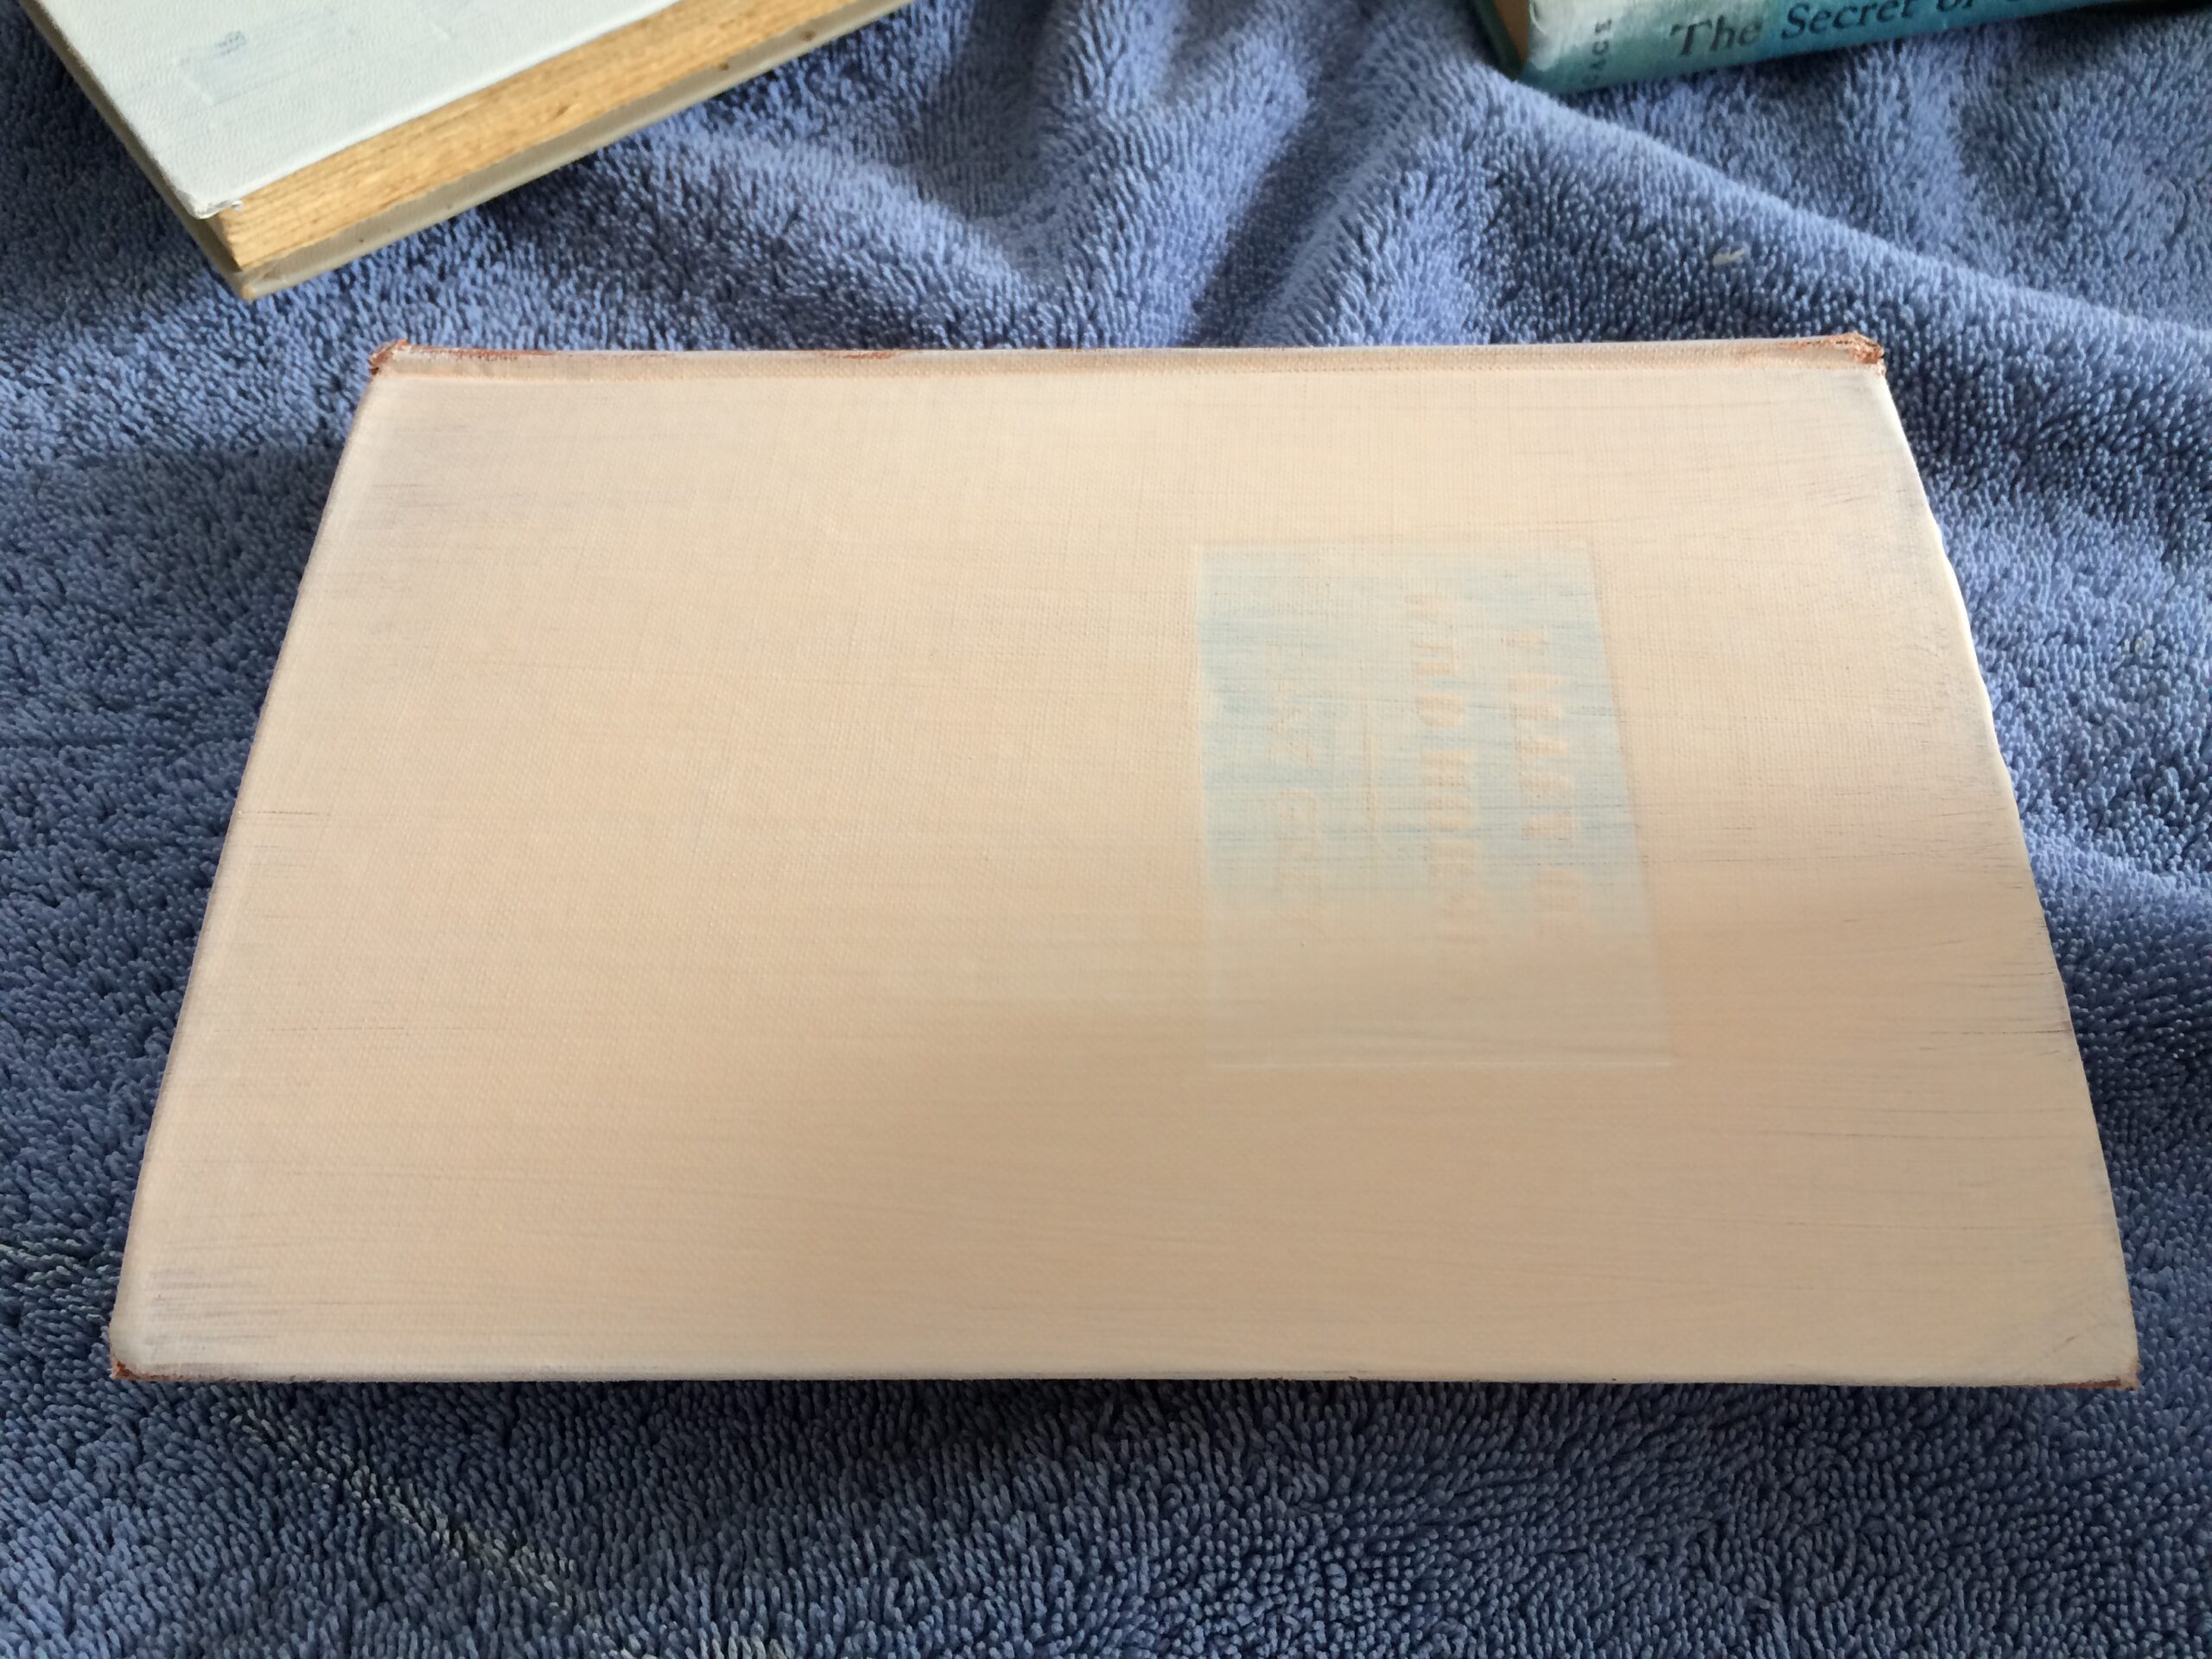
You do not have to paint the inside covers or the pages unless you want to.
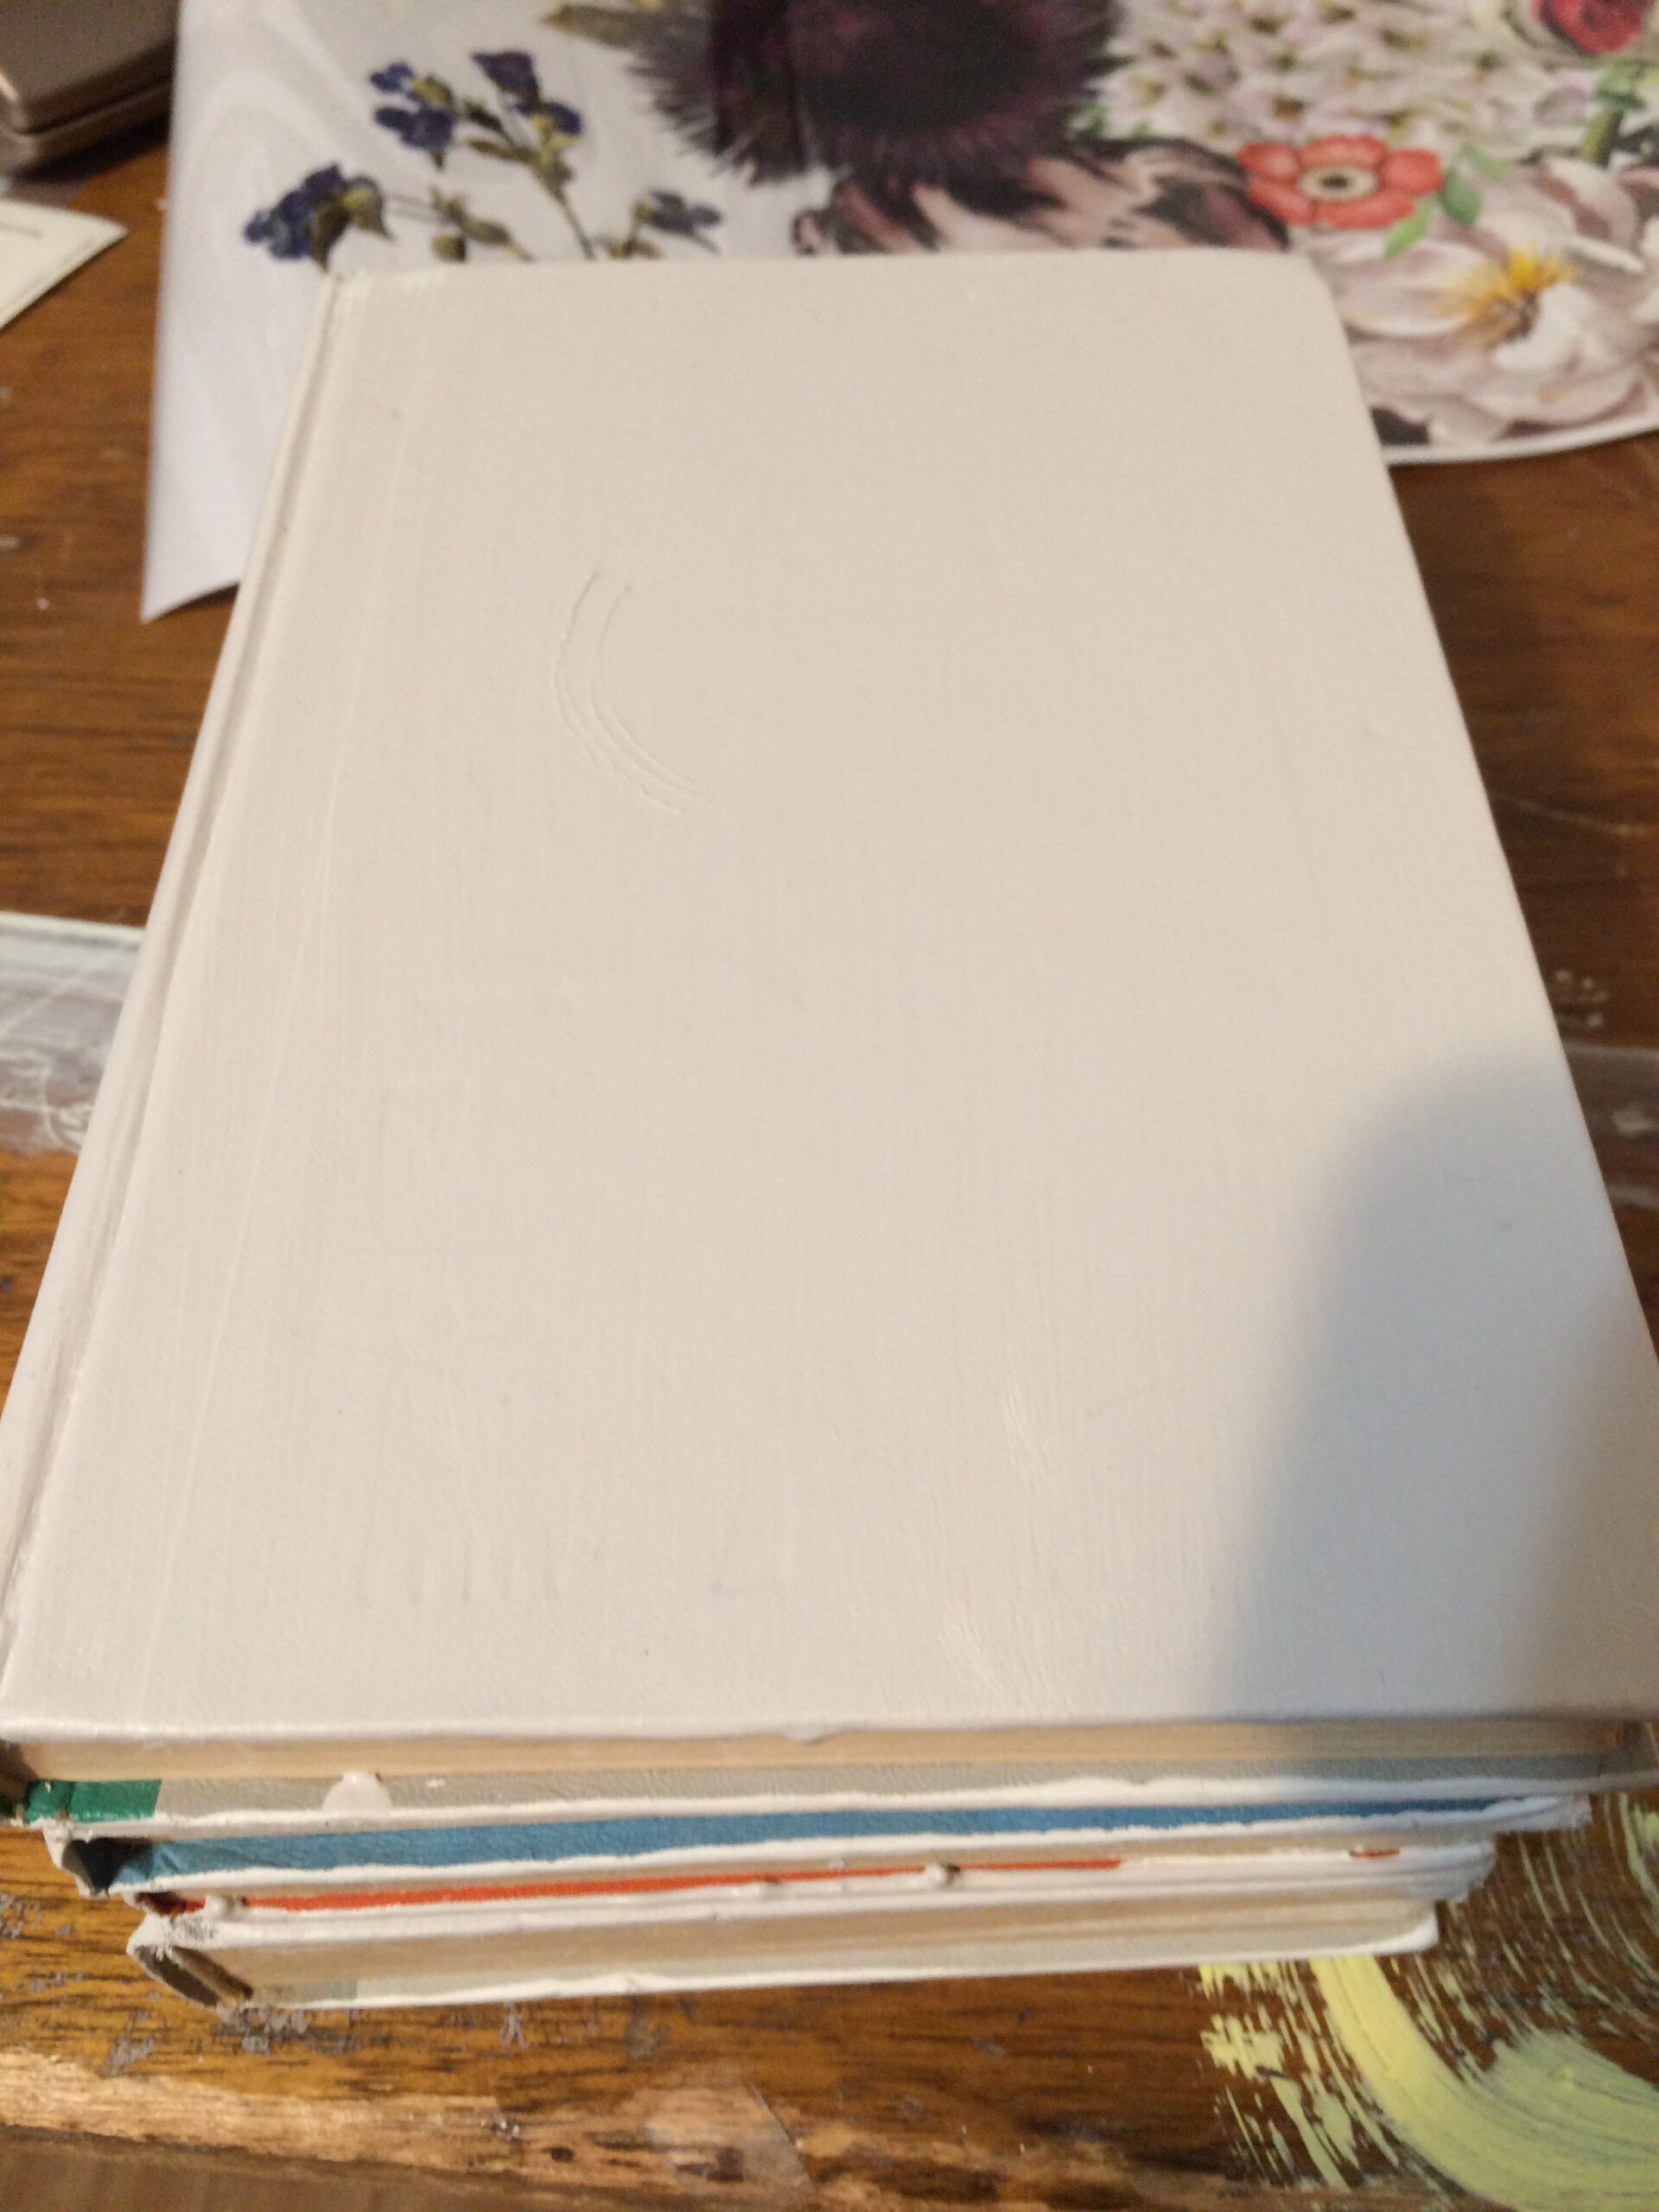
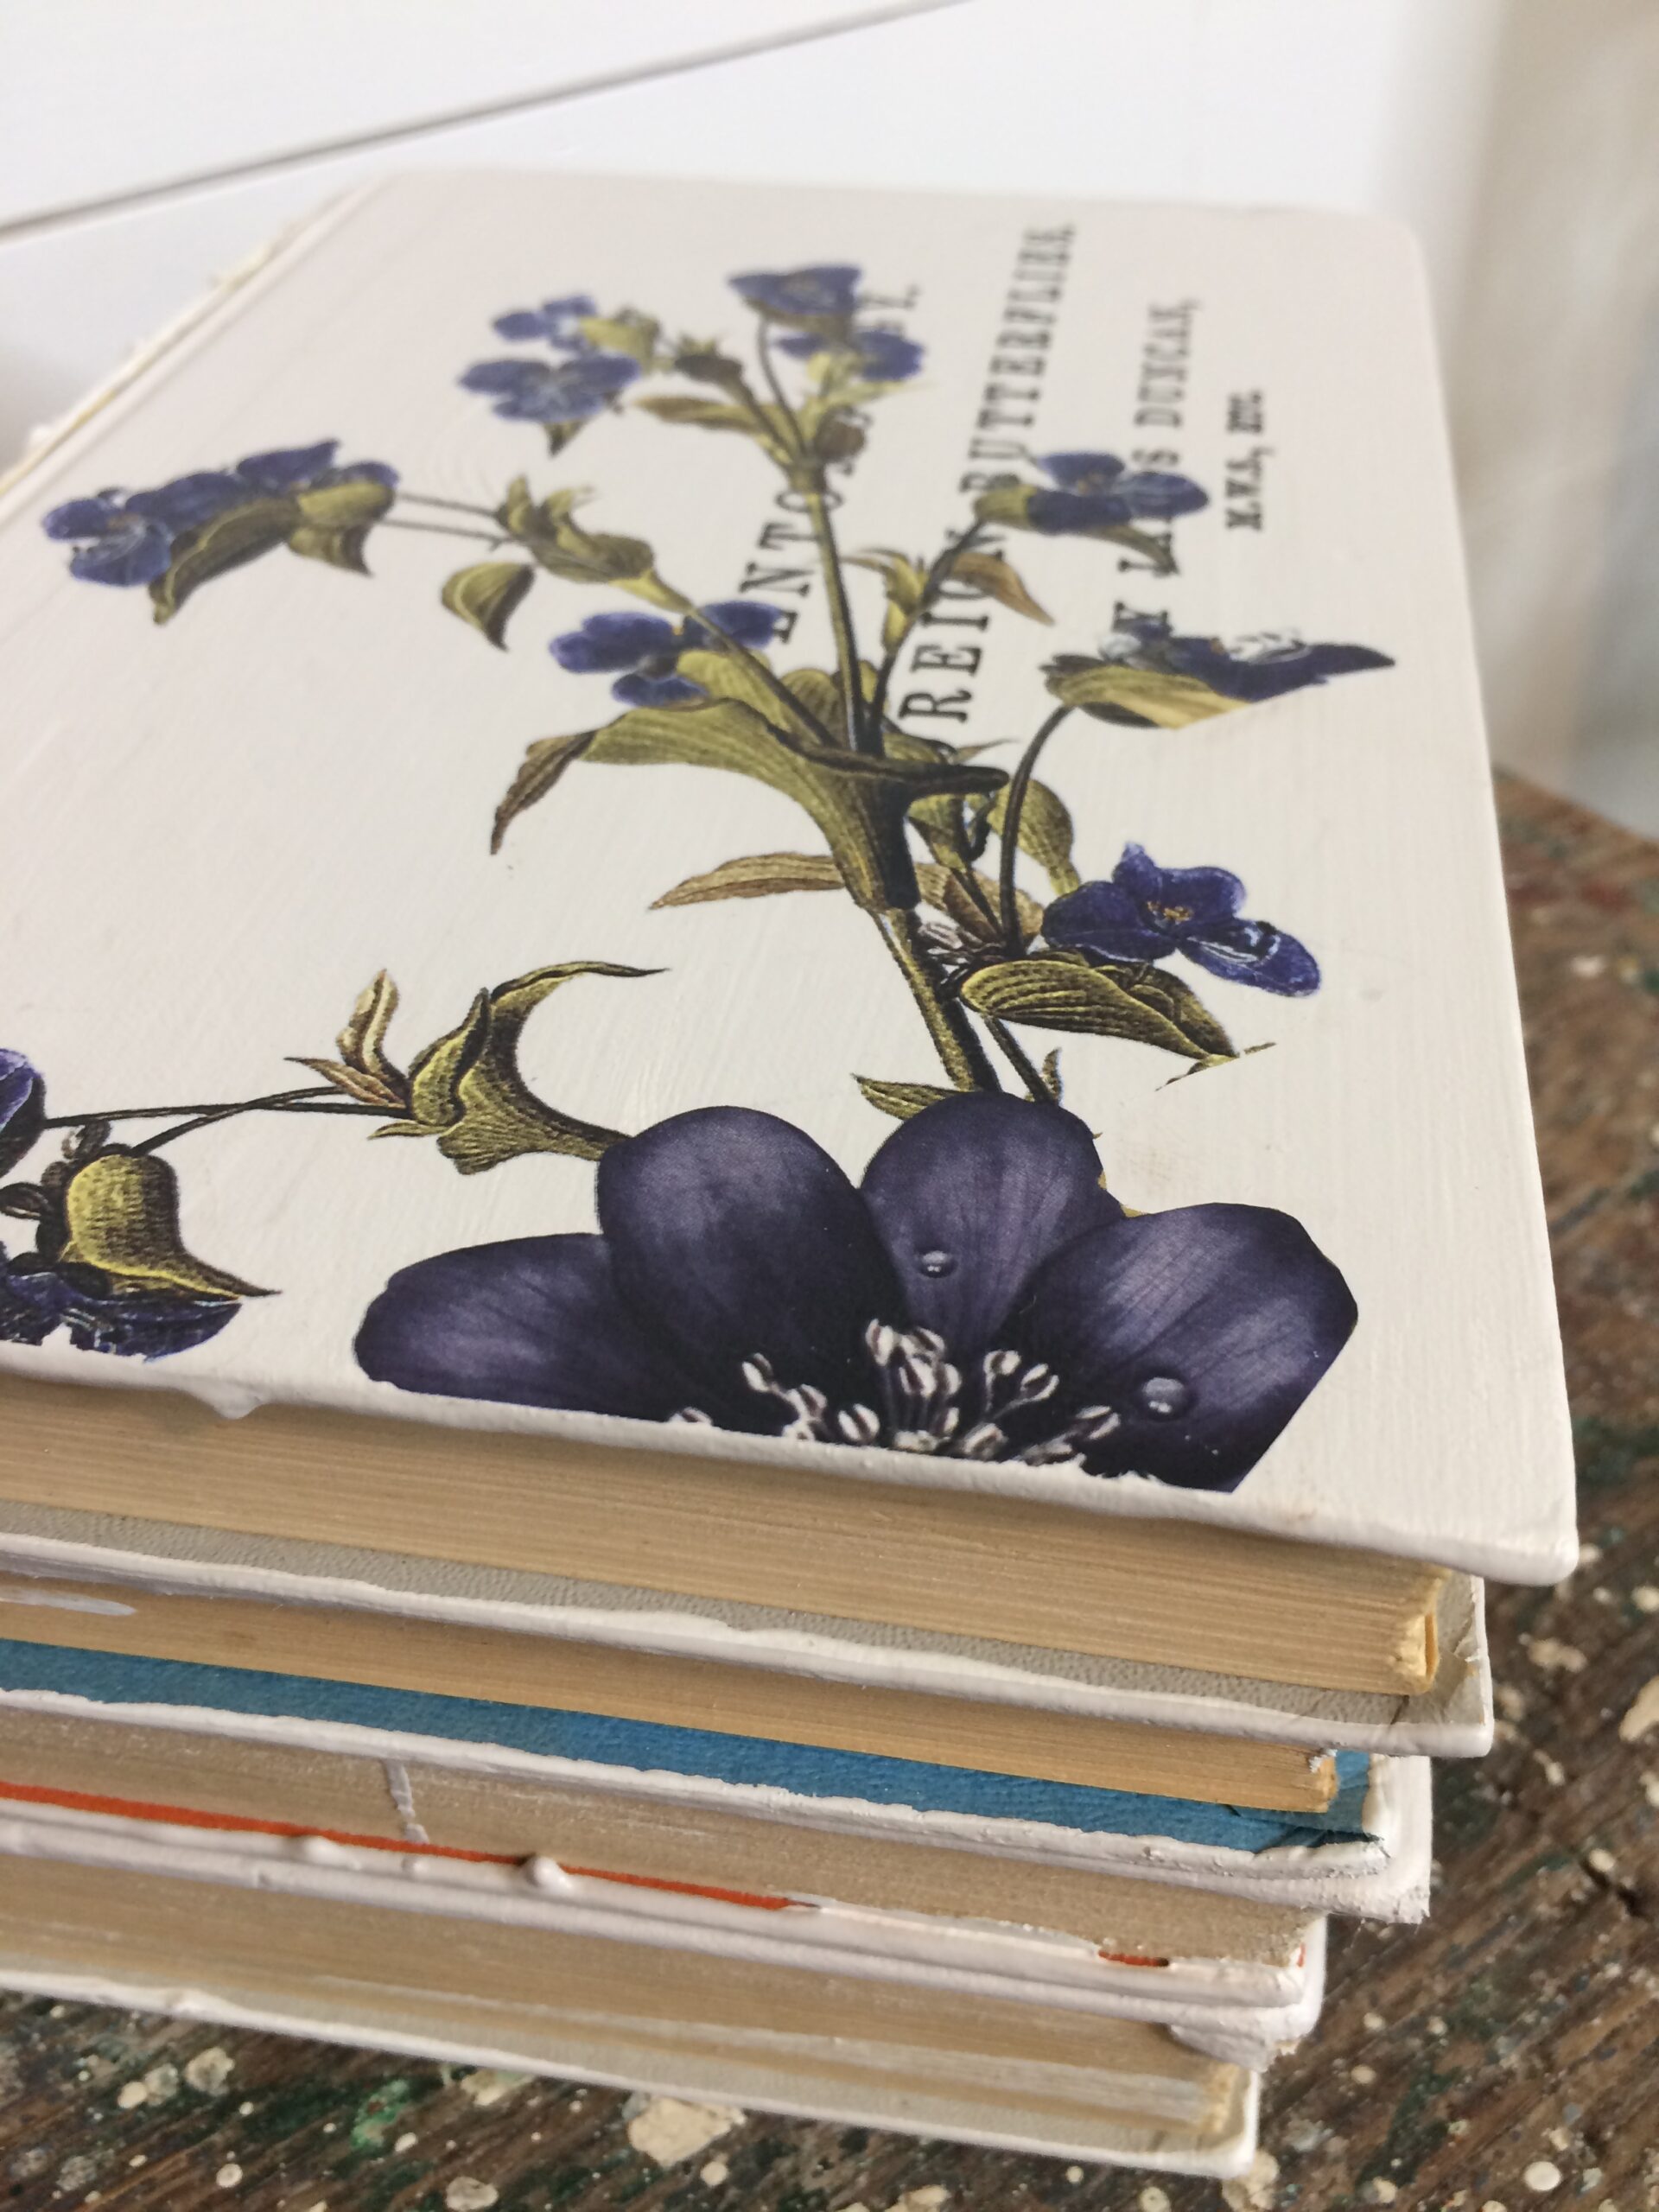
You can see in the picture above, I didn’t paint the inside covers.
The paint you use really doesn’t matter. I used Behr in Burnished Clay but you could use chalk paint or acrylic paint.
It took 2 coats of paint to cover mine!
Use whatever paint you have.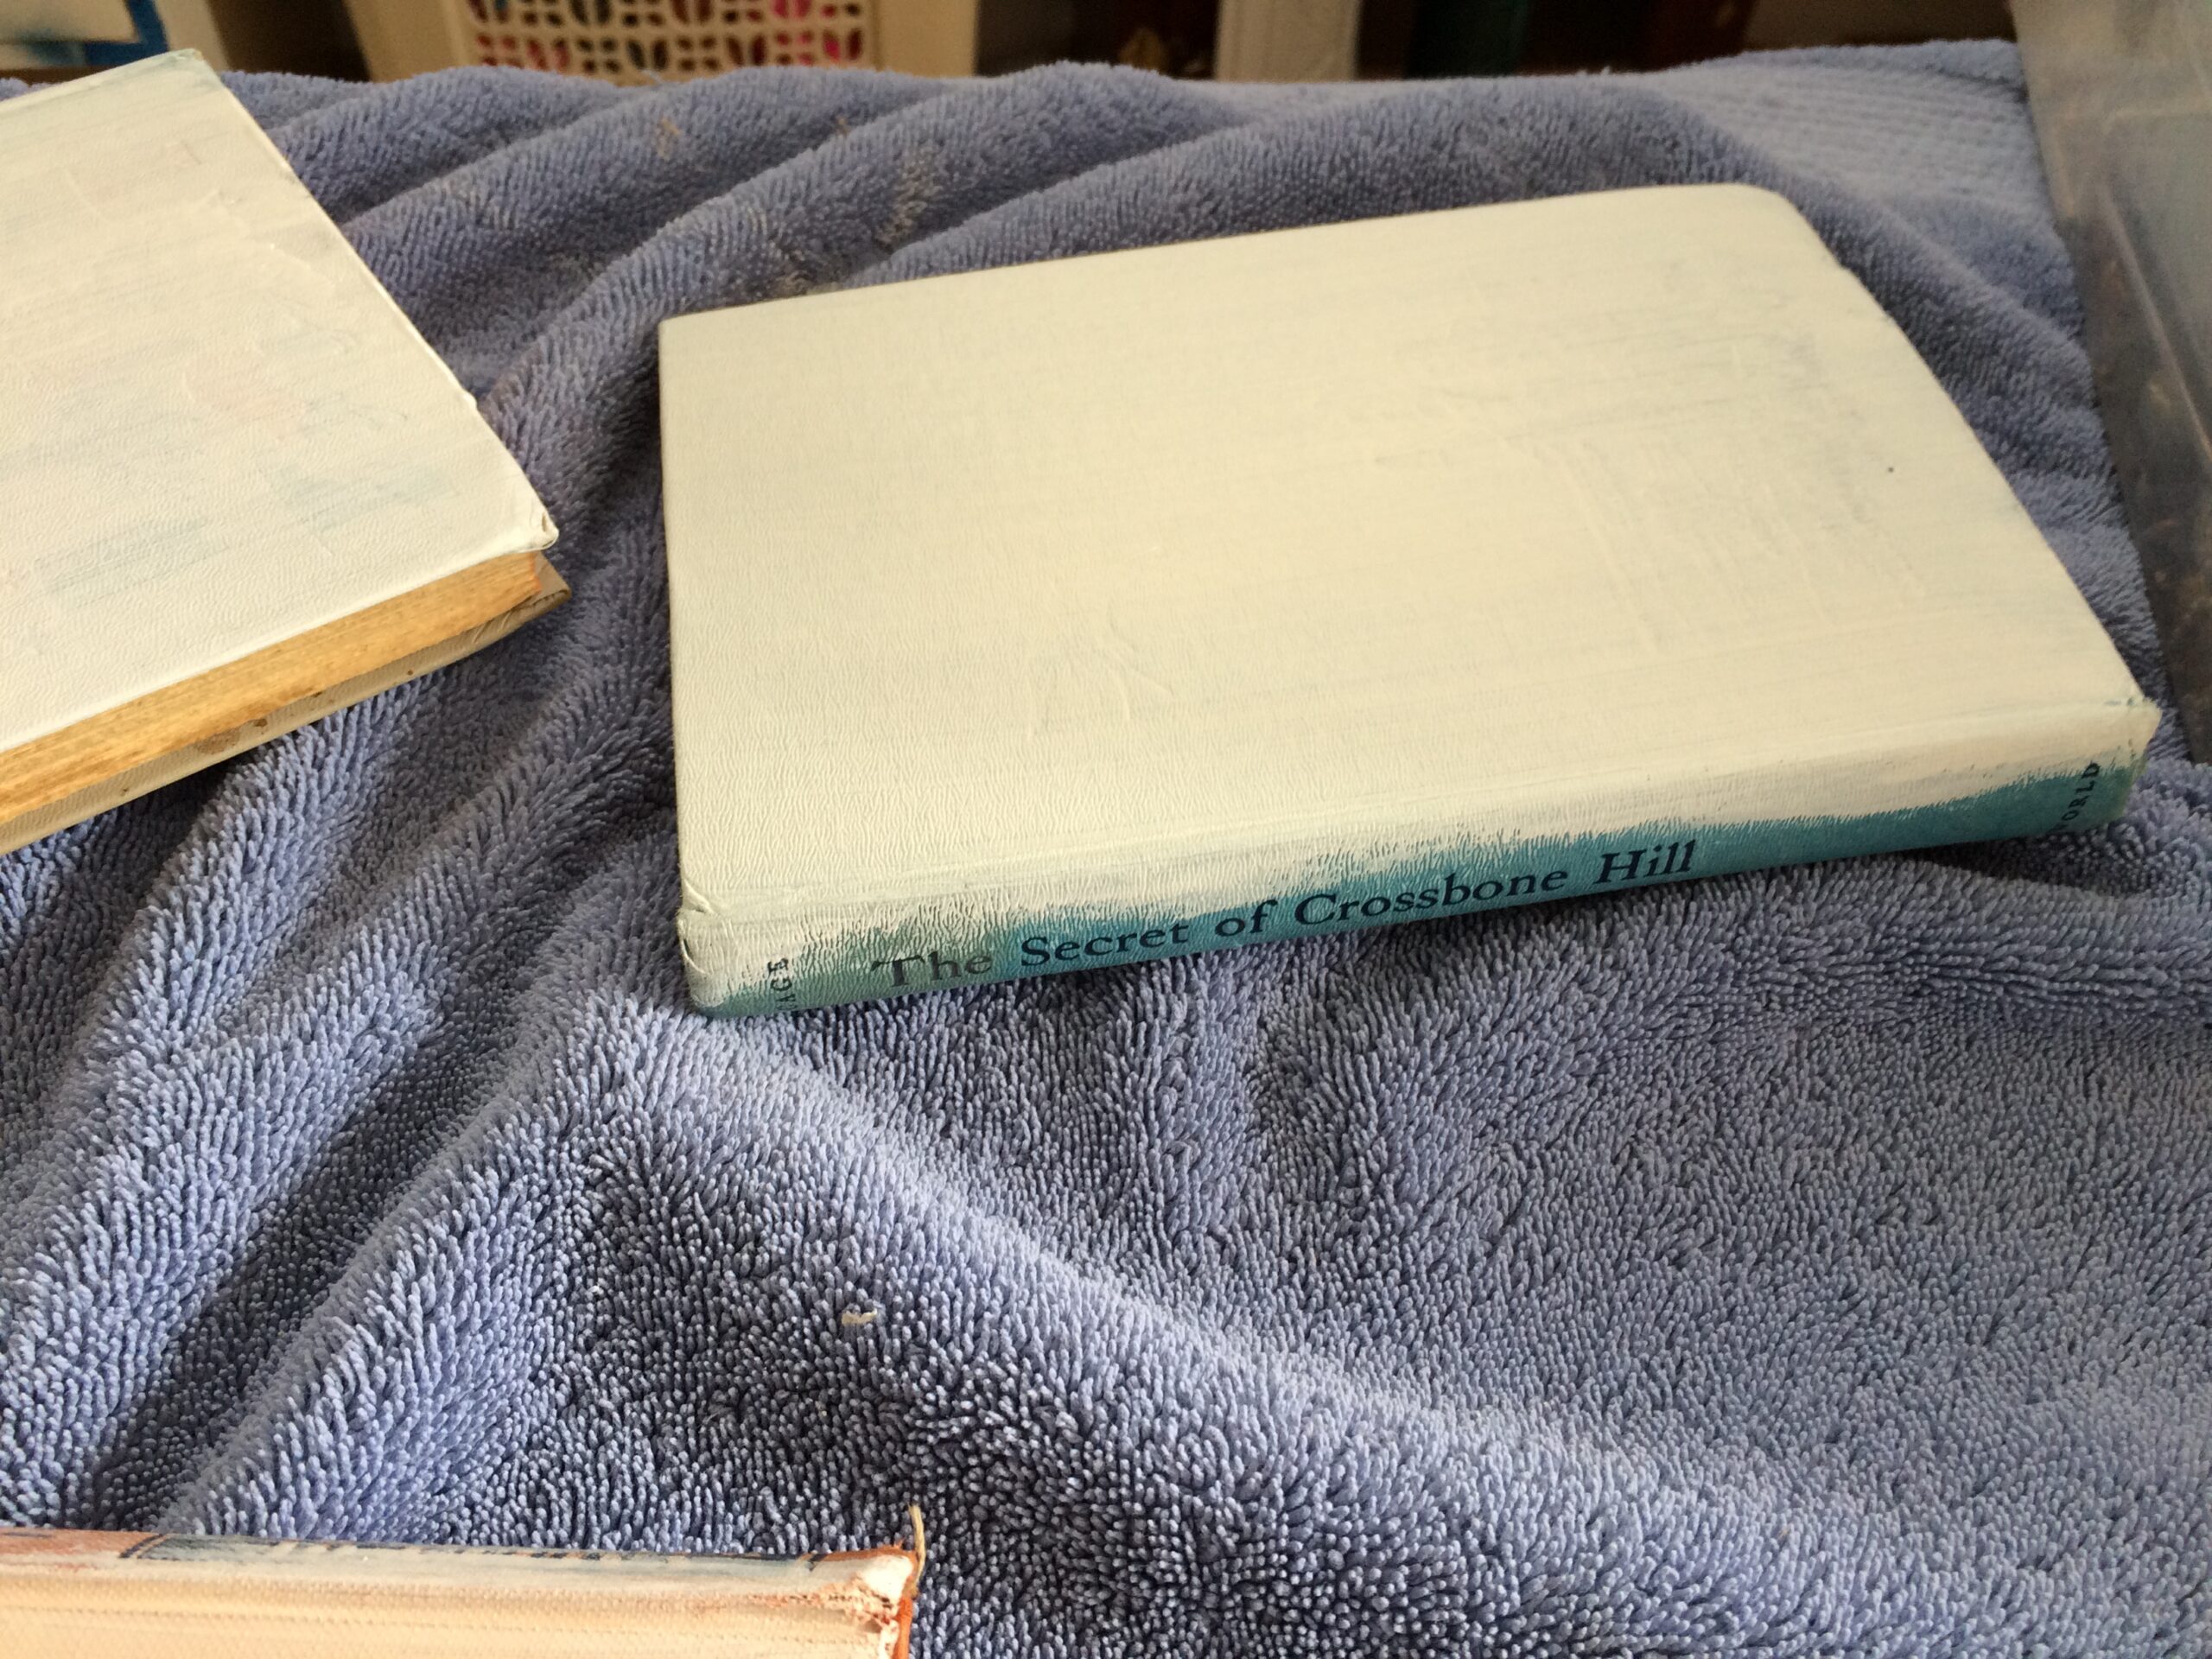
I did not prime, Behr paint has a primer in it but you can prime if you feel like it should be done.
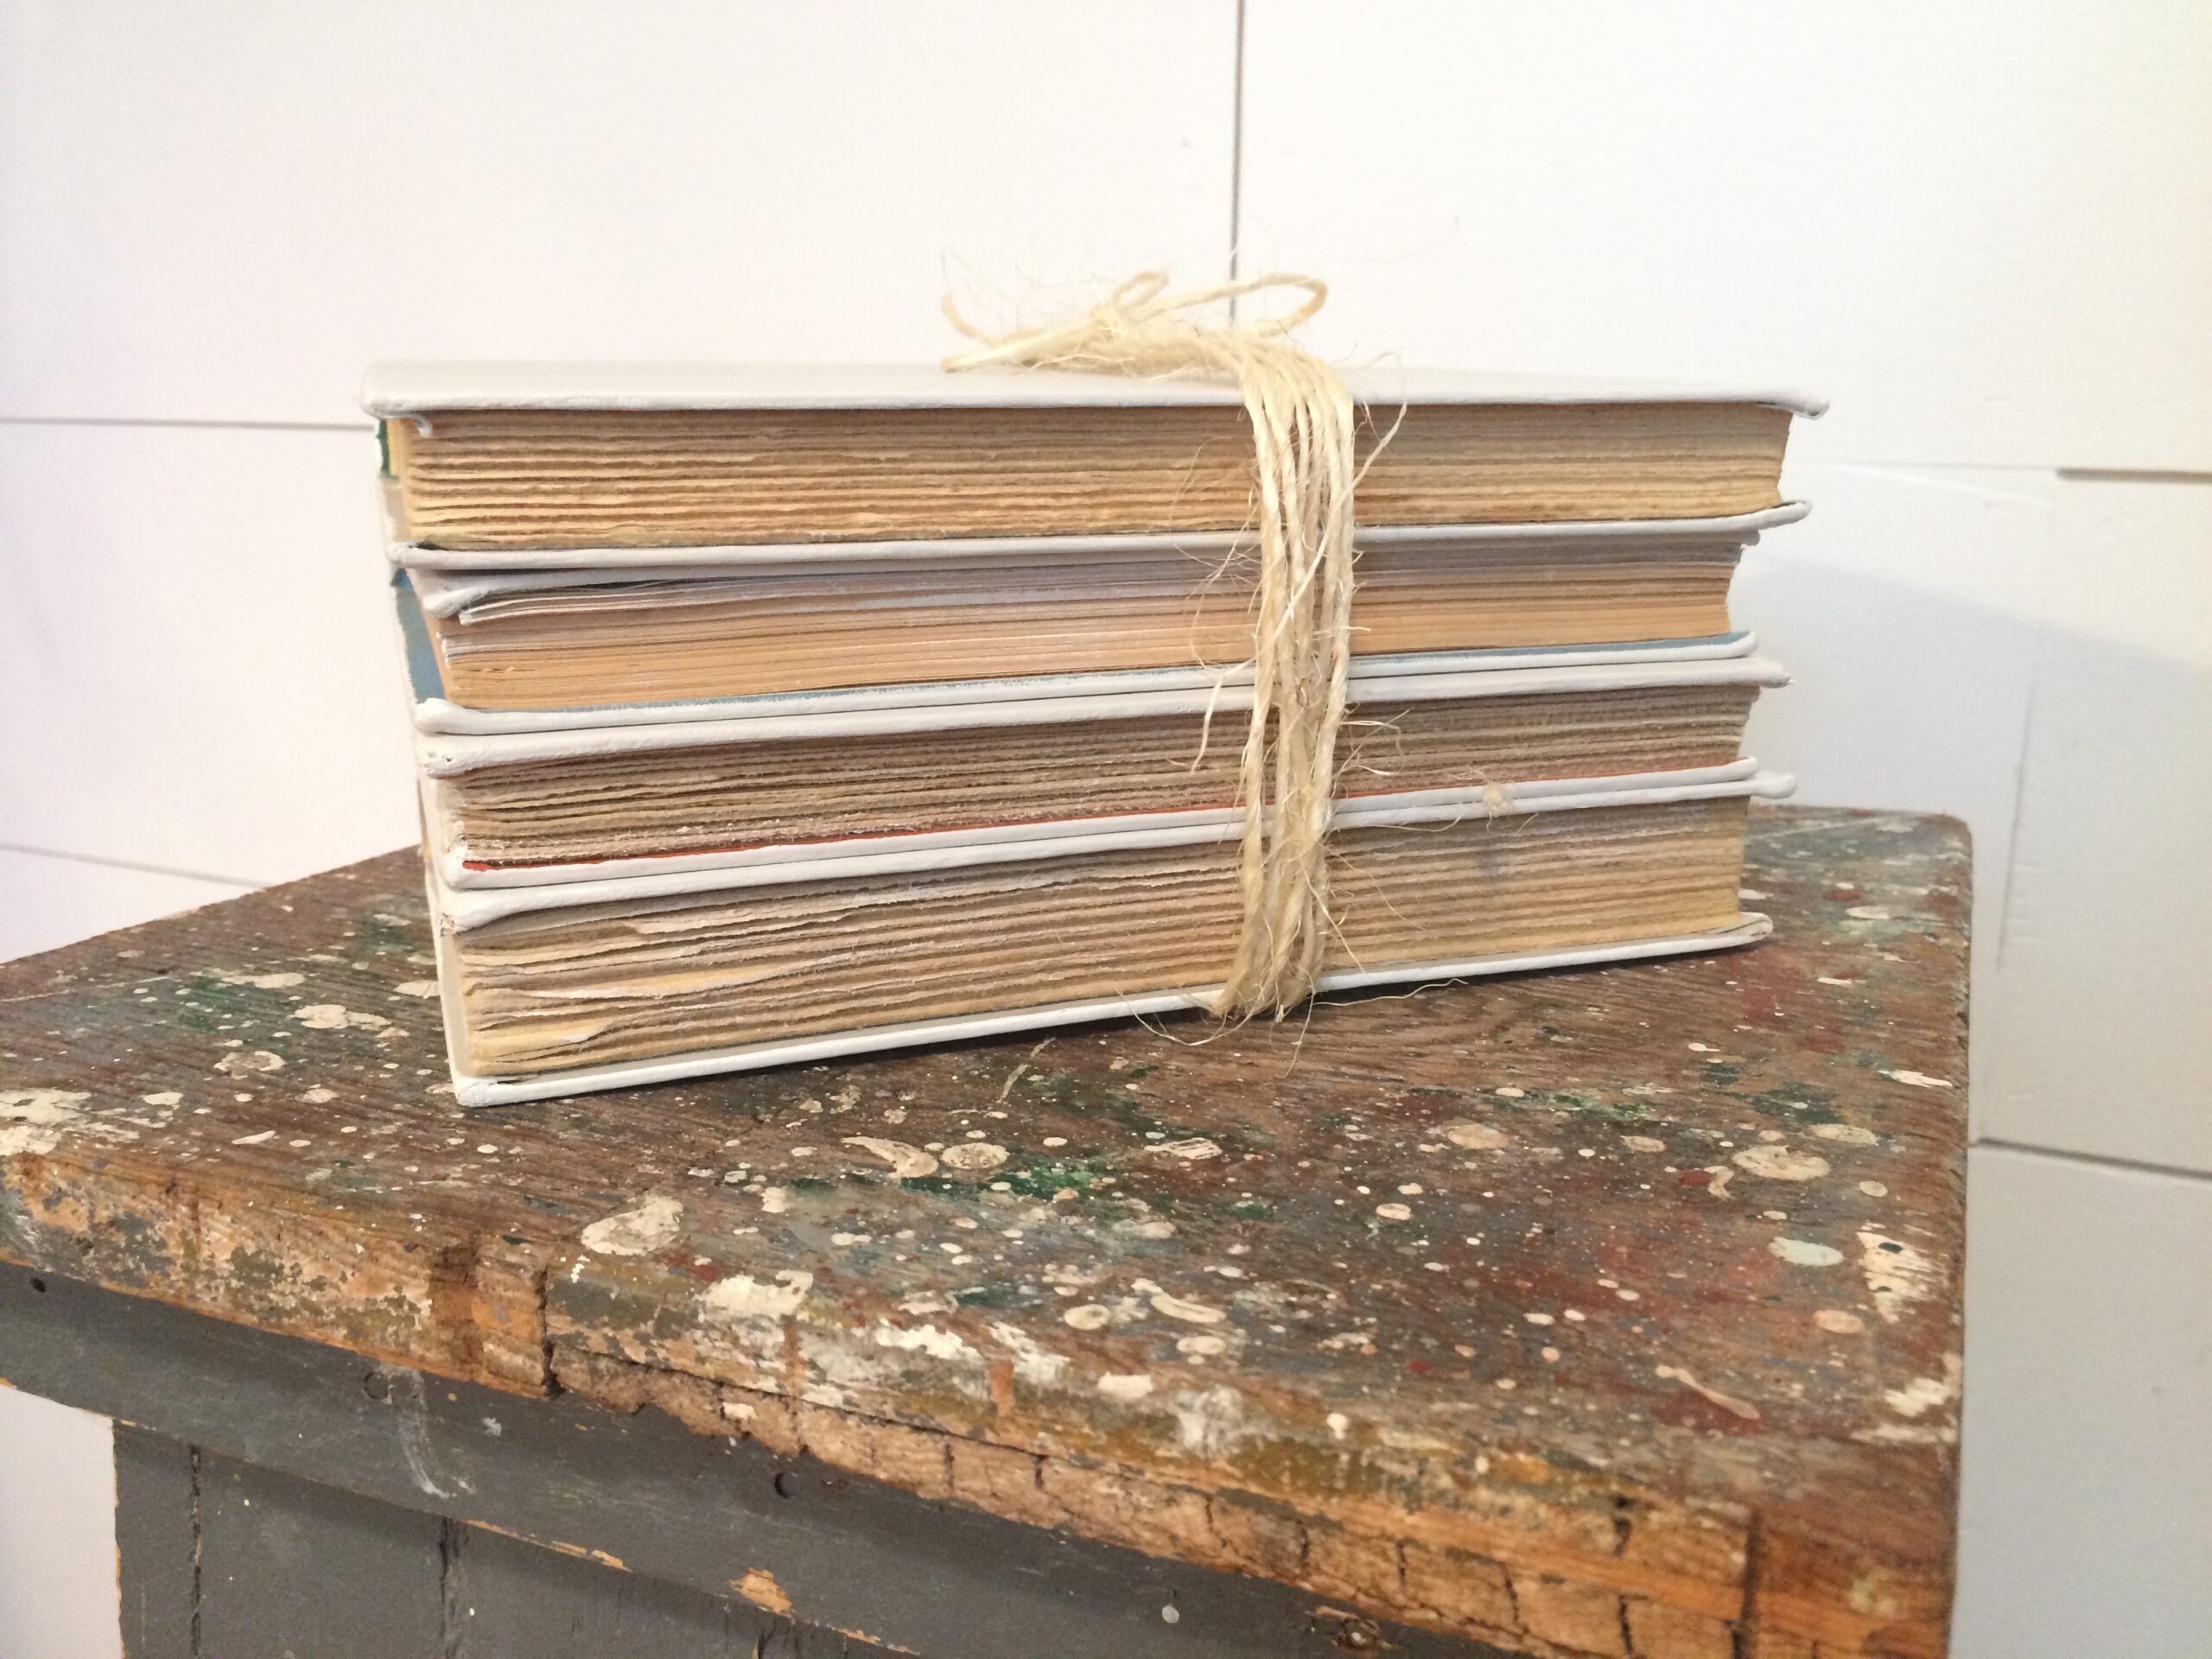
I chose Burnished Clay because it goes with my decor but choose a color that works for you.
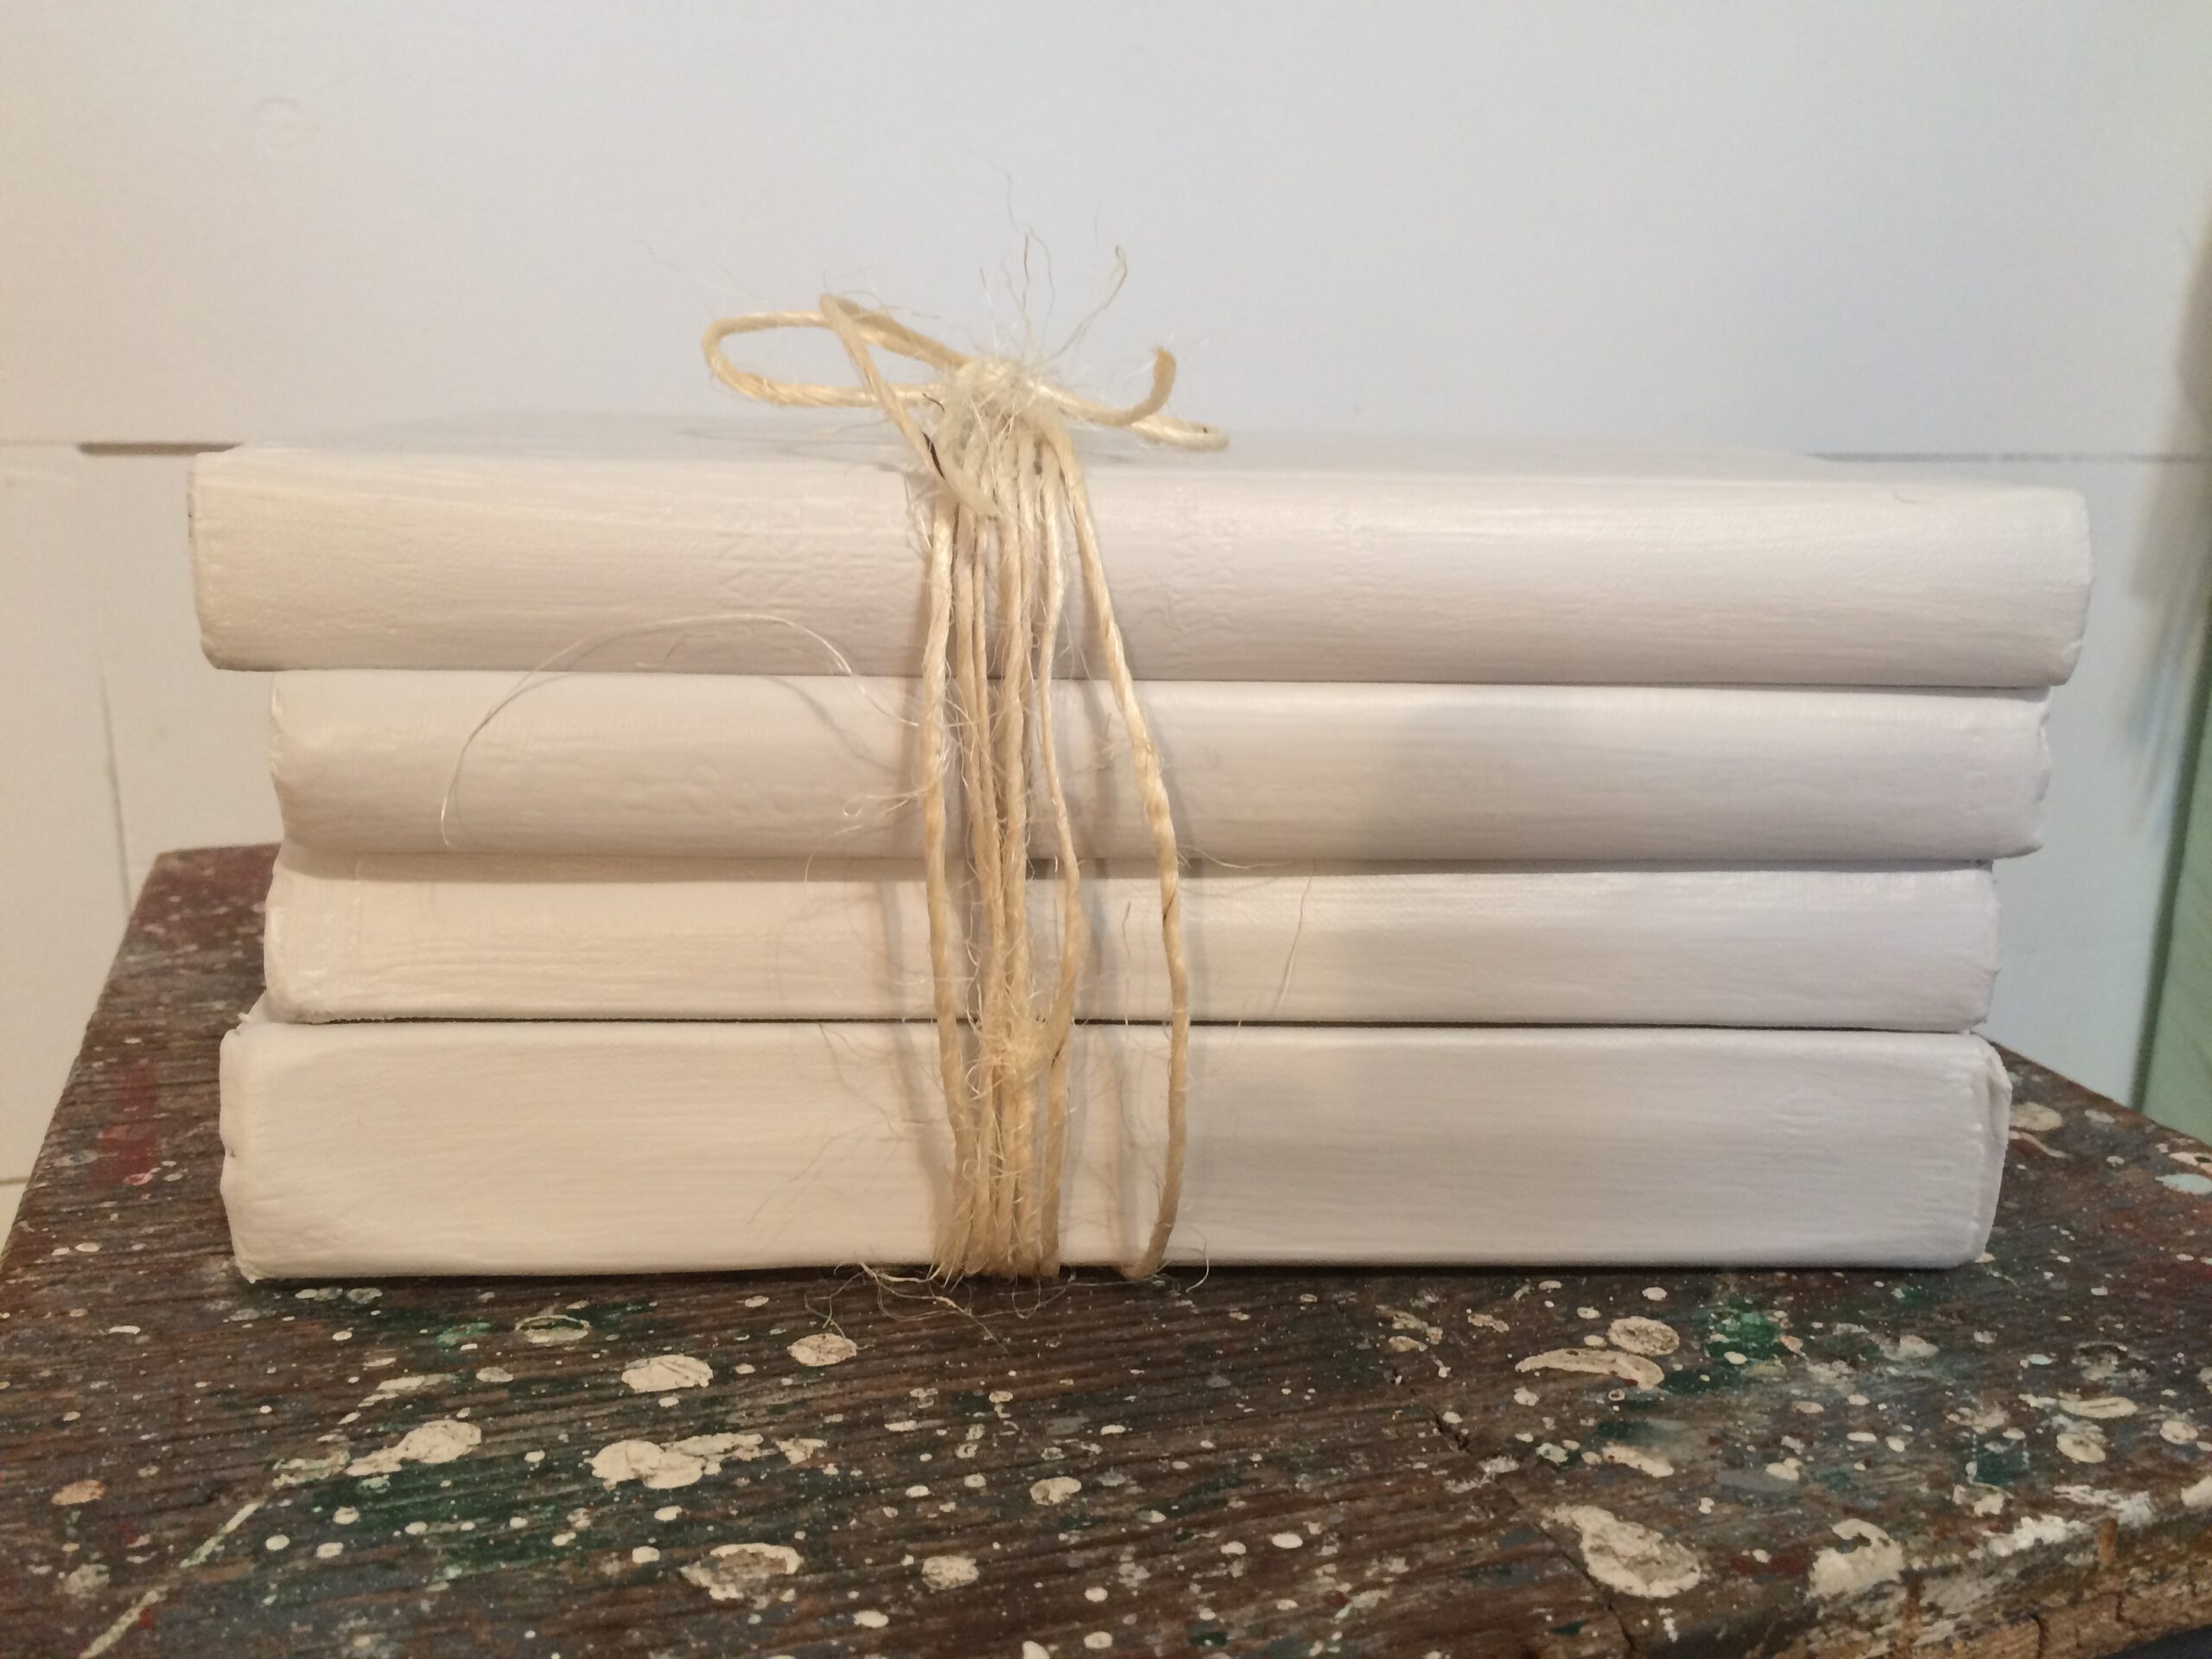
You can paint the books all the same color or not.
The choice is yours.
Let the paint dry.
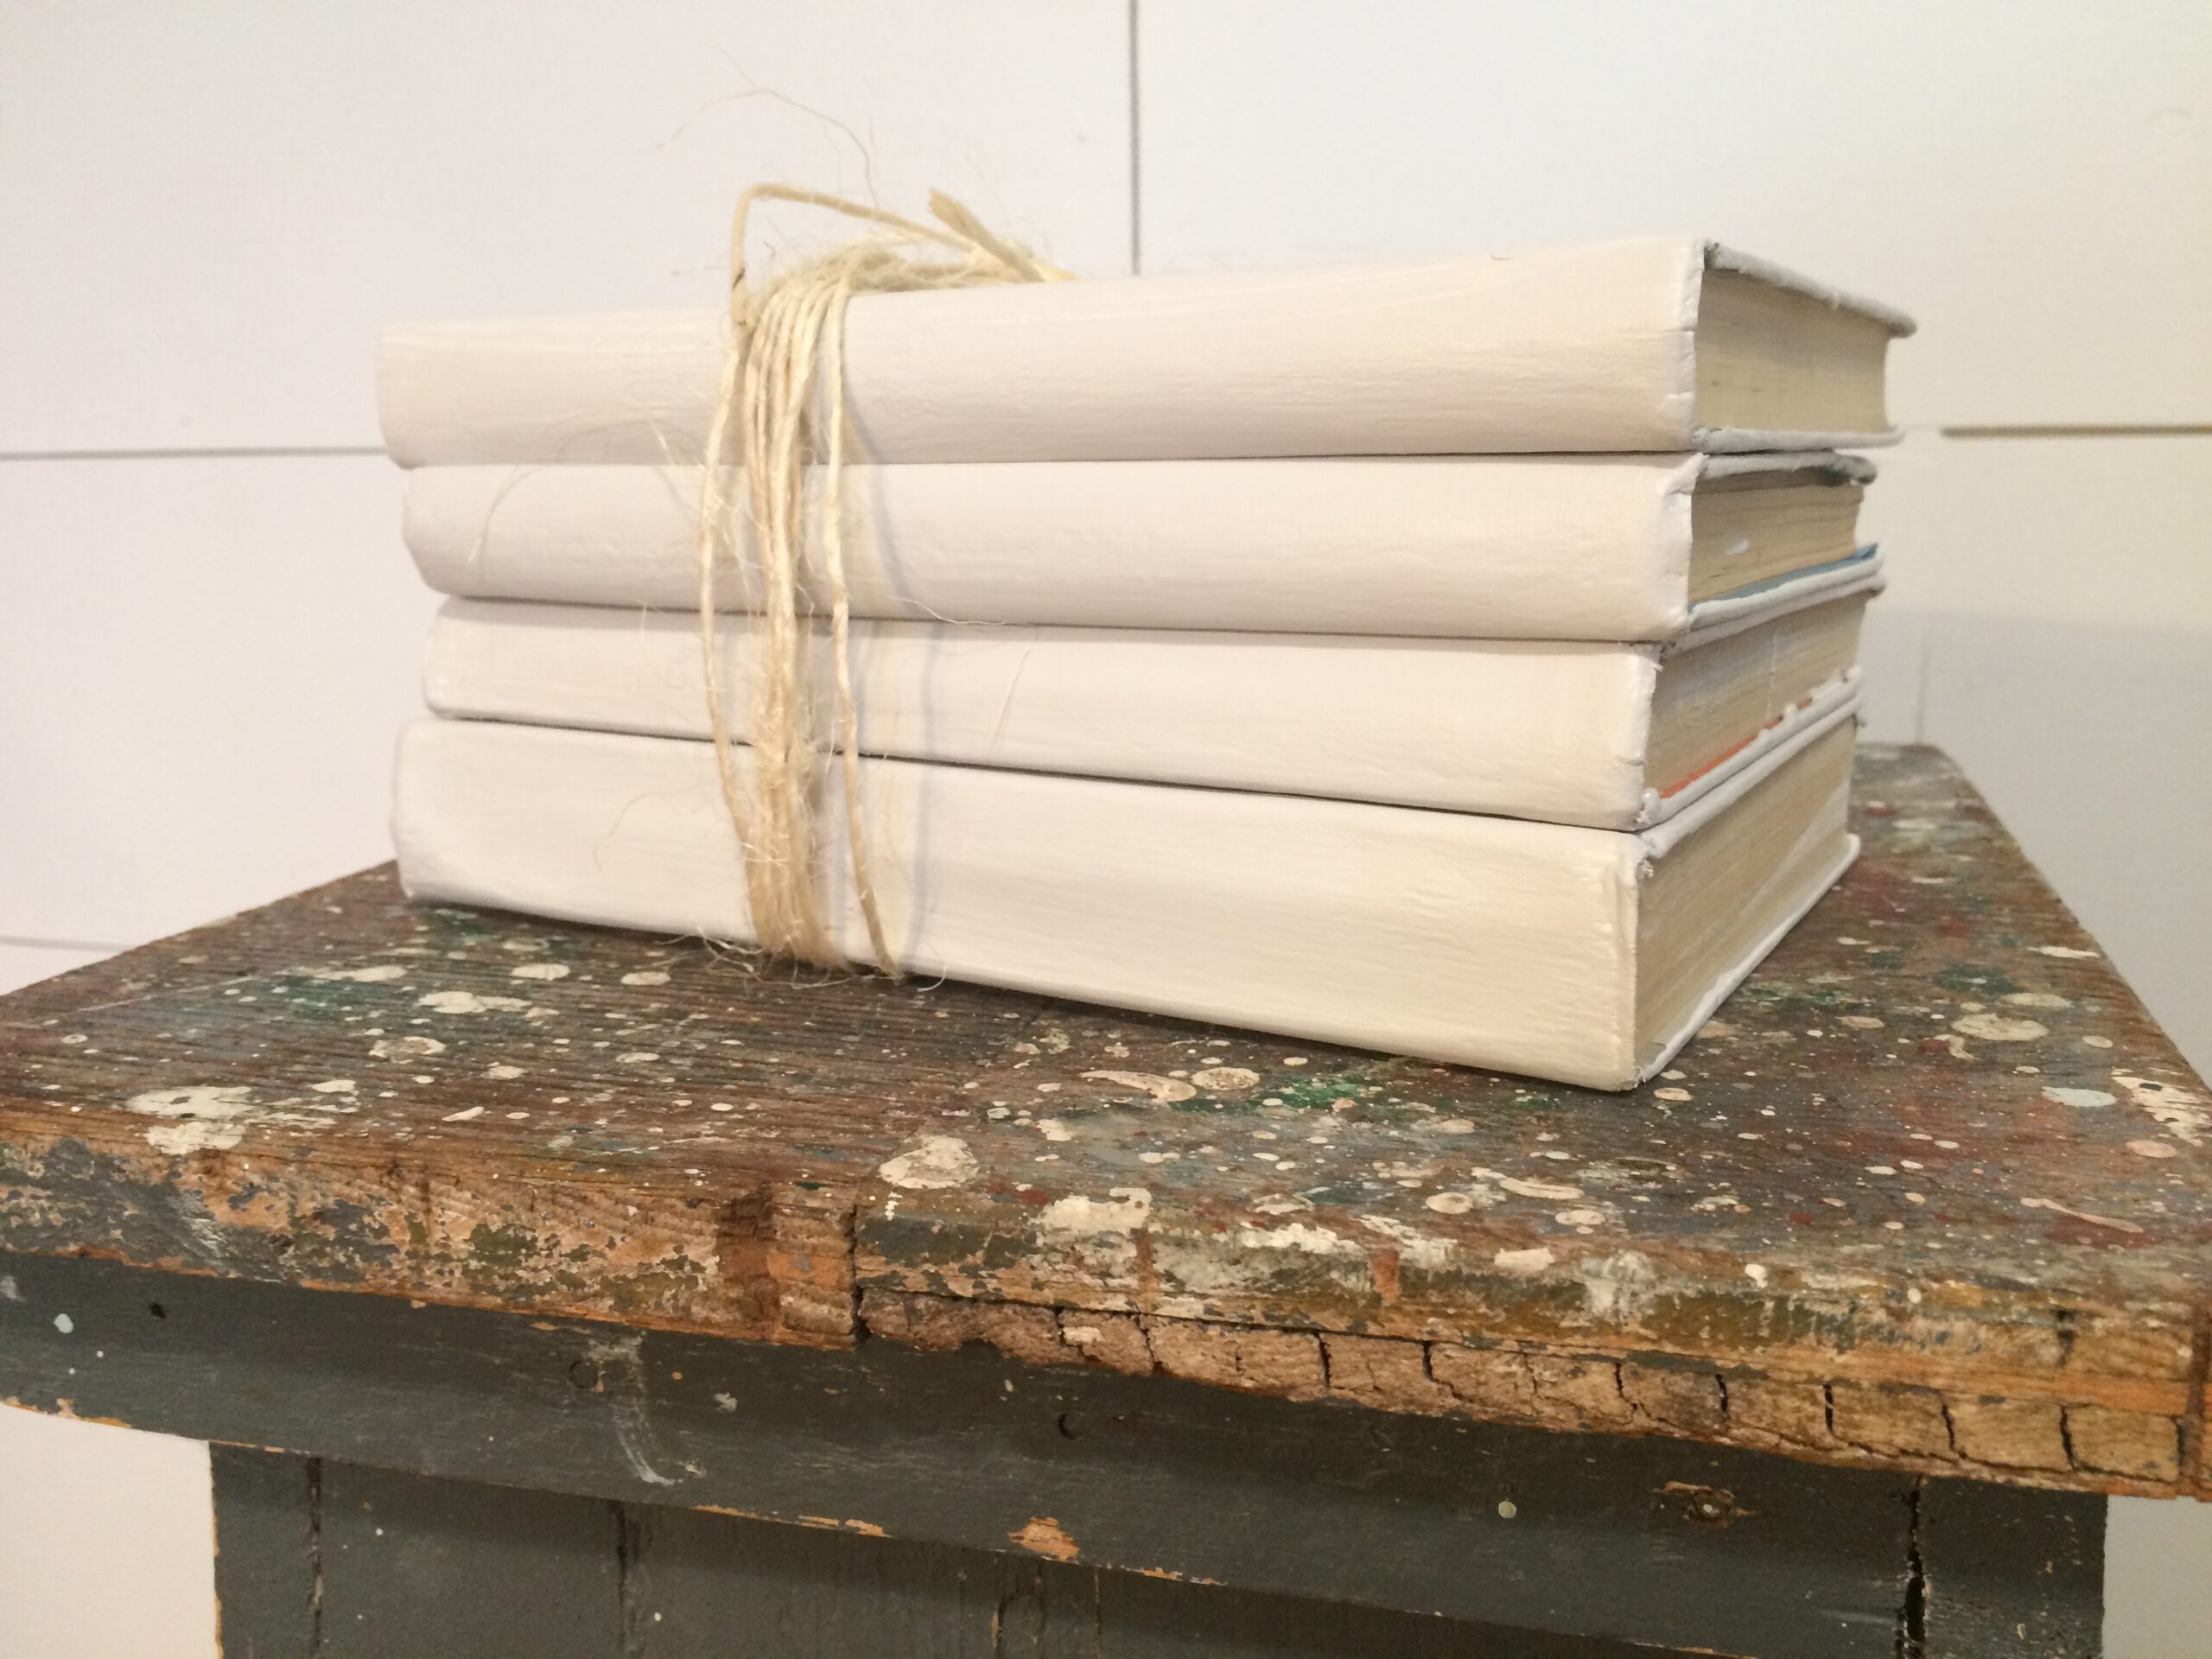
At this point, you are going to figure out what you want to do with your cover (covers).
You can keep it simple or you can decorate it up.
I used simple raffia to wrap around the books.
That worked great for a few months but then I wanted to see what else I could do with them.
I decided to use IOD molds and transfers to get a new look.
To get this look, you will need transfers and molds.
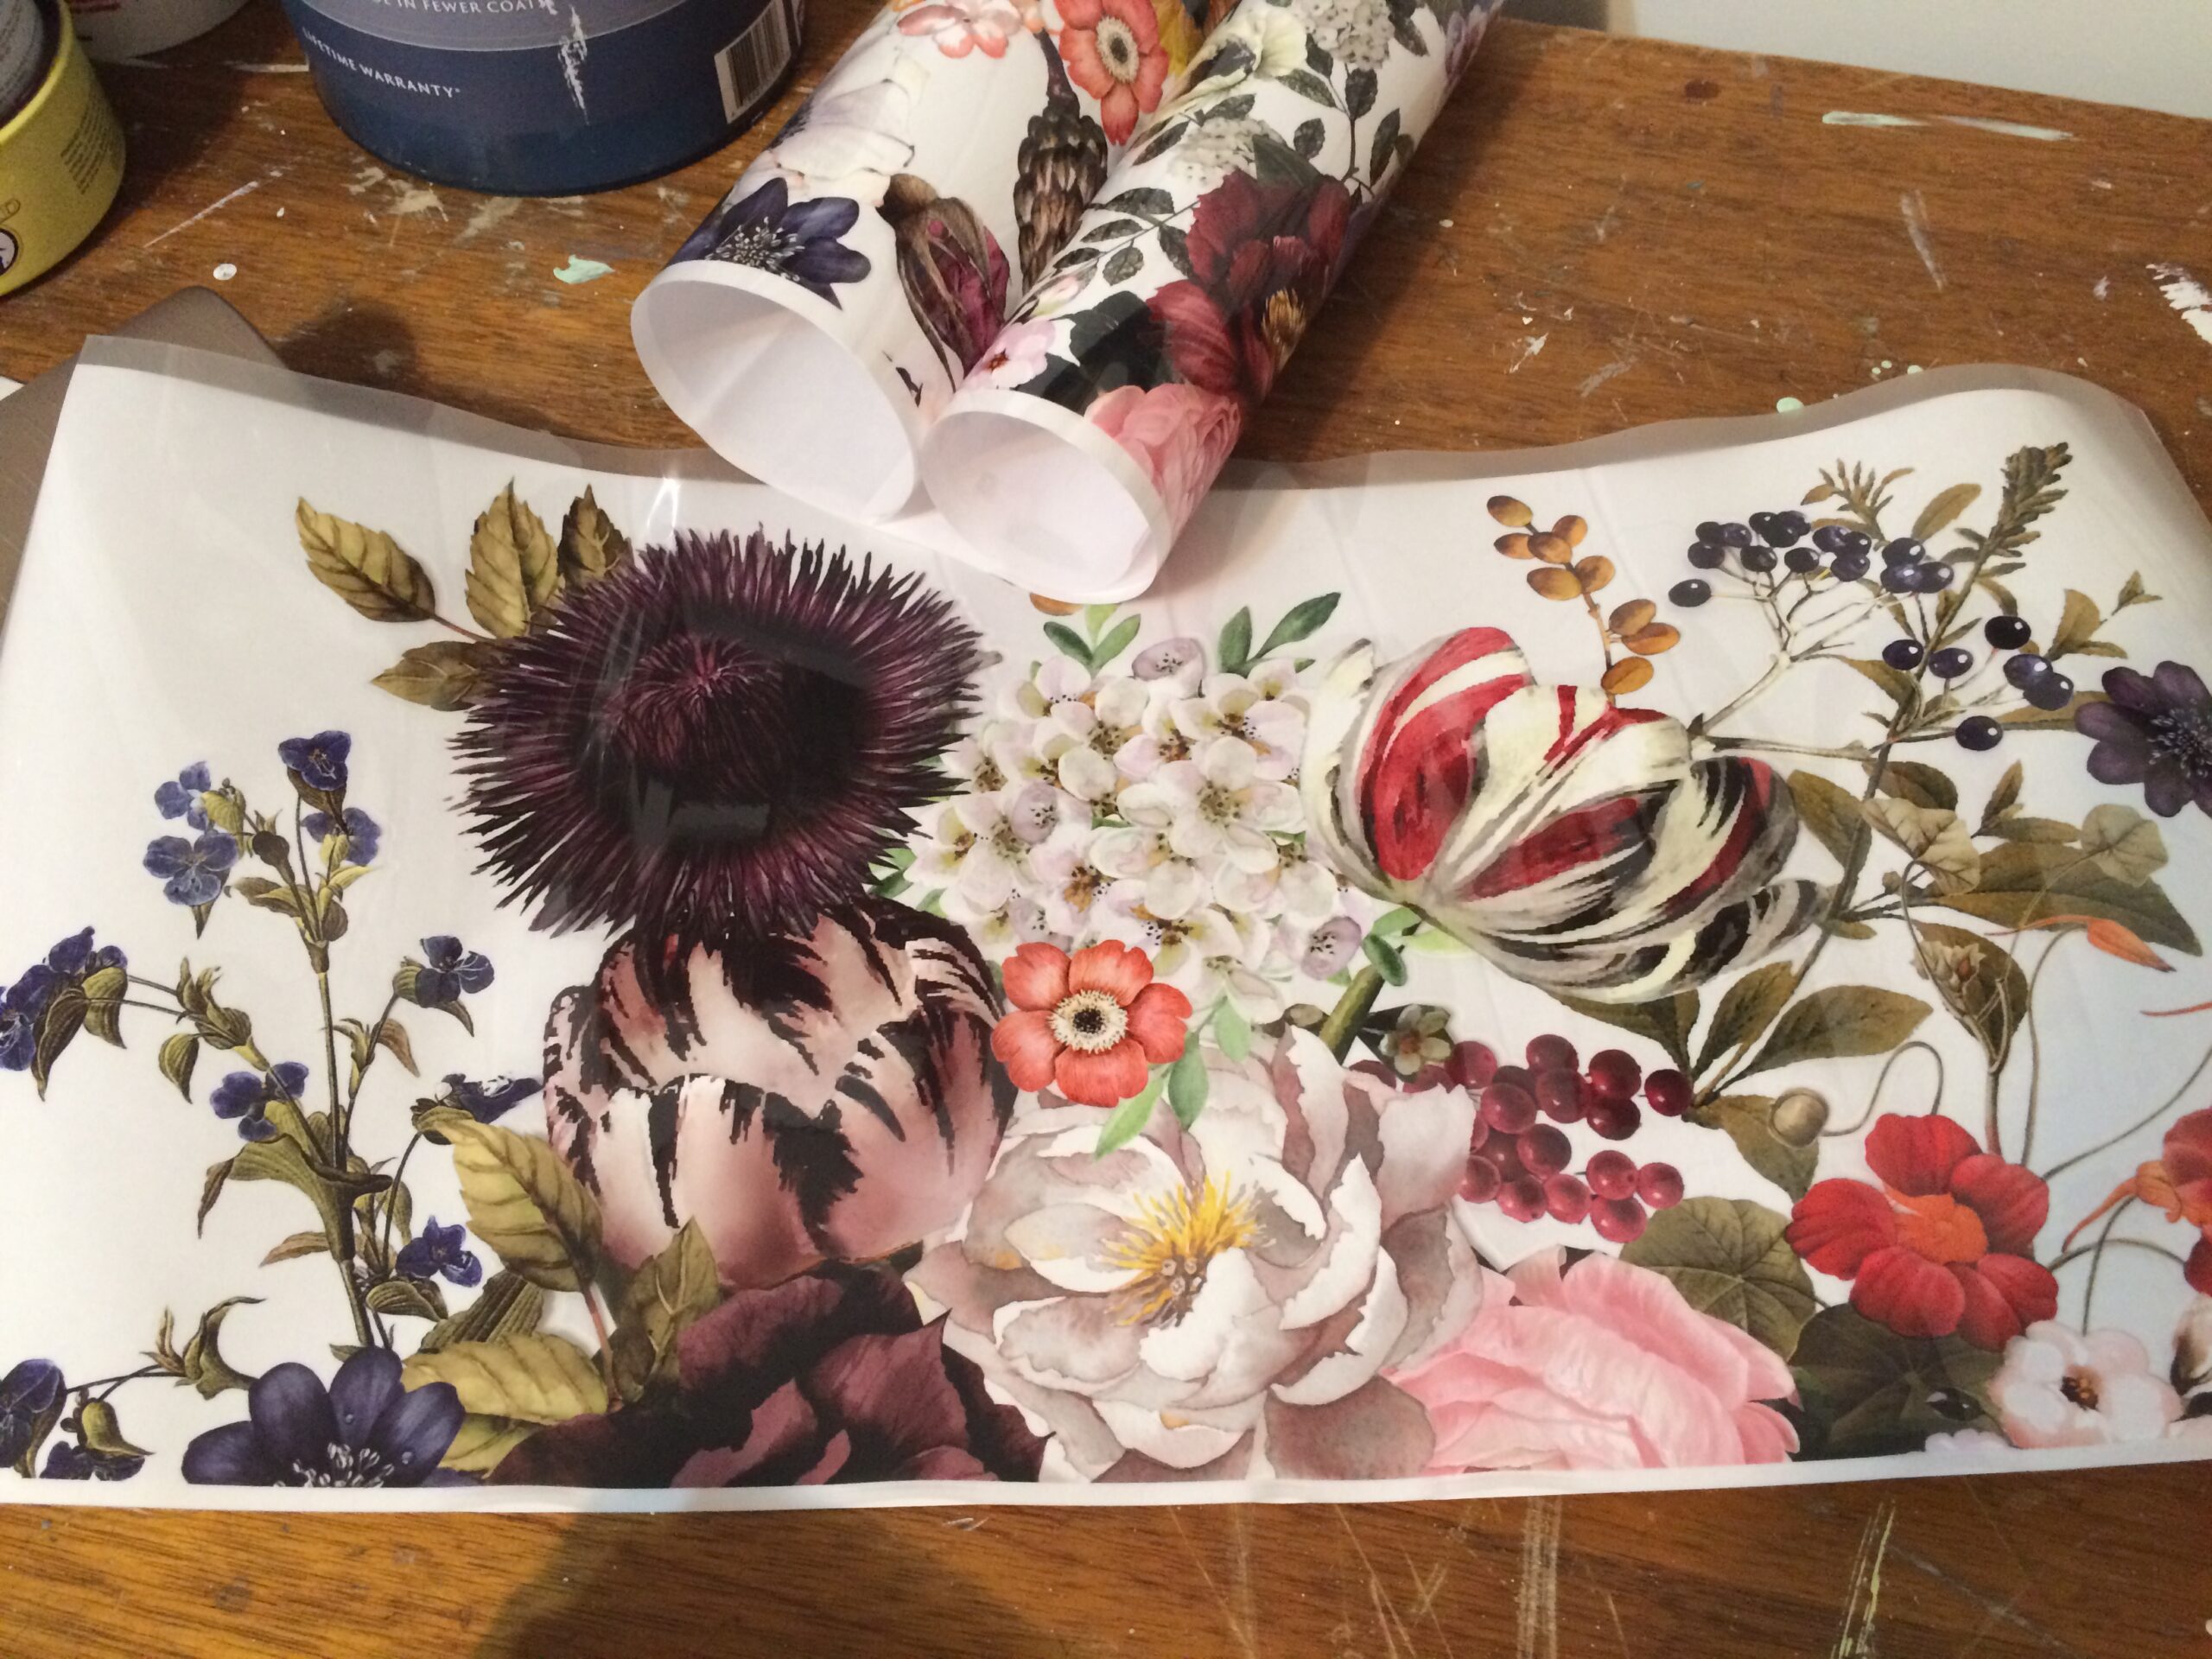
My transfers are from IOD and can I just say, I love them.
I love everything from IOD.
The molds are also from IOD.
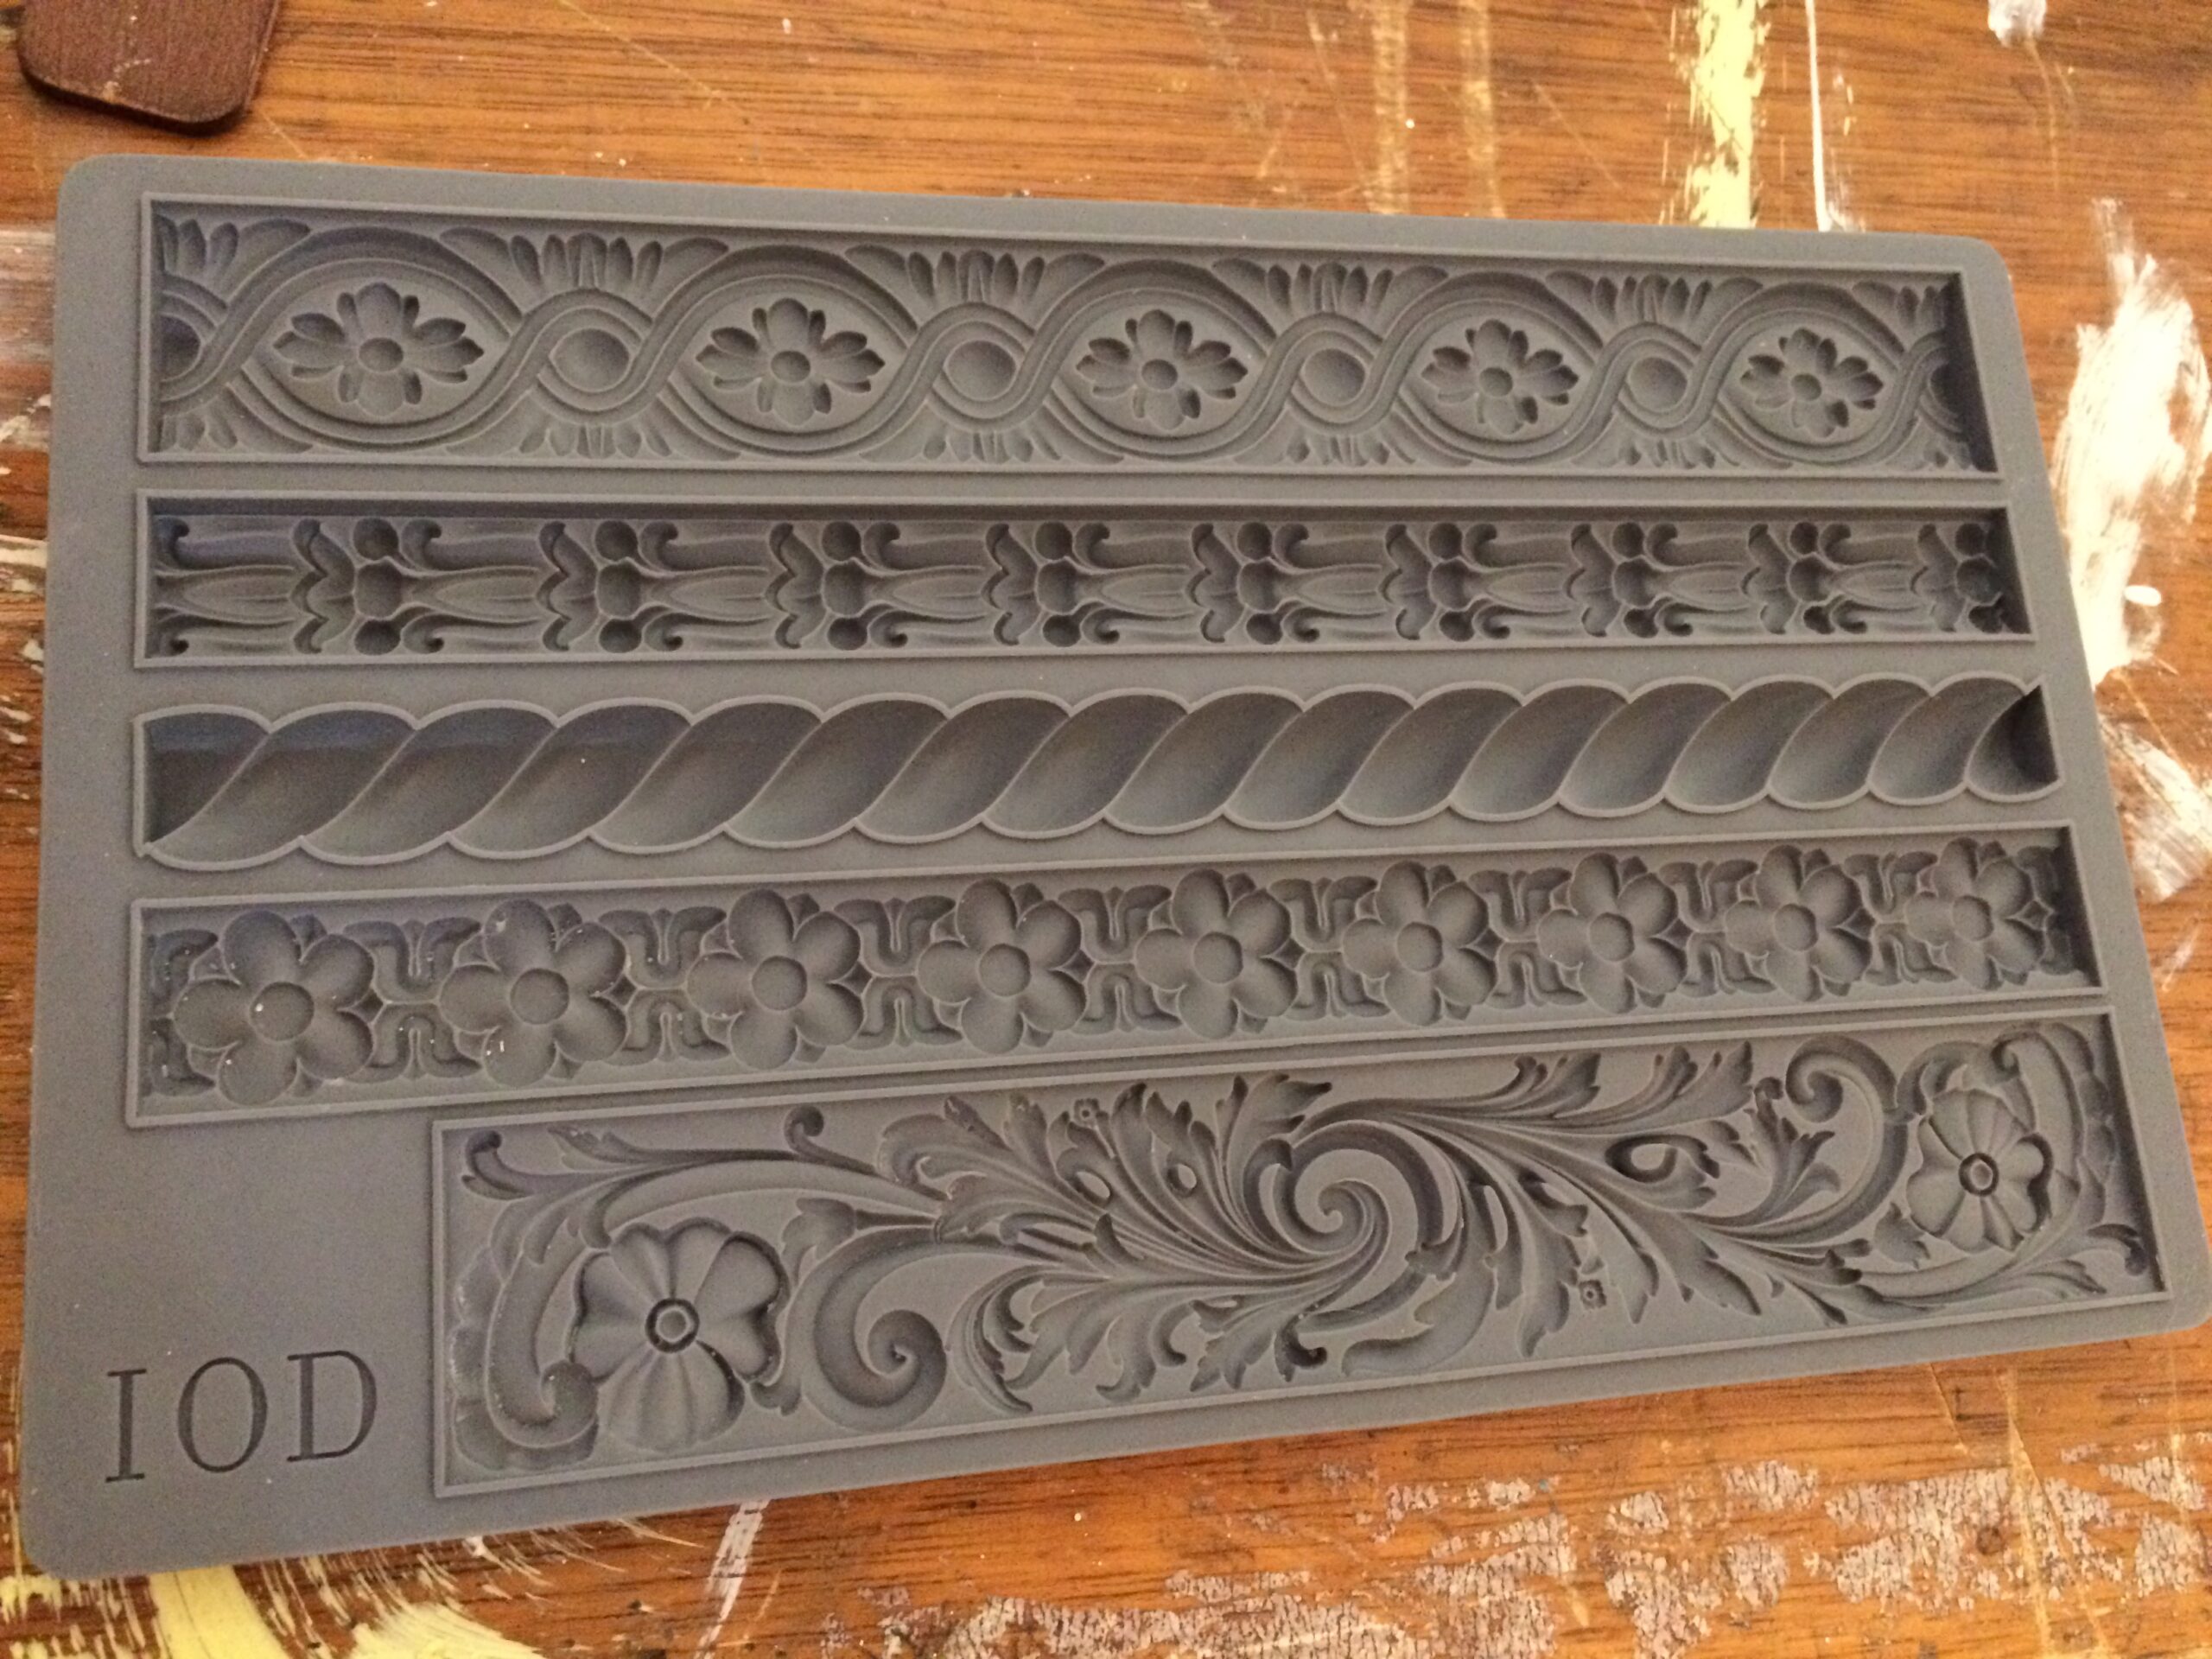
I used paper-clay, also from IOD, for the molds.
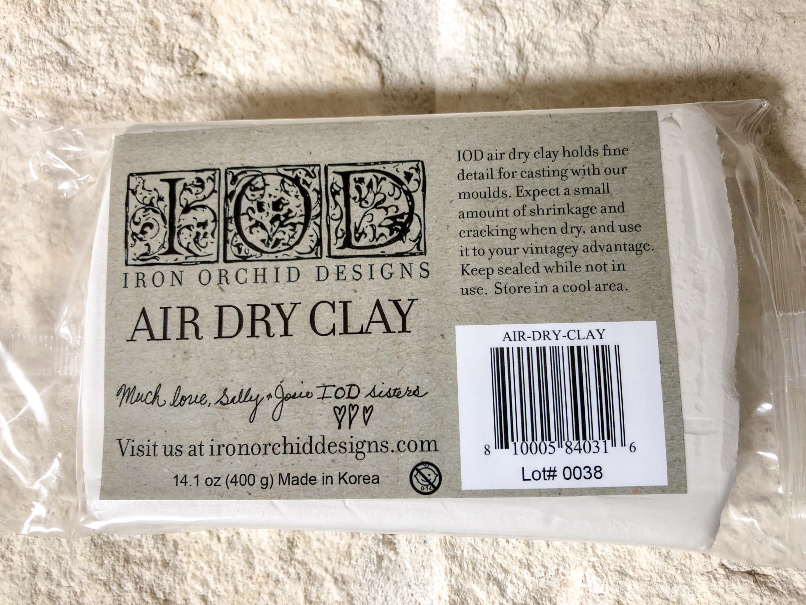
(Do you see a theme here, lol)
The first step is to choose what transfer you want to use.
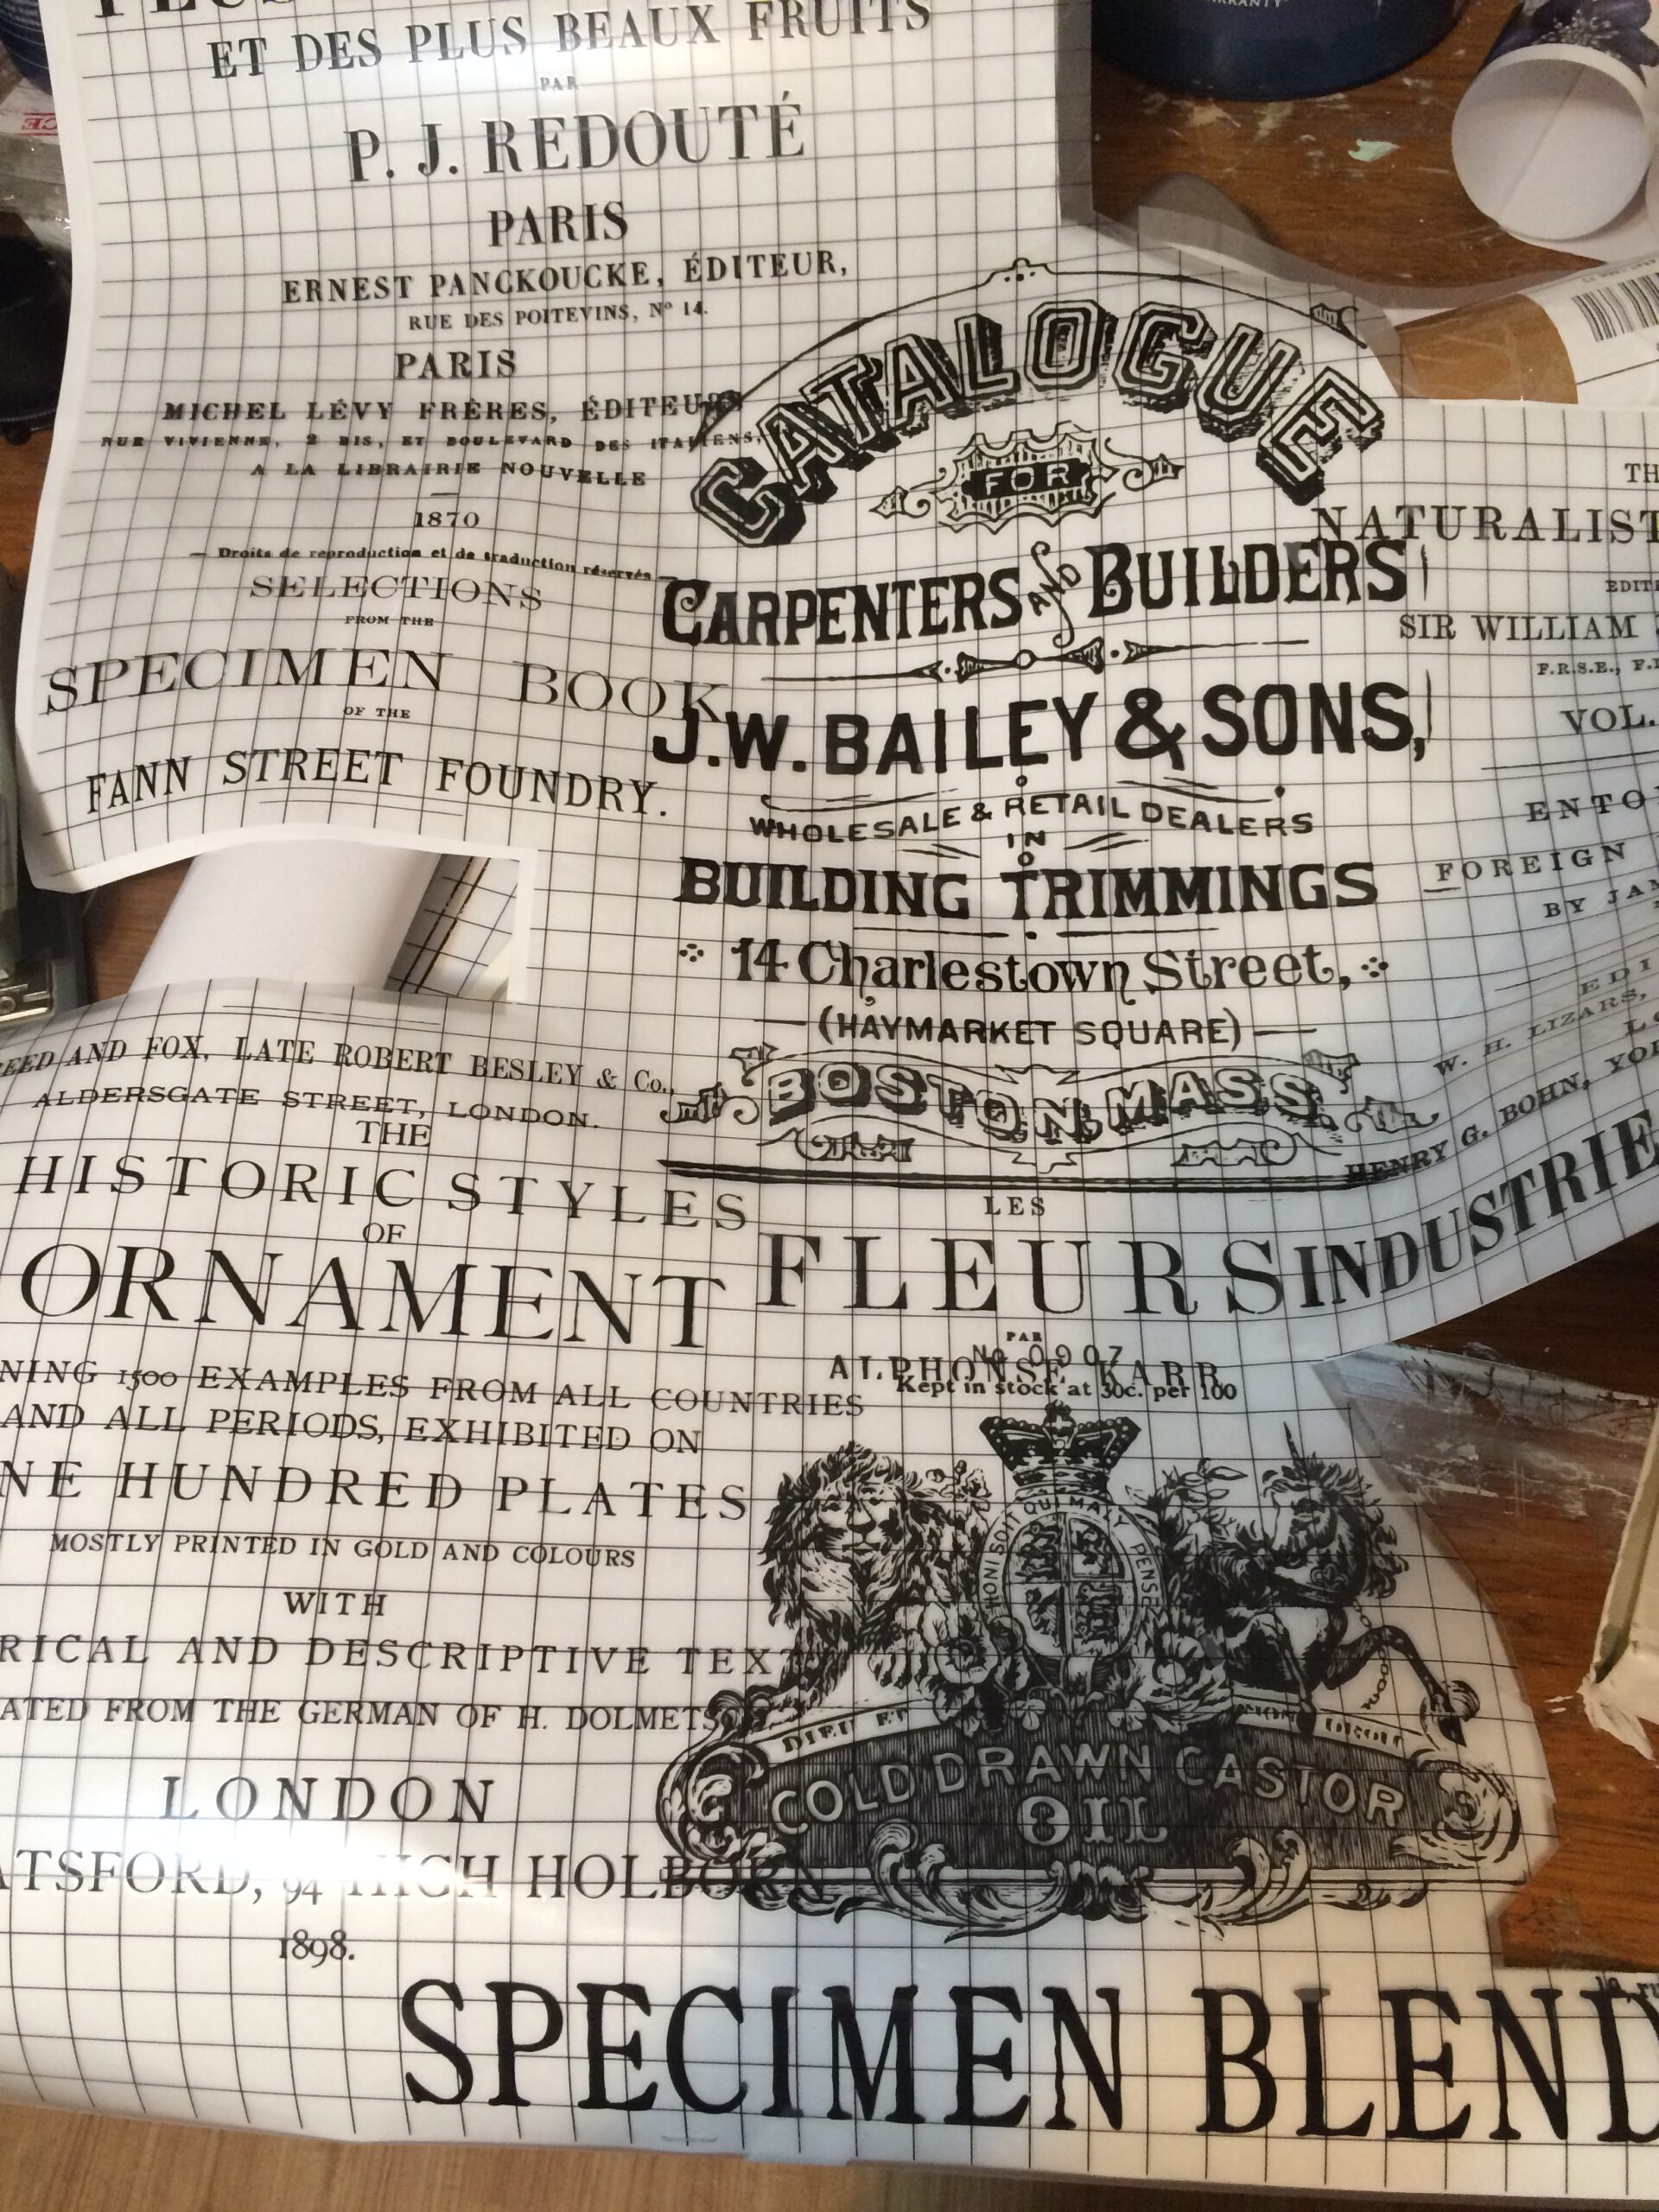
Since books are not huge, you can find transfers that are big and cut them down to the size you need for the project.
I needed just a little section of the flower transfer.
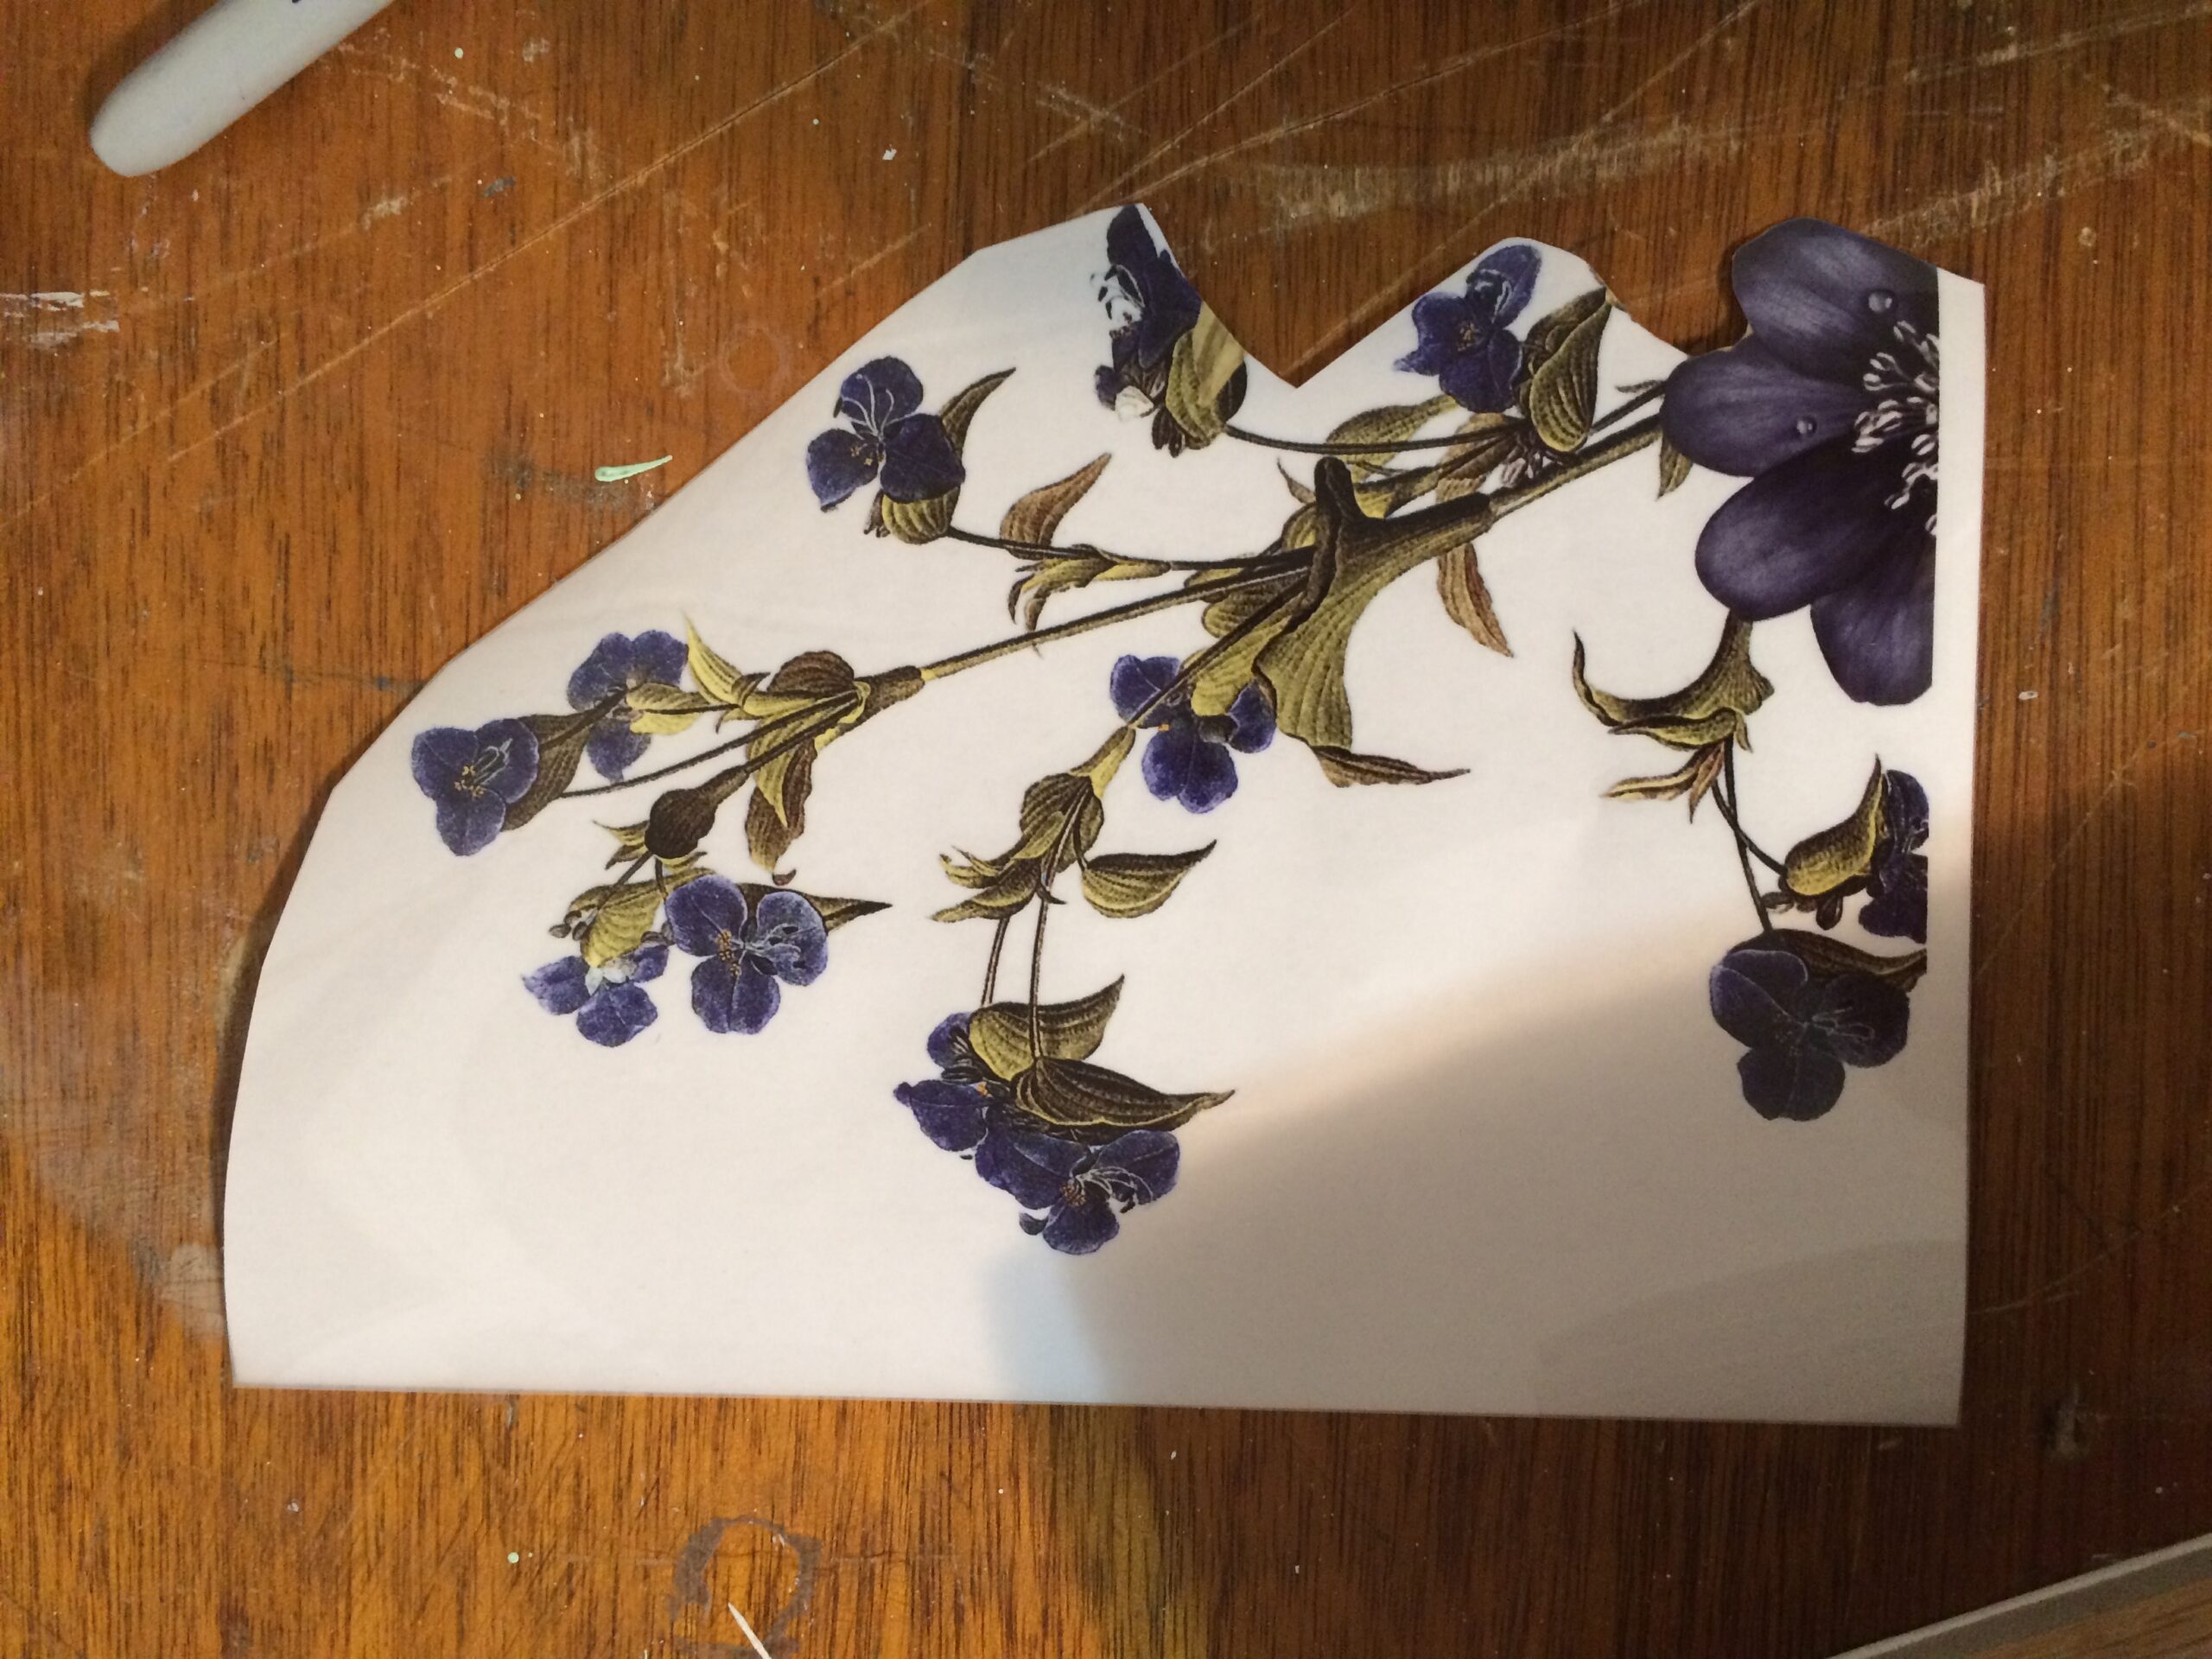
All I needed to do was figure out the placement and then cut the transfer.
Make sure you line it up with your book, then cut the flower transfer with your scissors.
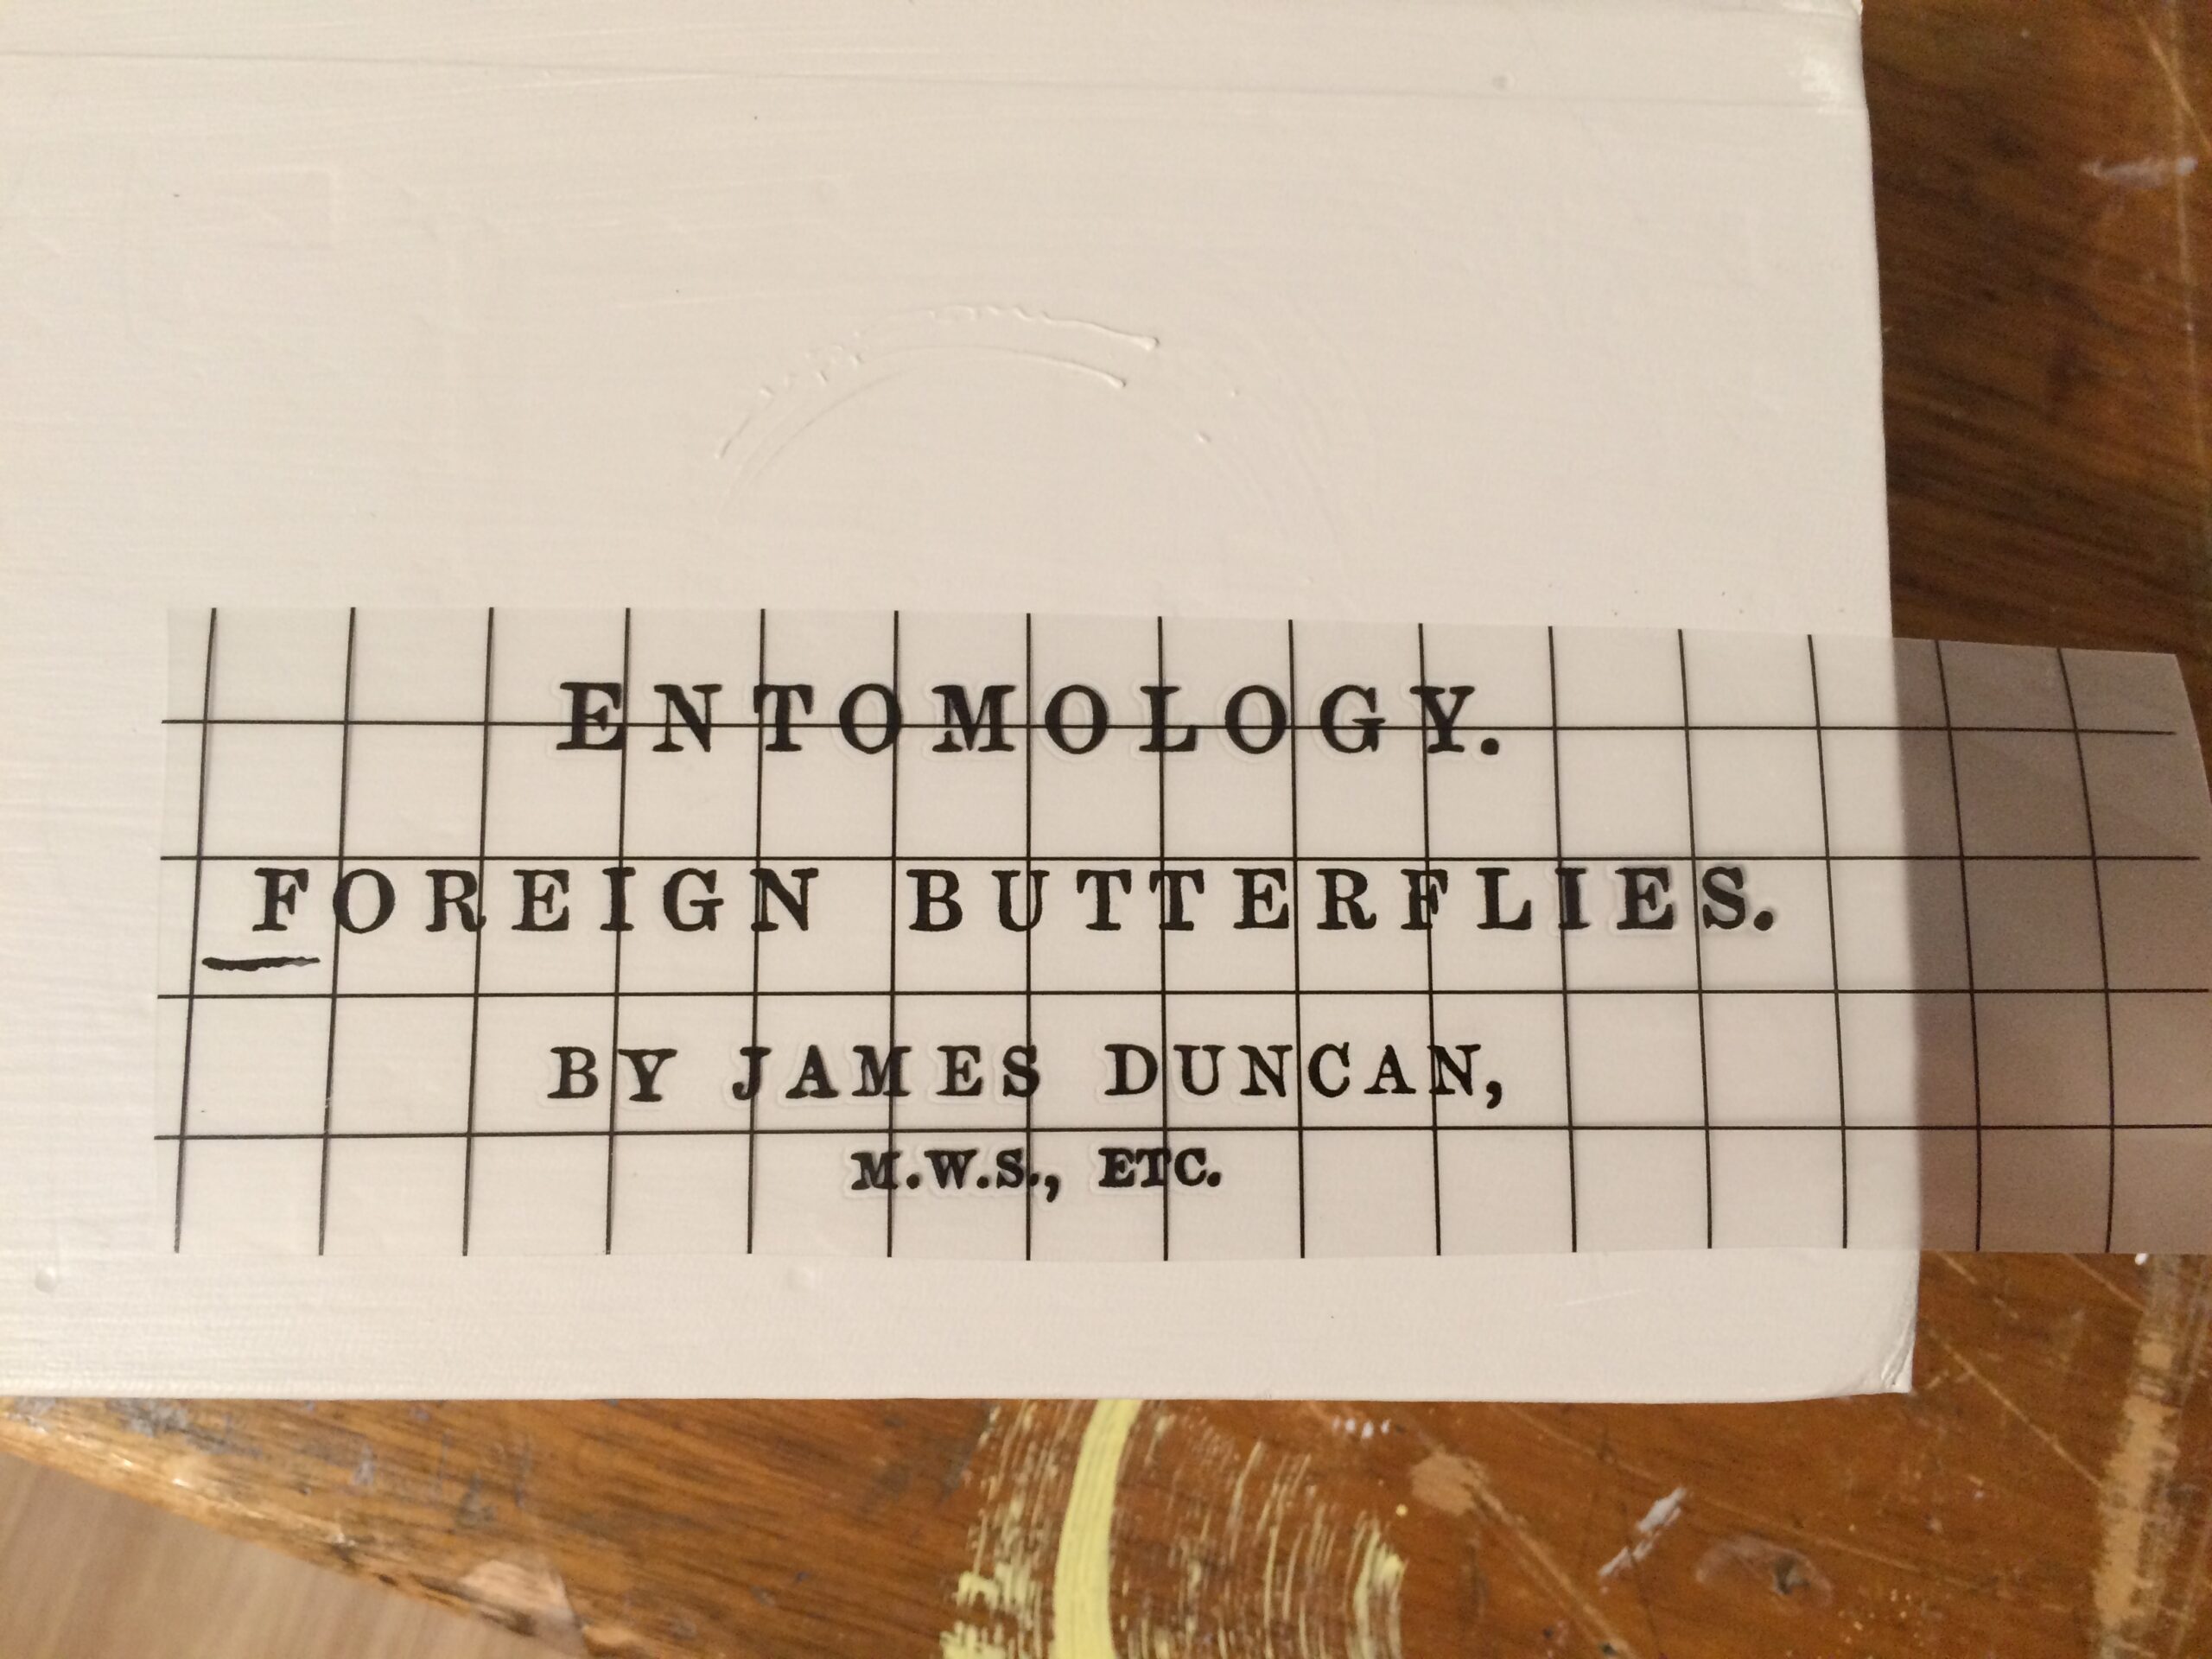
The transfers are like big stickers.
There is a backing on them so it doesn’t stick to anything.
When you are ready to use them, peel off the backing and line it up with your project and place it down slowly.
You want to make sure you put it down where you want it the first time because once you set it down you may not get it back up again.
So once you commit, there is no going back.
Once you have your transfer in place, take the scraper tool that came with your transfer and place it on the plastic that is on top of the transfer.
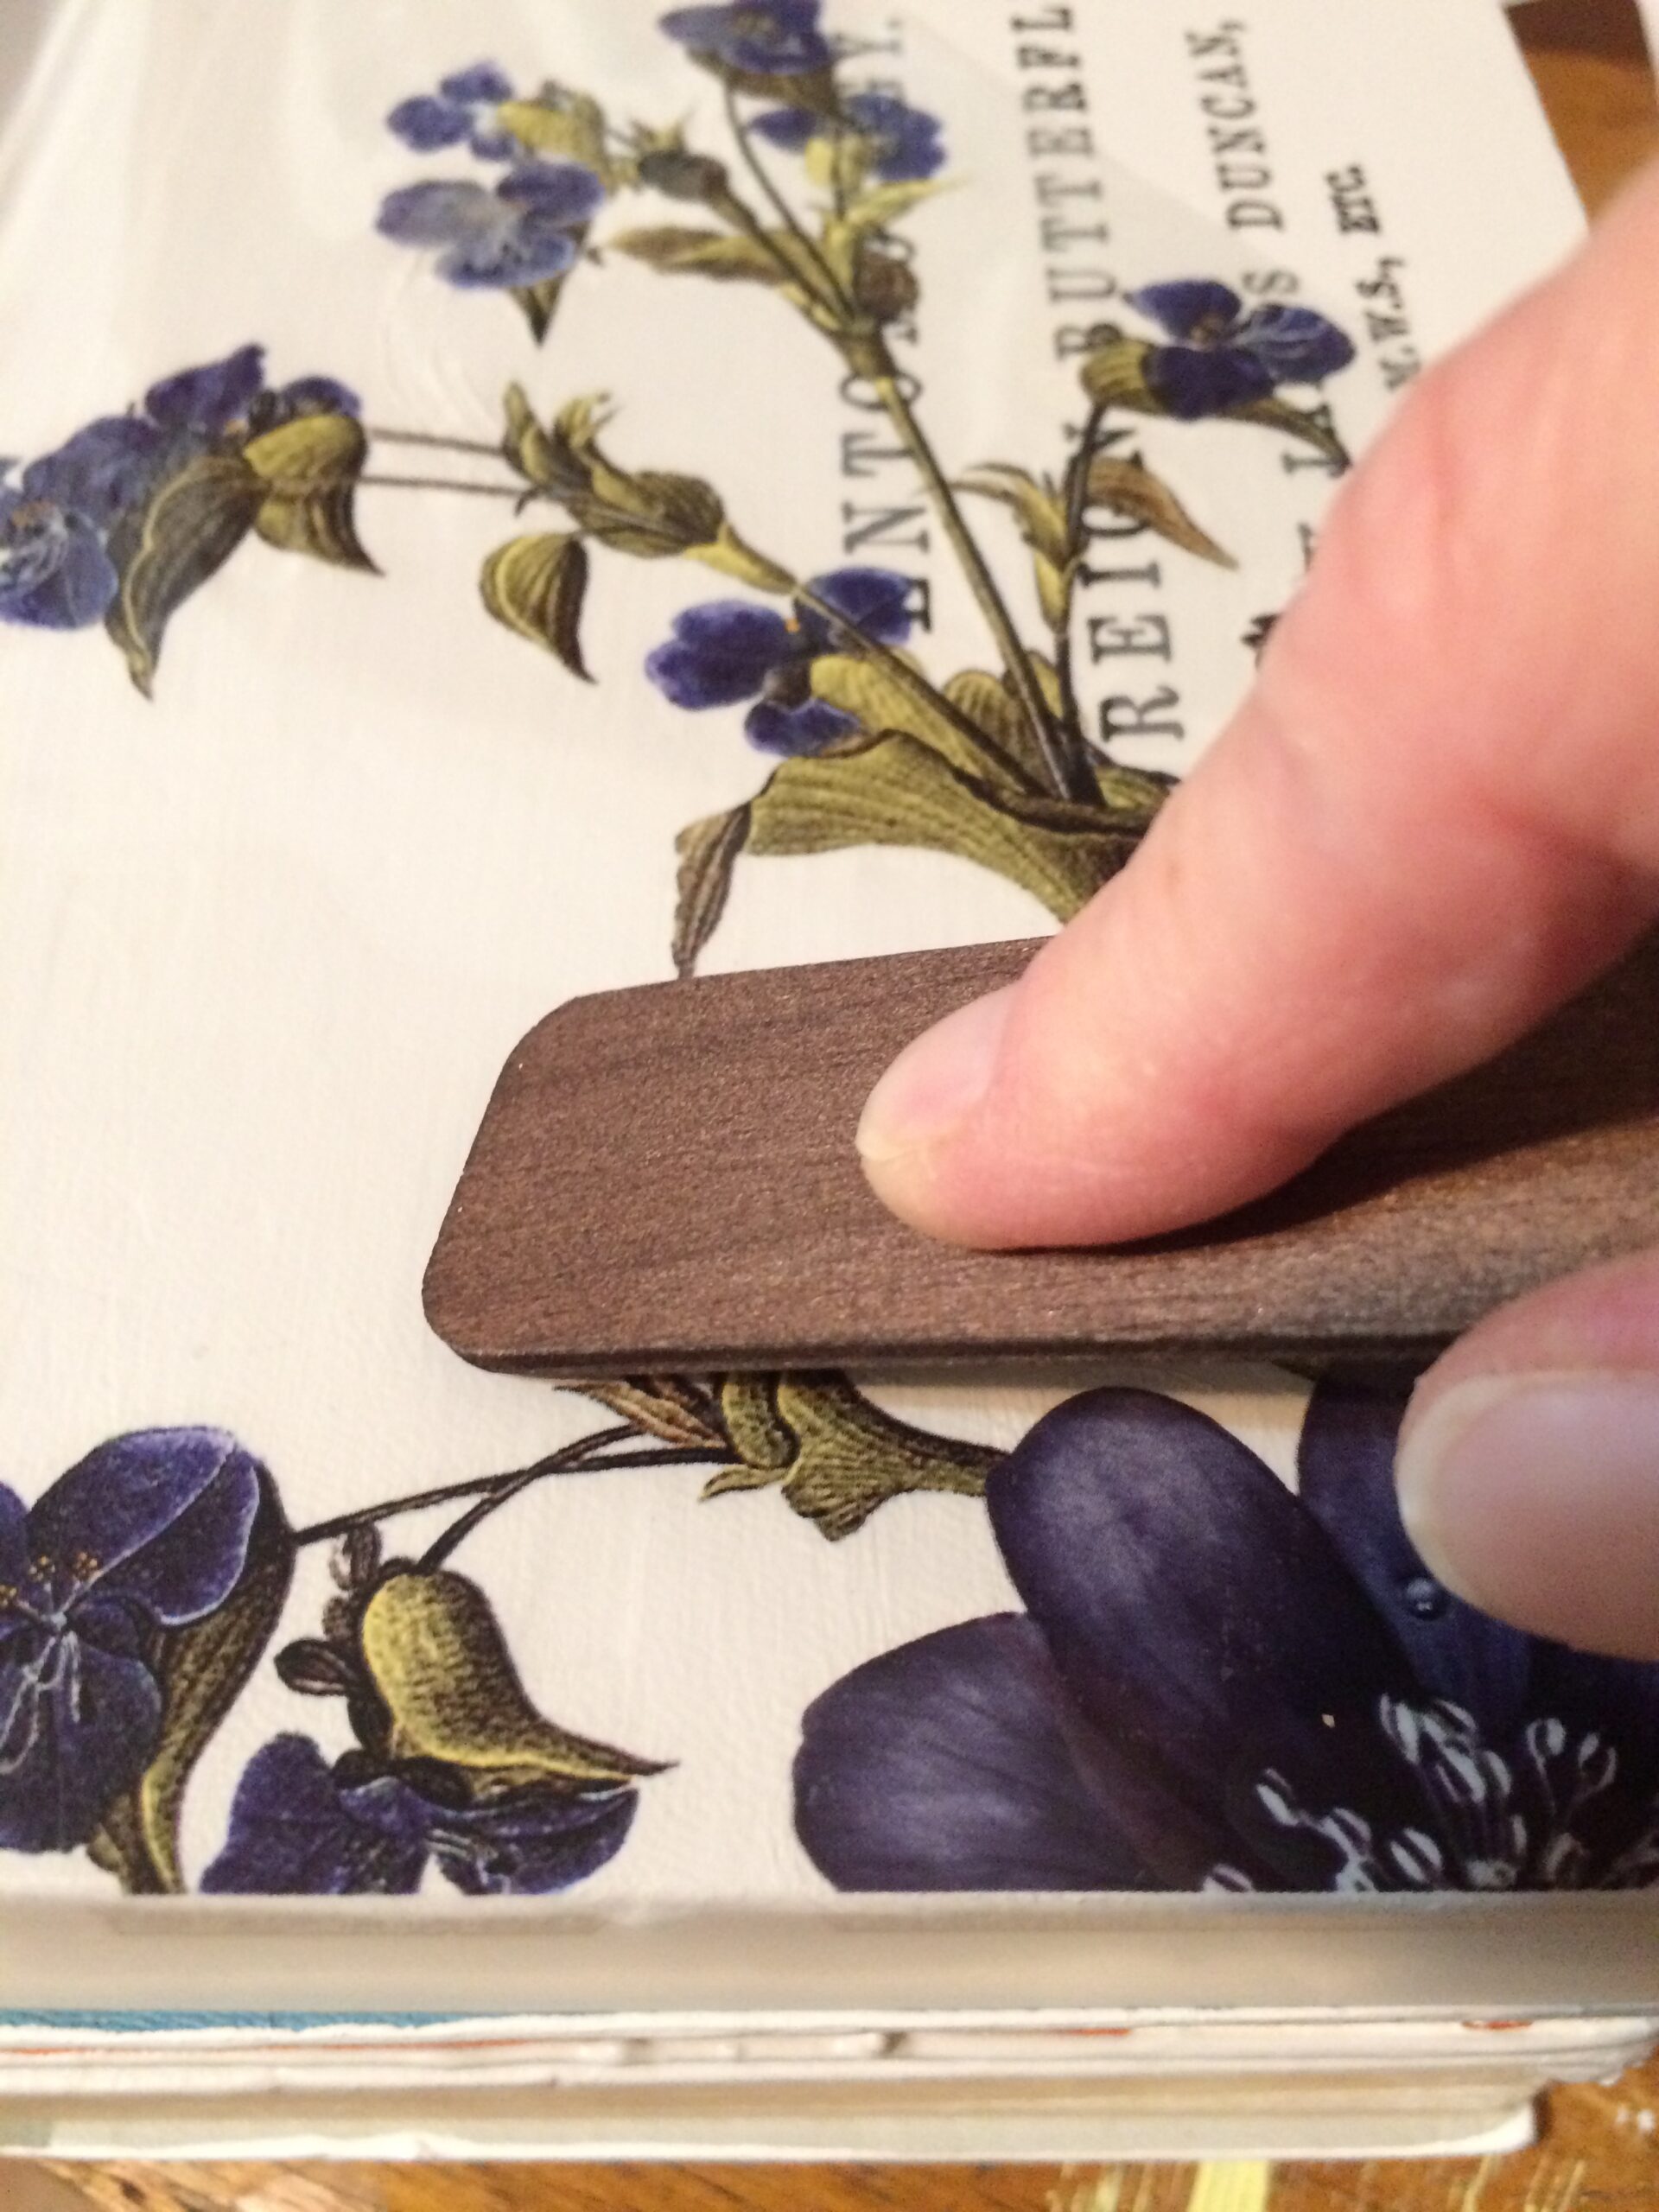
You start pushing back and forth until it comes off the clear plastic.
You can check to see if it is coming off by lifting the plastic up, if it is still stuck to the plastic, you need to keep rubbing the stick over it until it releases.
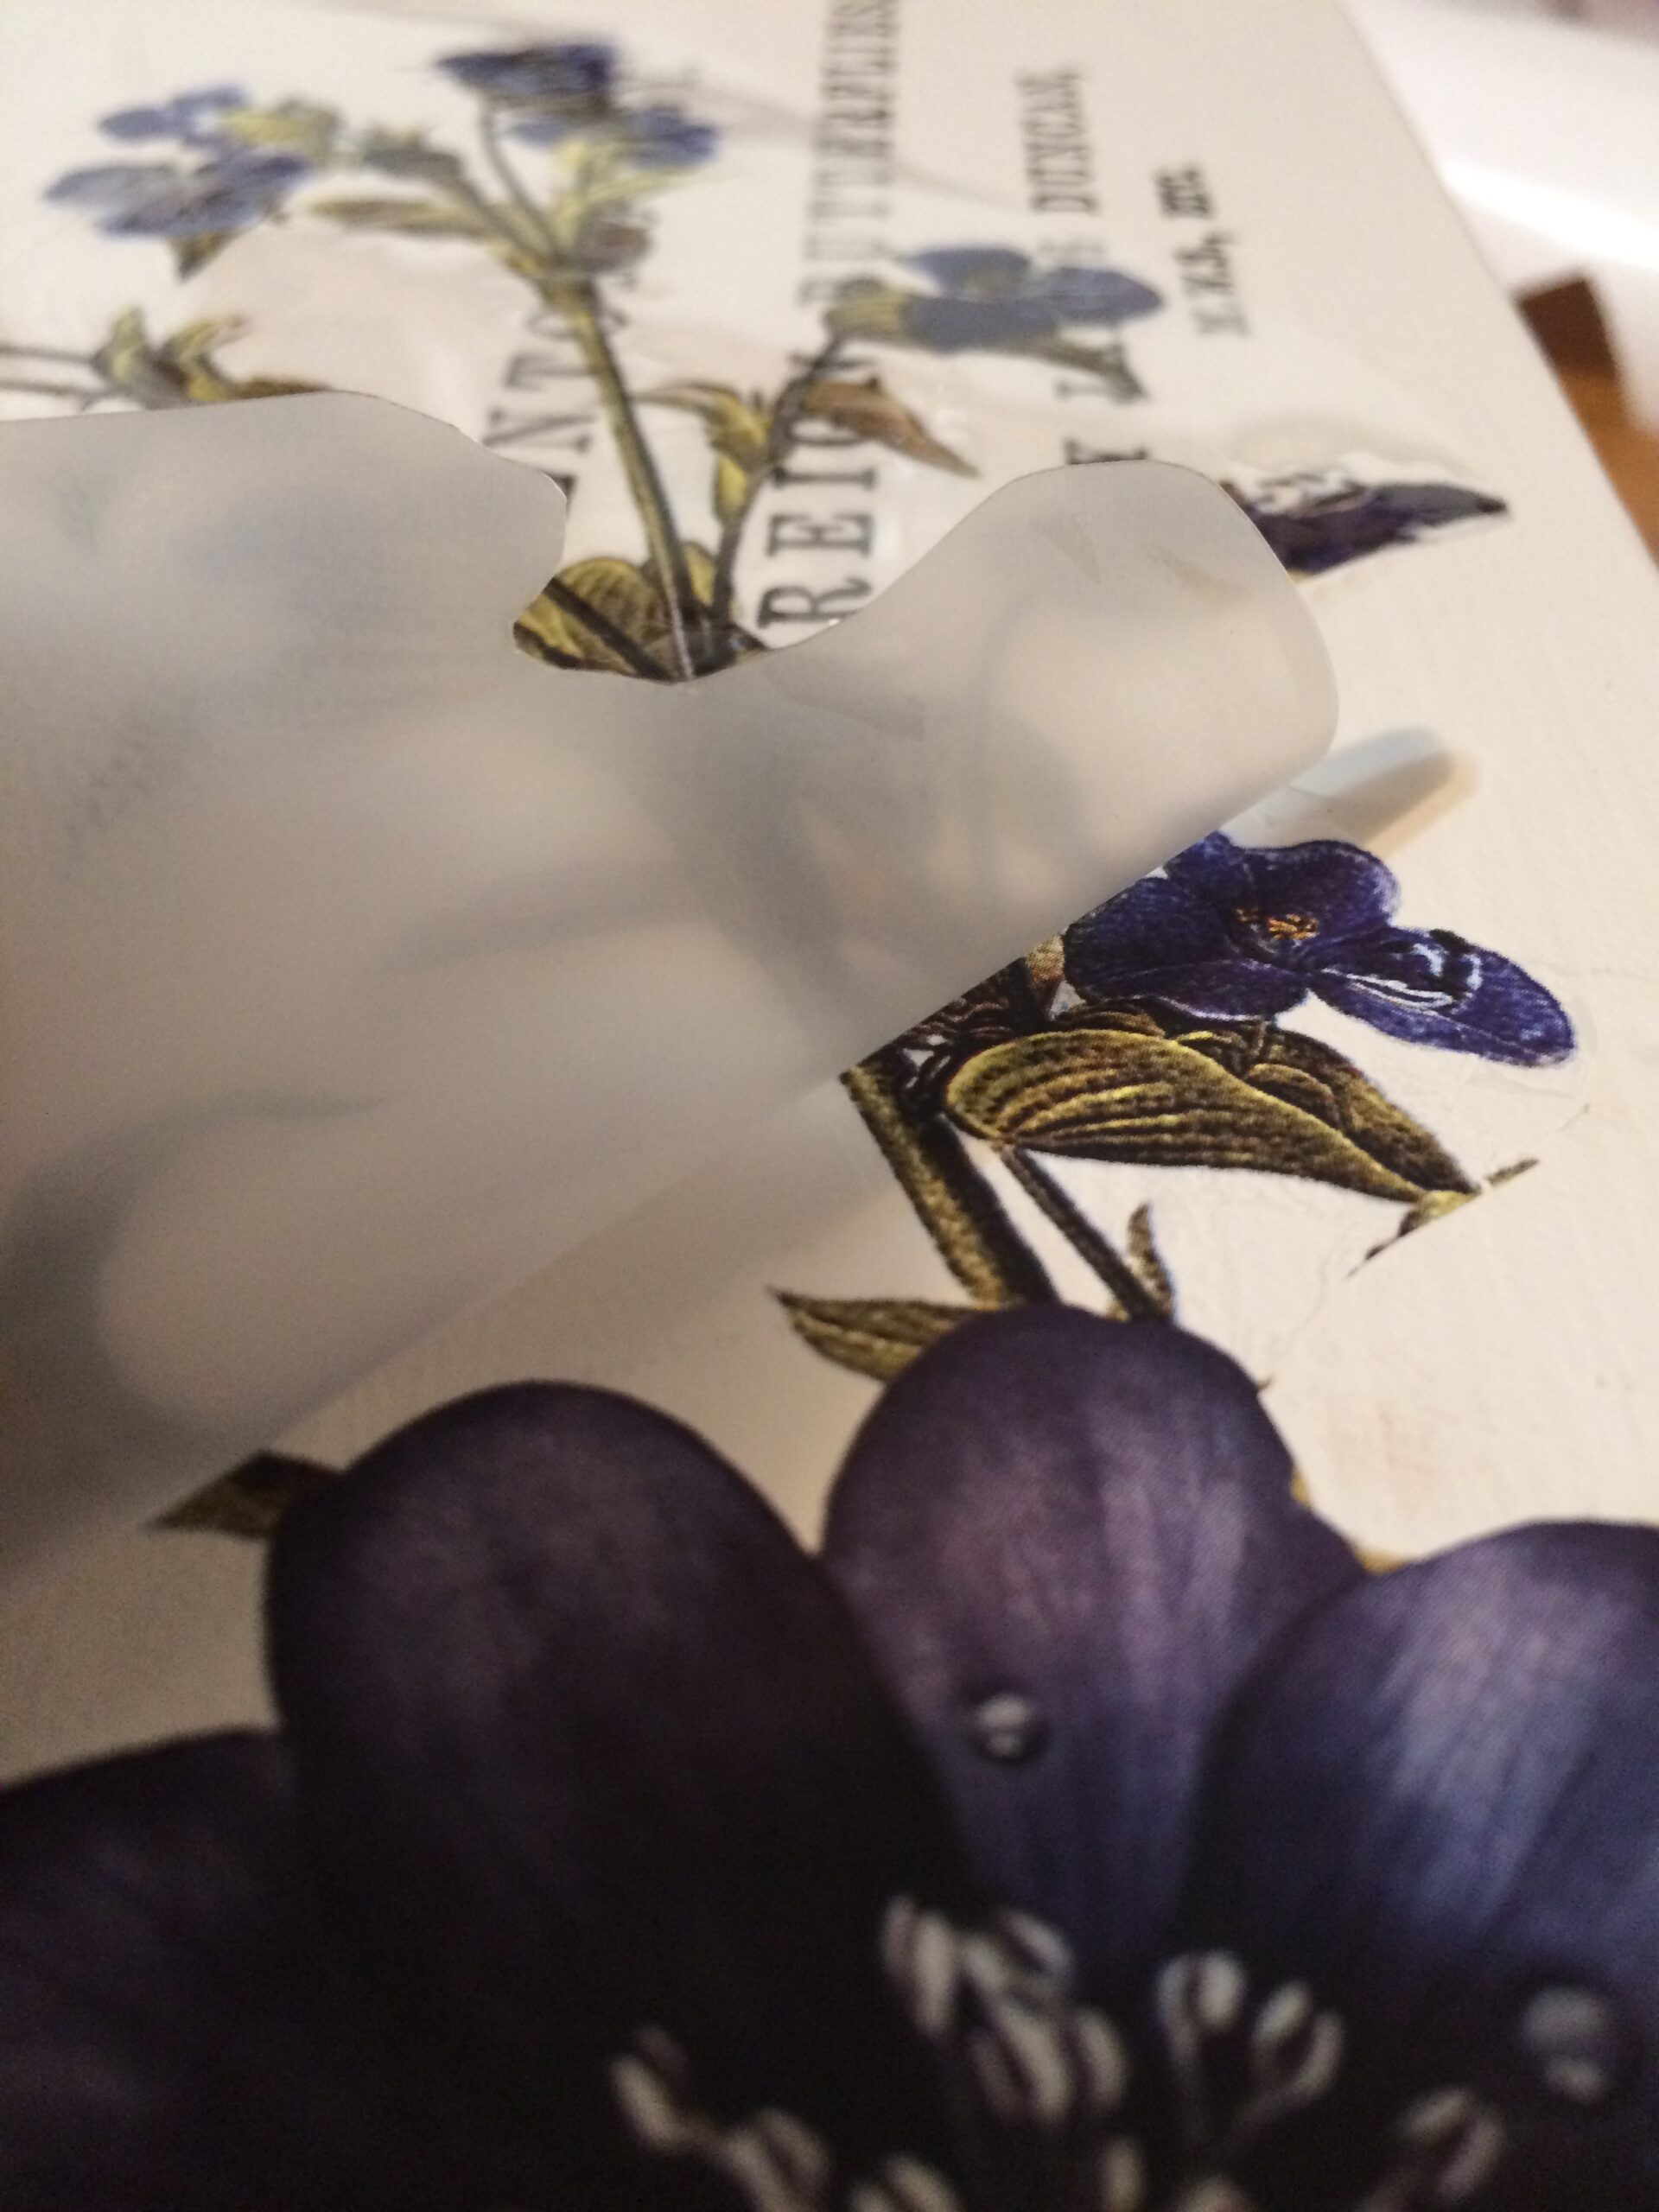
It really is simple but time consuming.
You can also layer your transfers on the same project as I did here.
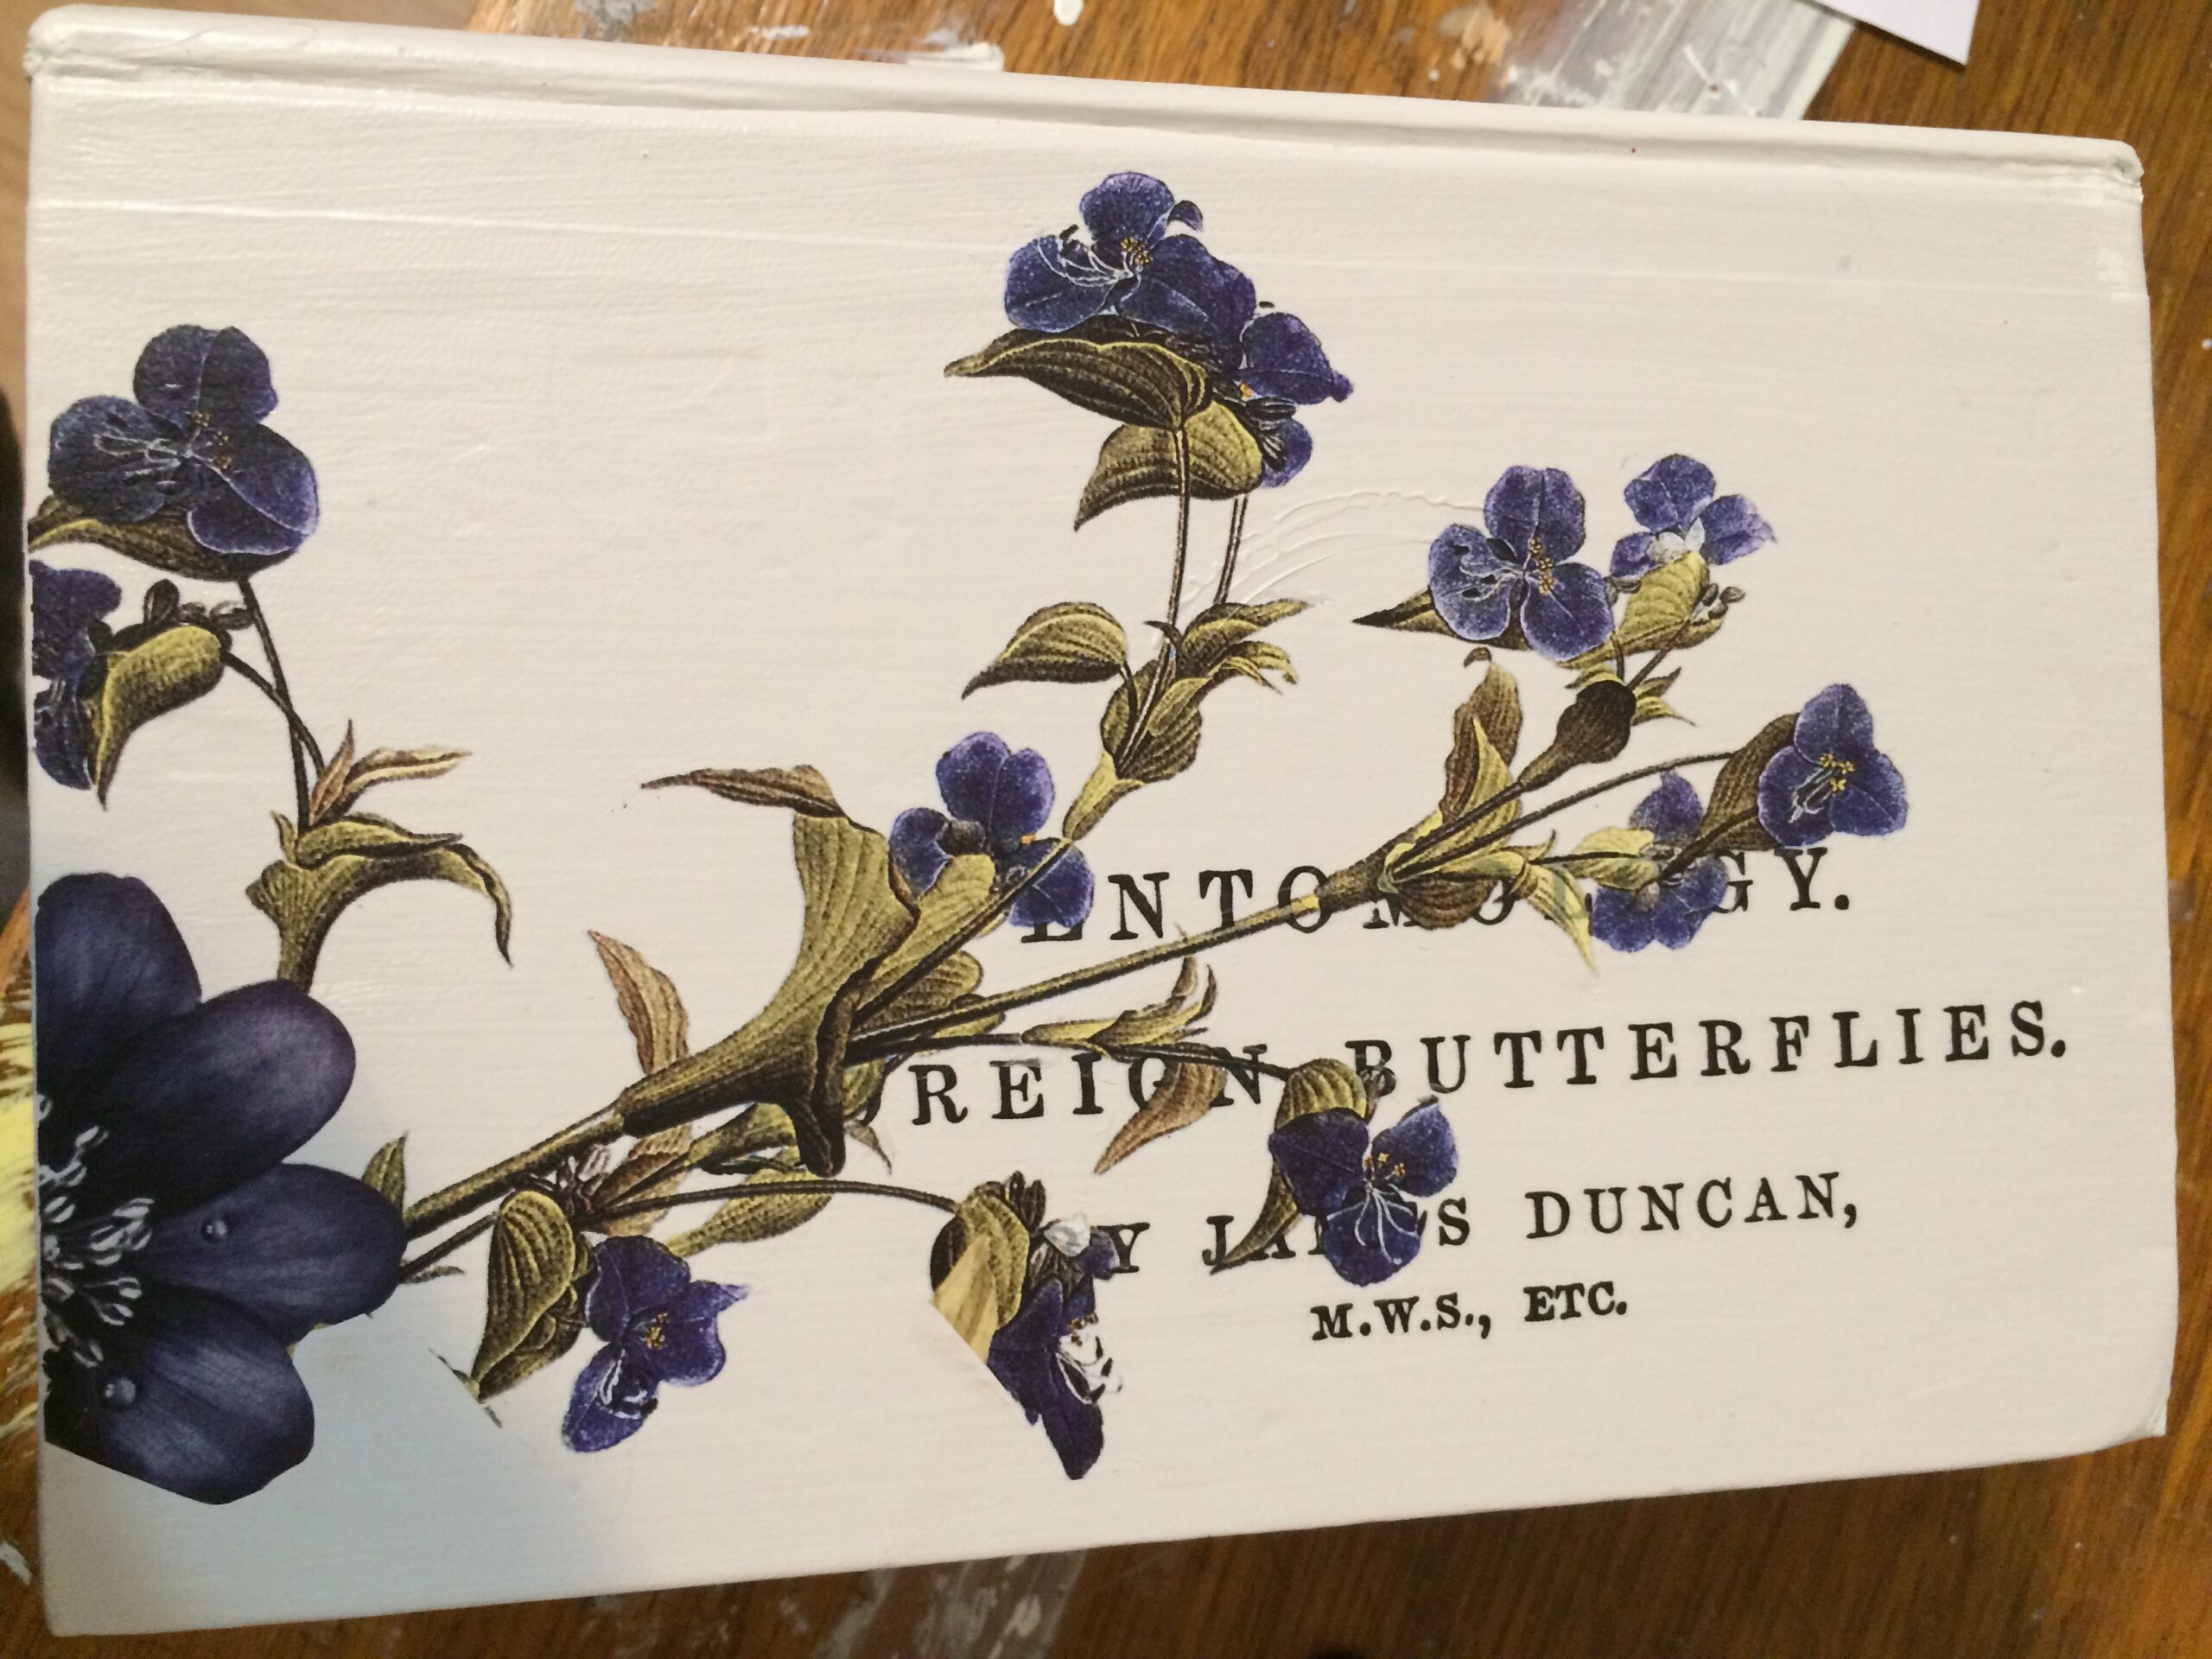
What I did was put down a small piece of ephemera transfer then went back over that with a transfer of flowers.
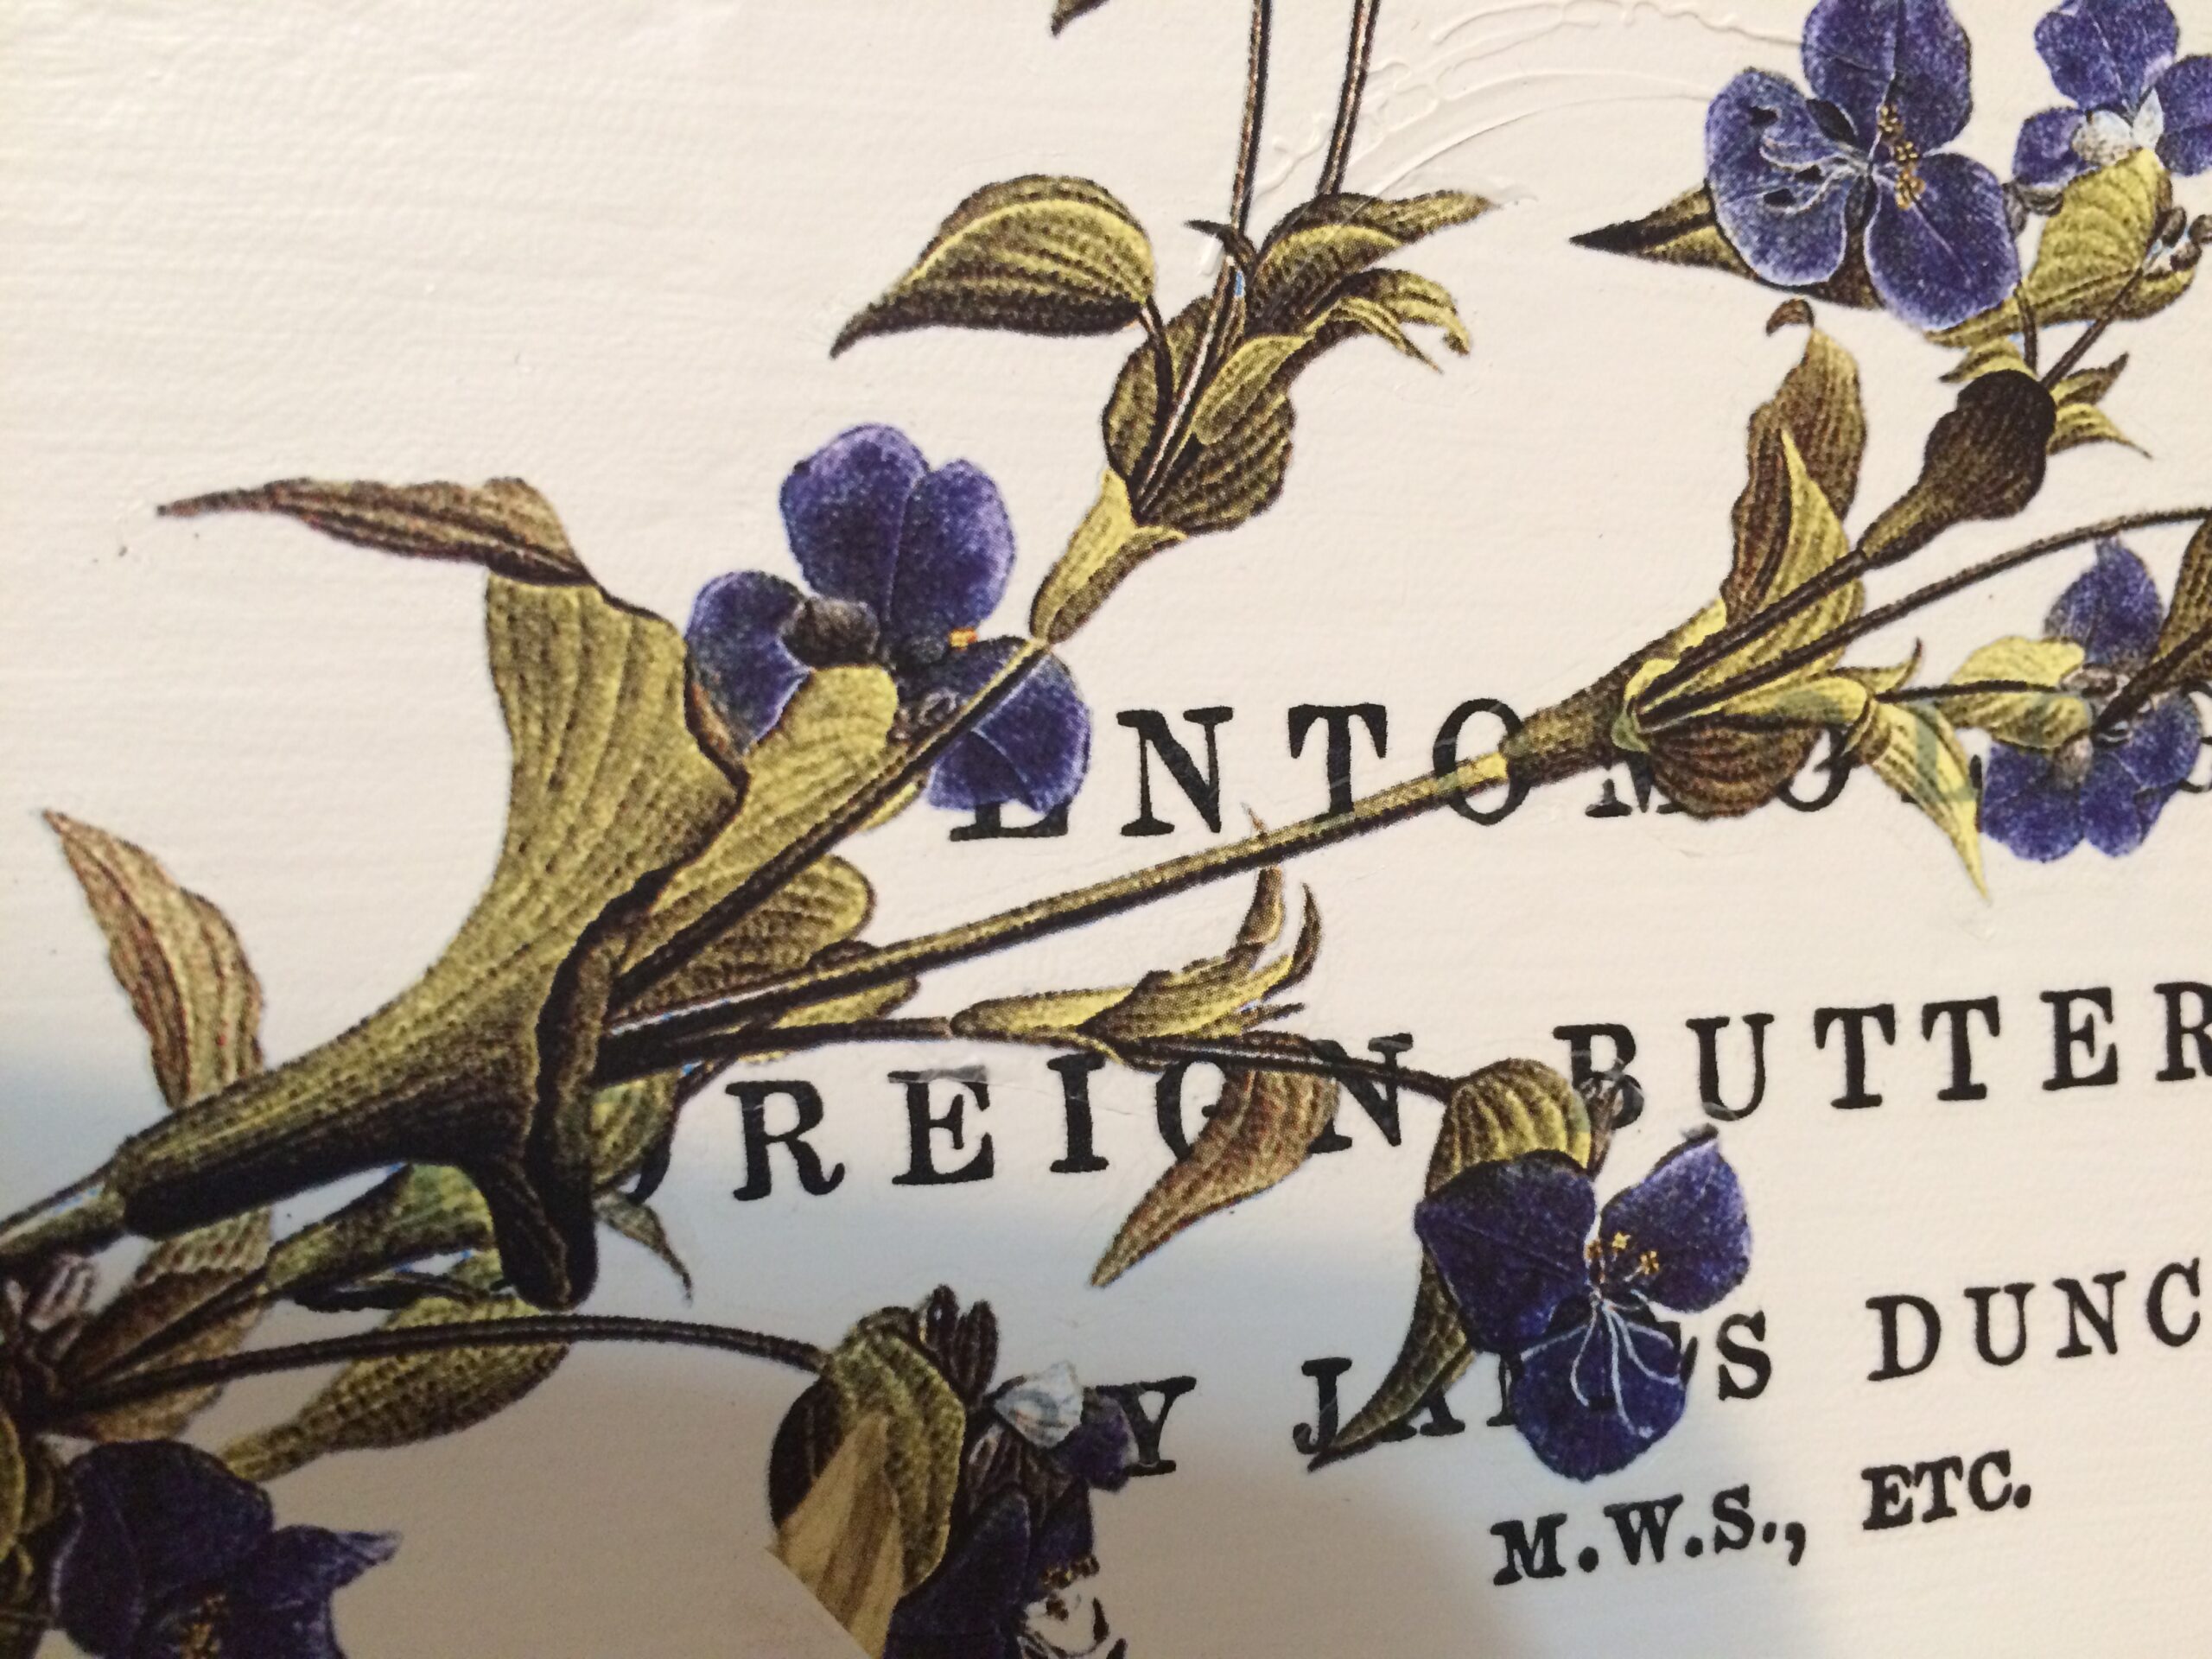
Once you have your transfers on, lightly go over them with a soft cloth to make sure that it is stuck to your project.
You don’t want them peeling up after all that hard work.
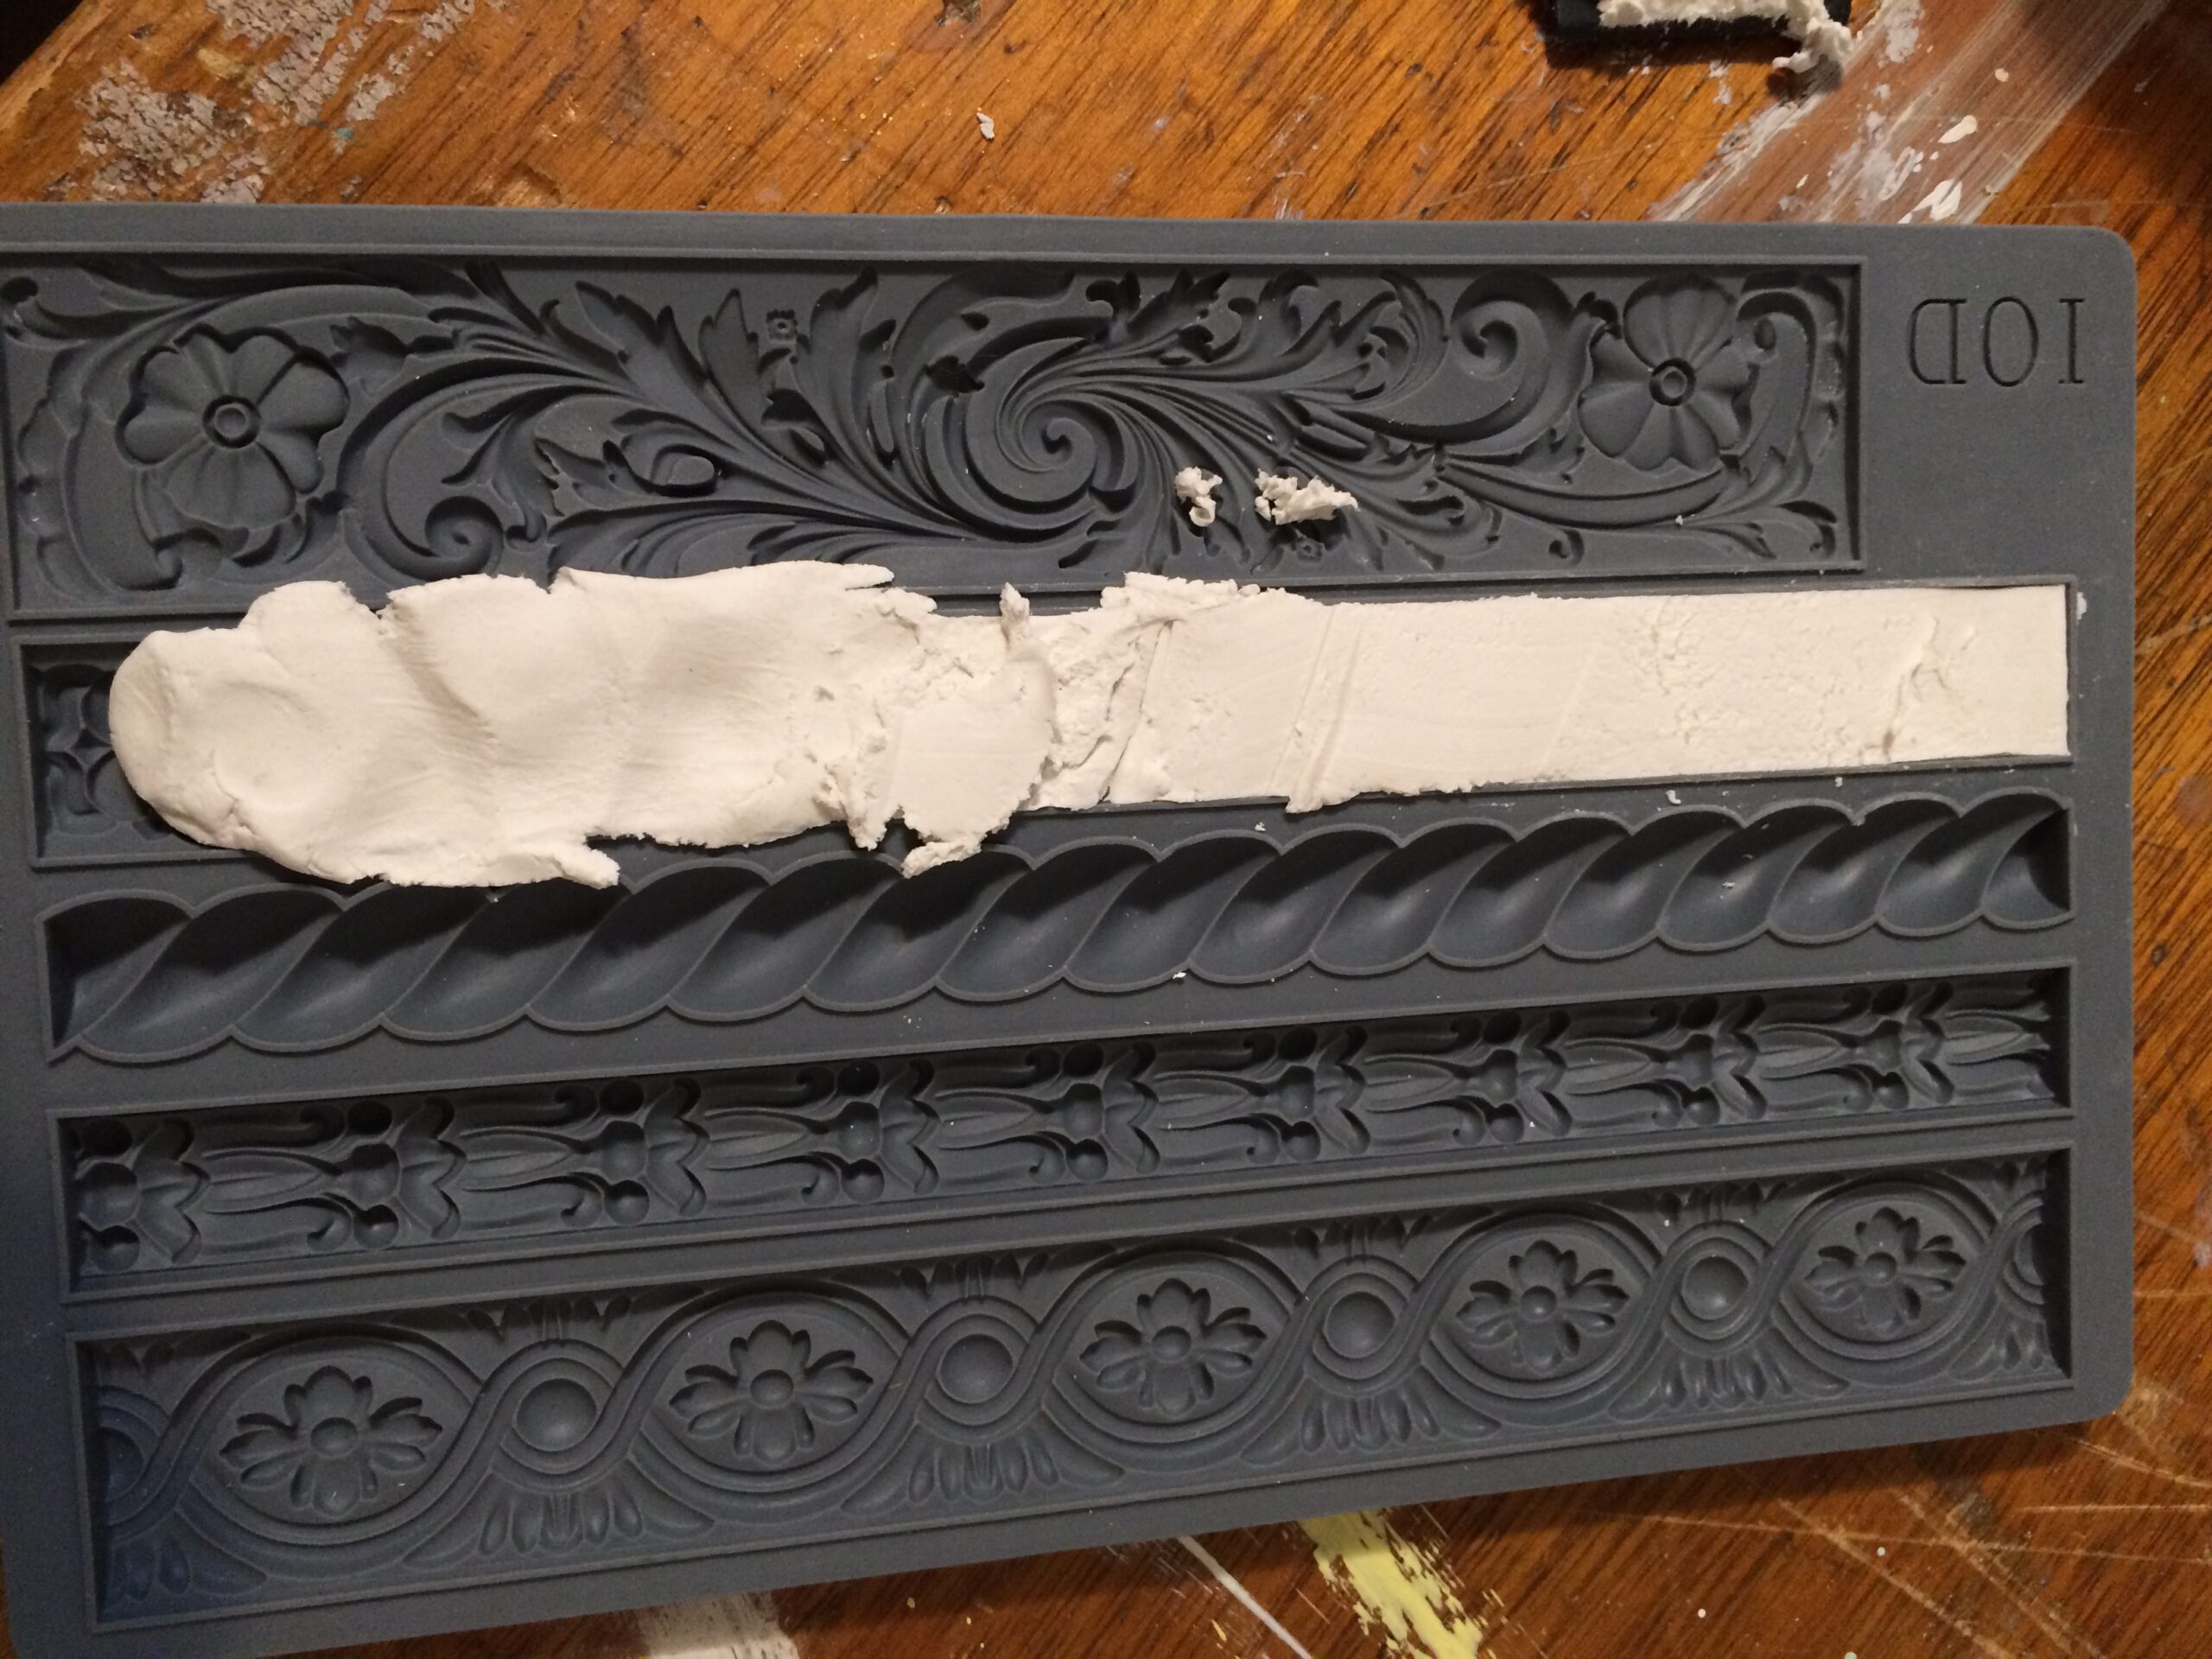
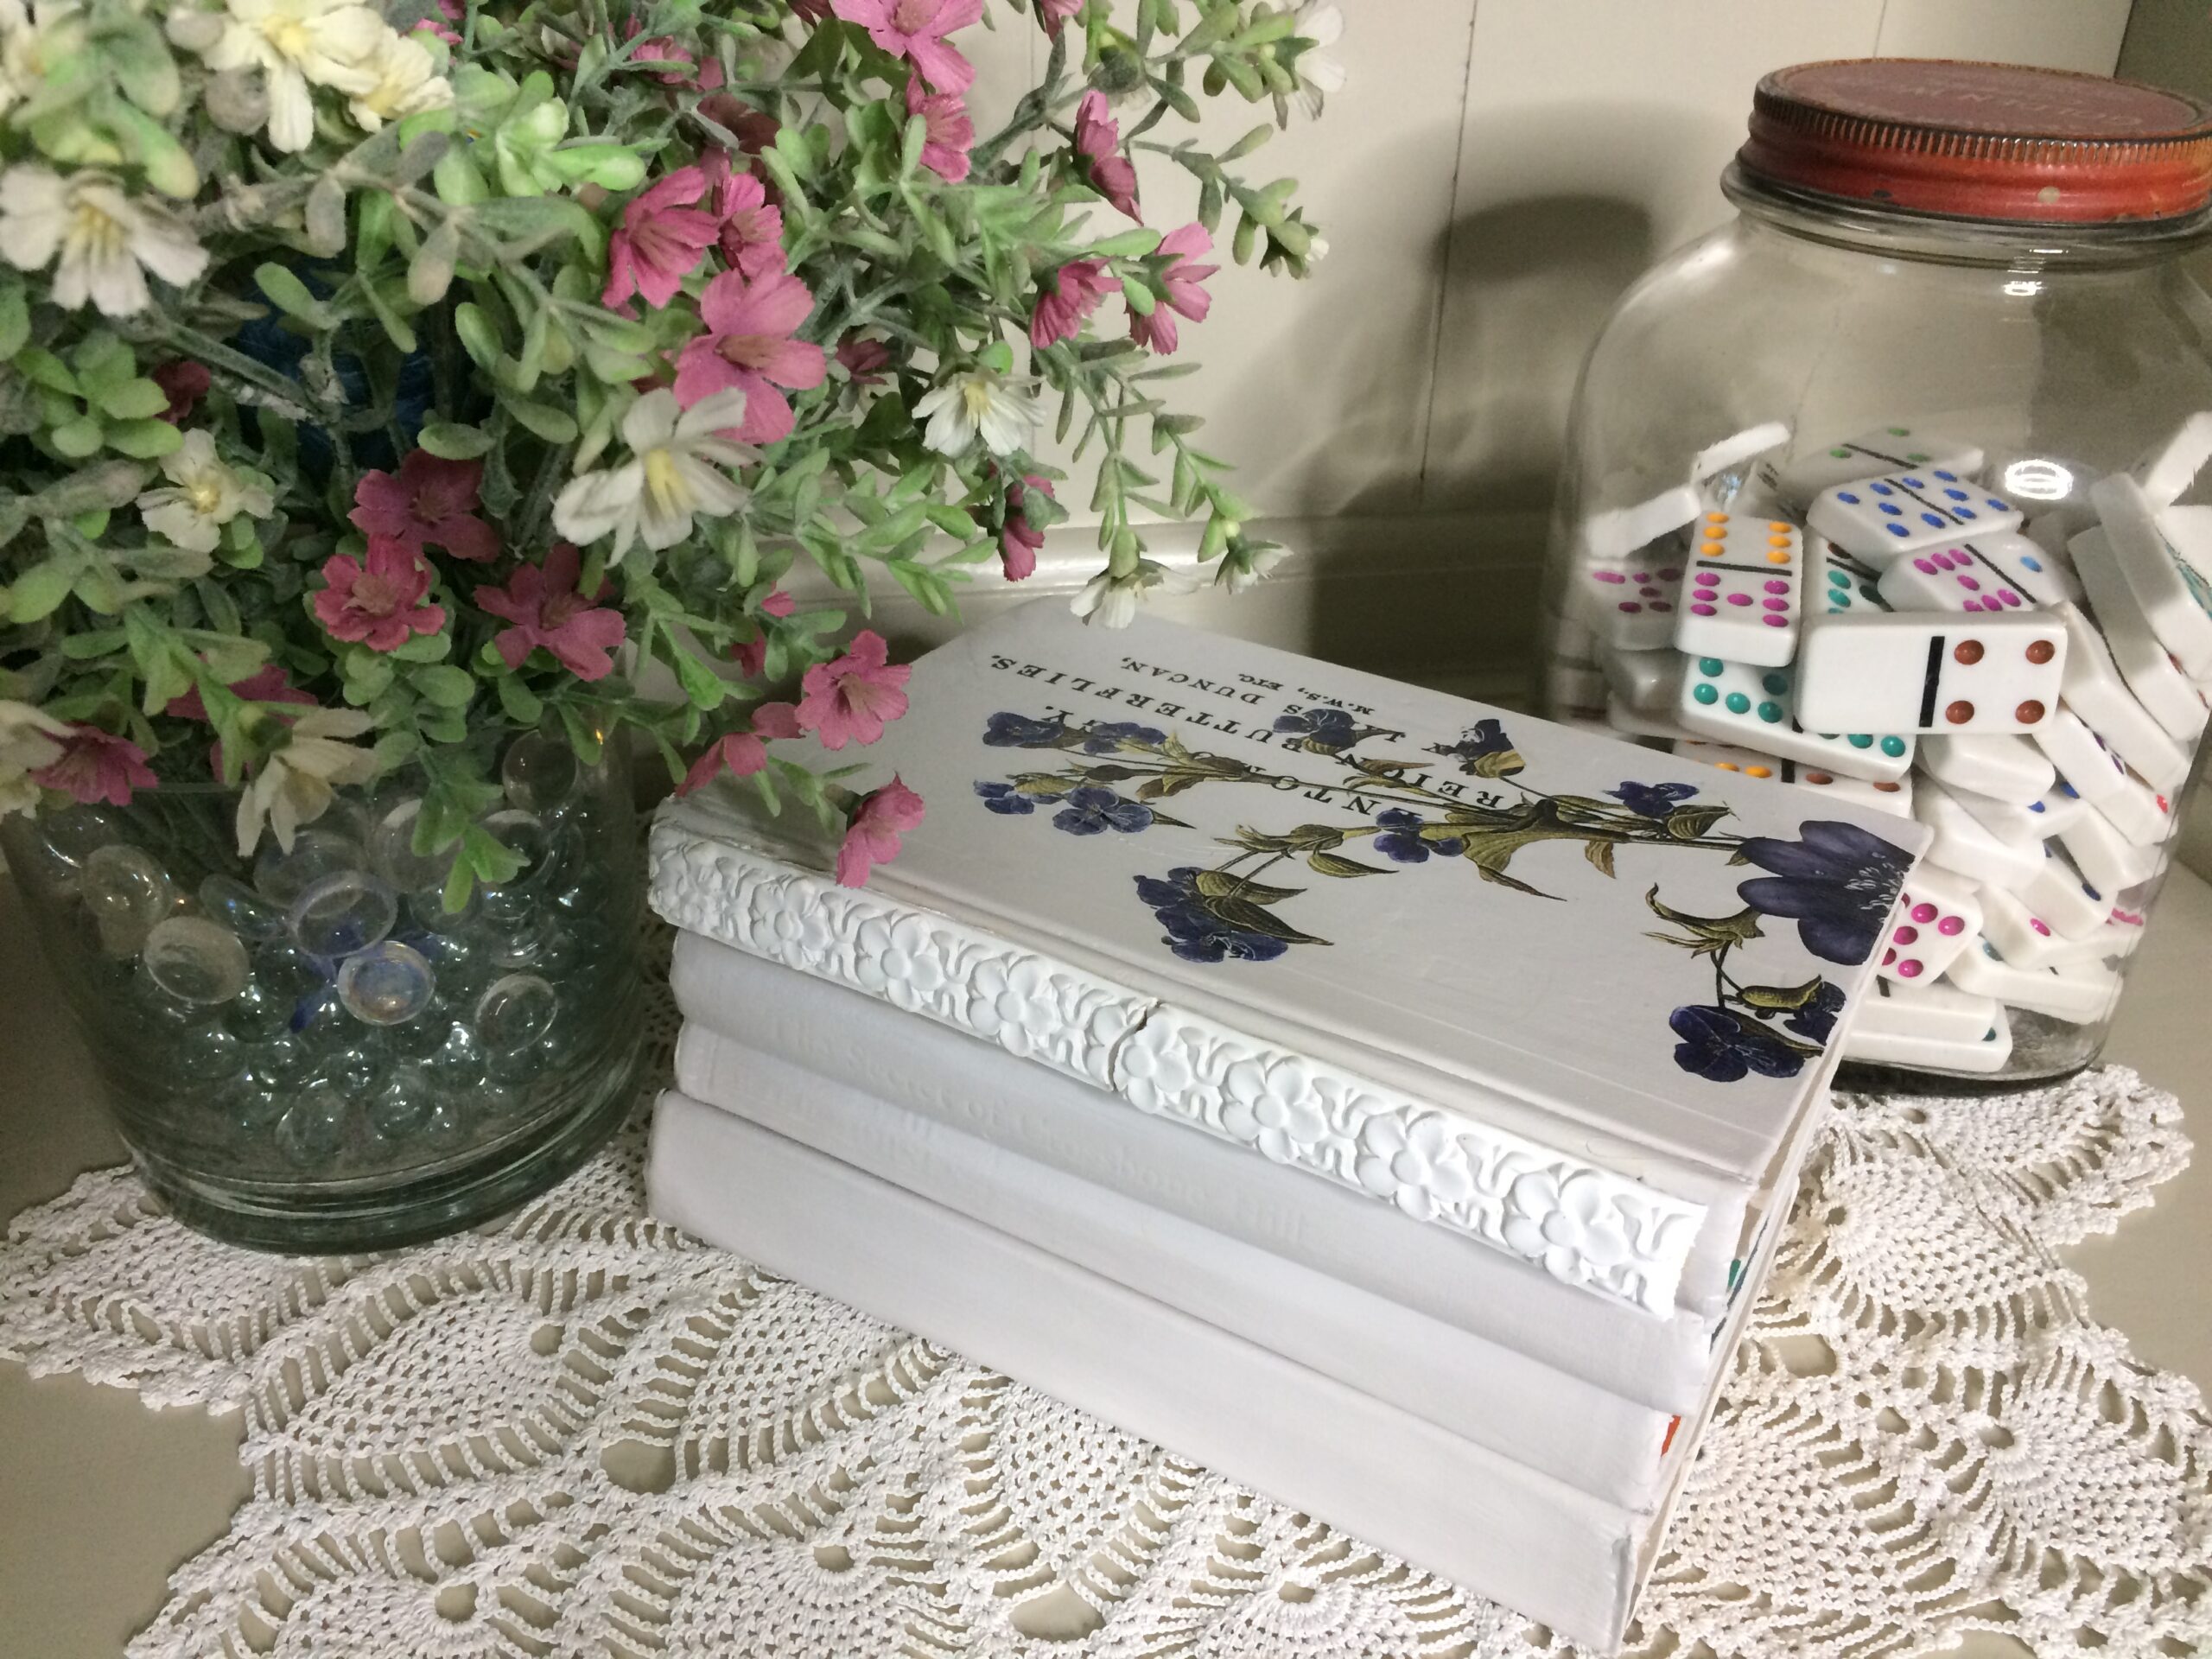
Now, in this next step, I made a mold out of IOD paper-clay and put the mold onto the spine of the book.
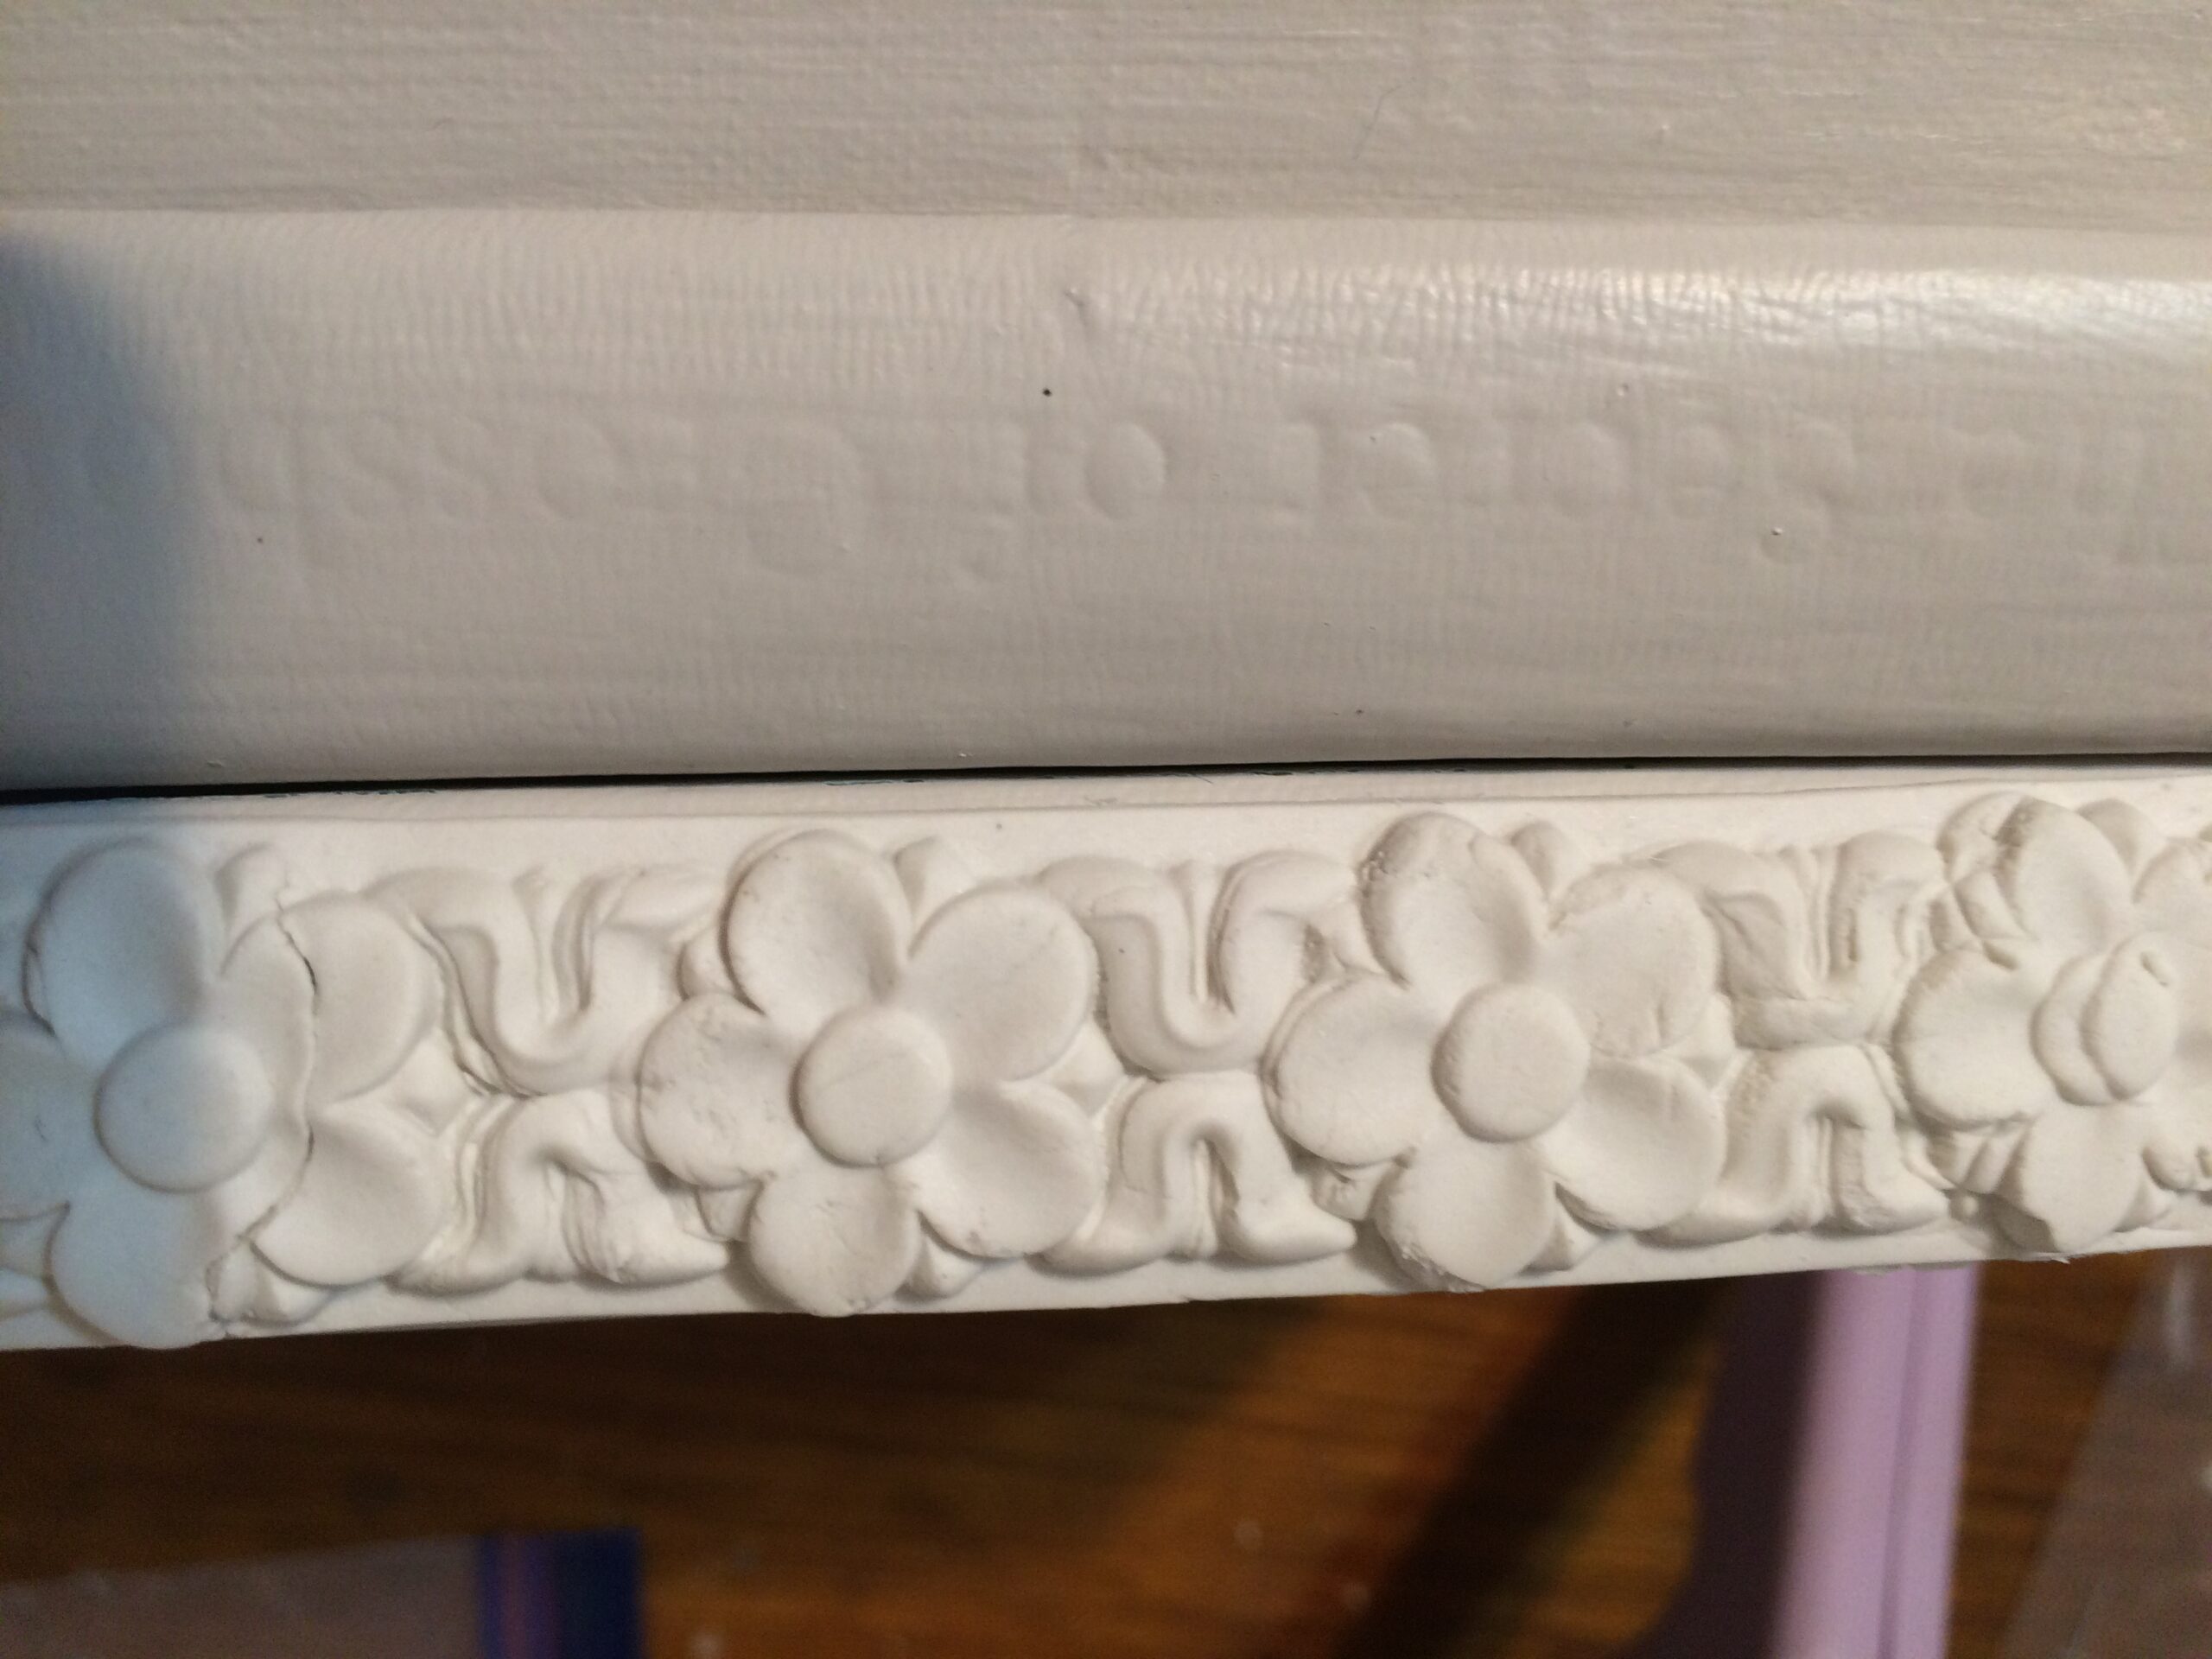
I used hot glue.
You can see in the pictures that this did not work.
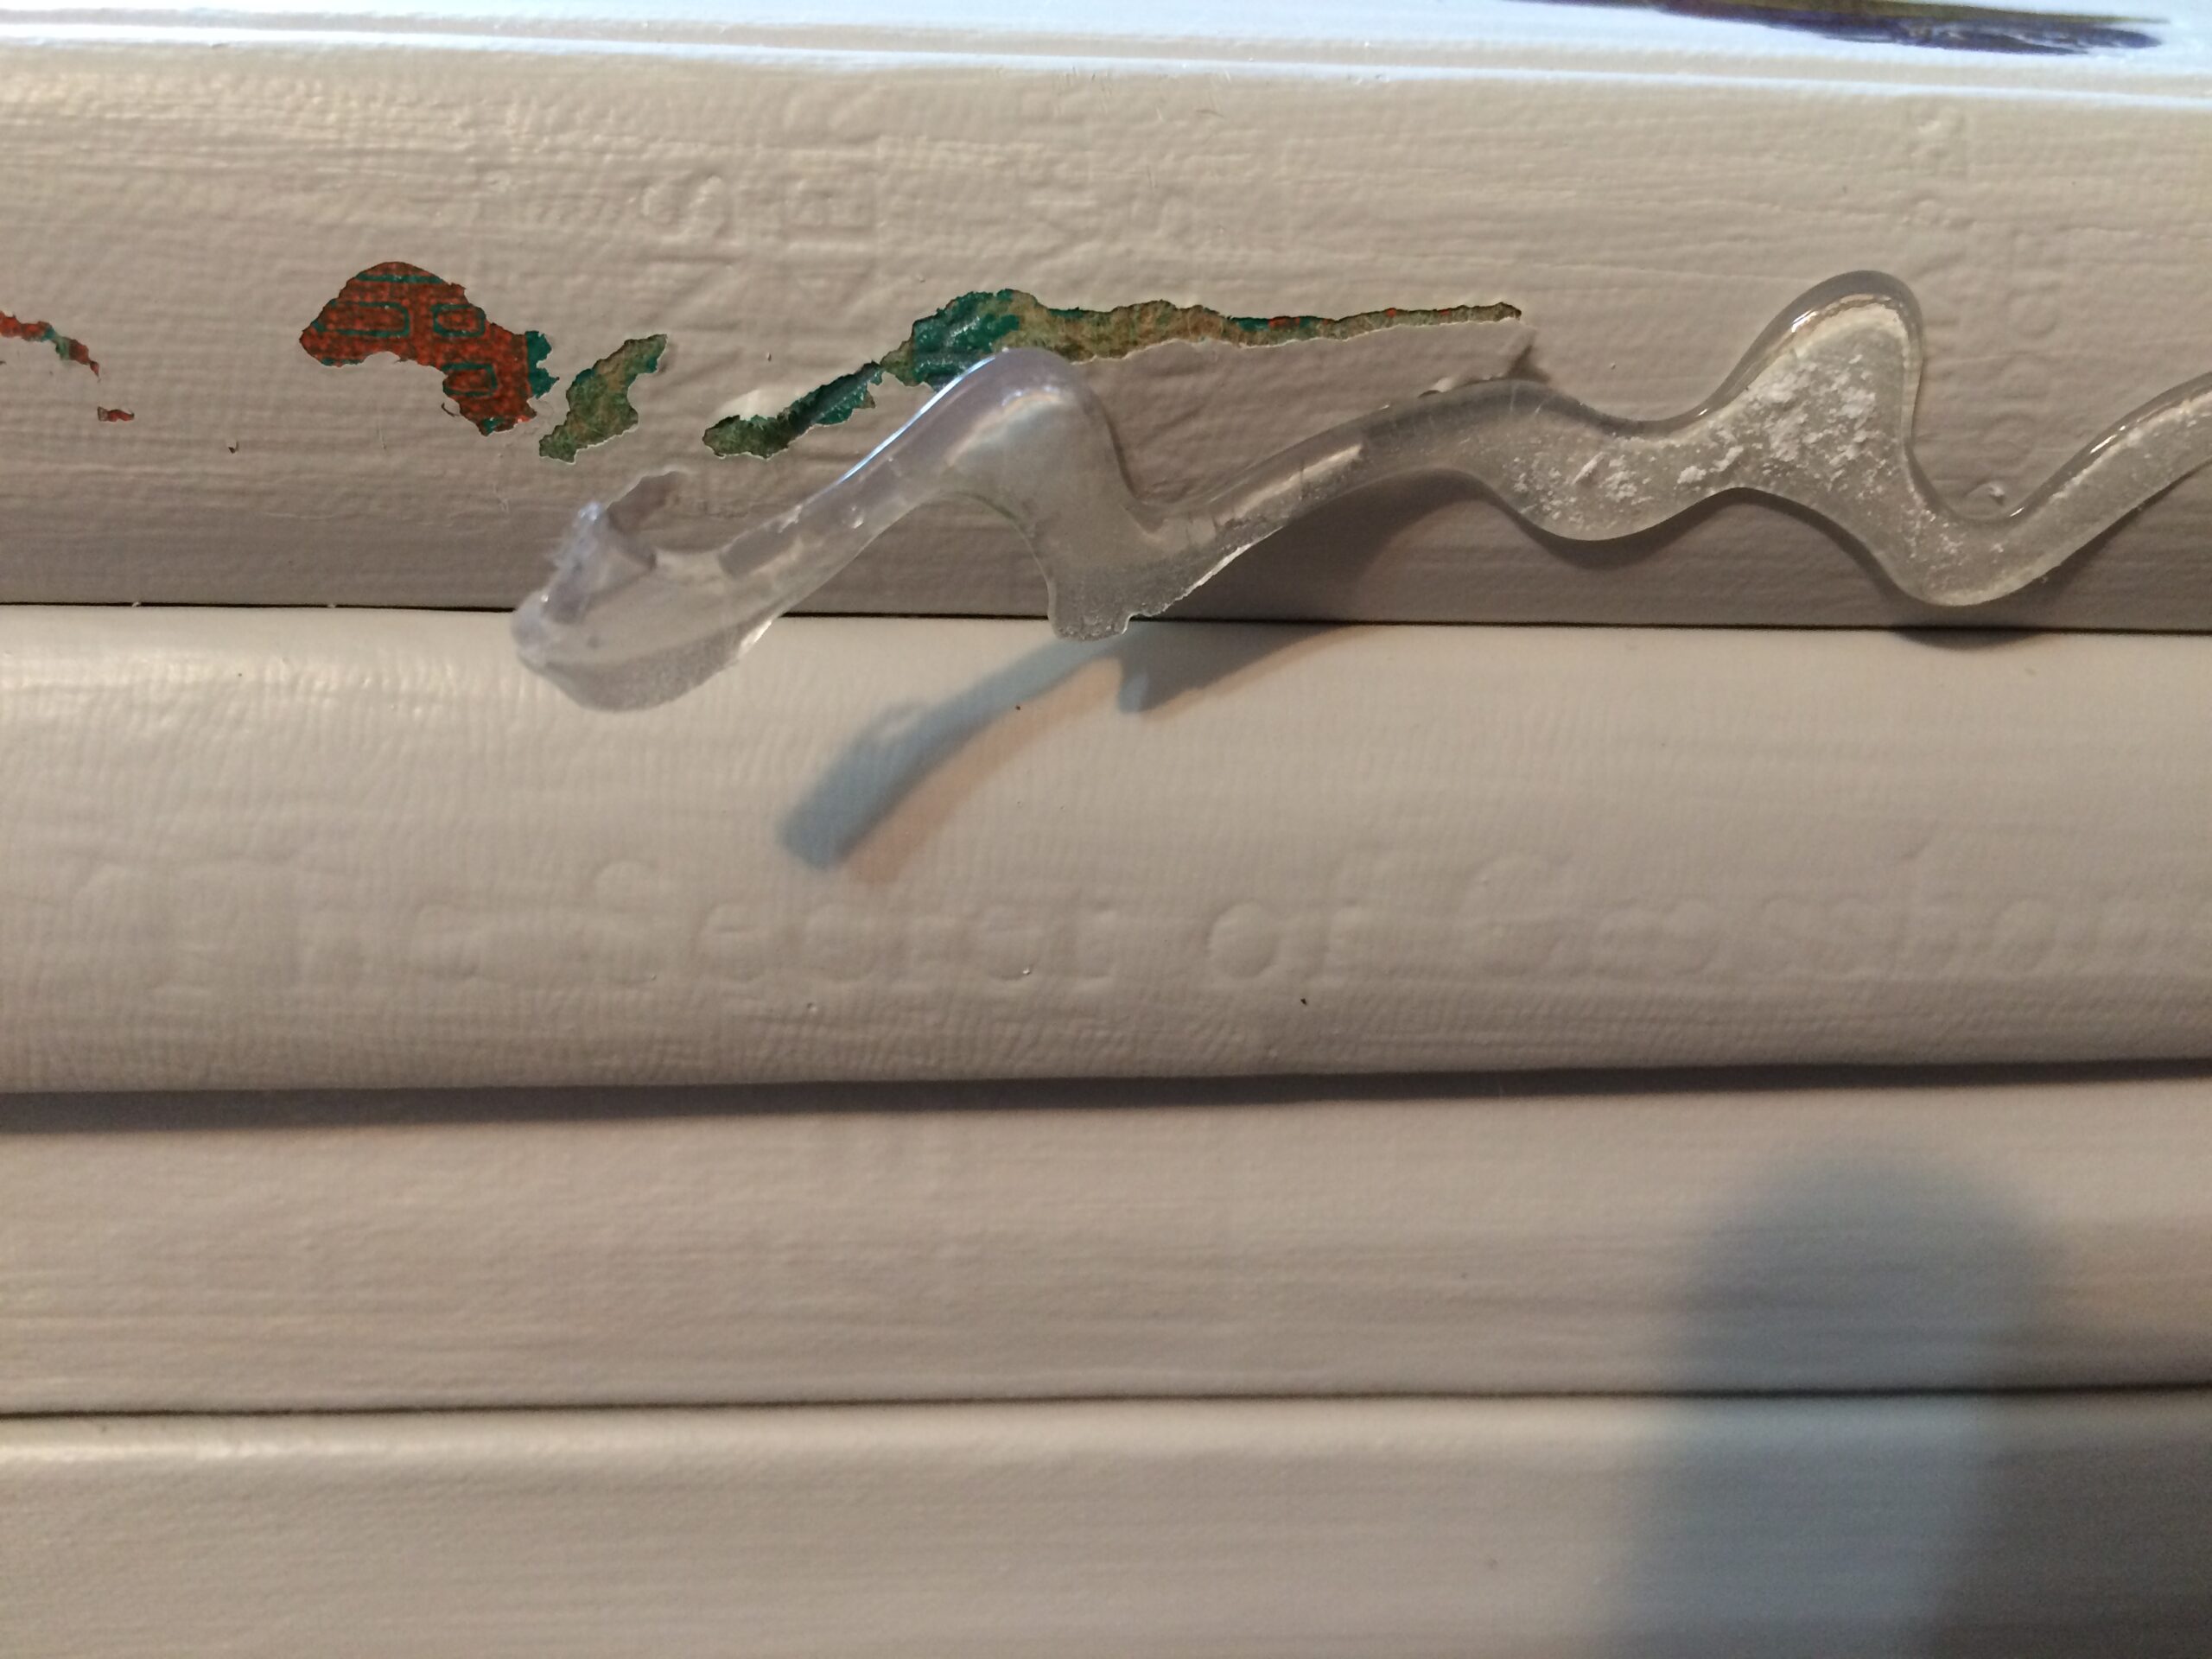
I’m not sure why.
I have a couple of ideas about that!
It could have been because the paper clay was still wet and the hot glue did not adhere well to it.
Sidenote: When using wood glue while the paper clay is wet, can lead to cracking as it dries.
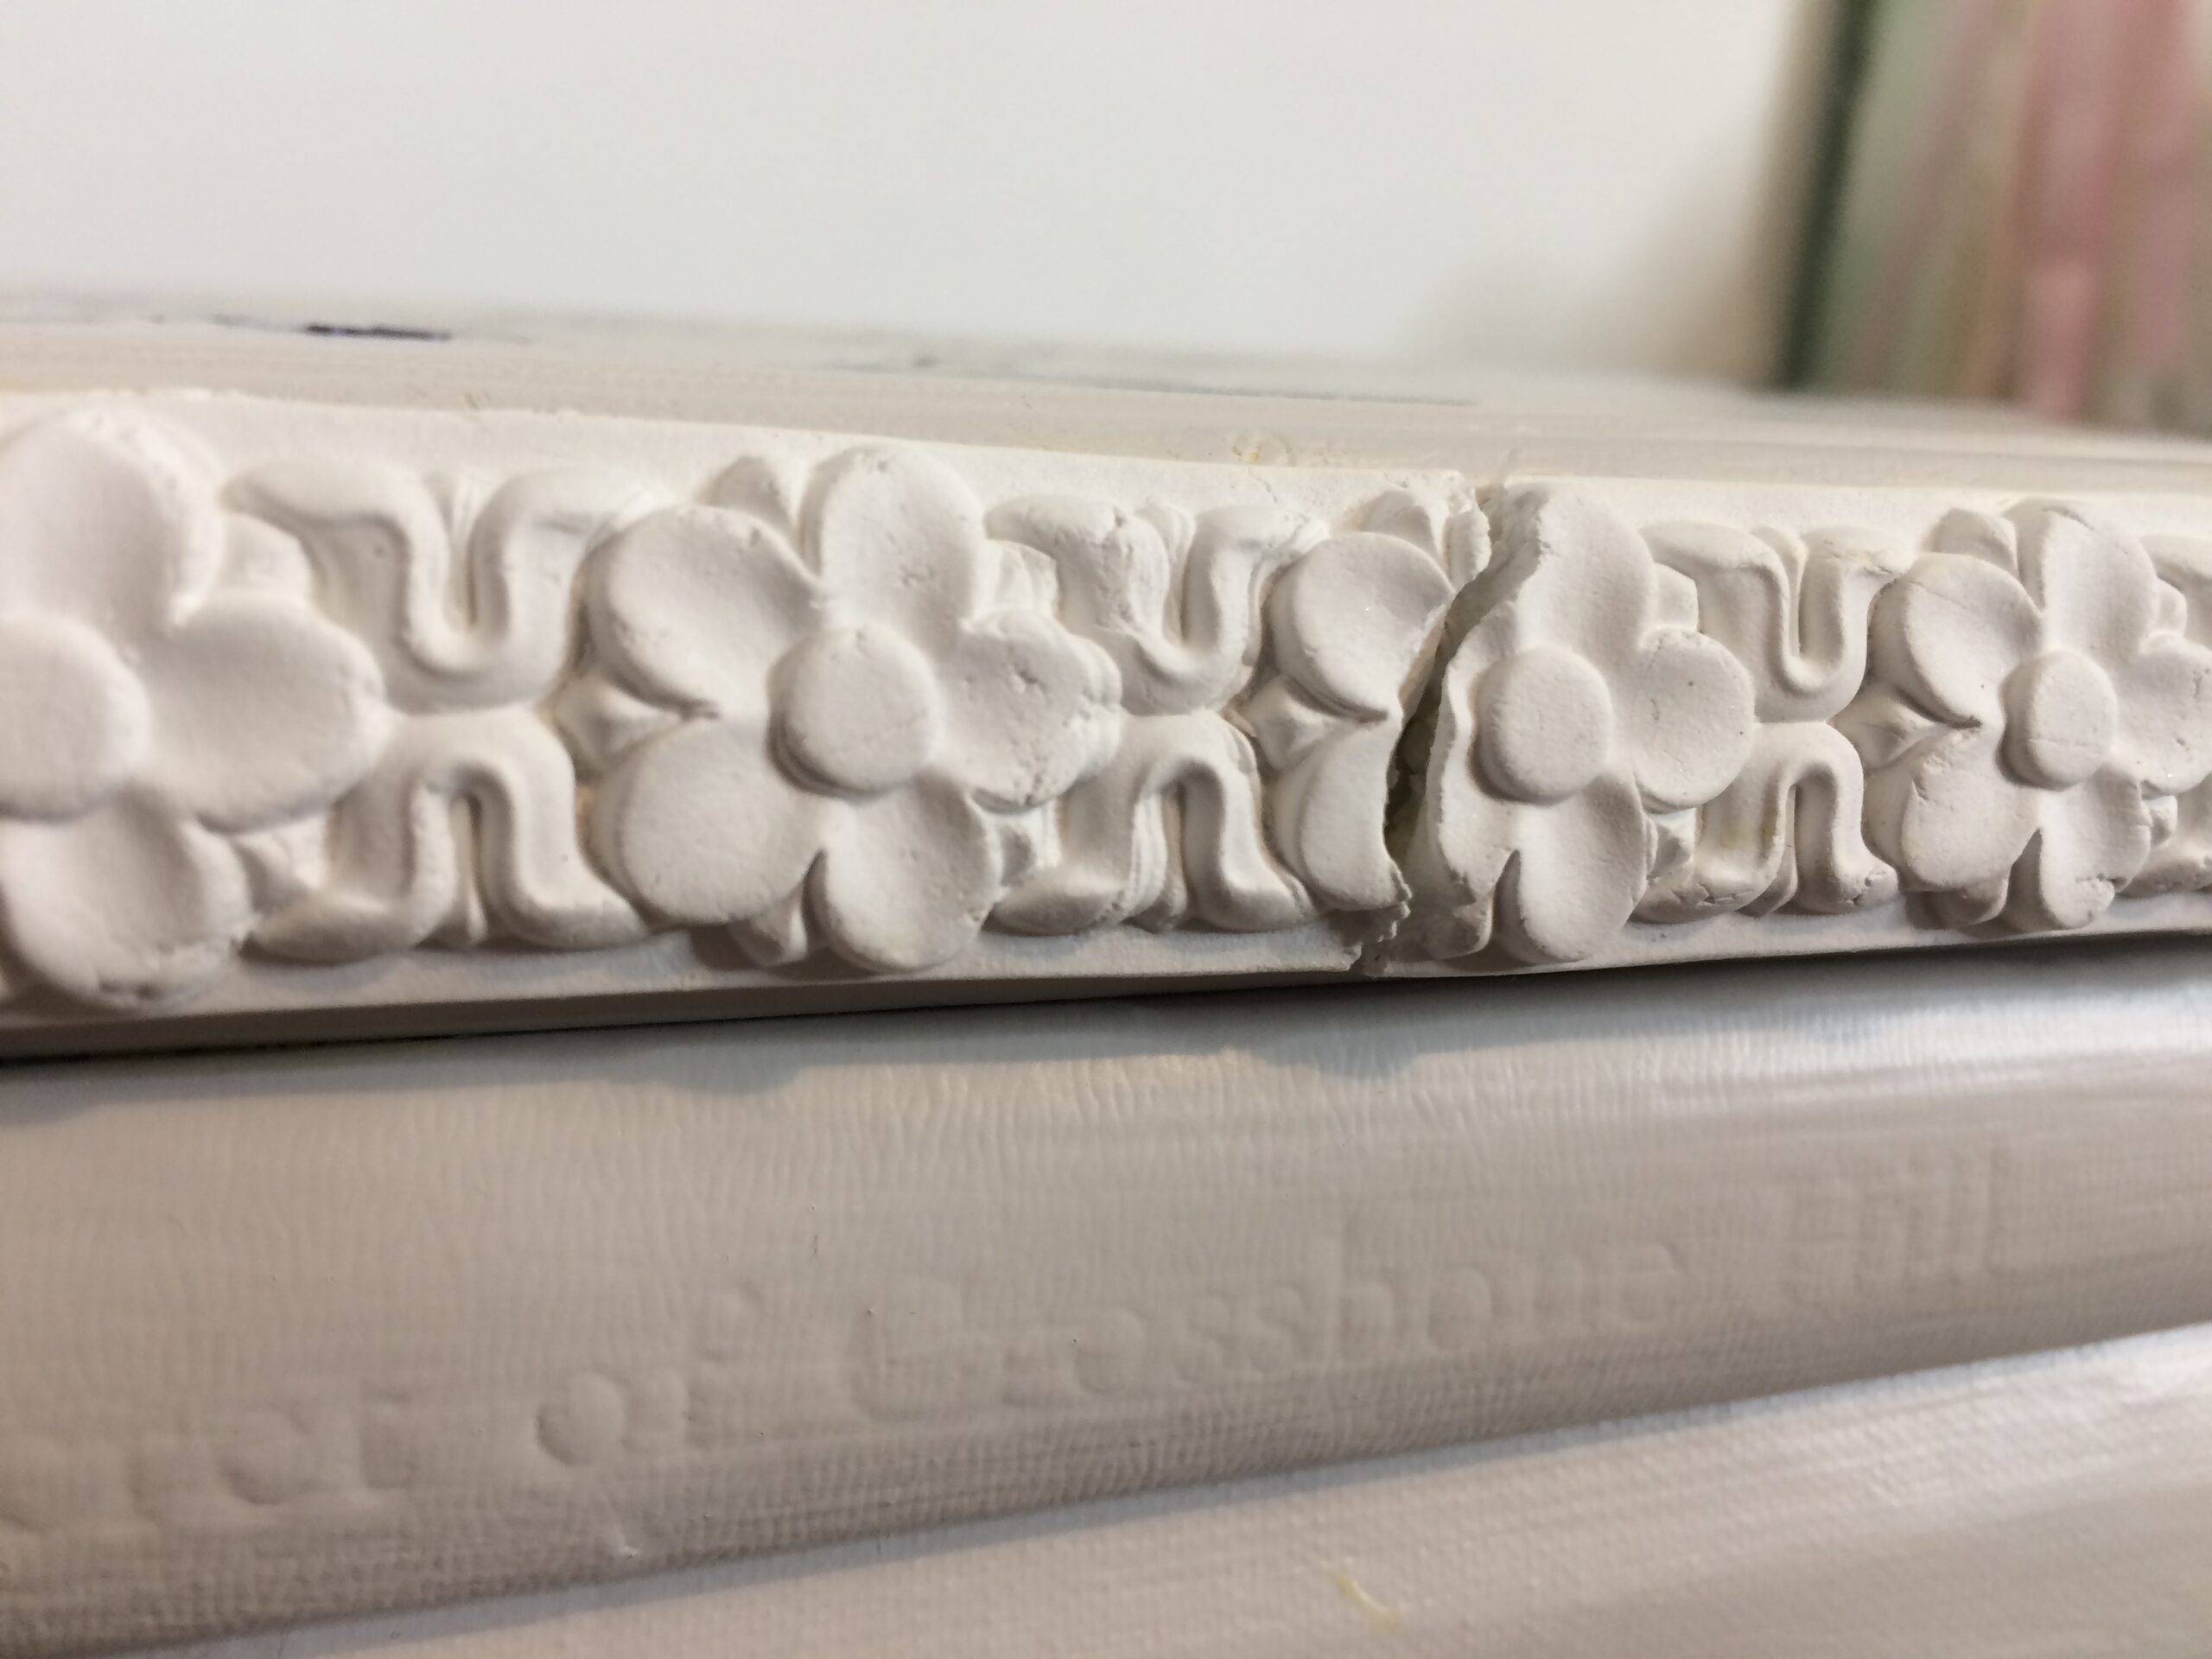
I personally love that look.
Adds lots of character!
Not everyone likes this, so you have been warned.
The reason I tried to add it with hot glue was that it is instantly glued down.
I now know it doesn’t work.
I’m thinking that if the mold had been dry, it would have adhered to the book.
By the time I added Titebond to the mold, the mold was dry and didn’t conform to the spine.
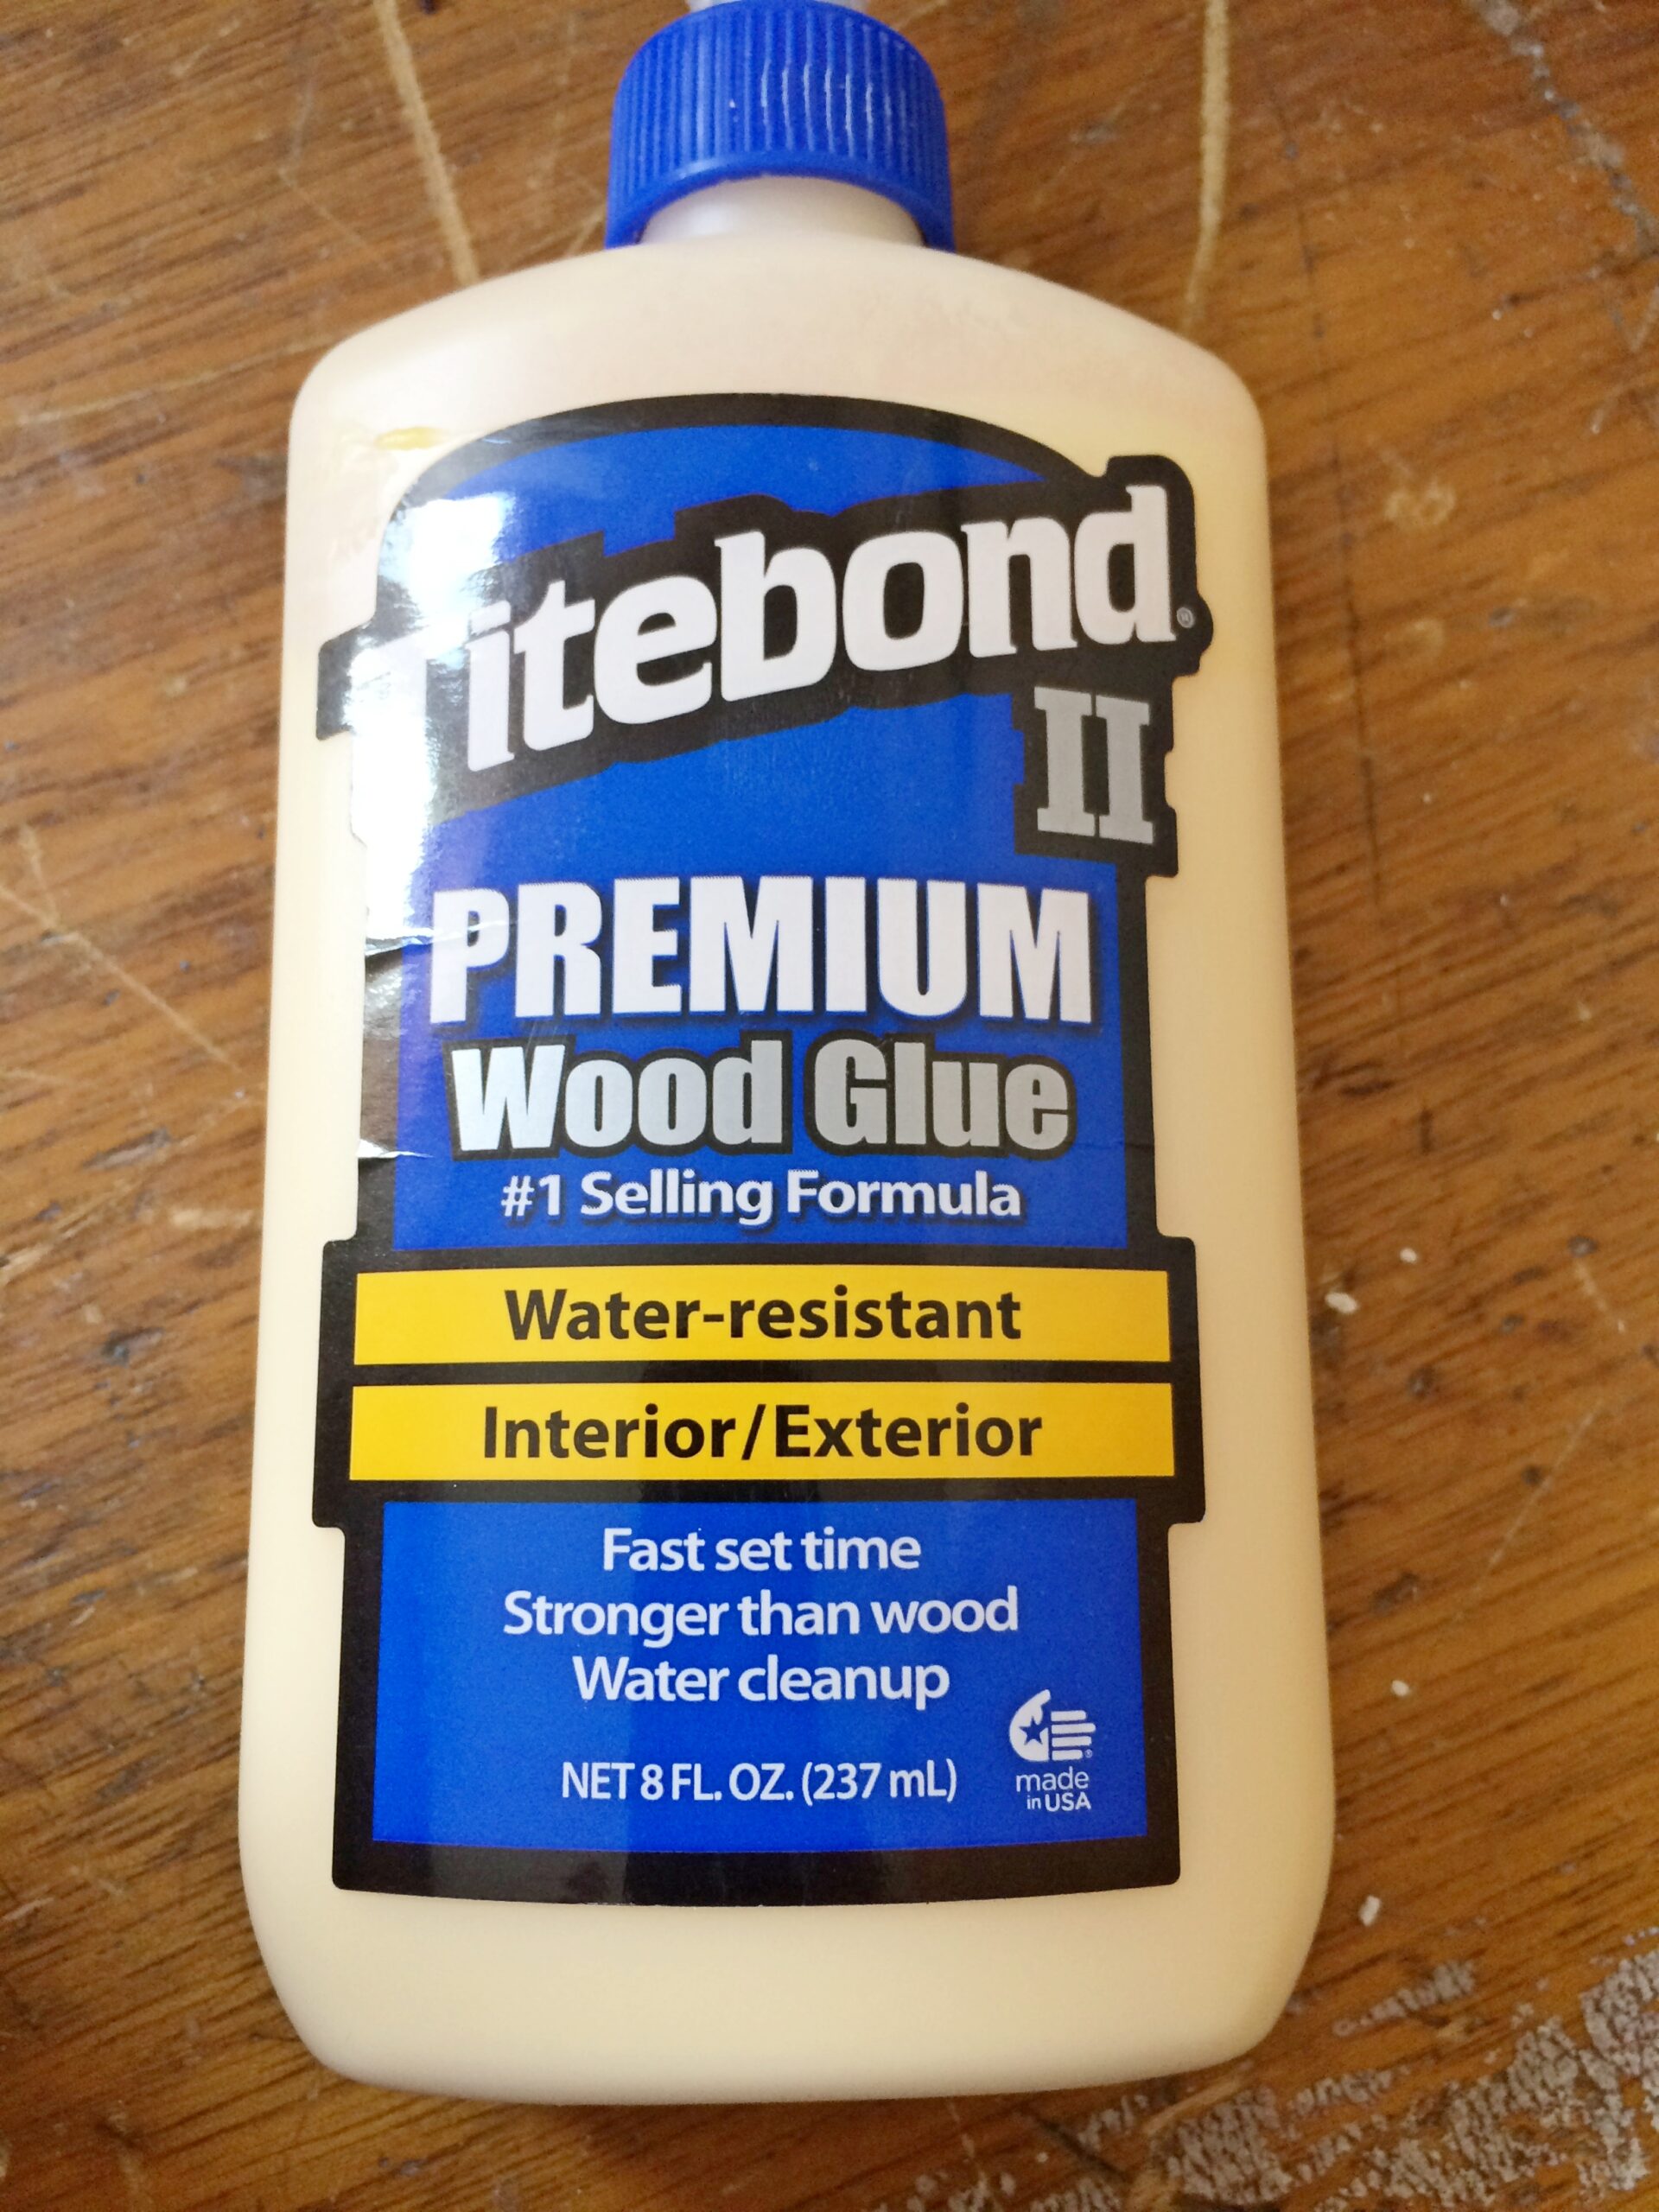
We made it work.
Next time I think that laying the wet mold onto the book and taping it down until it has dried would make it conform to the shape of the spine.
Let it dry, tape it down if you need to so it will dry to the book.
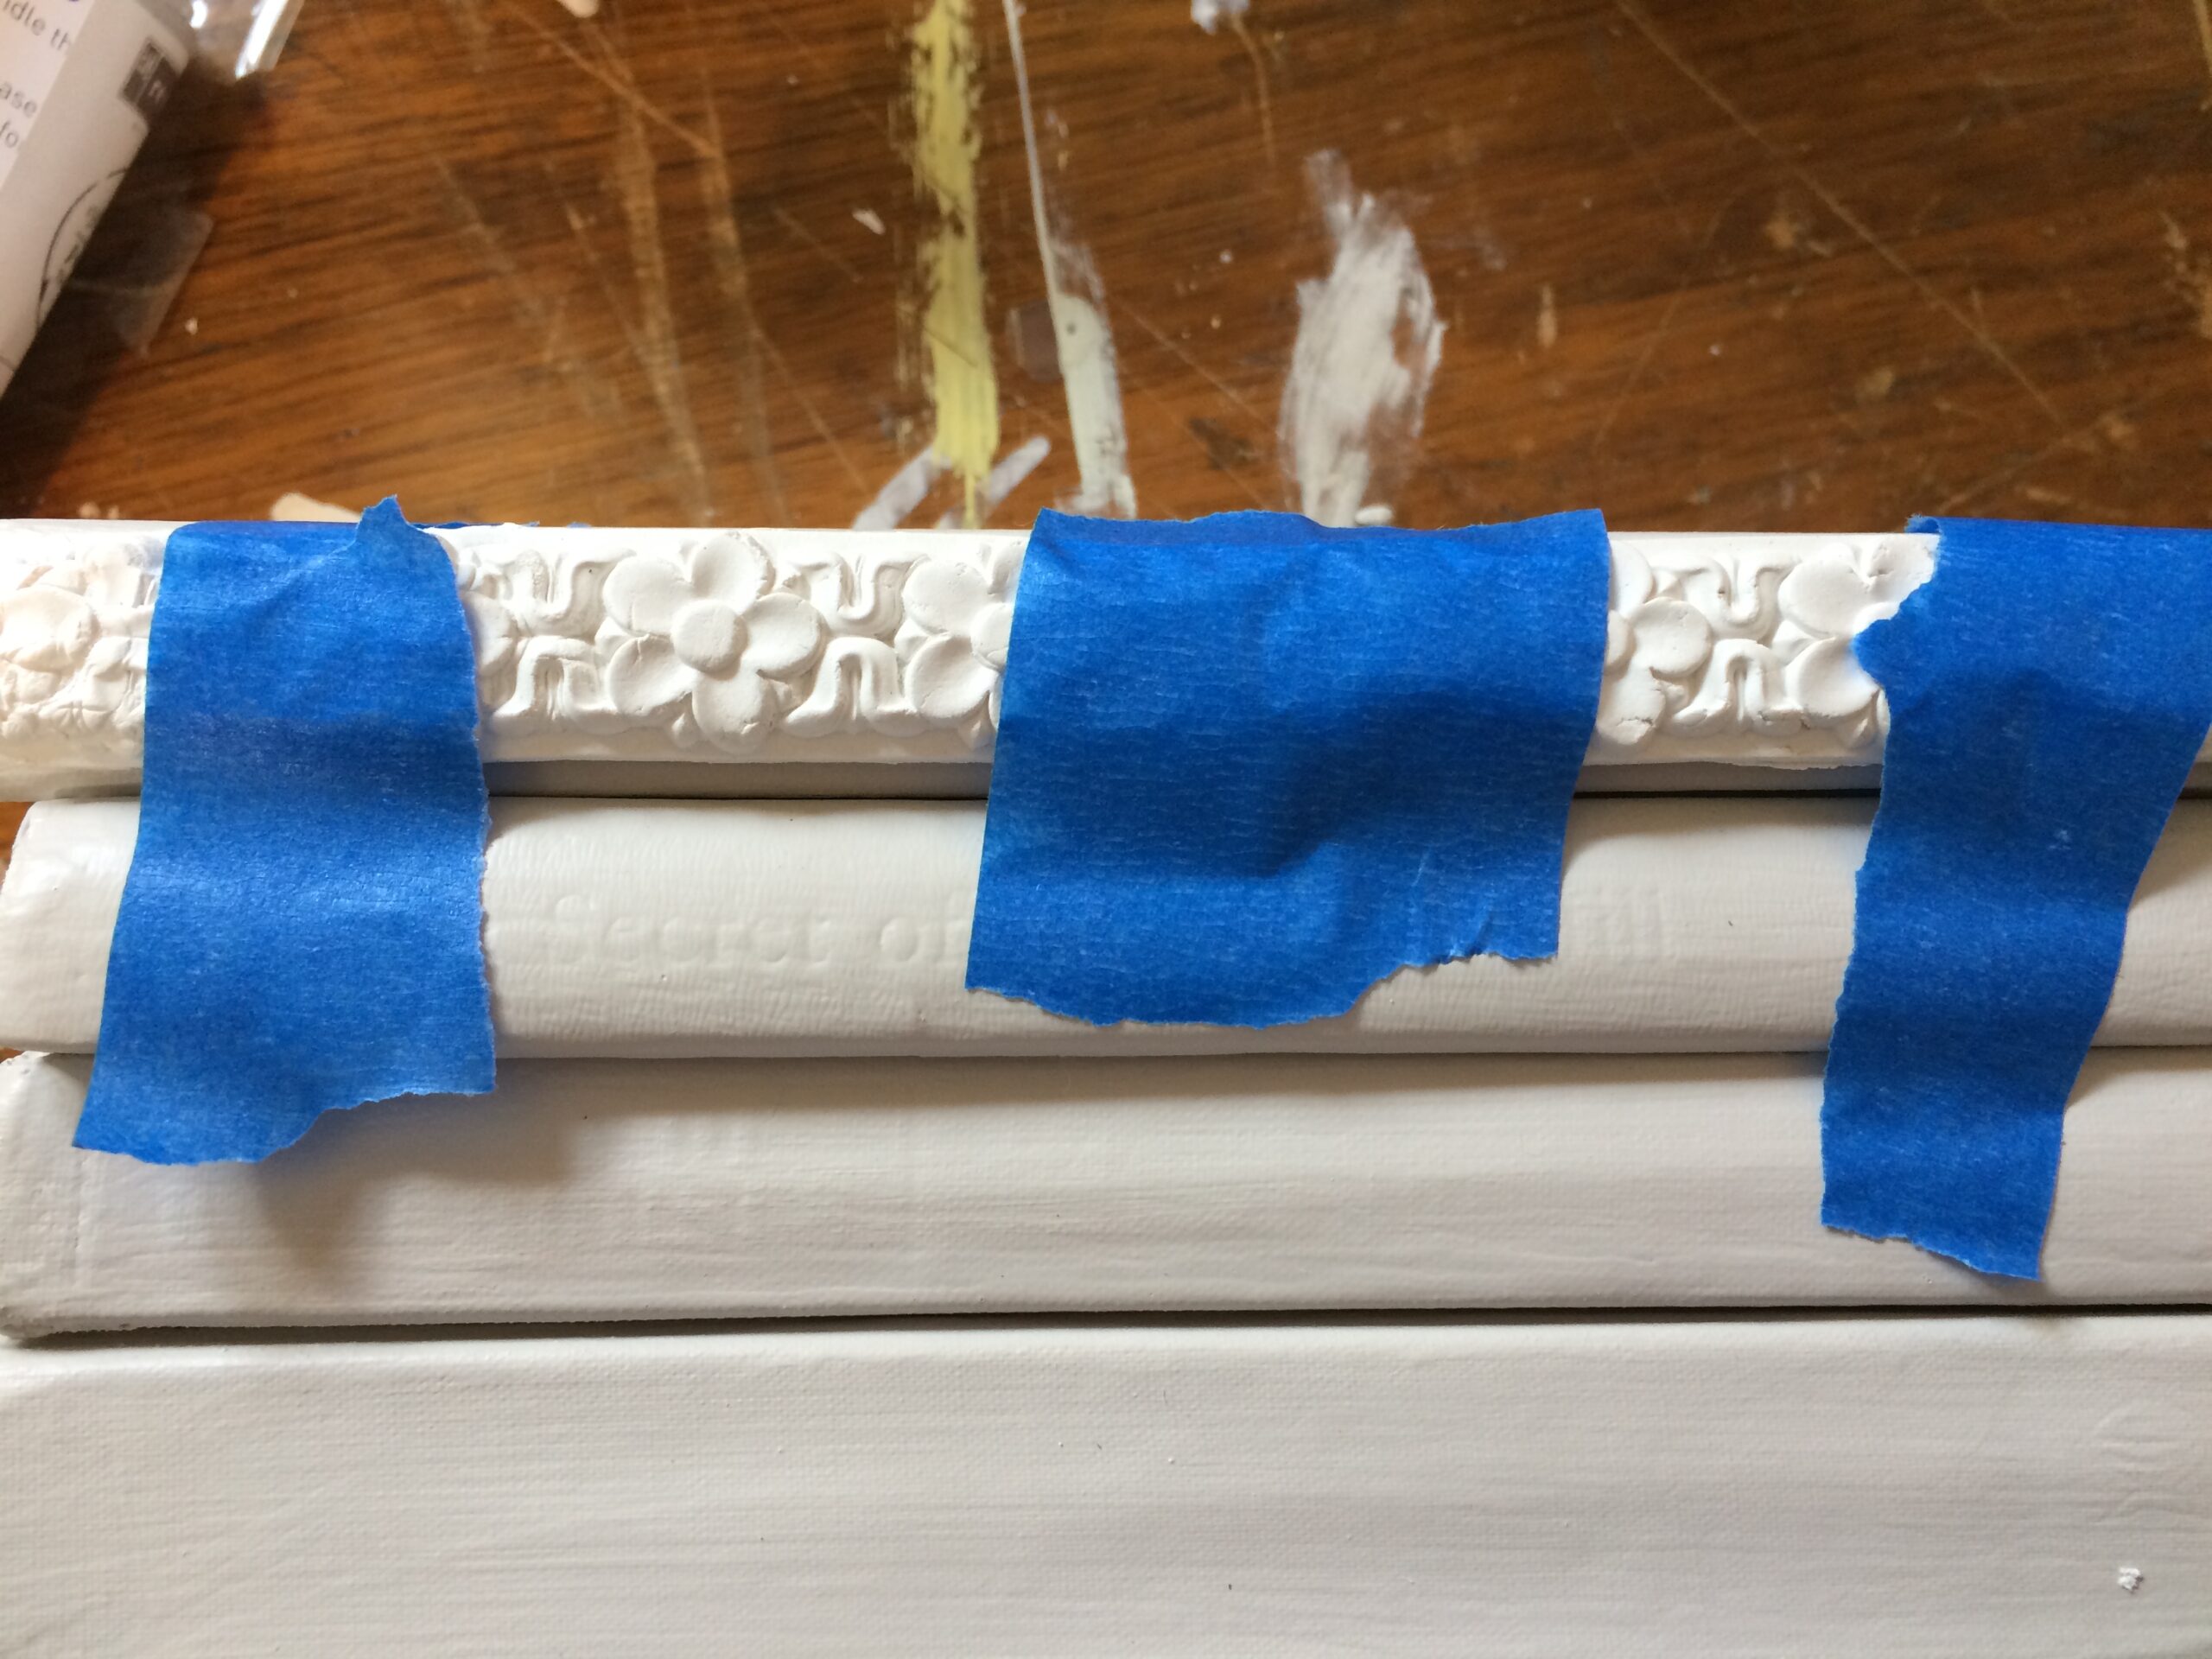
You can paint the mold wet or dry.
It can crack in the drying process, so keep that in mind.
I decided not to paint the mold.
If you have a yellow line from the titebond, just go over it with the paint color you used on the books and it shouldn’t be noticeable anymore.
I love how it takes this little grouping of books and adds another level and dimension to them.
You can wrap it up in raffia or leave it as is.

Such an easy way to add decor to your room.
If you don’t have transfers, use napkins, a decoupage medium, or glue to put an image onto the book.
If you don’t have paper-clay, you can use resin or hot glue in your molds.
Hot glue is harder for me to work with if your molds are bigger.
Resin works great with your molds but takes time to set up.
If you do not have molds to use, find something from your junk pile to embellish your books.
Here is another project using transfers and molds.
So there is how to paint a book and 3 Ways to Decorate a Book
1. Paint & Raffia
2. Transfers
3. Molds
You got this!
Super easy!
Super fun!
Want to see an amazing transformation, go here.
Need an awesome wall hanging using a floral transfer? Go here.
Here is a step stool with an IOD transfer that takes it to the next level.
Want some great ideas on how to use IOD molds? Go here and here for great inspiration.
Have an amazing day, friends
You can go here to find an IOD Stockist.
Yard Sales, second-hand stores and Dollar Store for used books.
*Some of the links in this post are affiliate links. As an Amazon Affiliate, I earn a commission from qualifying purchases. This means that if you click on the link and purchase the item, I will receive an affiliate commission at no extra cost to you. All opinions remain my own.*
Are you going to paint dominos next? Like the ones in the last pic.
Maybe I will, lol.
That paper clay idea is brilliant!!!!
I am totally copying you. 🙂
Happy day!
KariAnne
YAY, I can’t wait to see what you do!!