Hello Dear Friends,
I am so excited about today’s project!
*This post contains Amazon affiliate links in which I earn a small percentage from qualifying purchases through these links, at no extra cost to you. Thank you for helping to support my blog! *
In all honesty, it has taken about a year to get to this point. Not actually working on the project itself but figuring out what to do with it.
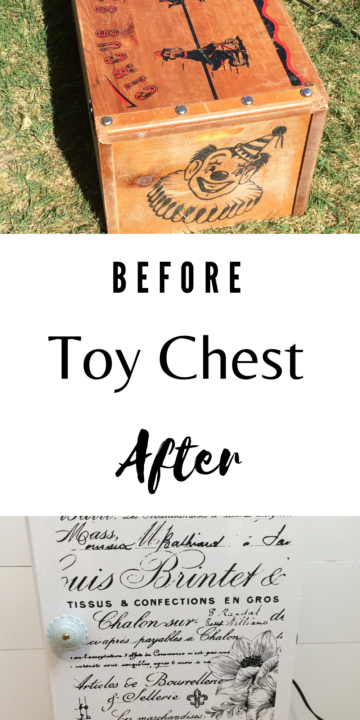
This is what it started as.
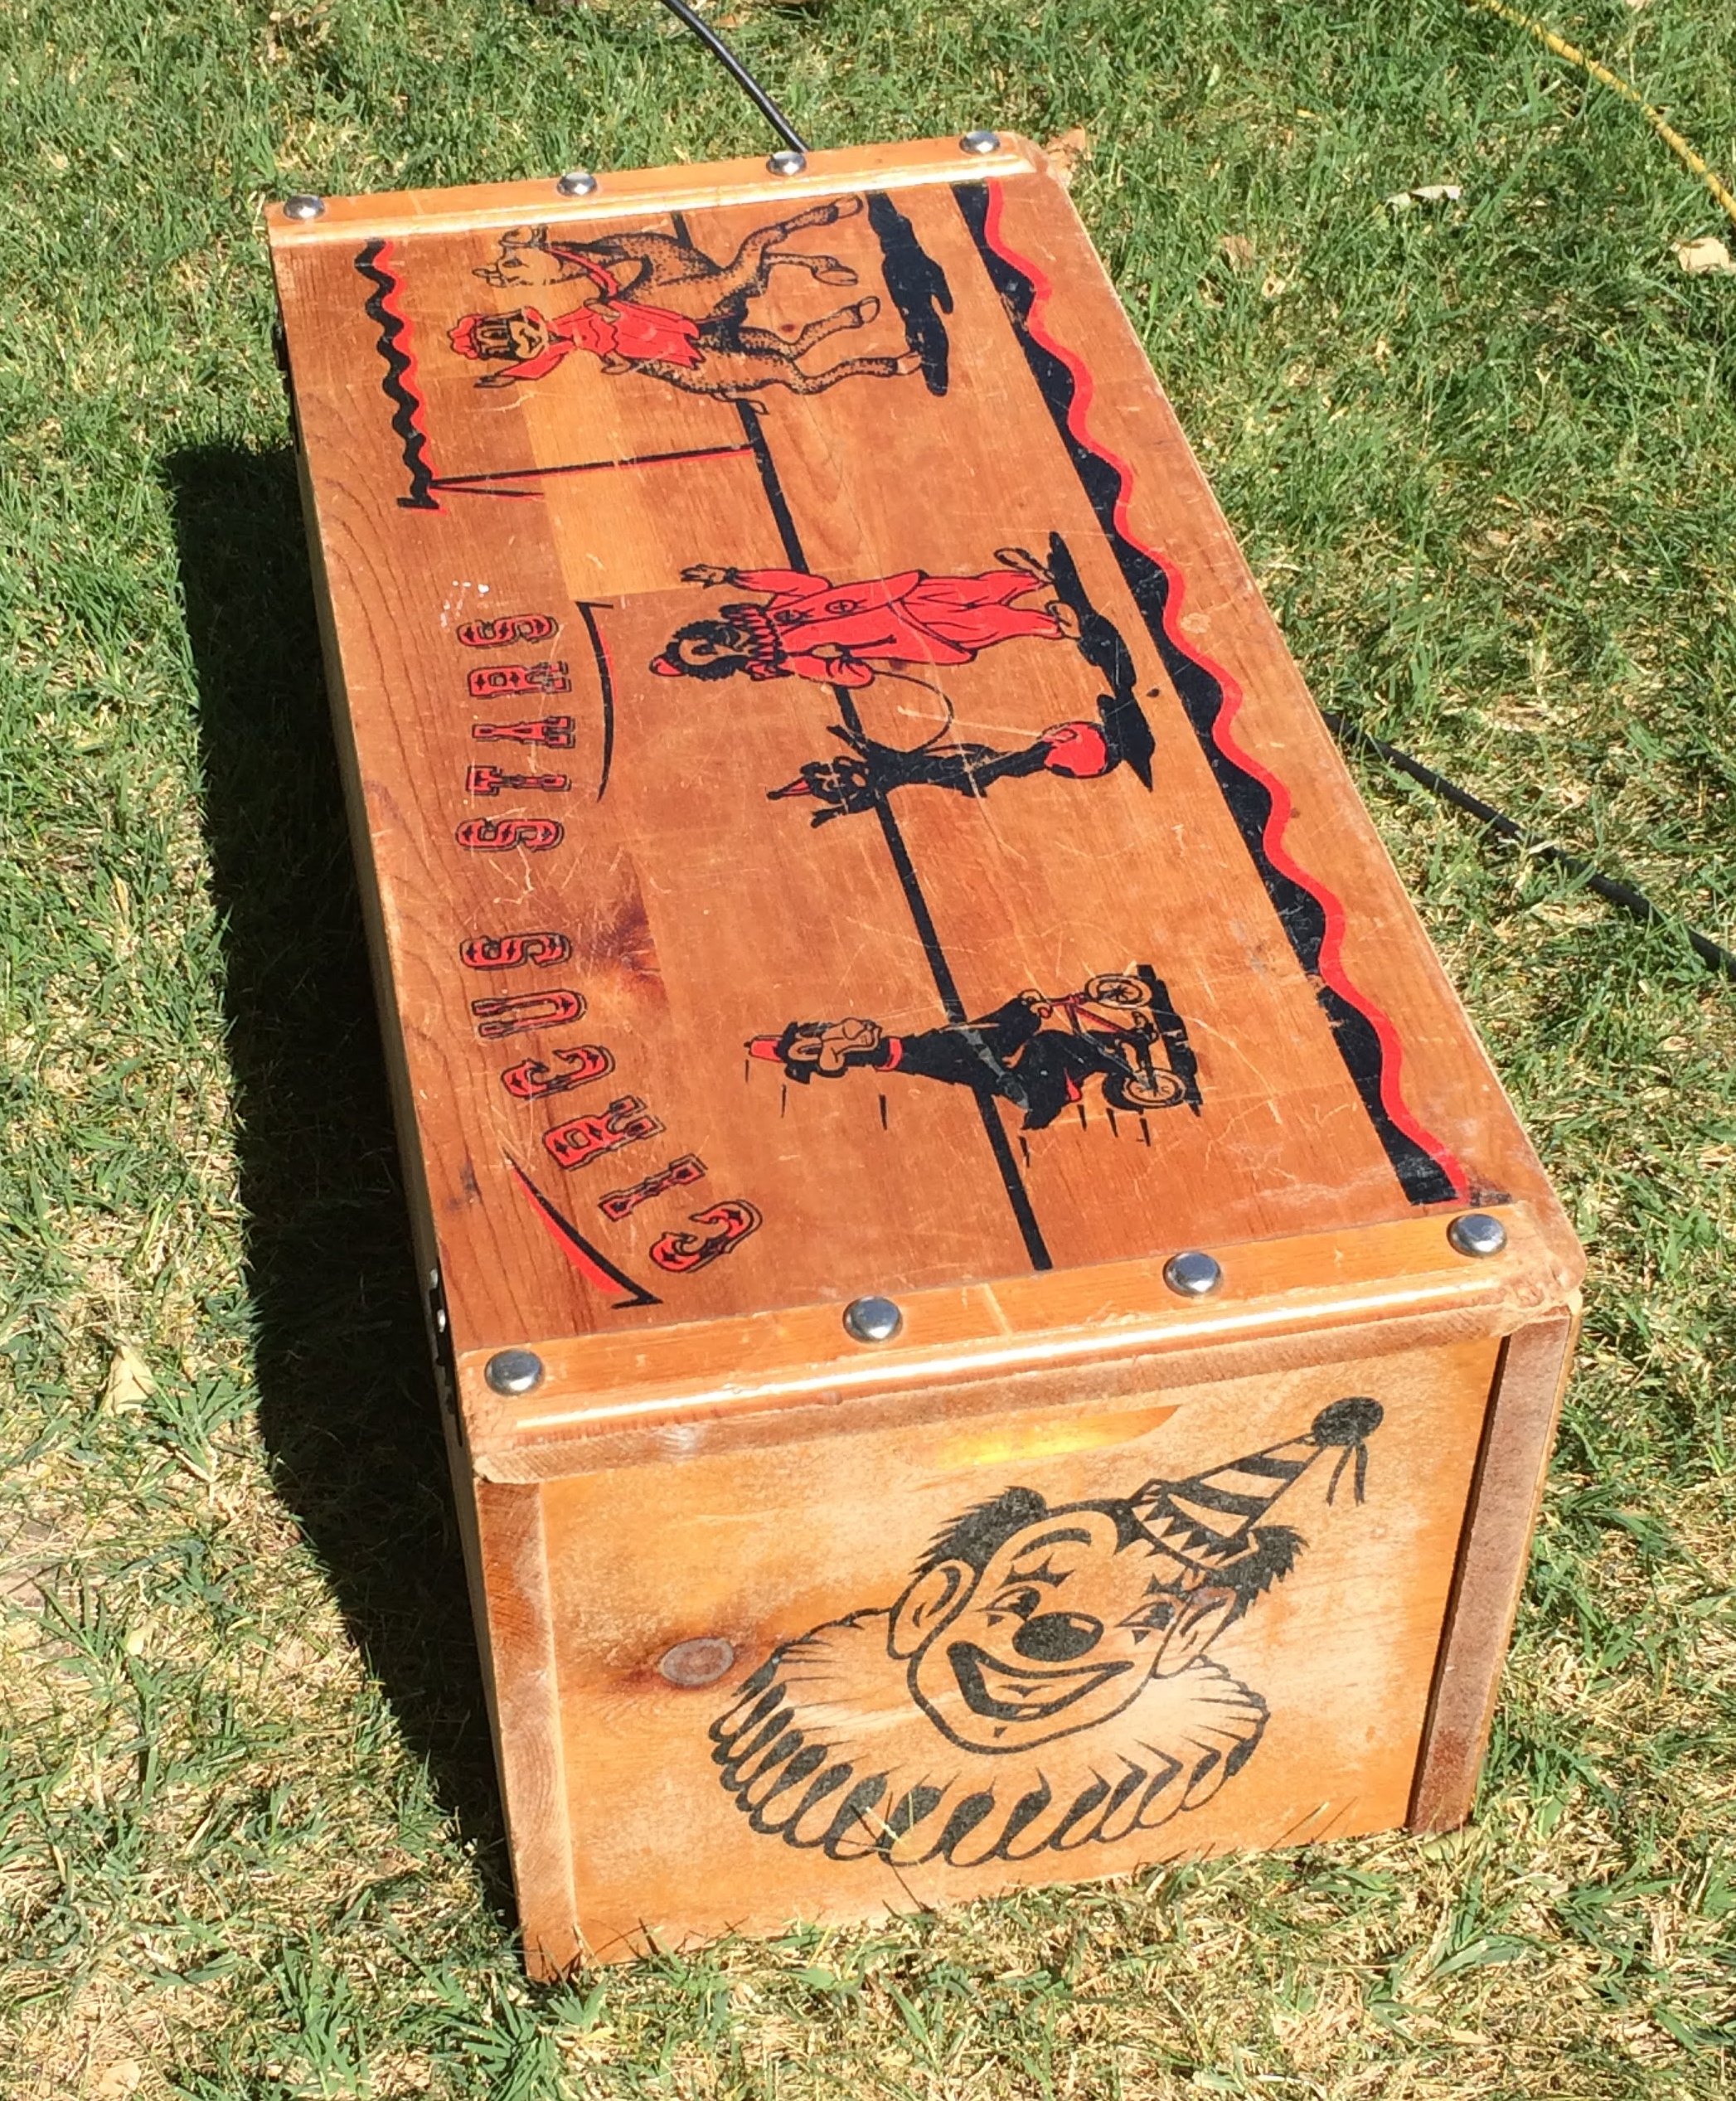
A clown toy chest.
Back in the day, I collected clowns.
I don’t remember who gave this to me and I am not sure but I think I received it in high school or shortly after. This toy chest is about 35 – 40 years old. It’s held a lot of things.
Recently it held photographs and last year I finally went through them all and found a better place for them.
So last year I started the transformation of this toy chest.
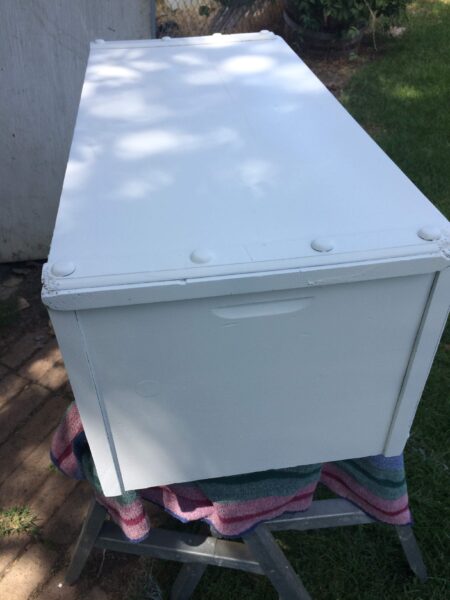
In my mind, I knew what I wanted the outcome to be but executing it would be a process.
This is what I imagined it would become.
Are you ready?
Do you want to know?
A stand of sorts. Stand it up on end and becoming something else entirely. Like a nightstand.
Brilliant, right?!
I could imagine it turned on its side and having wheels that look industrial and of course painted white or gray.
The first thing I did was buy wheels off of Amazon.
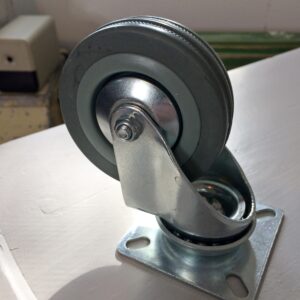
The wheels I bought are no longer available but aren’t they cool? These are similar but not quite the same color.
I ended up painting my toy chest with a primer while painting a bunch of other projects last year.
Then it sat, for about a year. Just waiting for its glorious turn.
I finally got to it and I’m so excited with how it turned out.
After giving it a coat of paint by Behr in my favorite color Burnished Clay I began to see its potential.
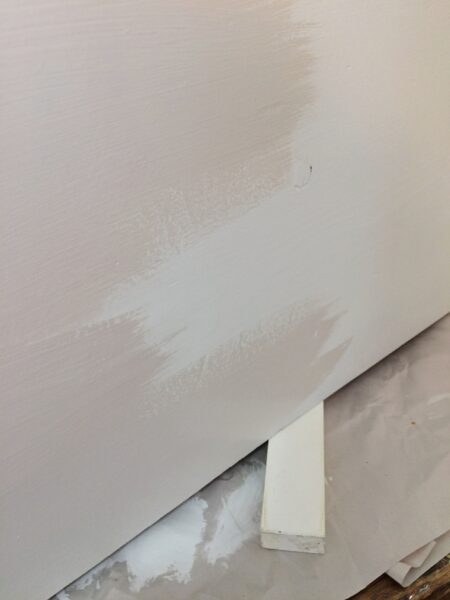
The way I painted the toy chest was almost full coverage. I painted one coat on top of the primer.
When I went back to see if it needed another coat of paint I saw that some places looked like I had dry brushed it. I loved the look and decided to keep it.
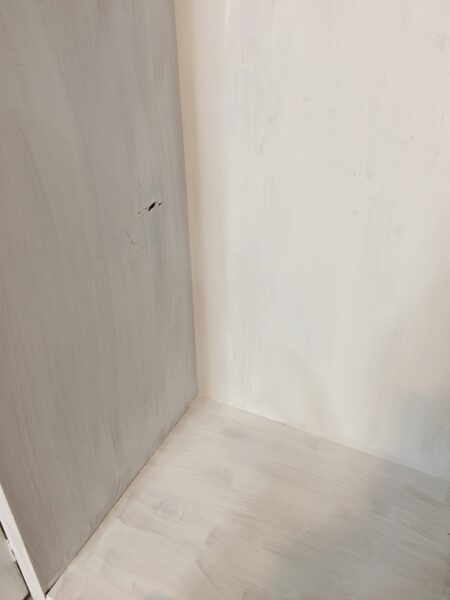
Initially, I didn’t paint the inside but later went back and painted it with Rust-oleum Chalk paint in Linen White. It took two coats.
I also took the latch off that held the lid up.
Oh, and I didn’t tell you about the wheels.
After painting the toy chest, I put the wheels on. Not going to lie, this was a process.
I thought this would be a breeze to do BUT I am here to tell you, I make mistakes.
Here is just one example of a mistake that turned out good.
So here I am marking where to put the holes from the wheels.
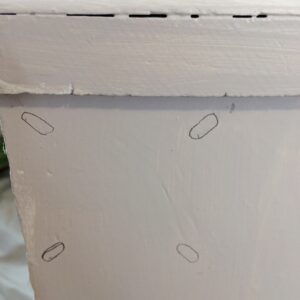
Marked them but only drilled for one wheel to make sure things went as planned.
Nope, wouldn’t fit. I didn’t have room for the bolts inside the box lol, so I had to redrill those holes. I still need to go back and fill in the holes. Sad times, lol.
And honestly, I fought all four wheels. My dear husband had to come to my rescue and get them set up for me.
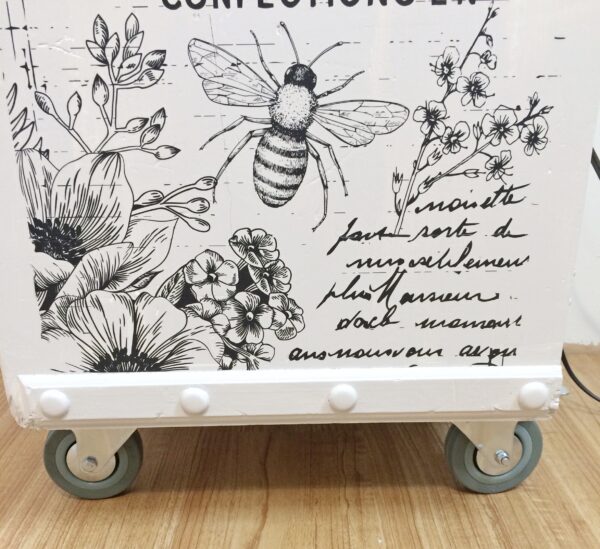
Isn’t she looking lovely? Sigh!
After that was taken care of, everything else seemed to fall into place.
I usually don’t have things figured out all the way and this was the case with this toy chest.
So don’t go into a project thinking it is set in stone because if you are like me, it is a work in progress and things change continually. At least that is the way I roll.
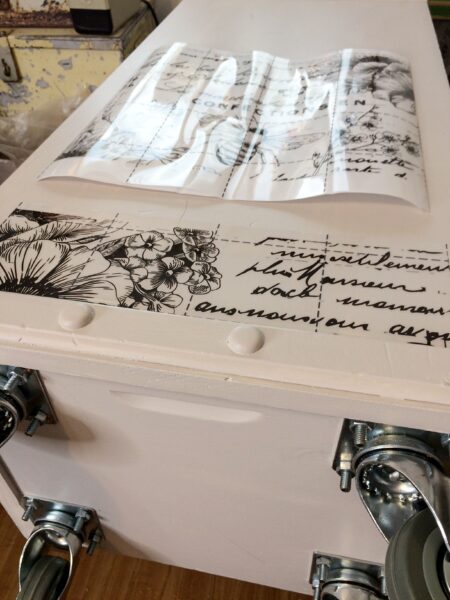
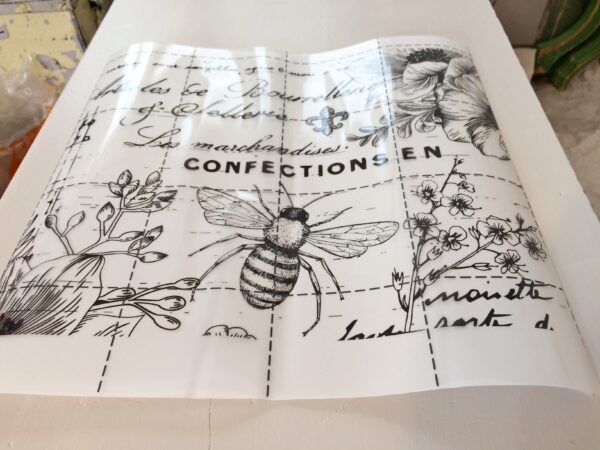
If you are new to my blog you might not know this but I love transfers. Especially from the IOD sisters but the transfer I used in this project came from Redesign with Prima. I found mine on Etsy and it is called Lovely Ledger
If you want to check out some other projects with transfers, you can find them here, here, here, and here.
If you would like a little tutorial on how to work these transfers, this might help.
I do believe that transfers can transform any project and take it to the next level.
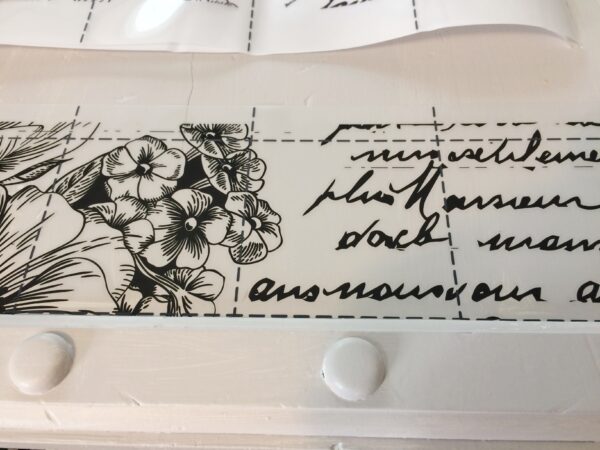
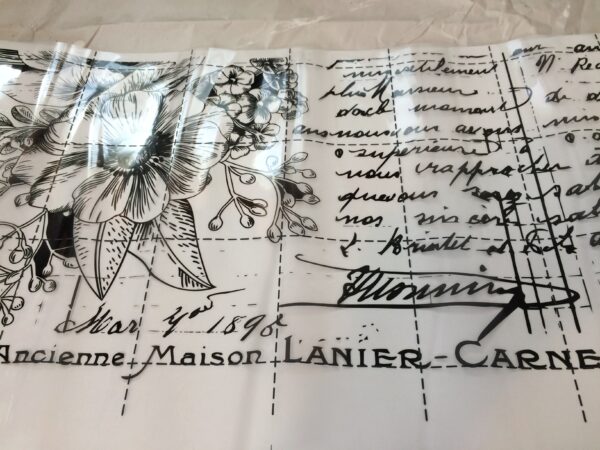
I am so in love with this transfer. It comes in three sheets, making it easy to line up with your project.
There were a few places that needed to be filled in so I took some pieces from another transfer I had, cut them to size, and placed them onto the toy chest.
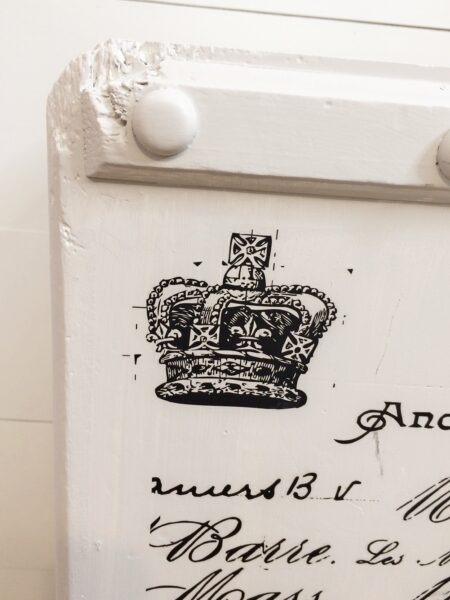
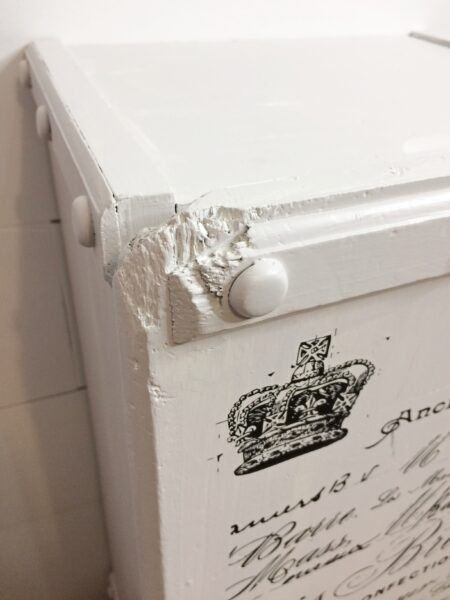
I have a little story about those chewed up corners.
When I was going to college in 84′, I owned an Old English Sheepdog, he hated to be left alone, hence chewed the corners of this toy chest. I was going to fix them but in the end, decided that it added character to the piece and therefore left it alone.
I wasn’t quite finished with this project.
I had this beautiful knob I bought a couple of years ago at Hobby Lobby and it was perfect for this project.
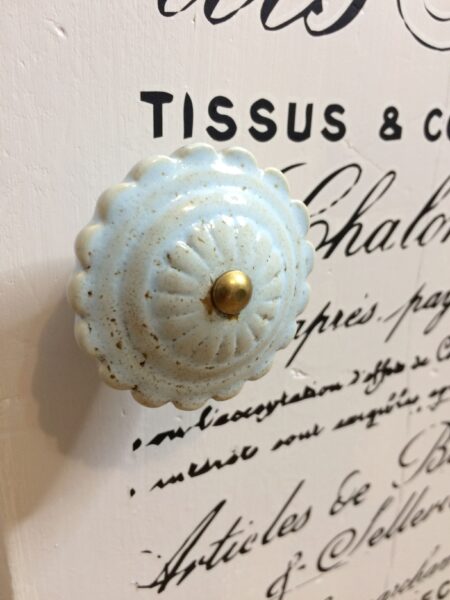
Initially, I had thought it might need a magnet to keep the door shut, so I purchased one a Home Depot.
I ended up not needing it.
It fits in beautifully, don’t you agree?
I am so excited with how this project turned out!!
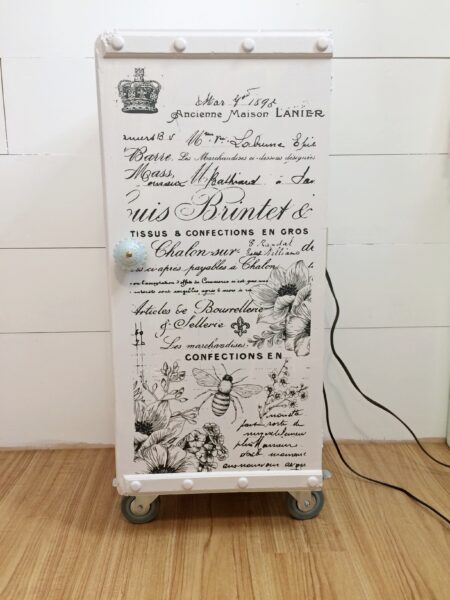
I love looking at it every time.
I love how I took something that I once loved and something outdated and transformed it into what I call a piece of art!
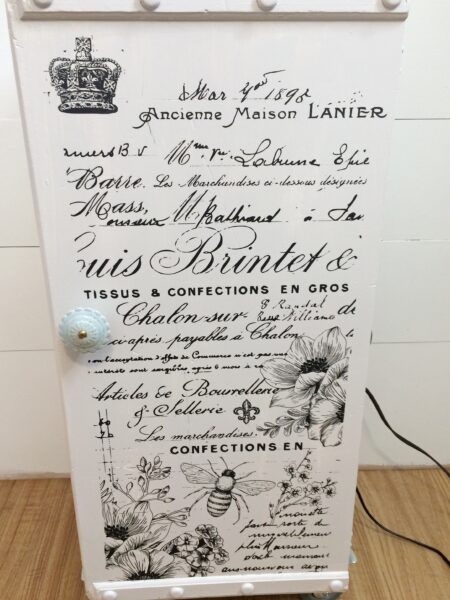
I am undecided about whether to add a shelf inside of it or not.
I don’t know what I am going to put in it yet. Maybe blankets, not sure.
What would you do??
Let me know in the comments if you would add a shelf or not.
Here is one more project with a transfer.
If you like this project, please pin it!!
Have a wonderful day friends and thank you for joining me on my journey!
*This post contains Amazon affiliate links in which I earn a small percentage from qualifying purchases through these links, at no extra cost to you. Thank you for helping to support my blog! *
Joining these blog parties:
I love the transfer! What a great transformation!
Thank you so much! It sure took it to another level. Have a great weekend!