Hey Friends,
I hope you are enjoying your week!
Just a short update on my health. As some of you know, while on vaca I walked quite a bit. During that time, I got a blister or what my doctor called it was an ulcer on my left foot. My right foot is the weak foot and so I somehow got an infection in it. Long story short, went to a foot doc this week and he gave me a boot to wear to help heal it. I see him in a week and if it isn’t better, we need to think about amputation if it has gone into the bone. I would ask for your prayers. I usually don’t have many health problems but I guess 2021 is my time.
Ok, lets get into my next project.
I have had this project done since the start of summer but forgot about it. I have a few projects that have been put on hold until I can get back on my feet, God willing.
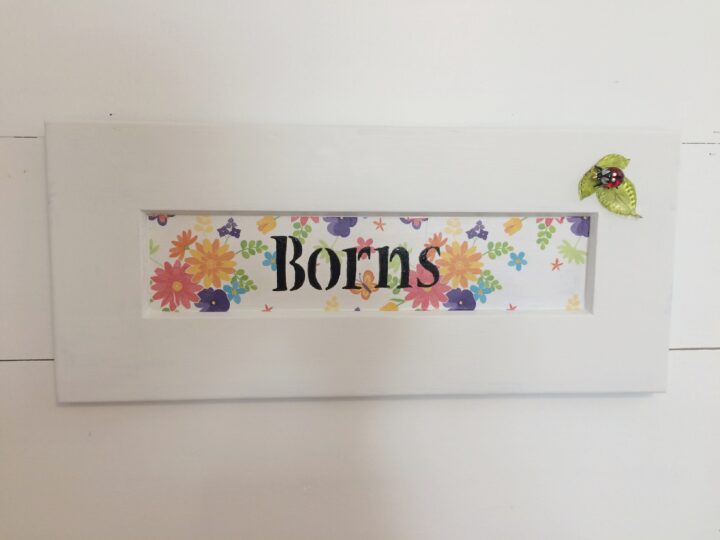
This one is a sign with our last name on it. It replaced a sign that I had made in the early ’90s. I did not take a picture of it but it was an old board I had found and then used a marker to write our name onto it. Simple.
This new sign is made of only things I had laying around the house. I didn’t buy anything for it, how cool is that.
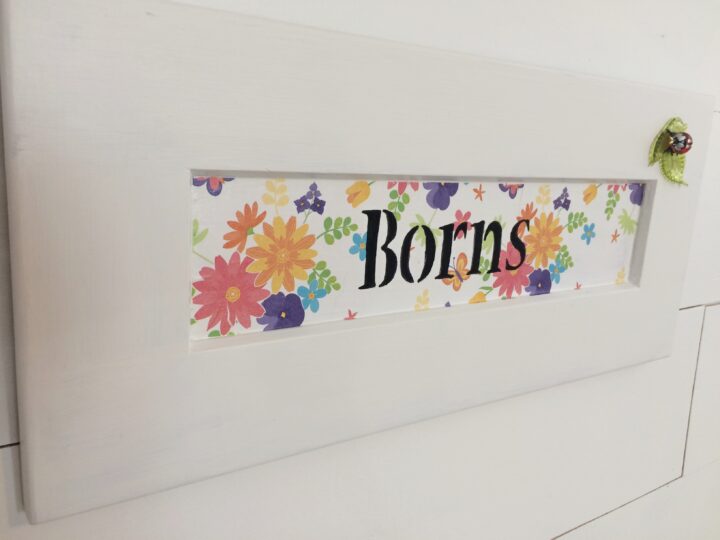
I started with a cupboard door, small, that I had received years ago.

Cleaned it off and painted it with Rustoleum Chalk paint. I love this paint because you usually don’t have to prep the item you are using unless it is shiny or glossy!
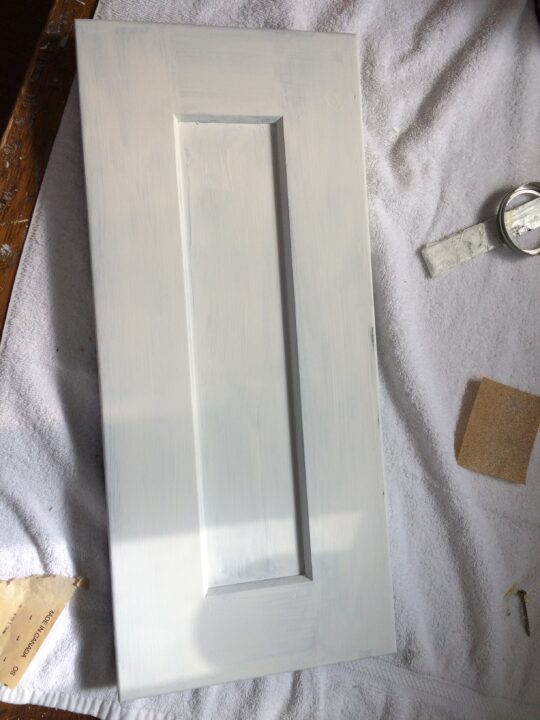
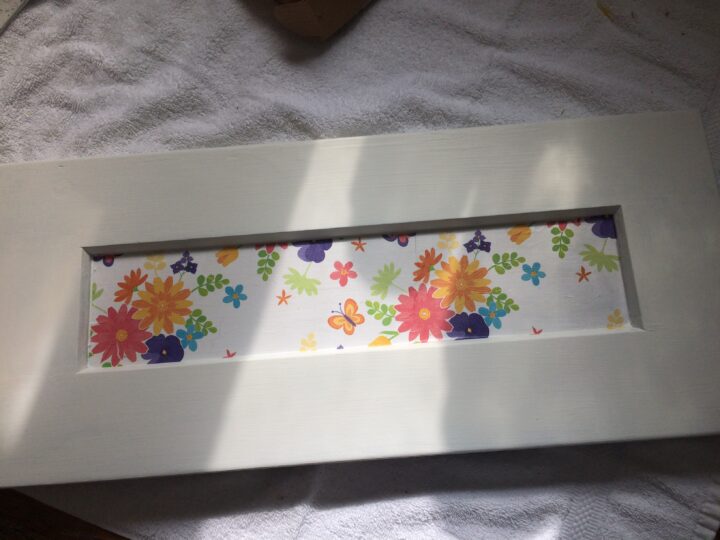
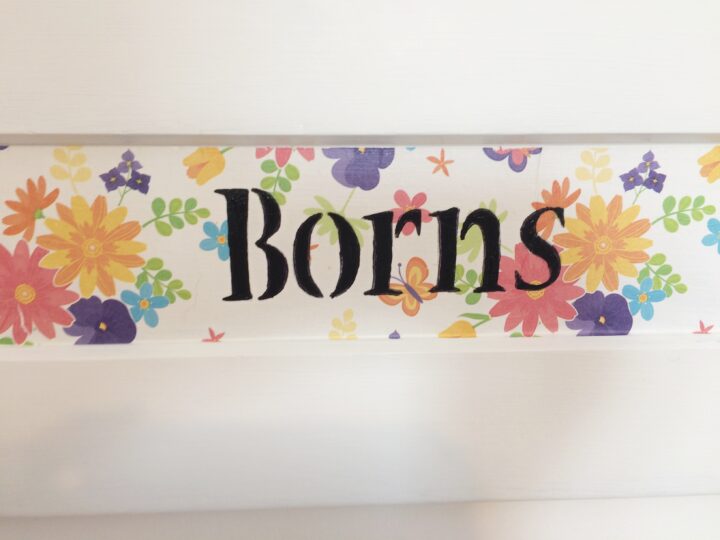
It took a couple of coats of paint. After letting it dry between coats of paint, I found this tissue paper that I had bought years ago to use on a project someday. Isn’t it pretty and fun?!

I then took Elmer’s glue and a little bit of water, mixed them together and applied it to the middle of the cabinet. I had cut the tissue paper down to size before applying the glue. Apply the tissue paper into place and smooth down as best as possible. I found another piece of paper applied on top of the tissue paper helps to move it around better. It helps smooth out the tissue paper and gets a lot of those wrinkles out in the process. Apply a coat of glue on top.
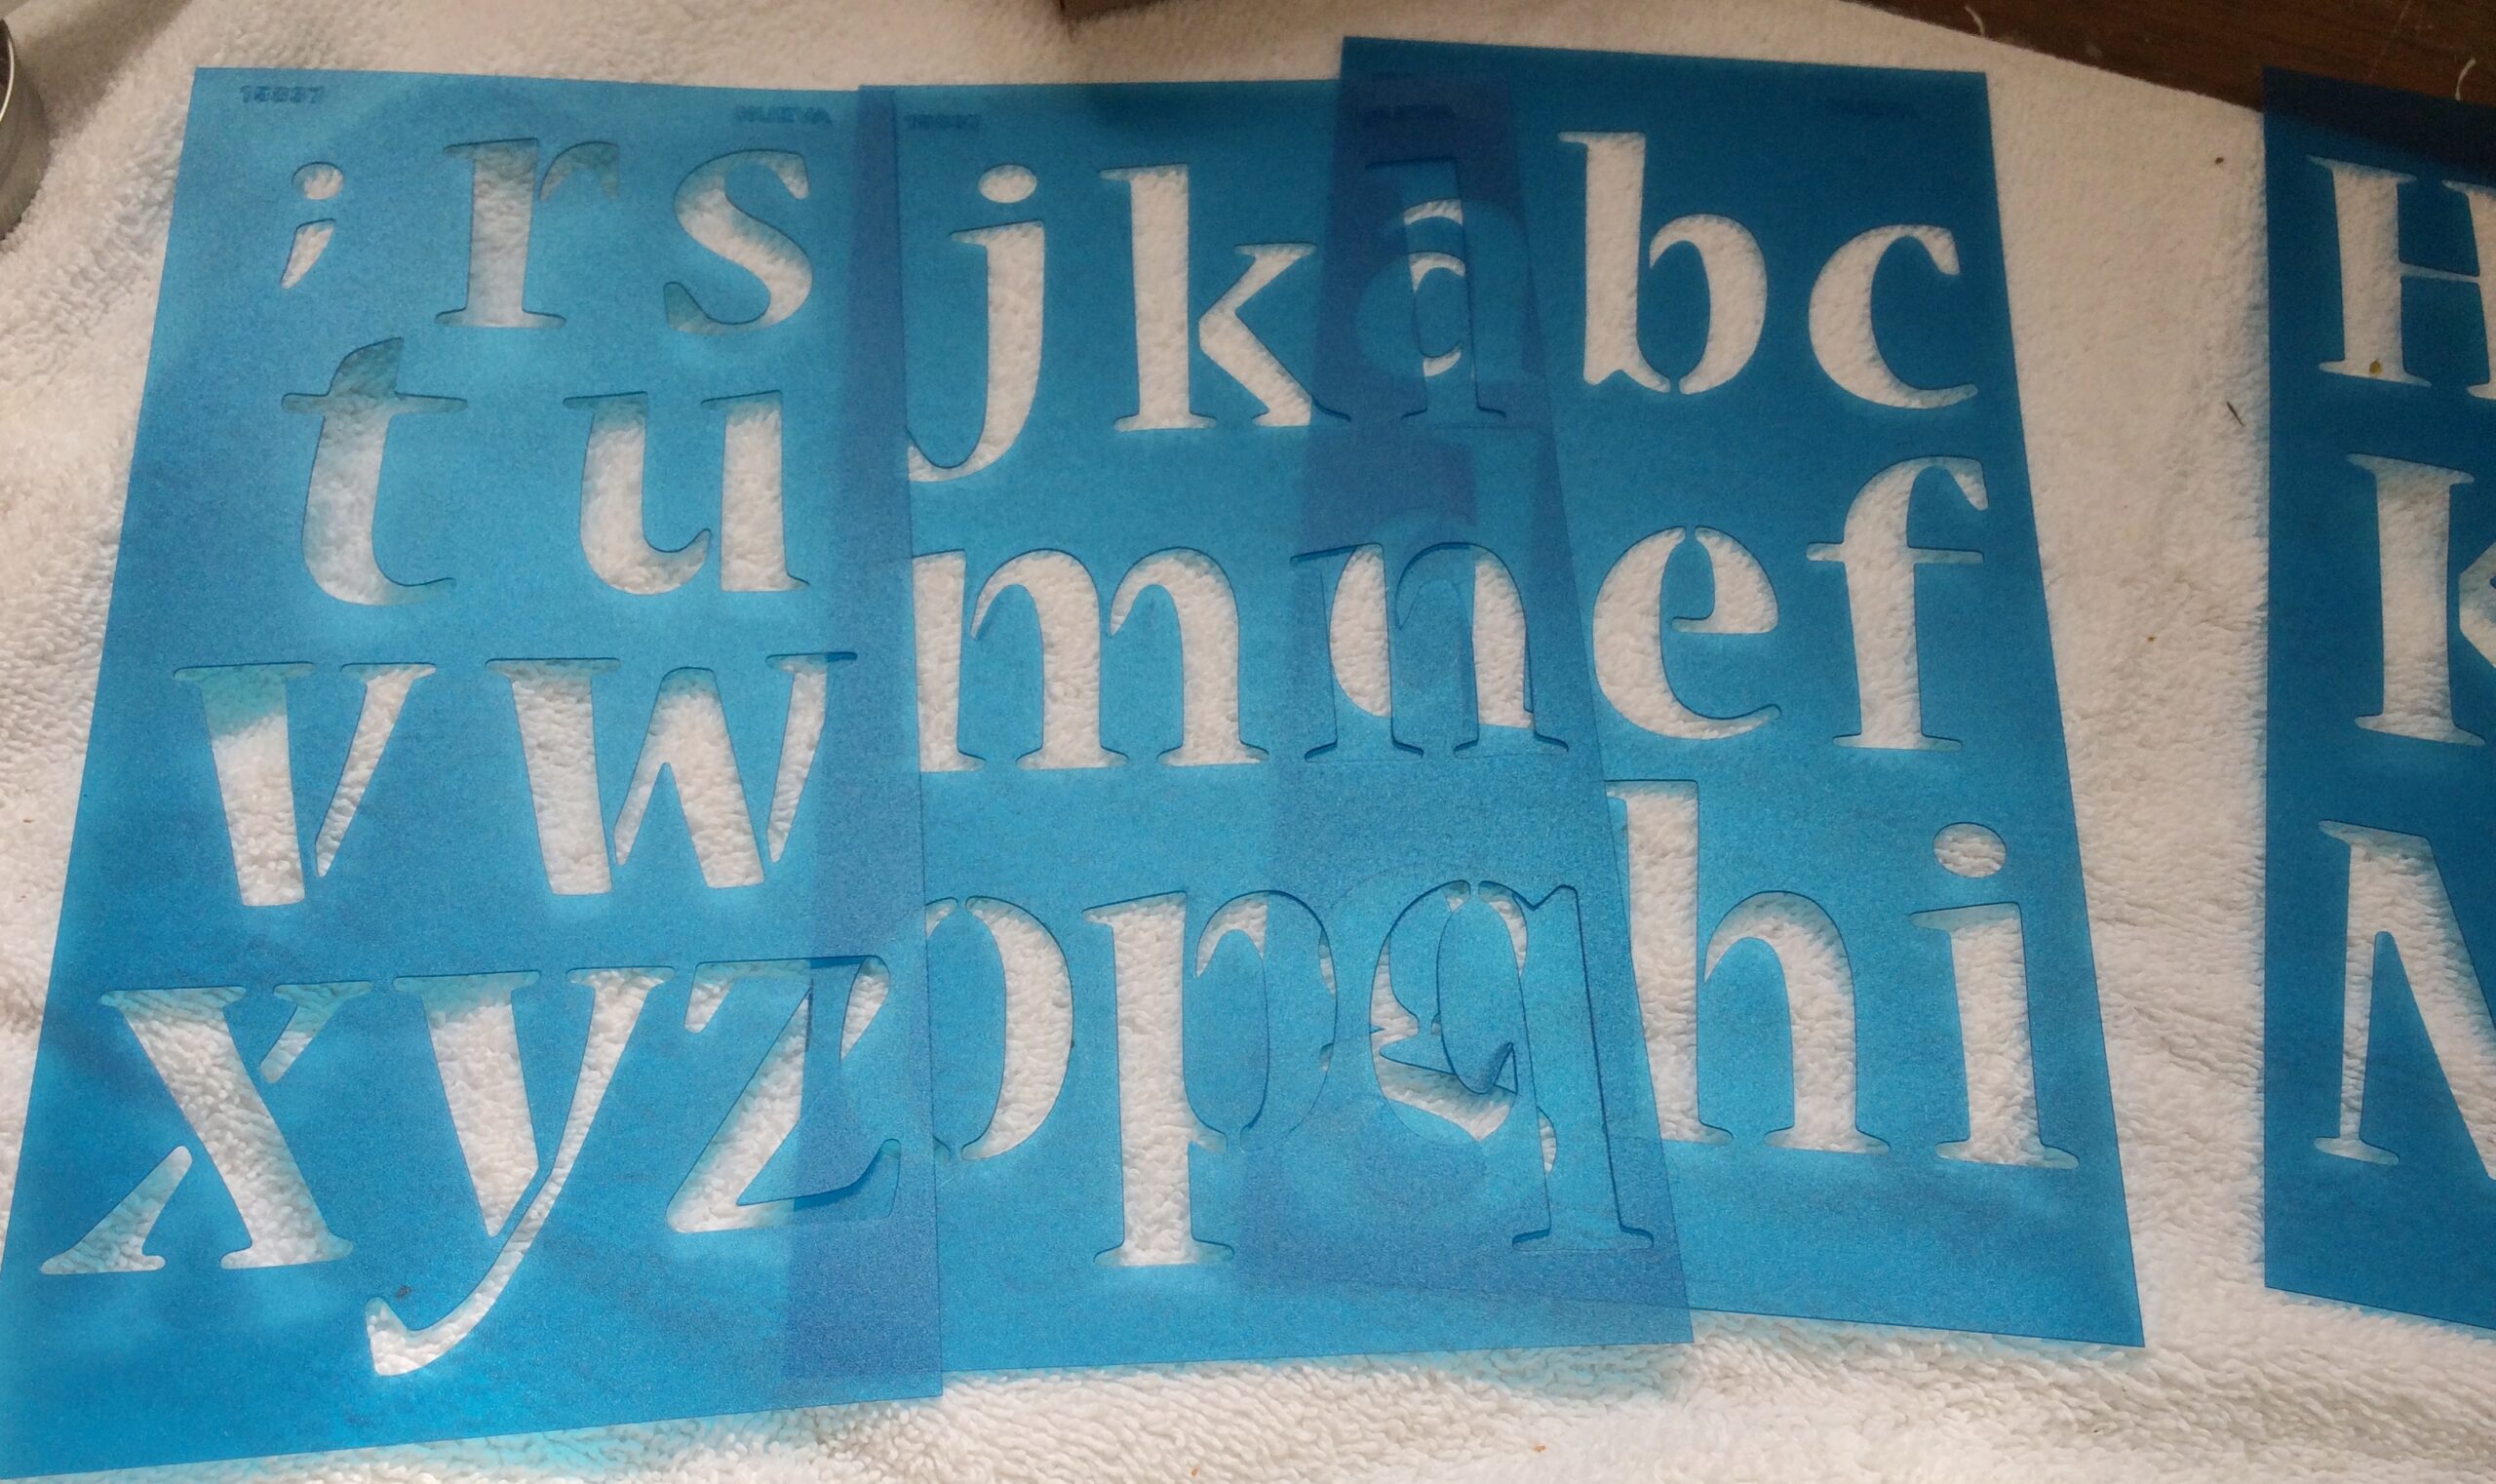
After letting the glue dry, I found a letter and number stencil set that would work for this project. I think I found it at Walmart but it has been so many years ago that I am not 100% sure.
I started with the B and laid it down, traced it with a pencil onto the paper and then just went on to the next letter. I just eyeballed the spacing but you can definitely measure if you want to!
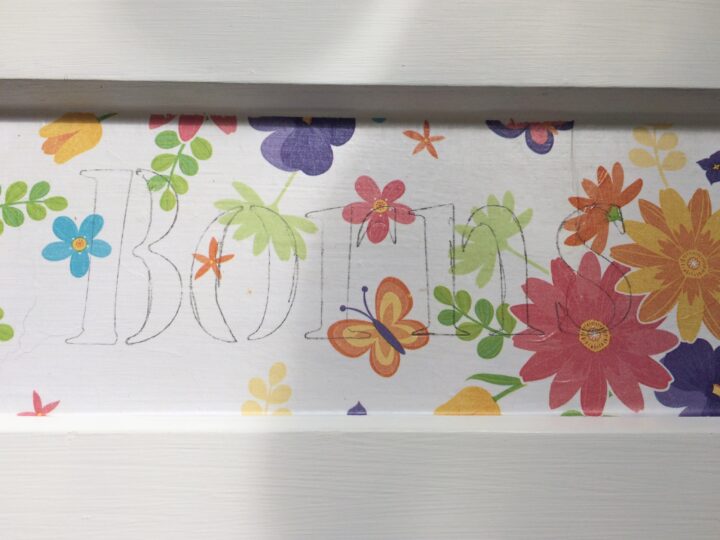
After marking with a pencil and liking the placement, I went over it with a sharpie. You could use a paint pen but I didn’t have one.
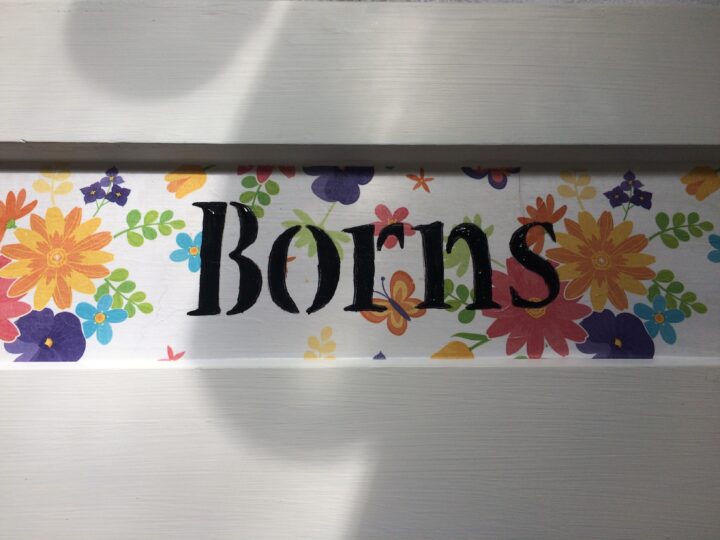
After outlining the letters with the sharpie, I went back and filled them in. I wish now that I had made it more like I painted the letters on than looking like a stencil. I may go back at a later time and do that but for now, it’s fine.
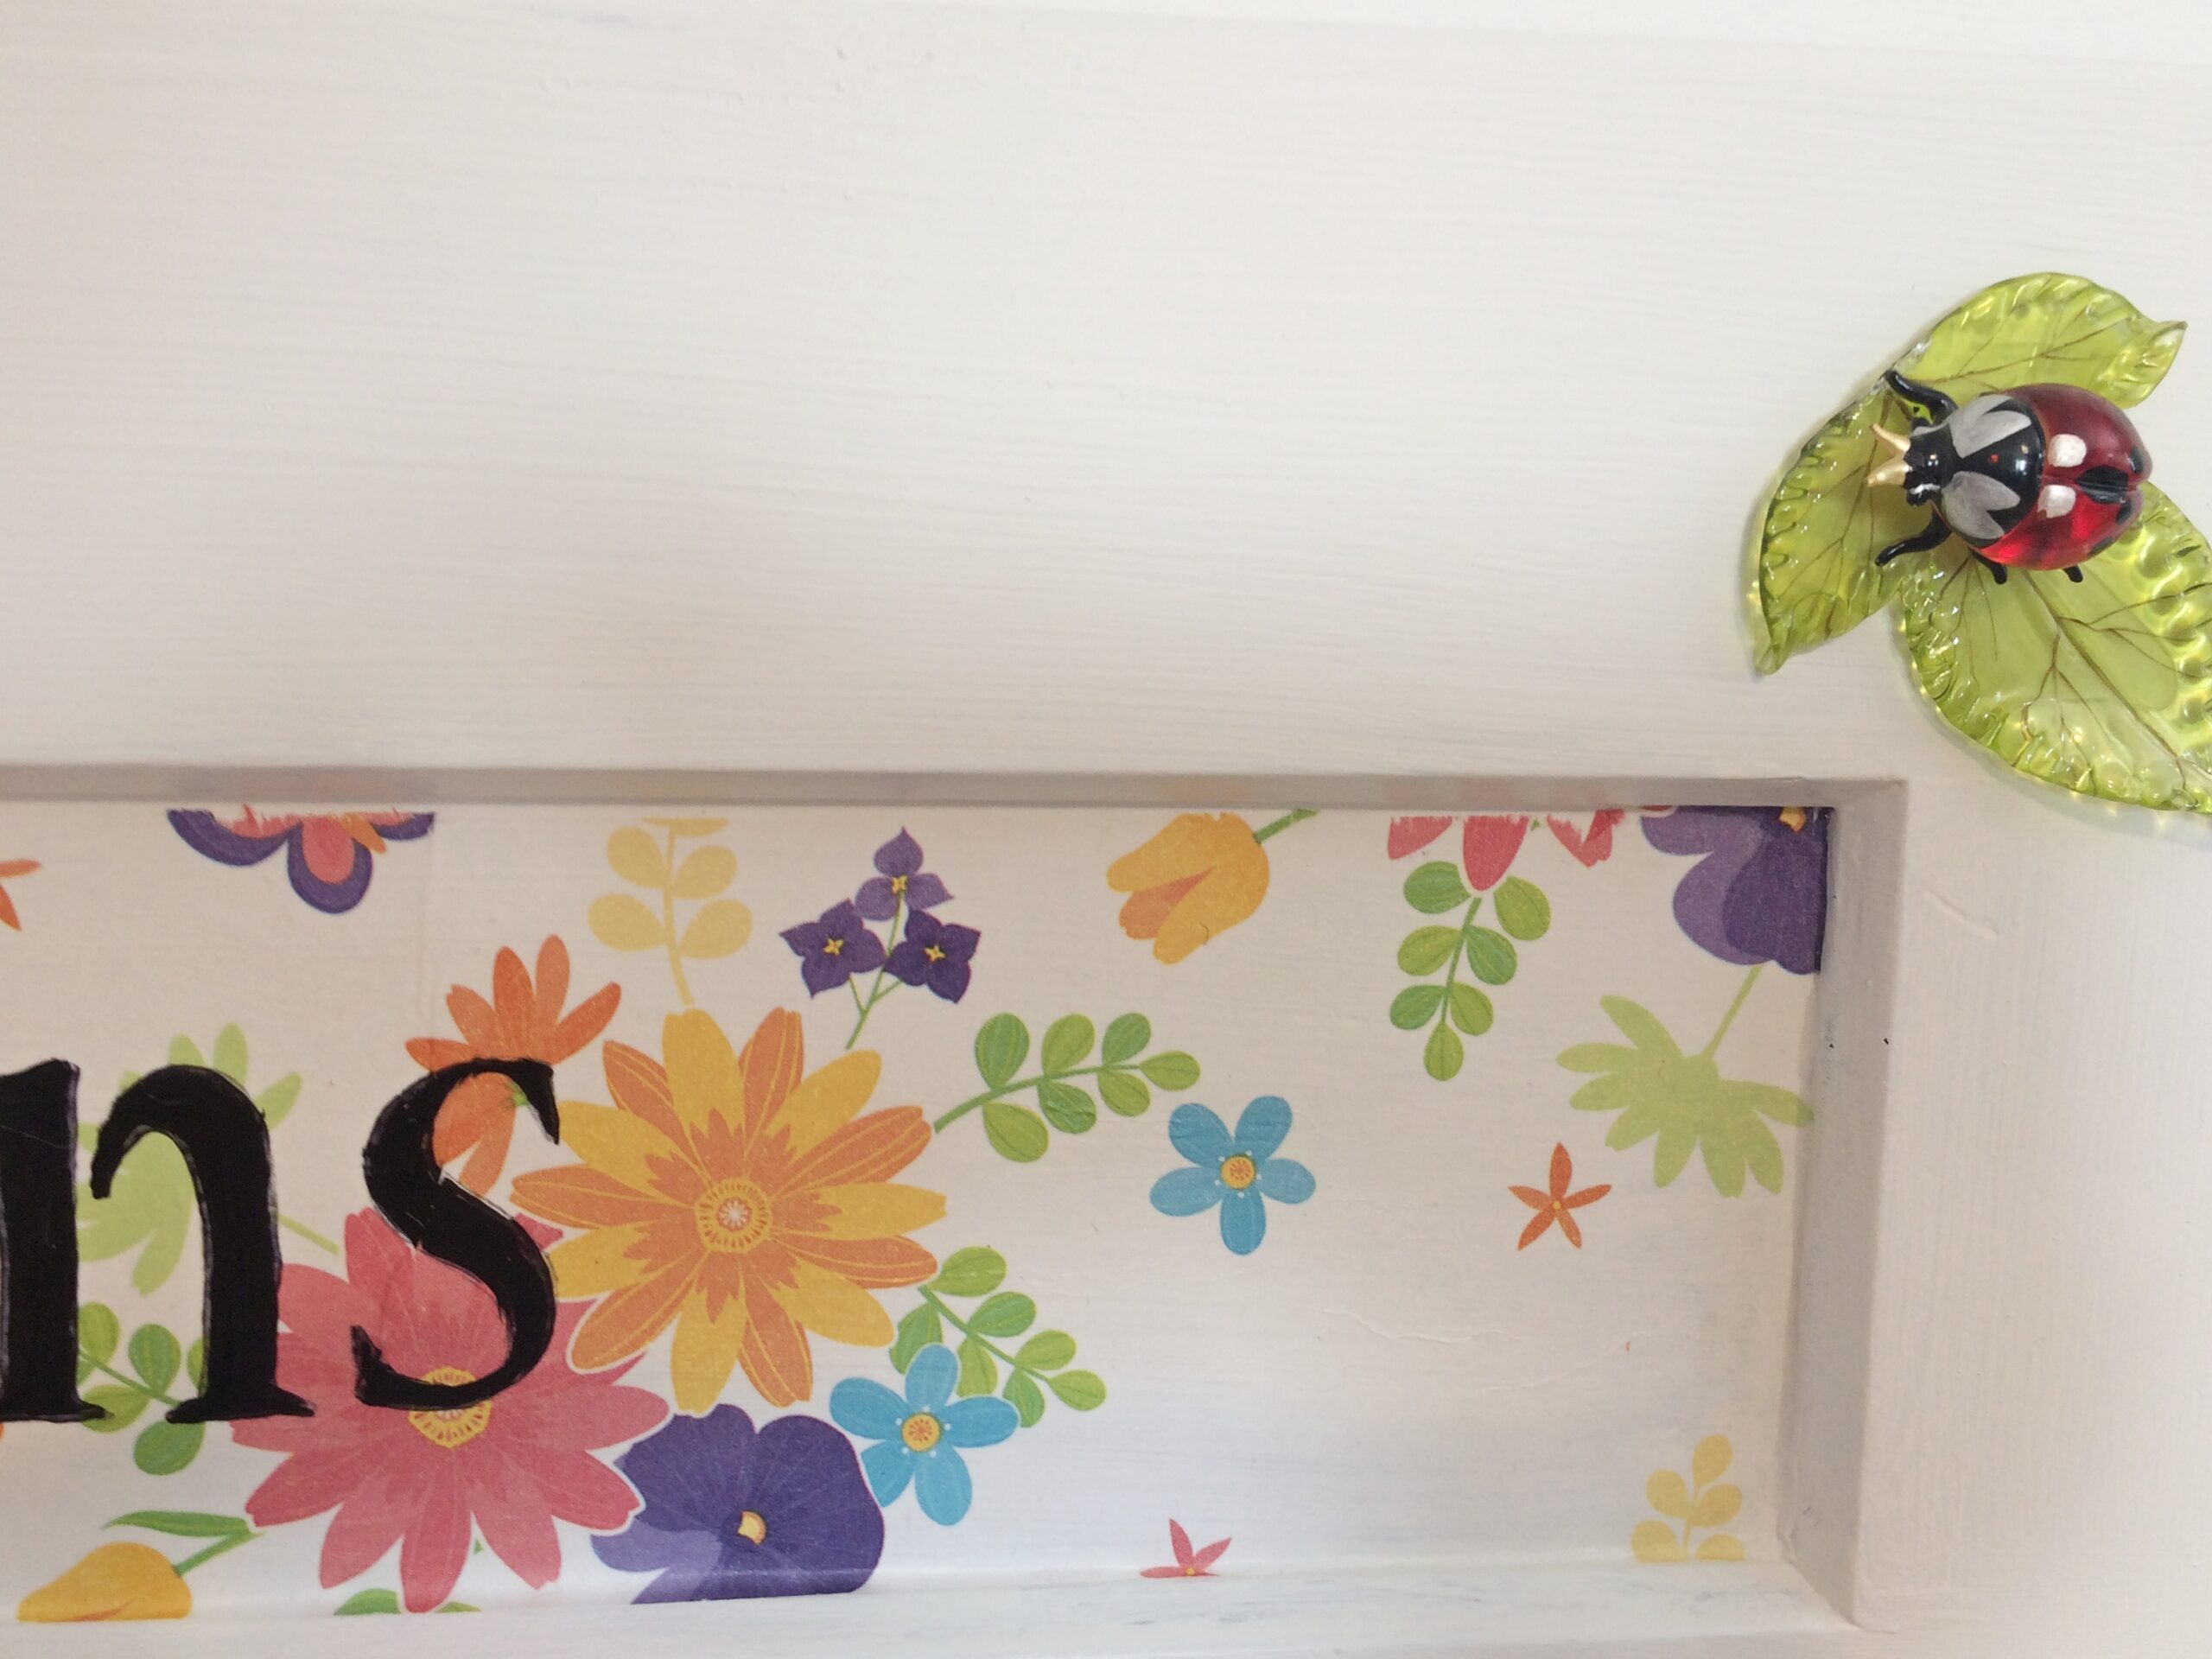
And then, because I thought it a little plain and needing something else, I found this little ladybug that was a part of something else I had in my stash. I decided to hot glue it on in the corner. I love it! It adds that little extra and goes so well with the flowers of the tissue paper!

Here it is finished!


I think this project was a success and because it is made with everything I had on hand and didn’t have to spend a penny, makes it awesome!
But what do you think?
Have a great weekend my friends, and stay healthy!
If you like this post, feel free to pin it! It helps my blog if you pin and share!


Neat Idea ! I have used cabinet doors in the past & they work great ! Hope You get better soon, You’re in my thoughts & prayers !
Thank you Marie, I appreciate it!
That is so adorable! I will pray for your complete recovery, God bless you.
Jeanine, Thank you so much! I appreciate it!