Hello Dear Friends,
Back with another DIY project.
Today I have finished working on a Chandelier. Not just any shandy but one I have had in my stash for about 15 years, give or take a year. I bought it at a yard sale for $1. I loved the look of it but hated the color.
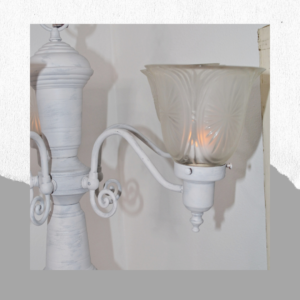
Got home and took it all apart and put it in a box so I wouldn’t lose anything. I was going through my storage shed and found the box it was in and decided to take it home and work on it.
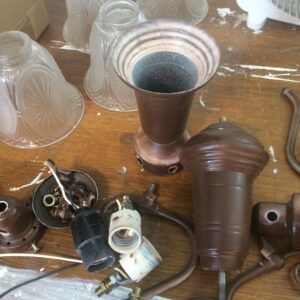
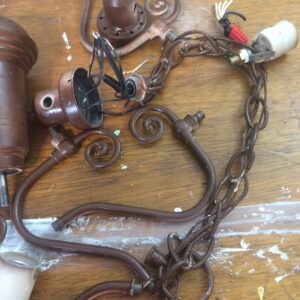
I’m embarrassed to say that it didn’t take long to paint. Total time was probably two days, max. do you have one of those projects? I have so many lined up but not enough time to work on them it seems.
Now years ago I had taken a picture of what it looked like when it was all together but I cannot find it. I do however have a pic of the box it was in.

I’m not sure if this was the original color or not but I didn’t like it then and I feel the same now!
Here at my house, I do not have a place to spray paint. We do not have a garage. We do have a small pump house but I don’t want to get overspray everywhere. In the summer I can paint outside if it isn’t windy, however last year I won a HomeRight spray shelter and a paint sprayer from Prodical Pieces and they are a game-changer. You can read that post here.
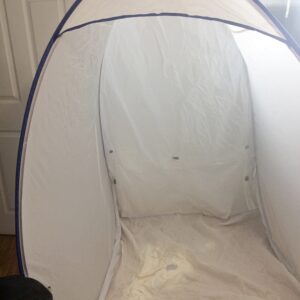
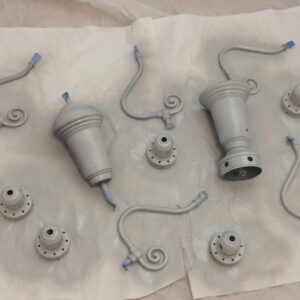
So here is what I did, I set up the spray shelter in my craft room. That thing is a medium but it takes up most of the room, lol. I wanted to spray paint the shandy with Rust-oleum Chalk paint and this worked perfectly.
I used Aged Gray first. I like how you don’t have to sand first. After I had every piece painted I used Burnished Clay by Behr. This is my favorite paint. I am constantly using these two colors.
After the Aged Gray was dry I took a brush and dipped it into the Burnished Clay. I didn’t add a lot to the brush, just a little bit. Then I took a lot of that and pounced the excess off onto a piece of paper. I guess it would be called dry brushing but mine was a little heavier on the paint. I just brushed it around the shandy until I was happy with it.
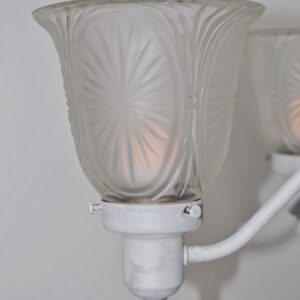
After all the parts were dry came the fun part, putting it together. It had been an electrical light previously but I put it back together so you could put candles in it. It took me a few times and a little help from the husband but we got it back together. As I said, it was electrical before and we took all of that out. I did put the sockets back in where the light shades go so as to hold the shades in place but all the other stuff was taken out.
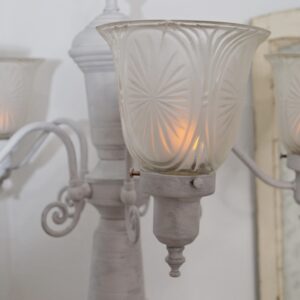
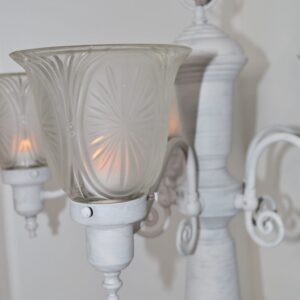
I also sprayed a clear coat with Rust-oleum to protect it.
What do you think?
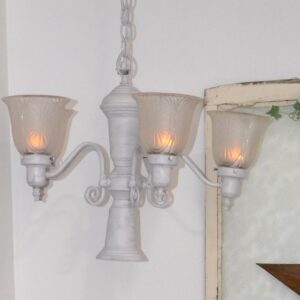
I do love it but I need another place to put this. I already have a shandy that goes in this space.
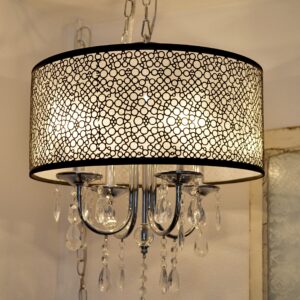
The bottom of the old shandy has a hole I want to cover but I haven’t found anything I like. It used to house a light socket at the bottom for a light bulb. I guess I need to make a trip to Goodwill, lol. You really can’t tell unless you are on the floor looking up.
It is not that bright compared to the electric lighting but it is pretty and decorative.
If I had a hook above my table, this would make a beautiful place to decorate for Christmas. Add some greenery and Christmas bulbs, some crystals, and lace! Maybe next year!!
Hope you are getting your presents wrapped and your gift shopping done!
That’s it for today peoples, I will be back Tuesday. Have a wonderful weekend!