Hi, Amazing Friends,
I hope this Saturday finds you happy and well.
*This post contains Amazon affiliate links in which I earn a small percentage from qualifying purchases through these links, at no extra cost to you. Thank you for helping to support my blog! *
Today I am sharing a painted clock. If you didn’t know, I. LOVE. CLOCKS.
I think I have around 50 clocks right now but don’t quote me on that.
I have had this clock for years.
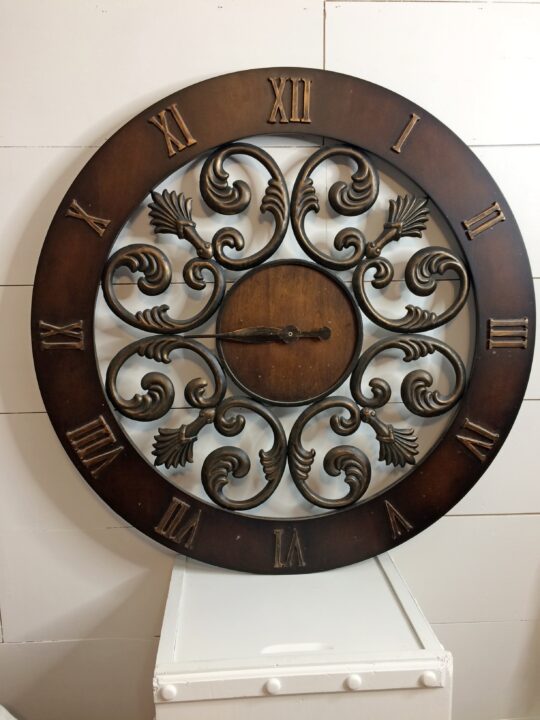
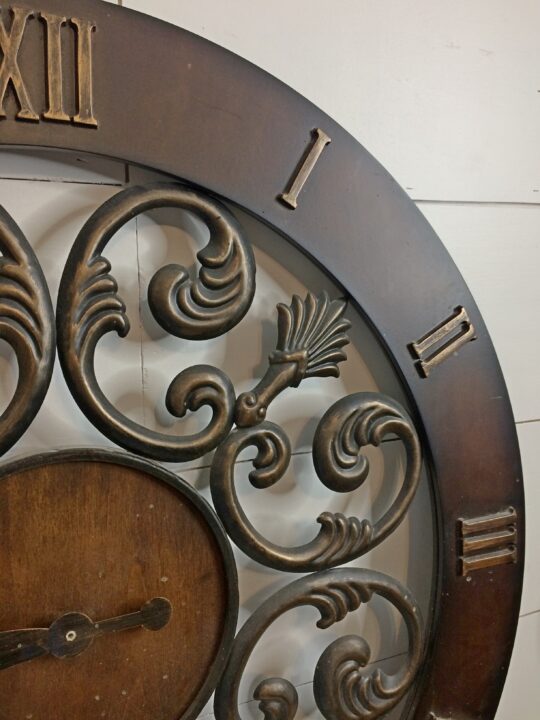
The scroll work is so pretty.
I have always wanted to paint it but never had.
I have so much more time now that I don’t have a job anymore, so what better time to get to those unfinished projects.
First, you want to clean it up.
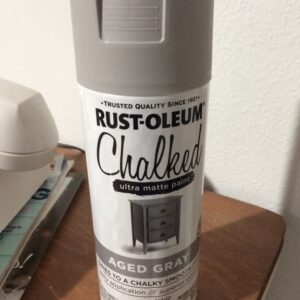
I didn’t sand it because I used spray Chalk paint by Rust-oleum.
The color is Aged Gray.
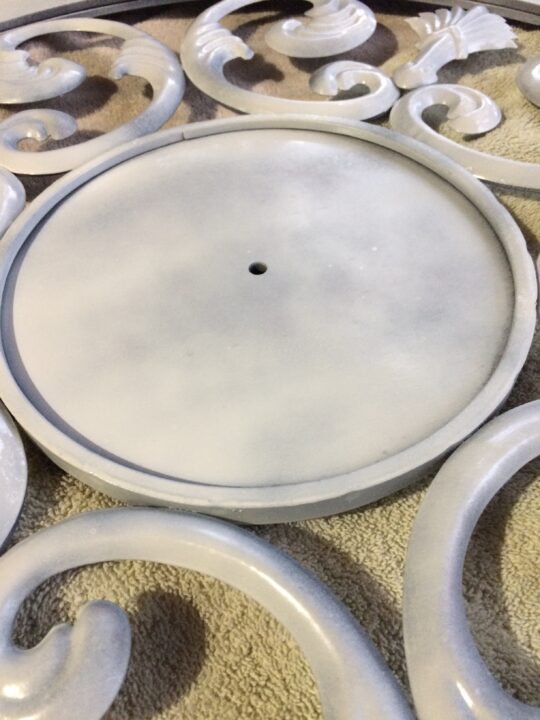
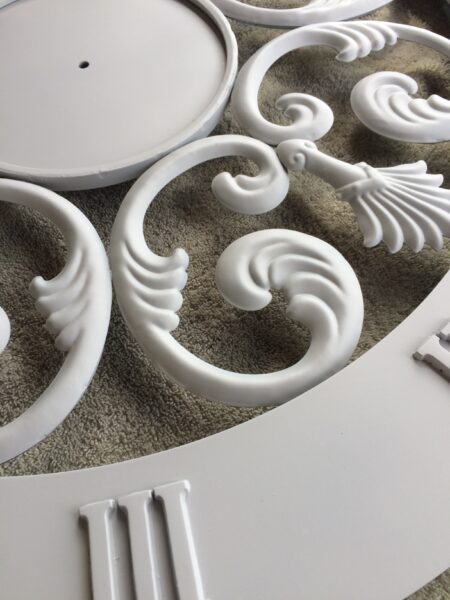
I applied two coats and let dry in between each.
I sprayed the whole clock with Rust-oleum Aged Gray.
Then I painted the scrollwork with a Walmart brand white paint.
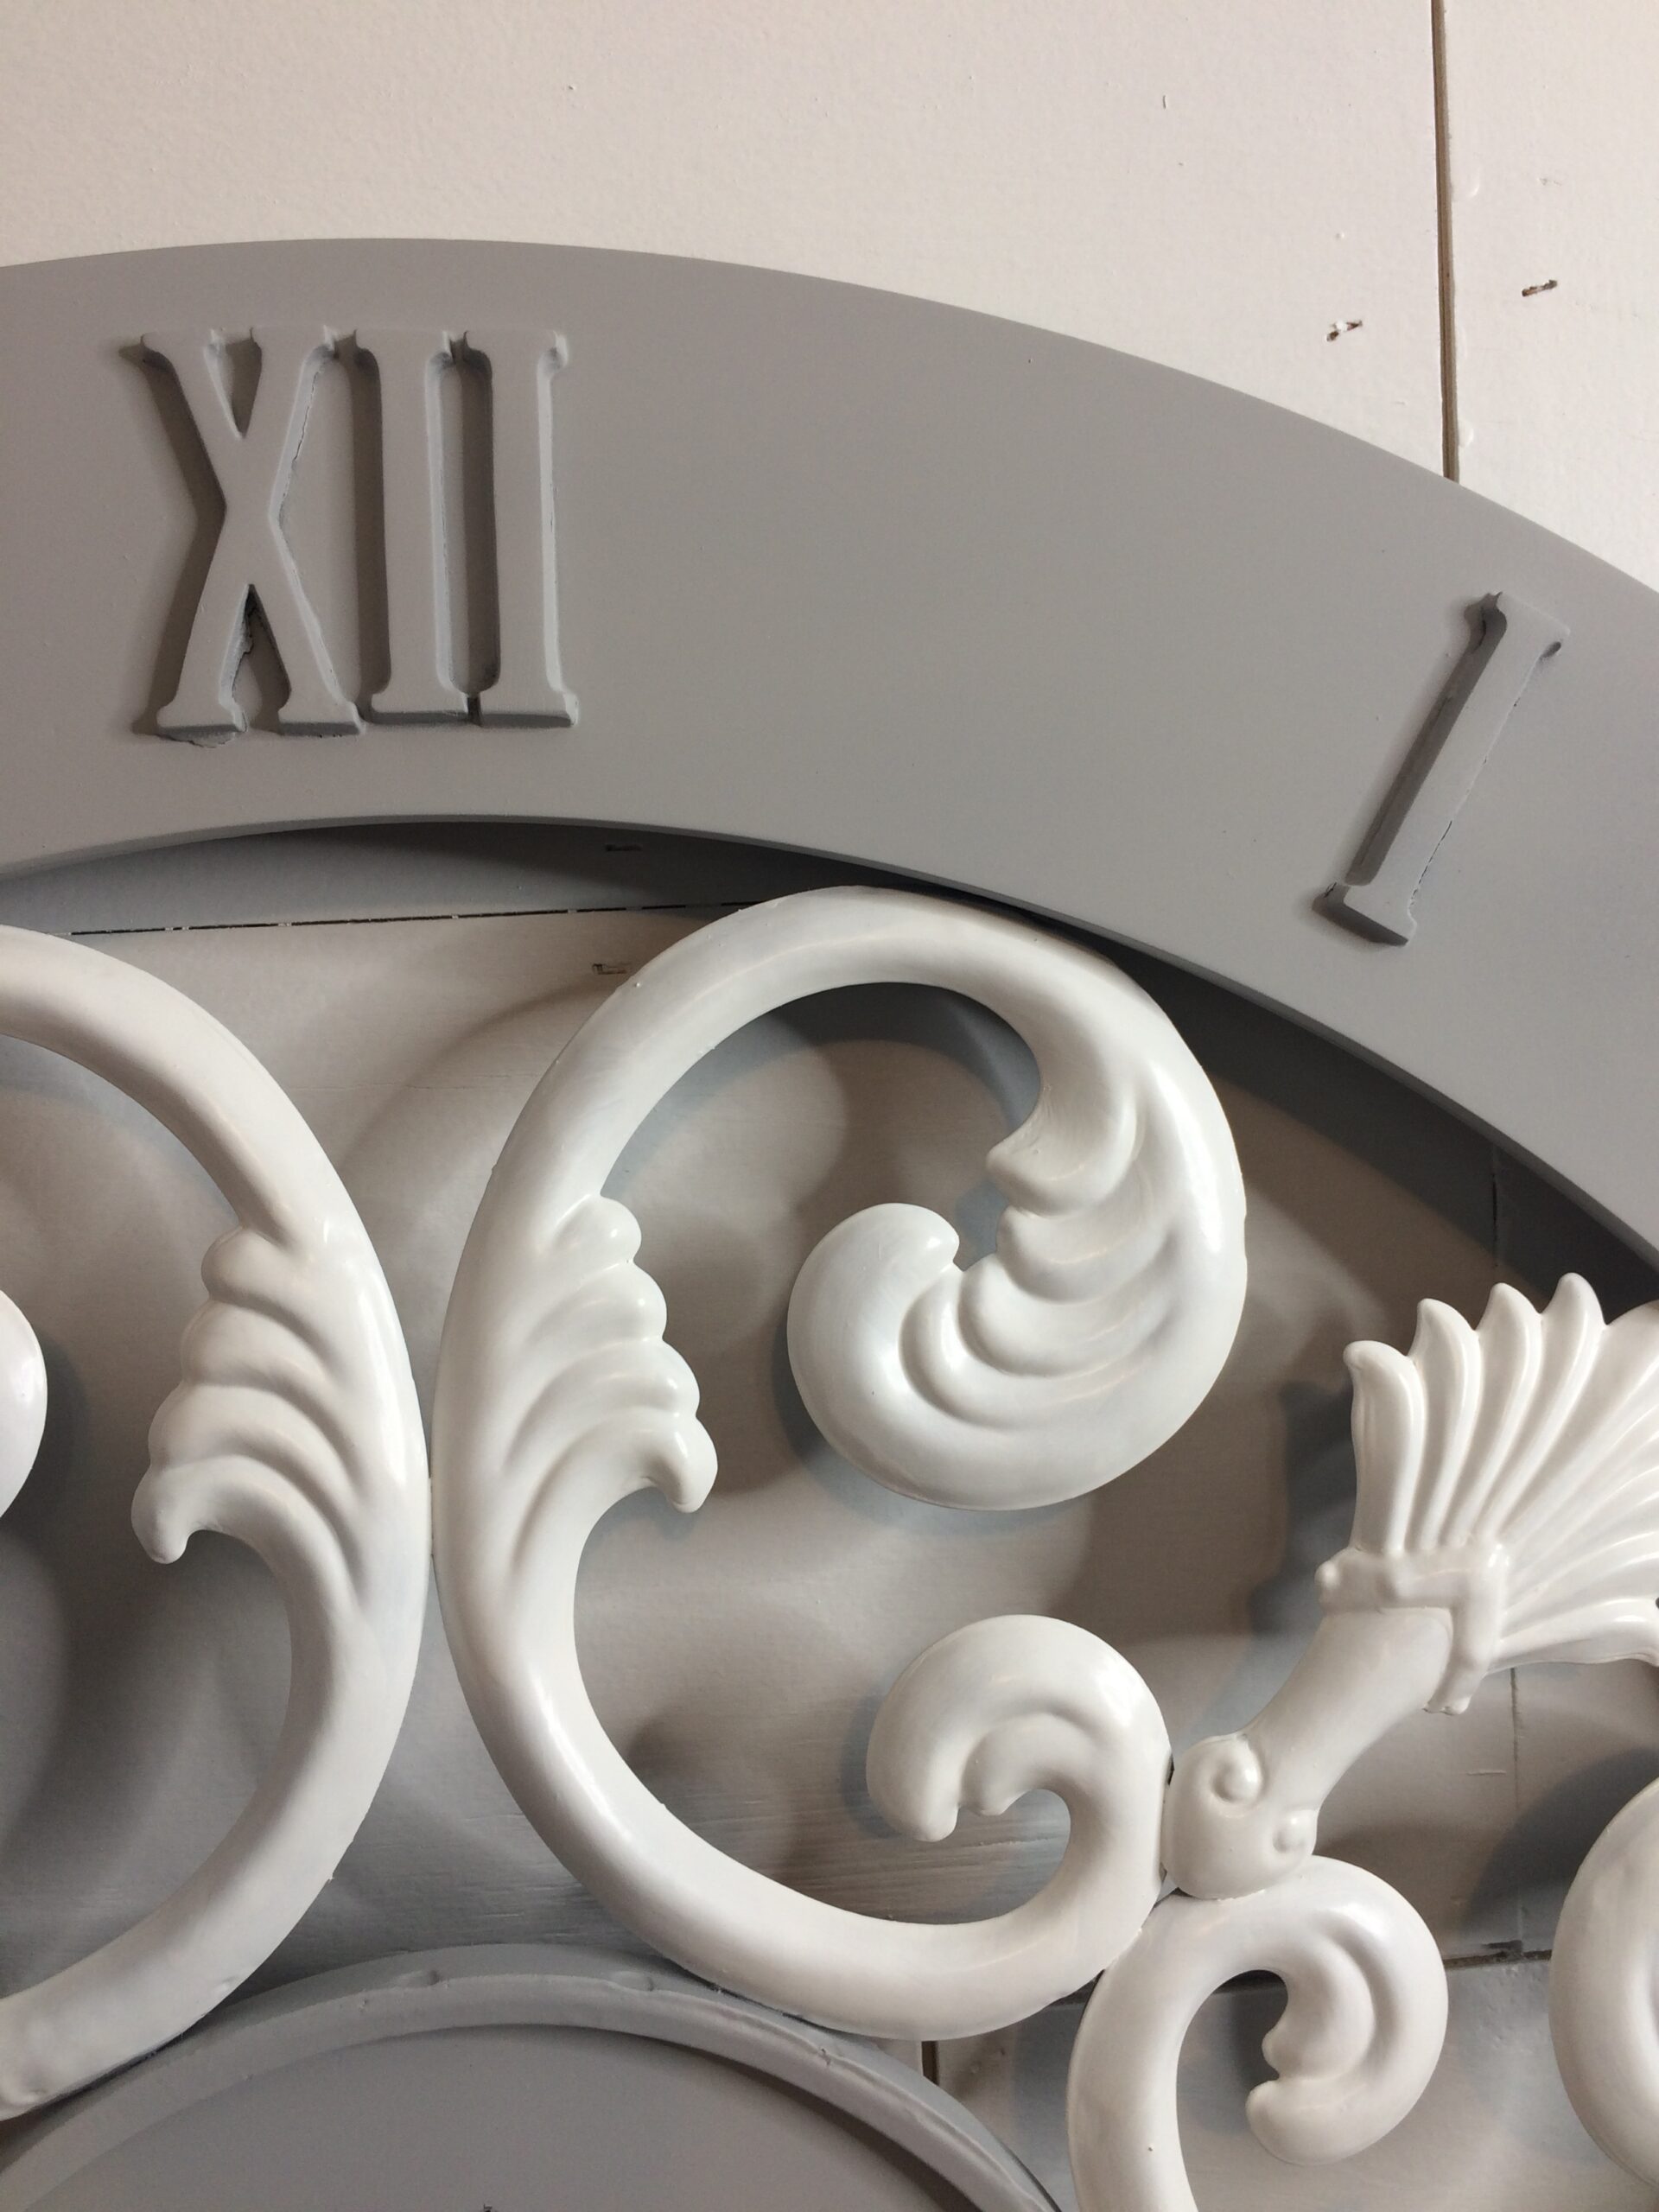
And can I just say that part of this scroll work looks like an Octopus in a dress. Lol.

This is what it looks like at this point.
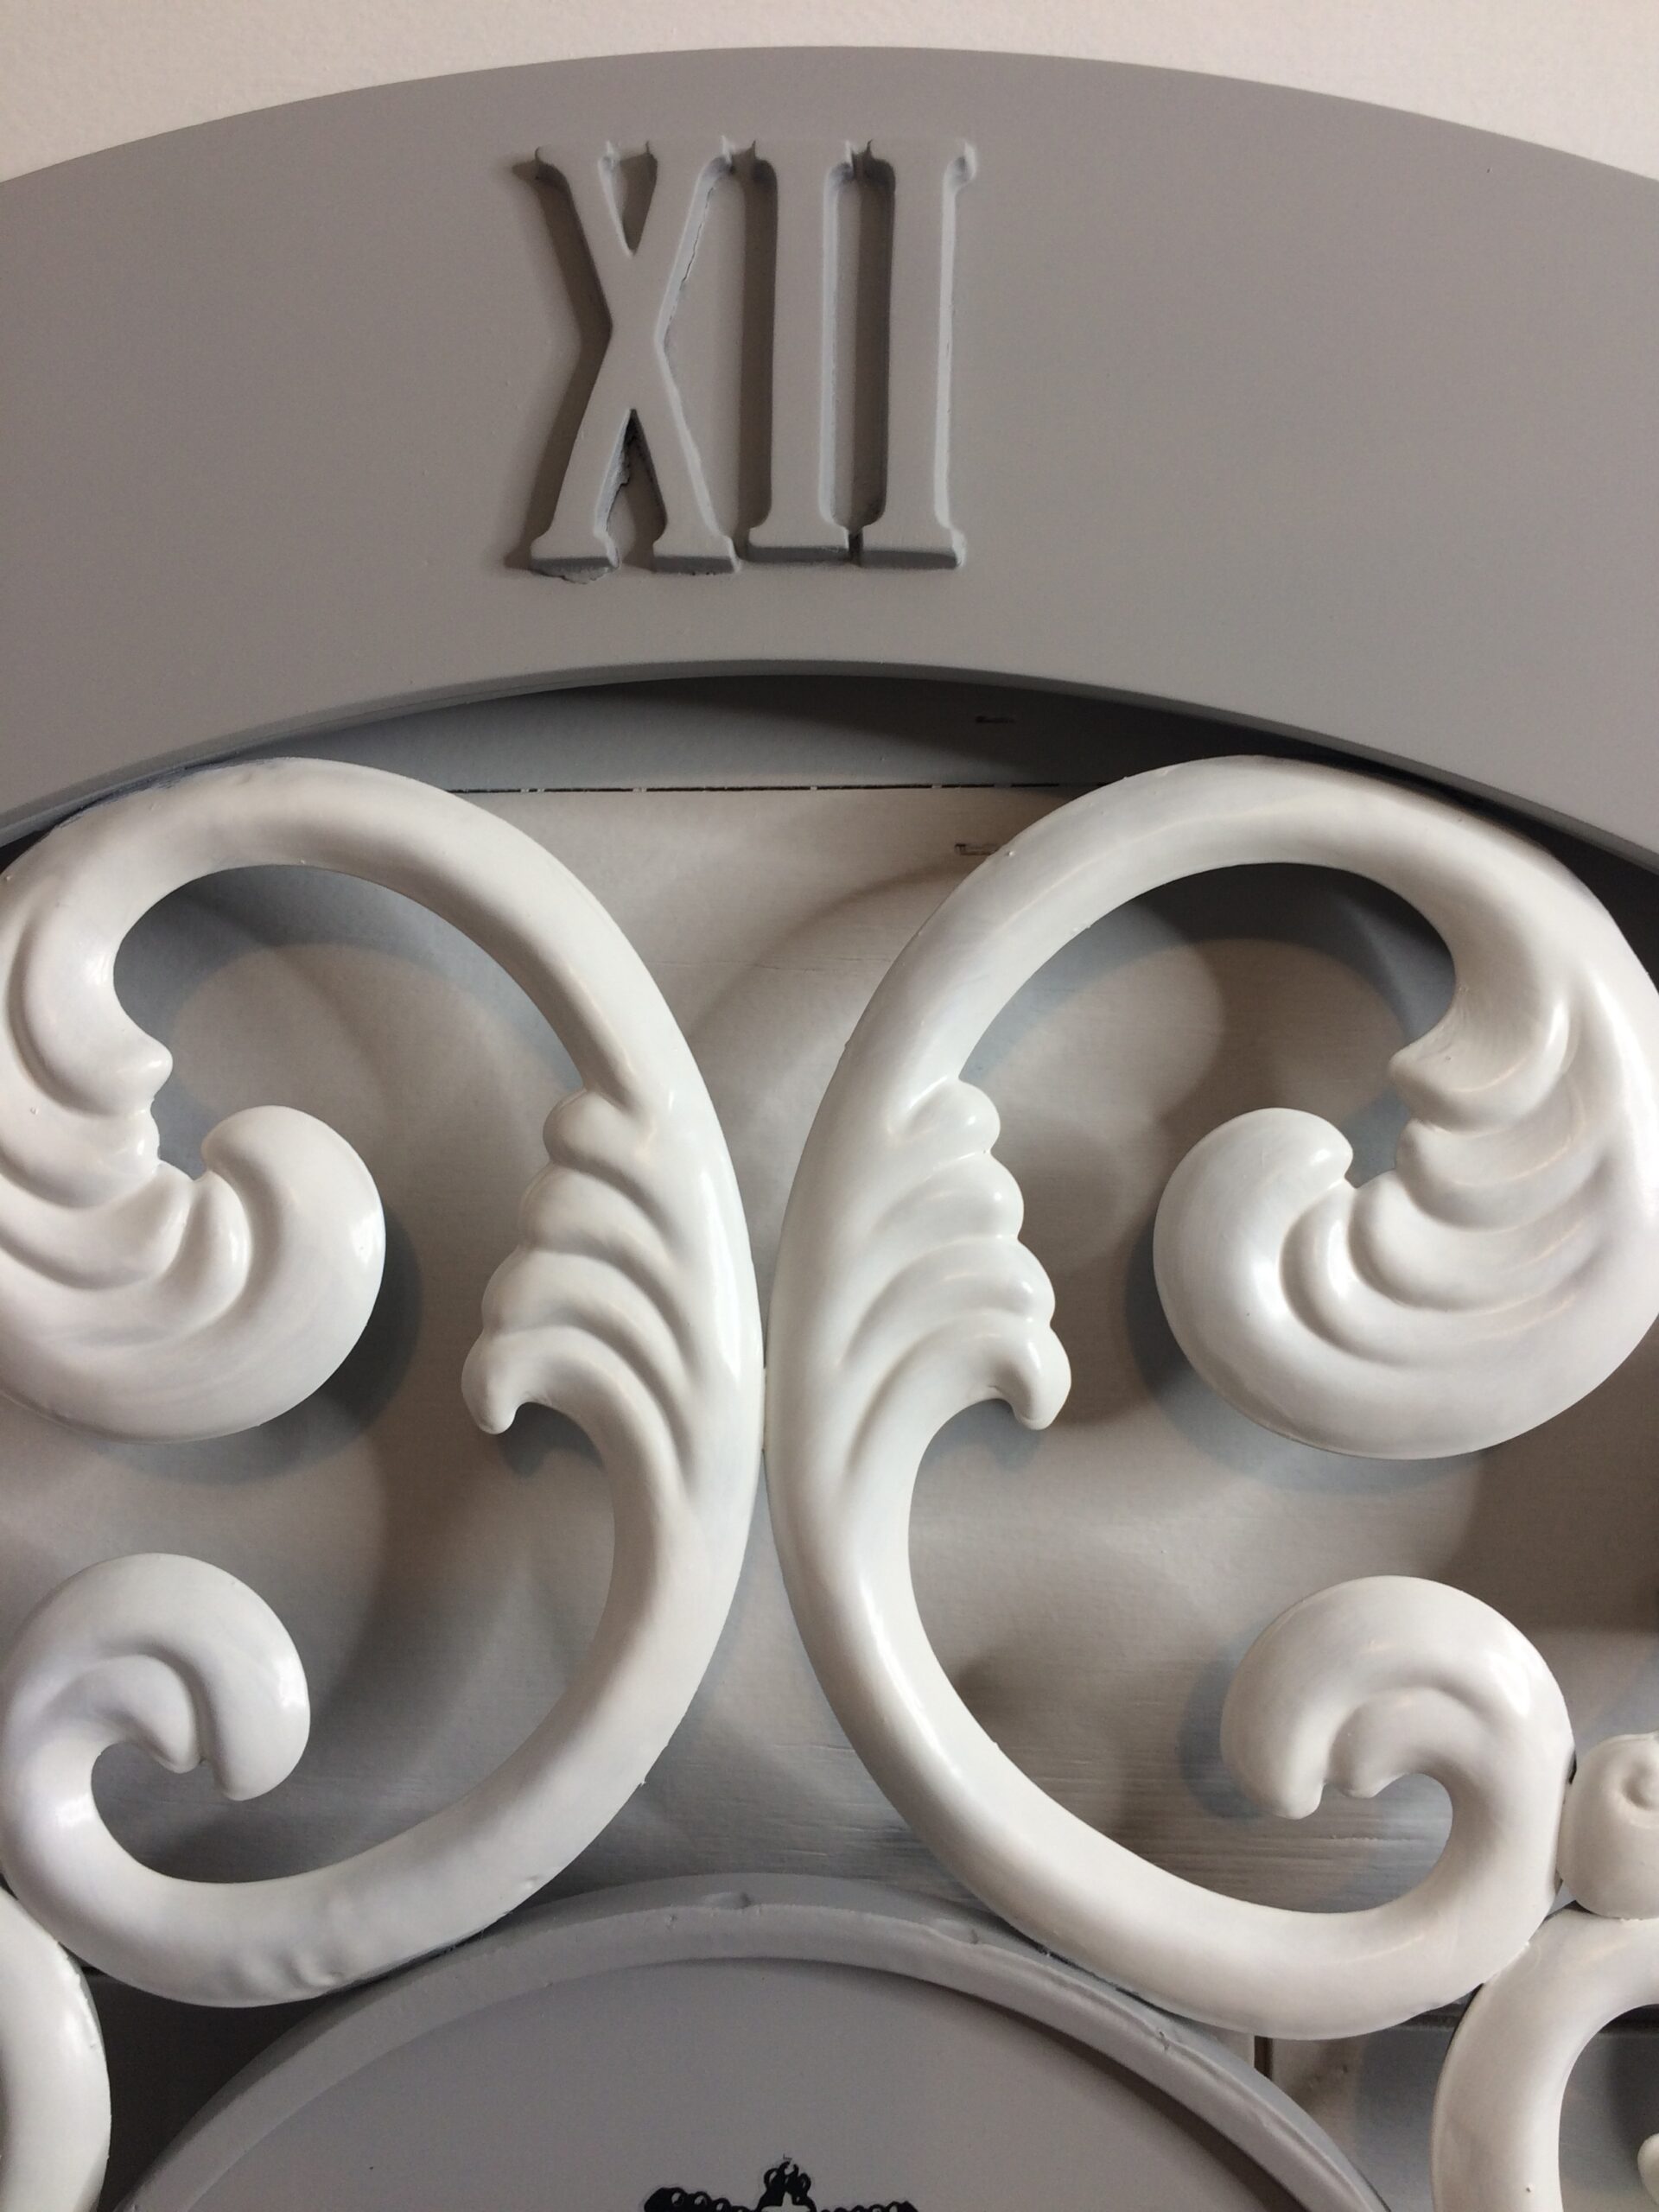
Now let’s start with the details.
We are going to put on an IOD transfer. I love transfers.
You can check out my Grandfather Clock here.
My Recycled flag here
This awesome Cow here.
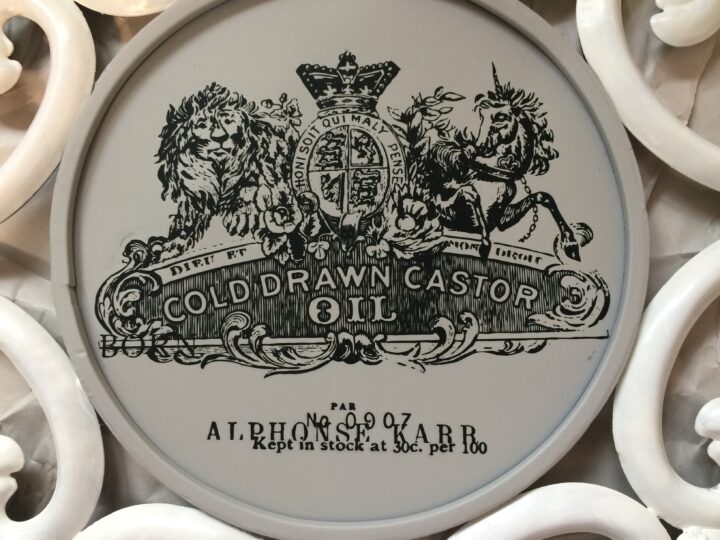
I found a transfer that fit perfectly in the middle of the clock.
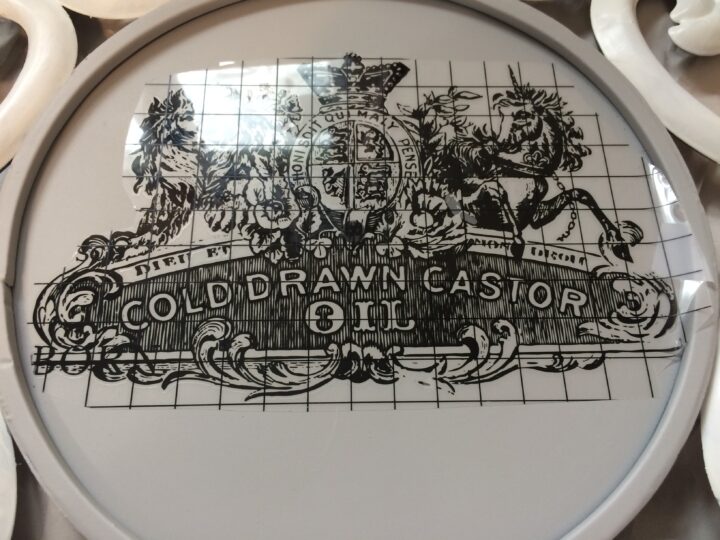
This transfer came from Jami Ray Vintage. It is called Lable Ephemera Transfer #23. And it looks like it is on sale right now.
This is one of my faves from IOD because there are so many ways you can add this to a project, whether it is the whole transfer on 1 project or break it down into many projects. Such as this book project here.
Cut out the transfer or just the part you need as in the above picture.
You are going to lay the sticky side down.
Take the scraper or piece of wood that comes with it and move across the plastic part. Like this.
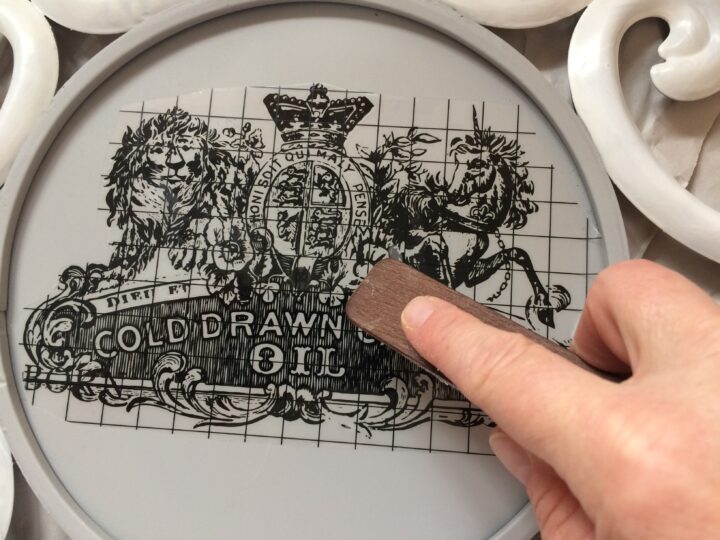
You can tell when the picture is coming off.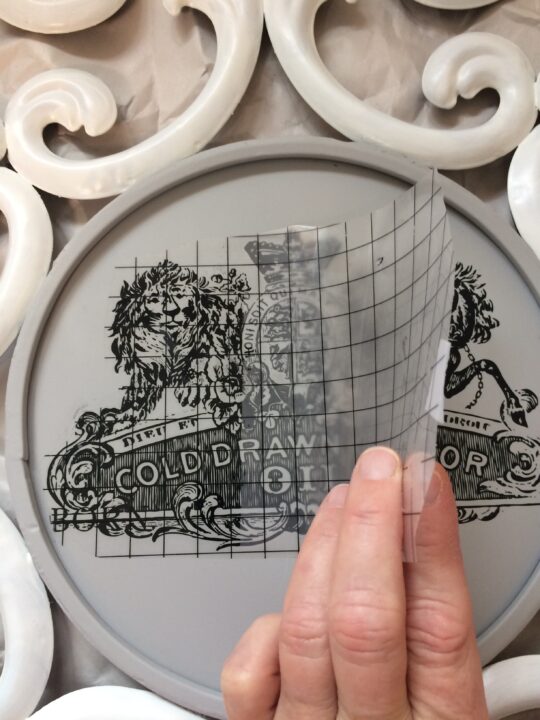
The plastic that protects it will come off. If you do have anything on the plastic that didn’t transfer, before taking the plastic off completely, lay it back down and take your scraper and scrape that bit off.
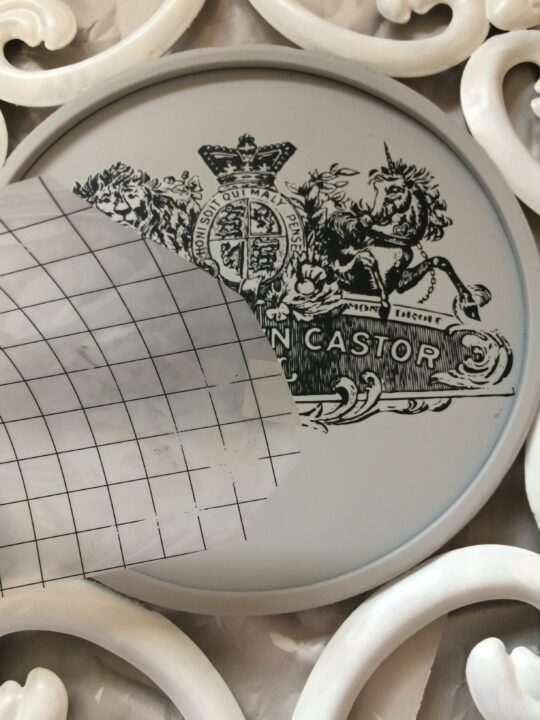
And this is what it looks like.
*Some of the links in this post are affiliate links. As an Amazon Affiliate, I earn a commission from qualifying purchases. This means that if you click on the link and purchase the item, I will receive an affiliate commission at no extra cost to you. All opinions remain my own.*
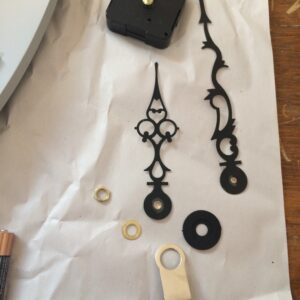
I had to order clock hands, so I just ordered the whole mechanism here.
Here is what it looks like almost done.
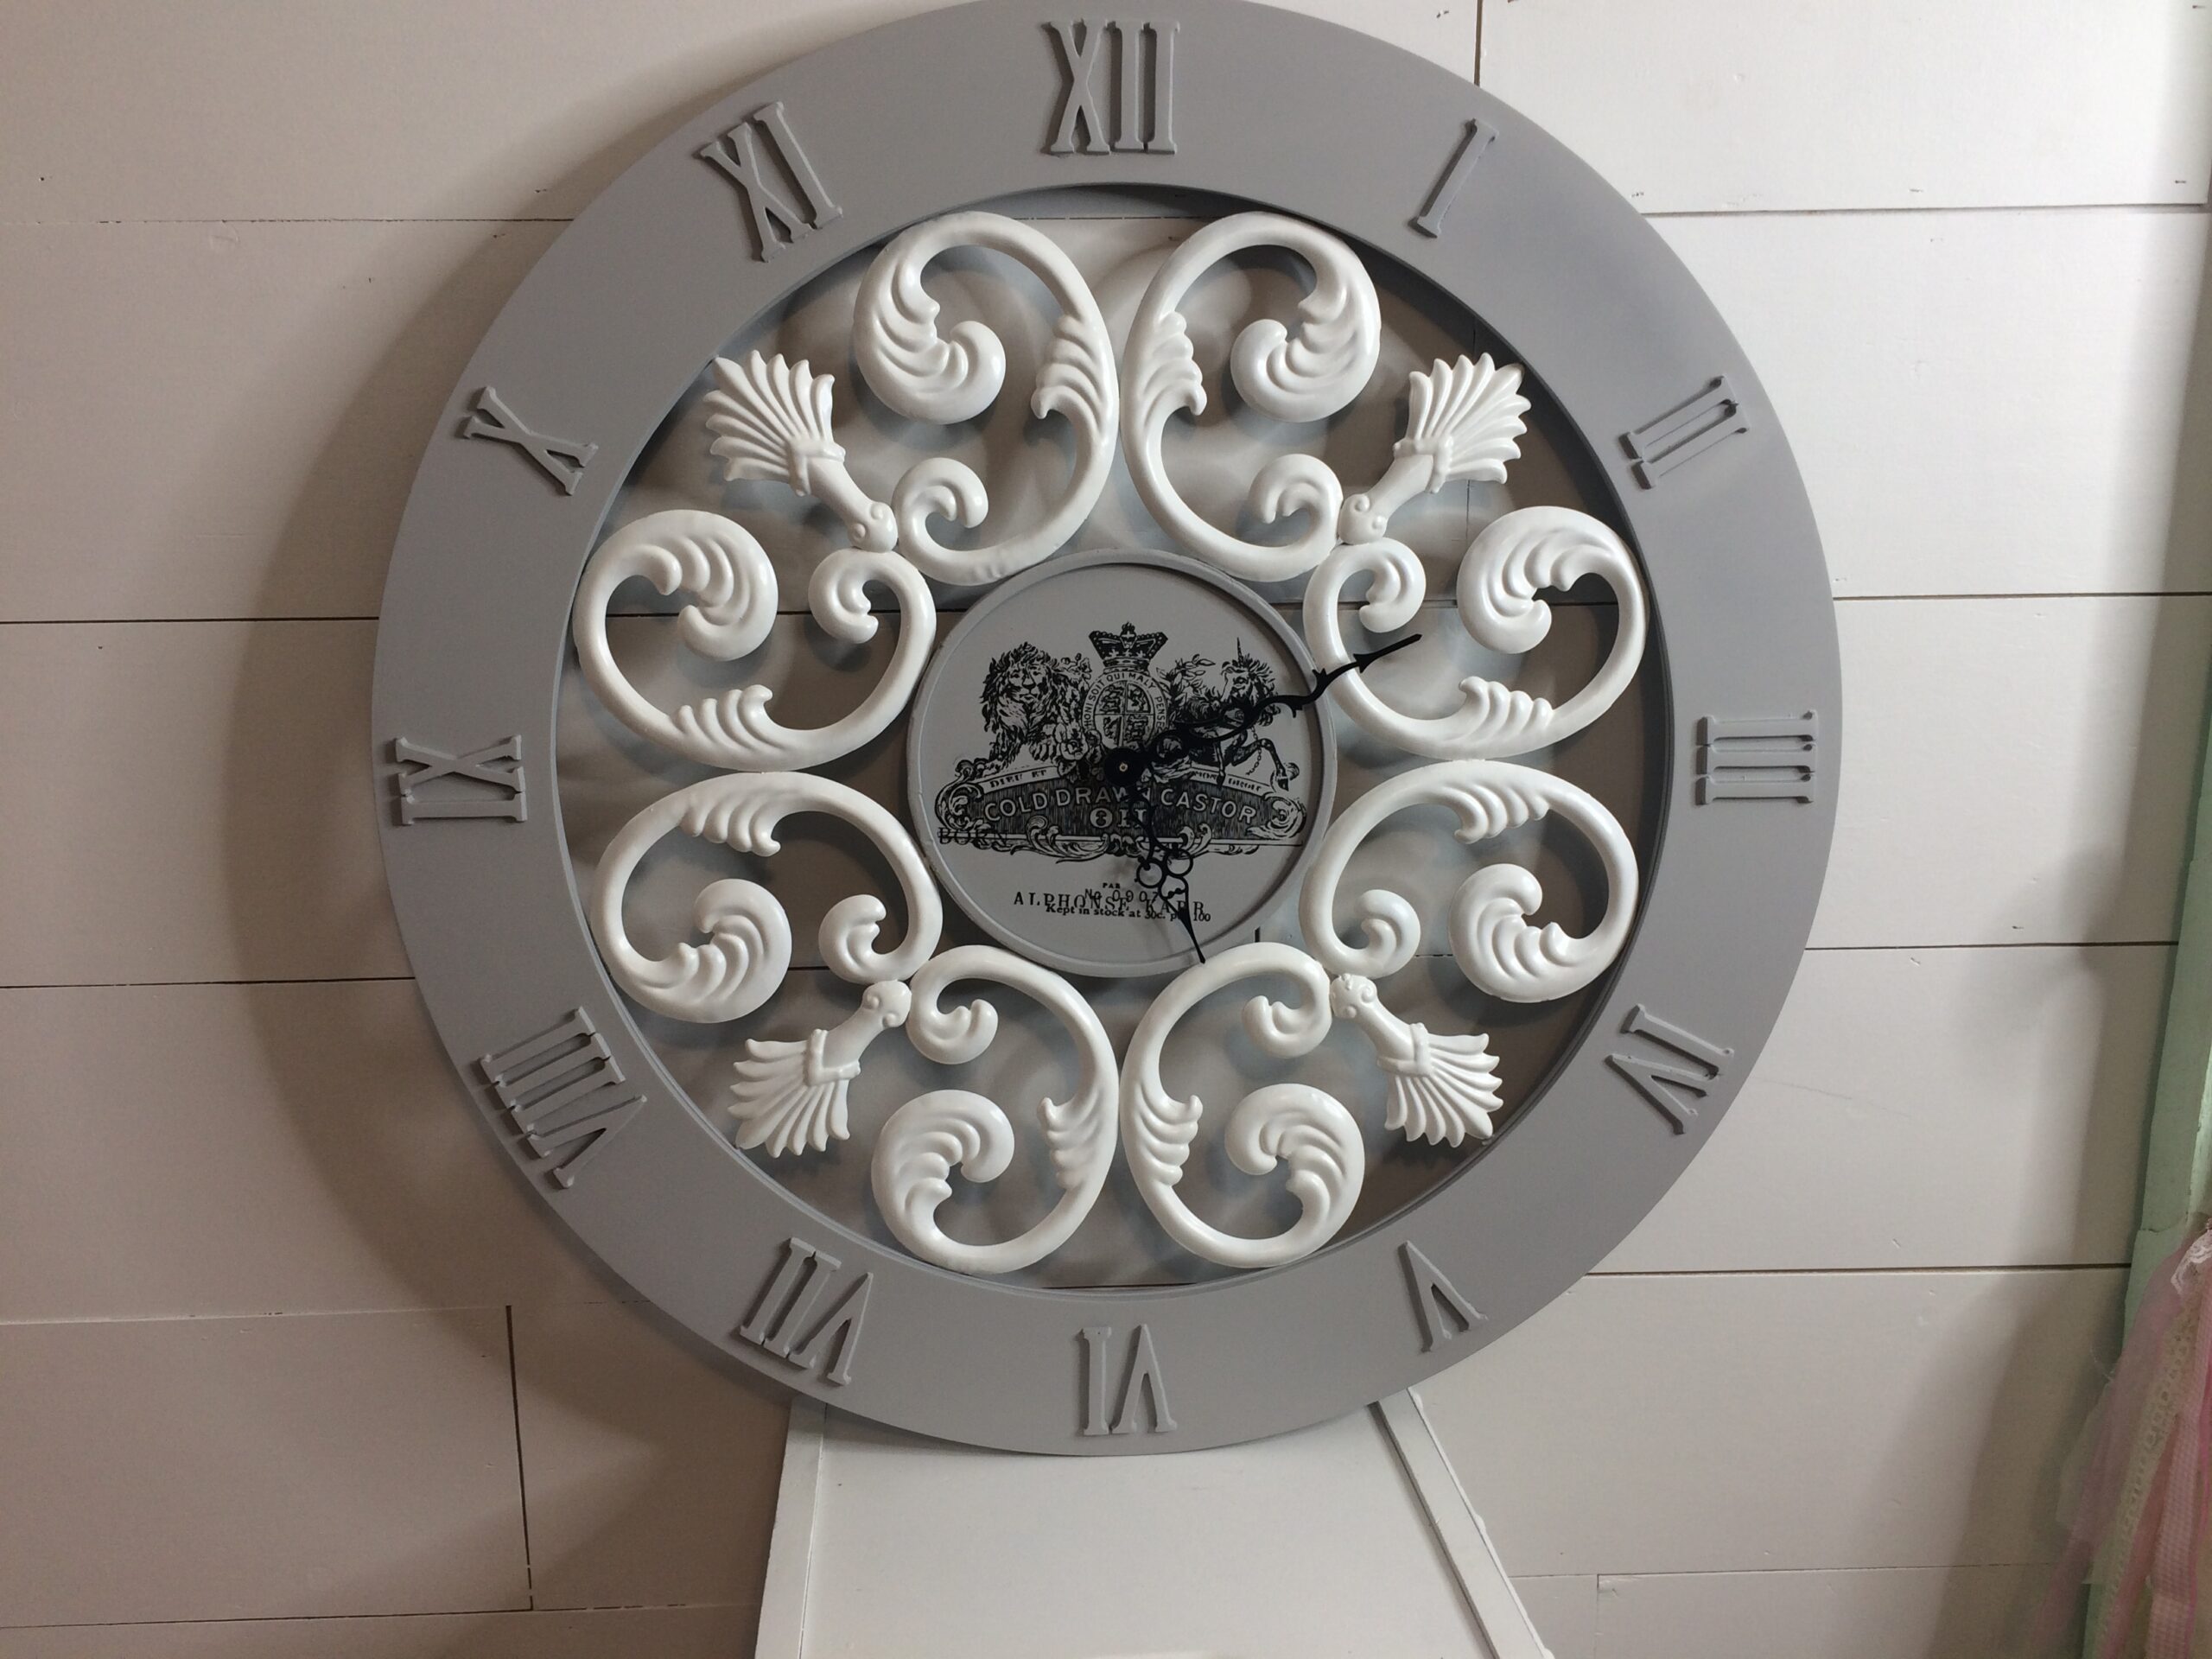
I’m loving it because grays, whites, and blacks are my jam but the numbers on the clock needed something. I wasn’t sure to go with white or black. What would you have done?
I decided to go with some leftover paint that I had from Behr in Burnished Clay. My favorite paint color. Wasn’t sure if it would be to dark so I add a smidge of white to it and I love it.
Want to see it?
Good, me too.
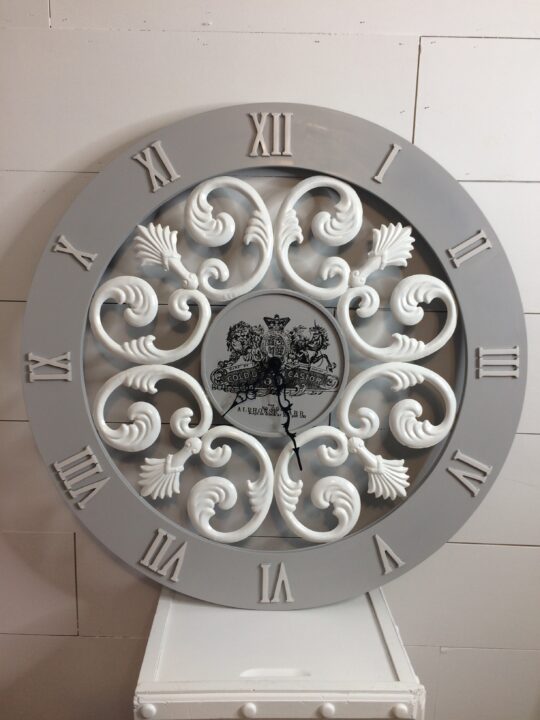
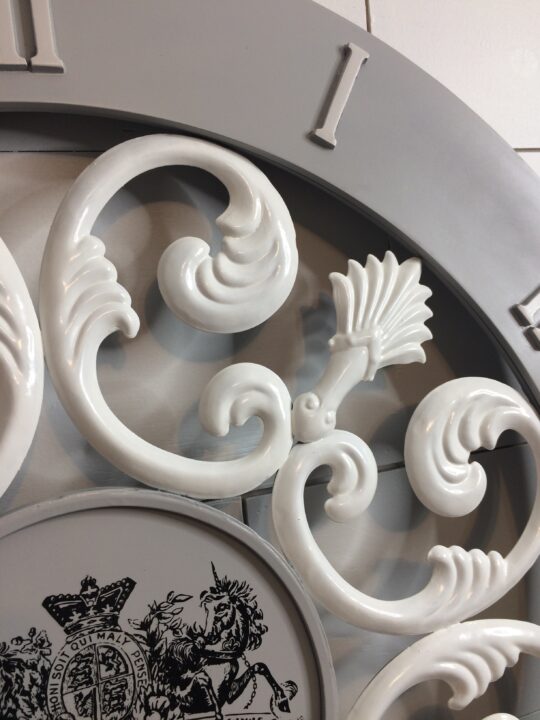
It is not a huge difference but it is just right for me.
And another clock is done. Unfortunately, I don’t have any room right now for it! I might have to lean it up against the wall. As I said, it is BIG!
Want to see the before and after together?
I thought you did.
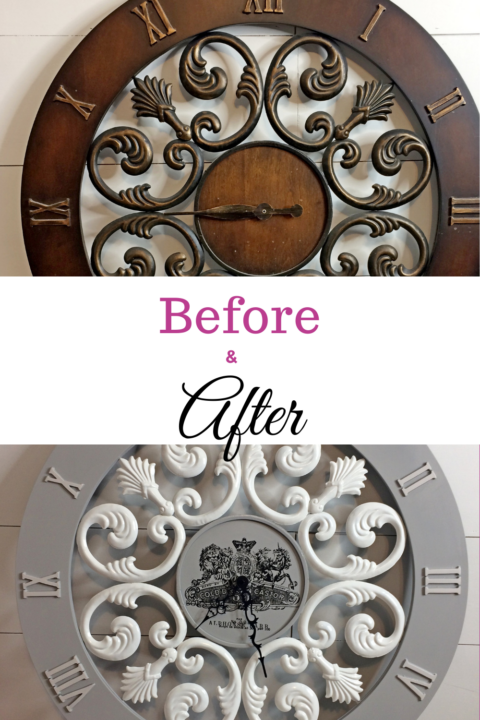
Another project DONE!!
Have a GREAT weekend my AMAZING Friends!!
*This post contains Amazon affiliate links in which I earn a small percentage from qualifying purchases through these links, at no extra cost to you. Thank you for helping to support my blog! *
Yay!!! It’s so pretty, it’s great to see such a cool clock become even cooler! Can’t wait to see where you end up putting it!
Thank you!! Have not a clue where to put it!! Want it??
What a beautiful makeover, love the colour and the stencil!
Thank you Jayne! I appreciate the encouragement!
Wow, it looks amazing. Thanks for sharing – this is exactly what I needed.
I’m so glad! I hope you share what you do to your clock!