Hey Amazing Friends,
I hope you are all doing Fantastic!
I scored this huge wooden spool from our local electric company.
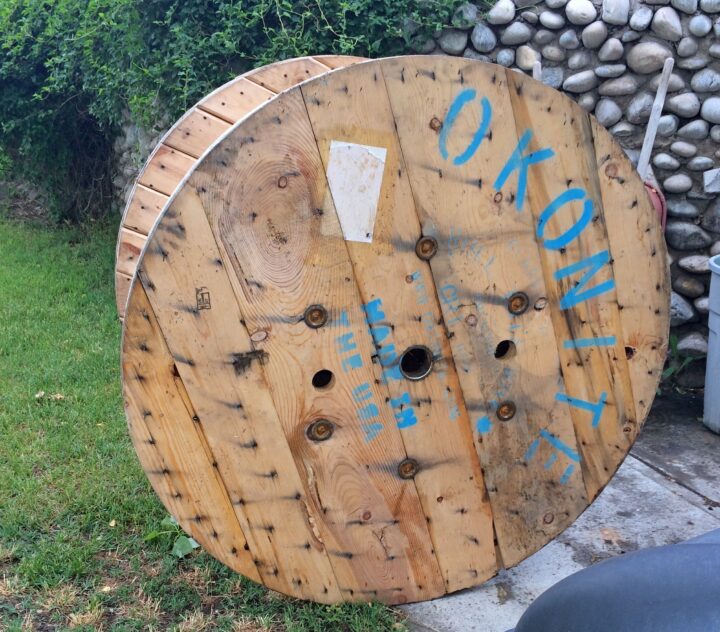
It is probably 4 – 4 1/2′ tall.
When I saw it, I knew I wanted to make a clock out of it.
Seriously, has anyone made a 4′ clock out of one of these?
But, that is for another post!
Tease, I know!
Today we are making a rustic flag.
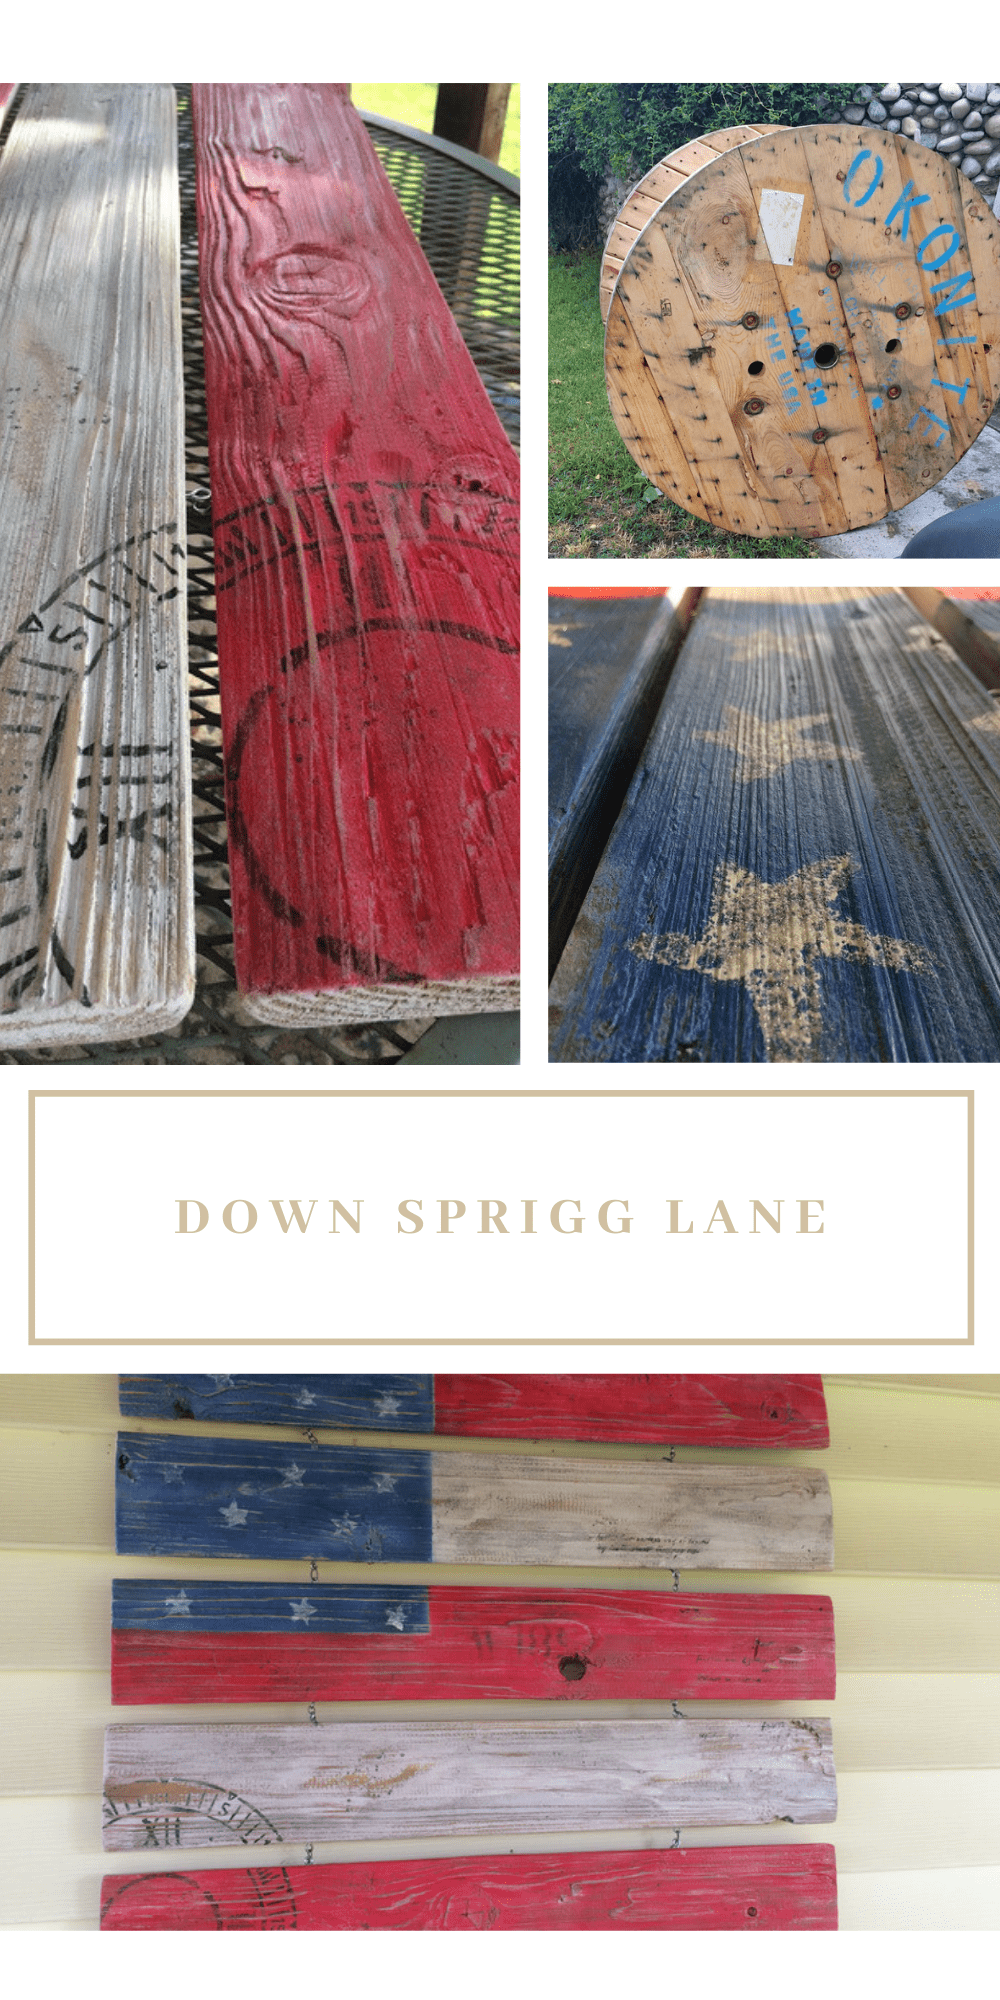
When taking it apart, it has all of these wooden slats between the two spools.
Can you see it as a rugged flag?
To be honest, I didn’t see the flag at first.
My husband and I tore the spool apart, then it sat for a while.
Tearing it down was easy to do.
Just loosen the bolts and they slip right out.
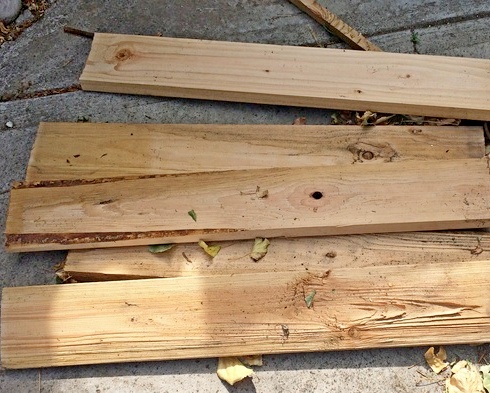
The boards are curved.
After tearing it down, I sanded them.

I got them ready for painting.
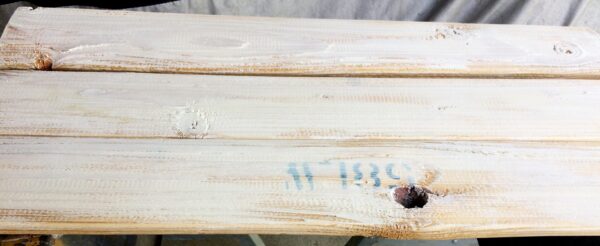
I dry brushed Kilz onto the slats because that is all I had.
White paint would work just as well!
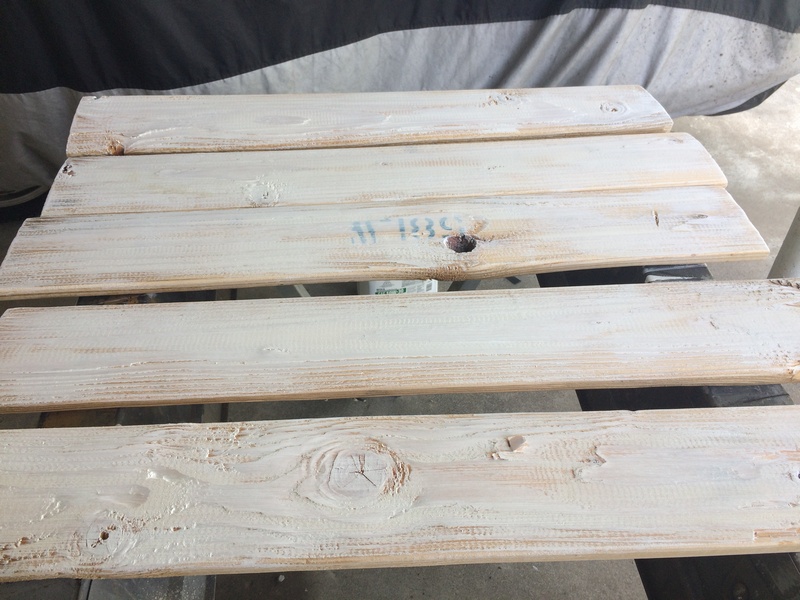
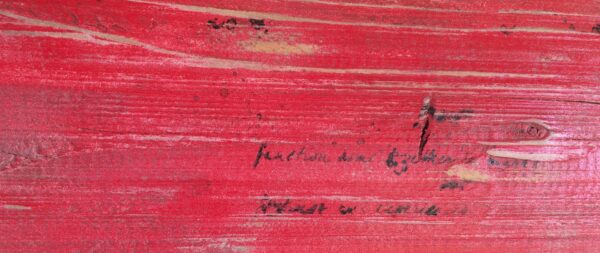
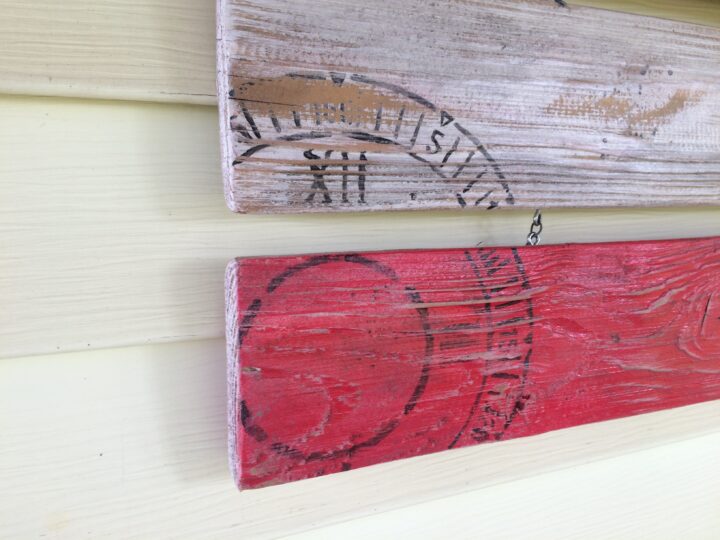
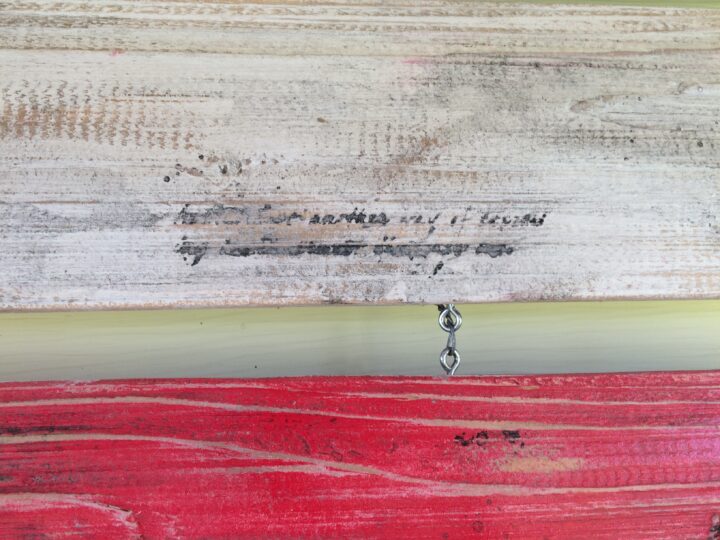
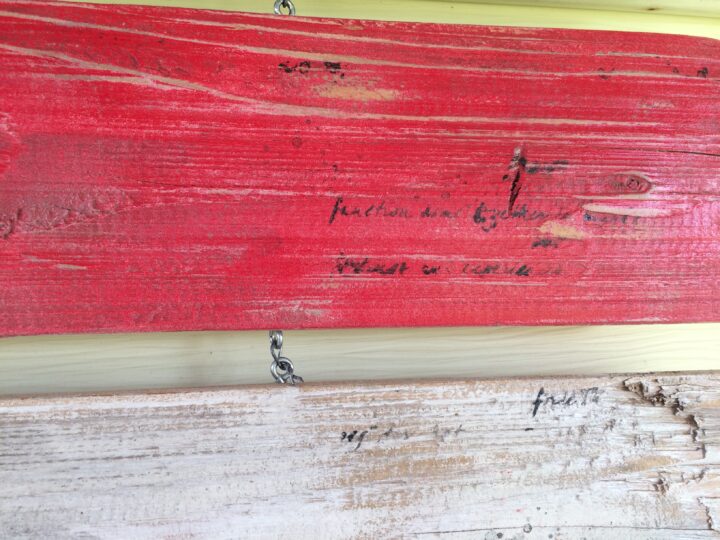
I dry brushed the paint on so you could see the letters through it.
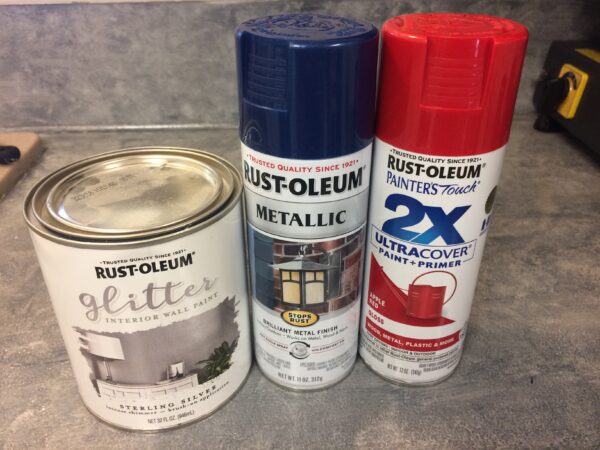
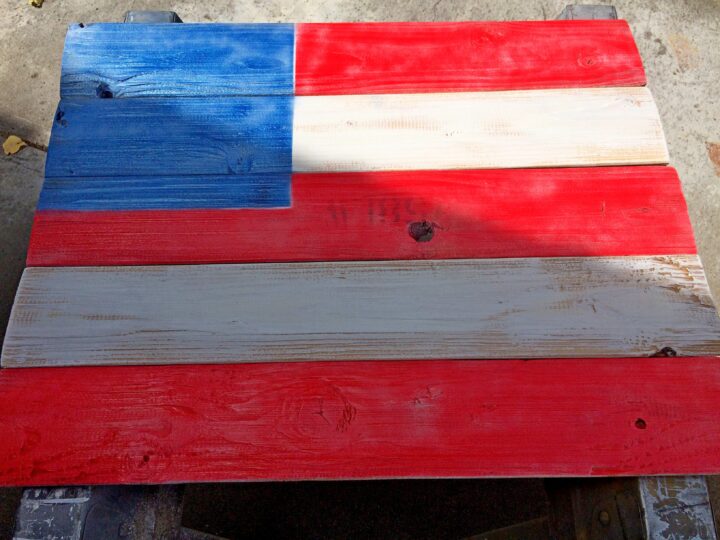
After the boards dried, I used Rust-Oleum Apple Red for the stripes and the Rust-Oleum Metallic in Blue for the square.
Both in Spray paint form.
It isn’t the true measurements of a flag or the correct amount of stars but it did turn out the way I wanted it too!
After letting the paint dry, I wanted it to look more worn.
I didn’t want to use stain, so what I did was mix some black paint with water.
It only takes a small amount of paint to water ratio.
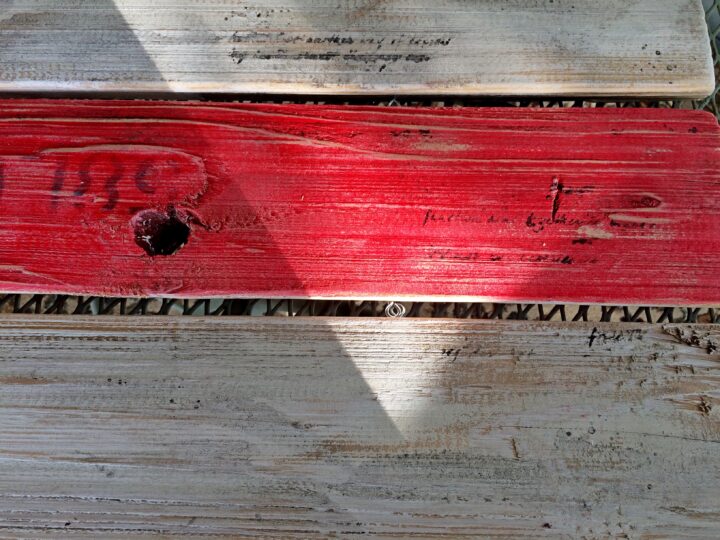
Then after I applied the watered-down paint, I used a rag to take it back off.
It took a couple of times to get the look I wanted but it added so much dimension to it!
Next, you want to add stencils.
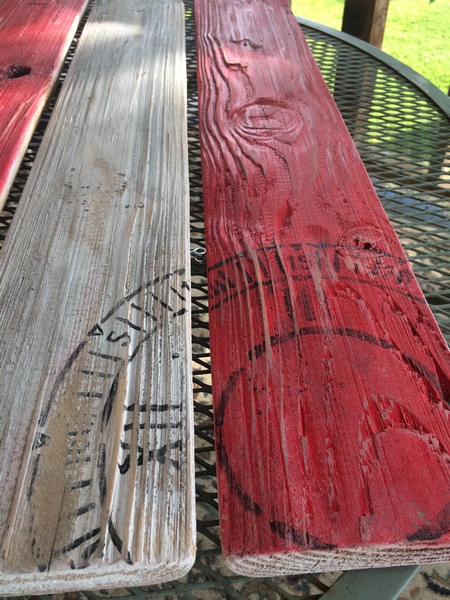
A clock stencil from Jami Ray Vintage.
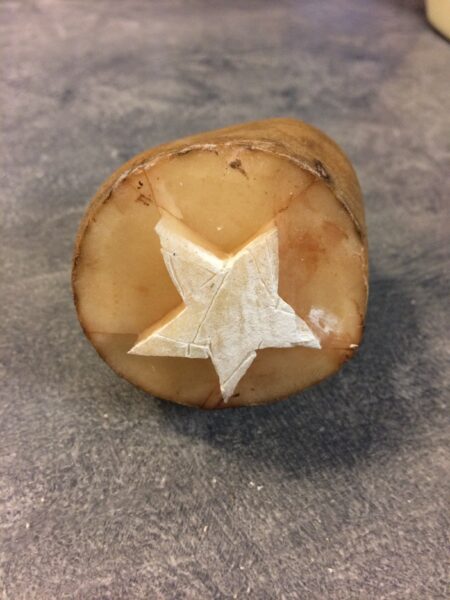
I didn’t have a stencil for the star, and I didn’t want to use paper but I did have a potato on hand, so I cut a star shape from it.
It’s not perfect but neither is the flag.
Which is perfect.
Add white paint to the star and add it to the blue square.
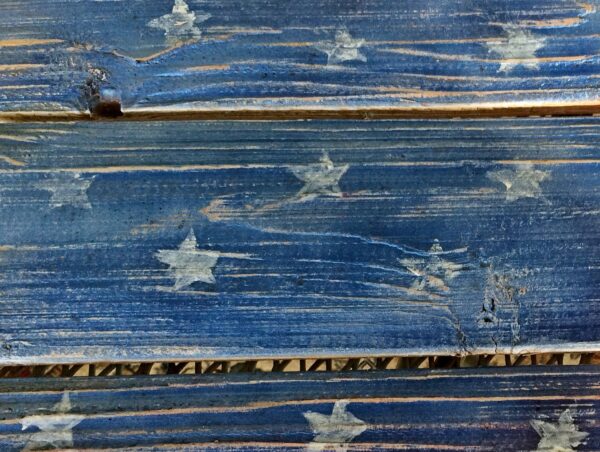
You can go back and use a small paintbrush to apply more paint to the stars.
You really can’t see it in this picture but the stars have glittered paint on top of the white paint.
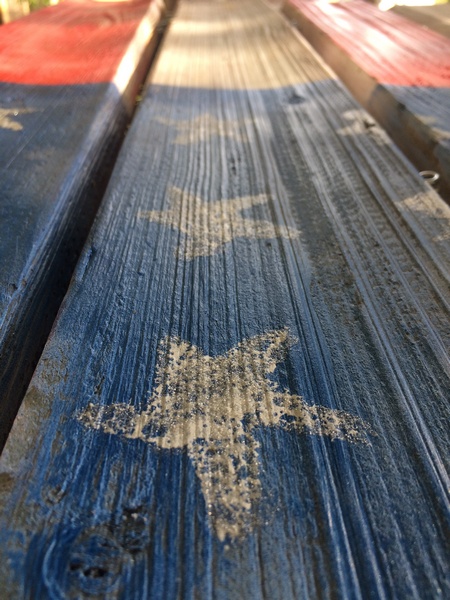
After you have all the elements you want on the flag, go back and sand it down.
Make it look worn.
The picture below is the 1st side of the flag.
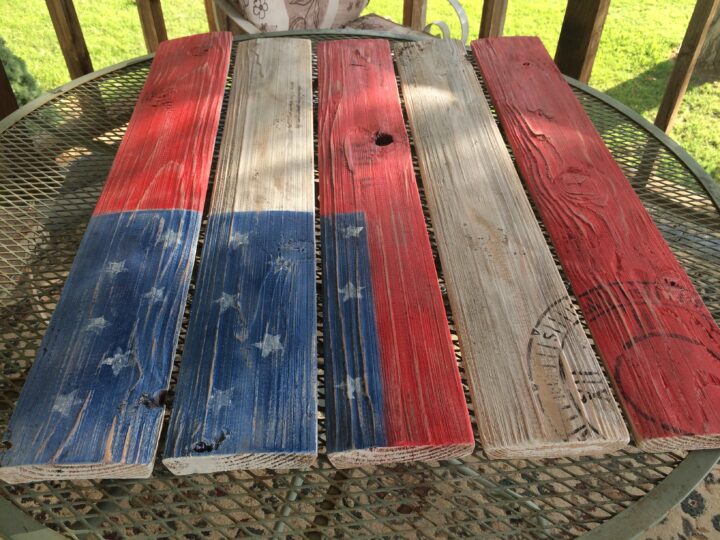
This is the second side.
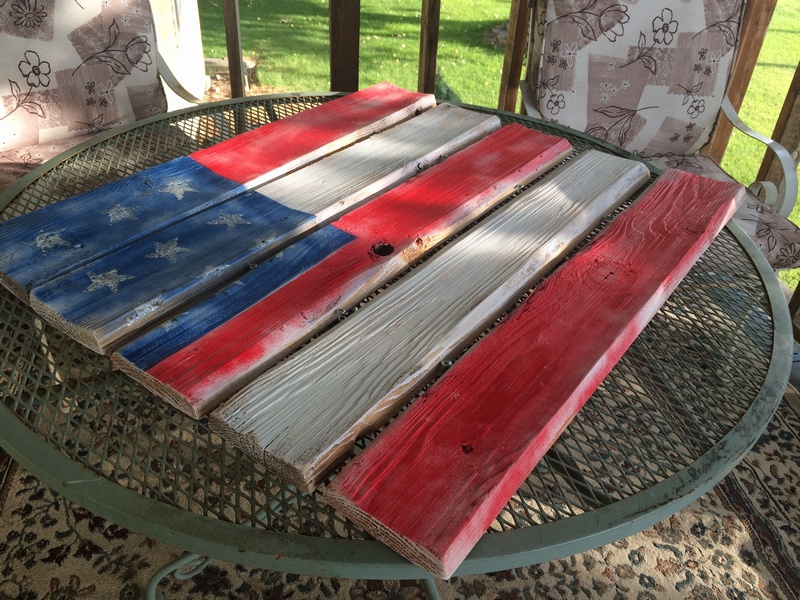
Both sides are different.
I did not add the watered-down paint to this side.
I lightly spray painted this side so you could see the white coming through.
I also sanded it lightly.
Next, you will want to add eye hooks to the boards.
Two on each side of the board, 4 per board total.
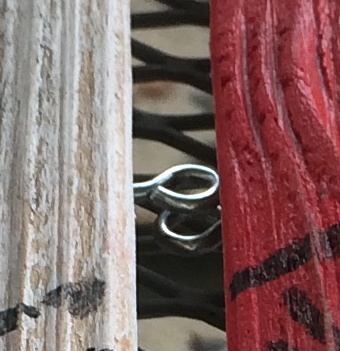
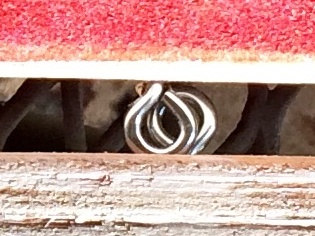
I then wrapped wire around each loop and twisted it together the best I could.
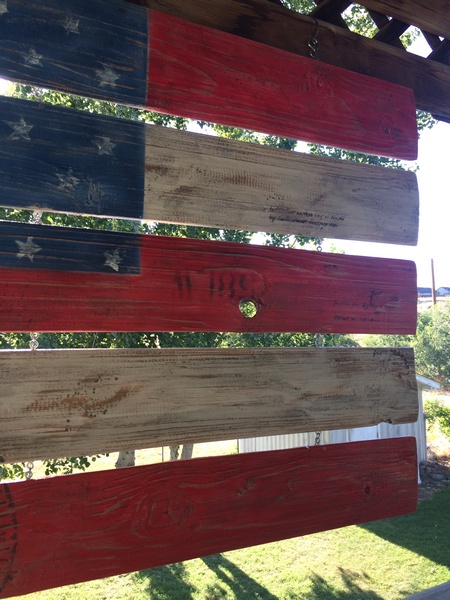
First I had it hanging on our deck but the wind gets so strong here it loosens the eye hooks and also blew it off the nails holding it.
Now I have it hanging on the house and haven’t had any issues with it.
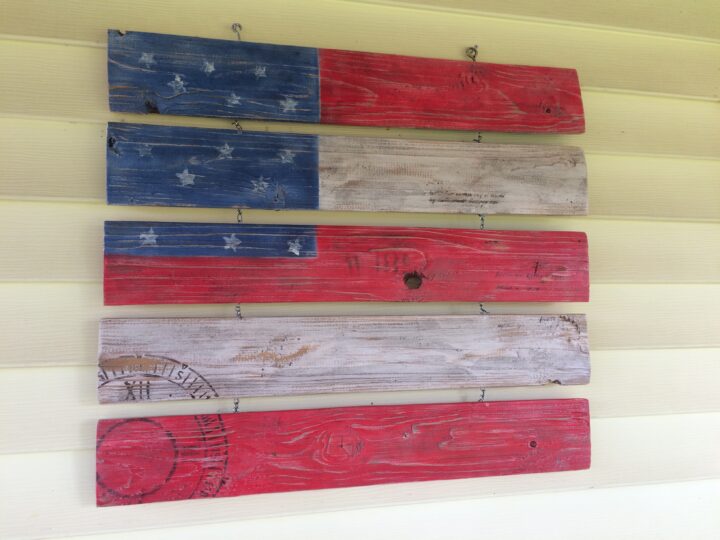
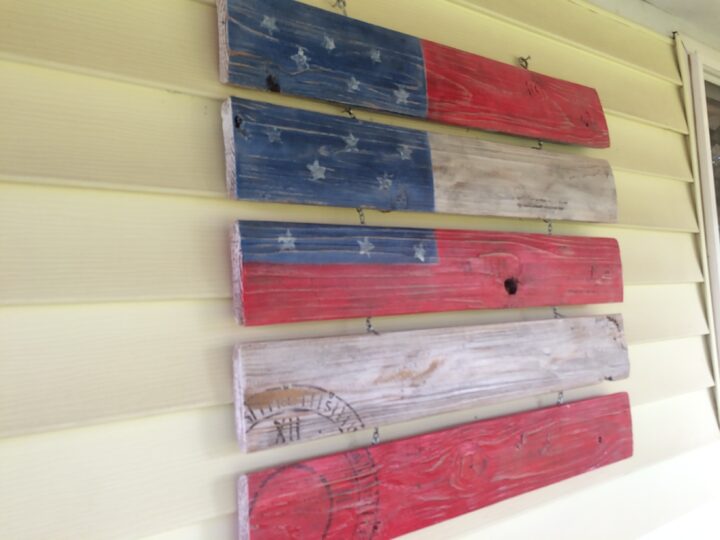
This is my favorite side!
Seal it and hang it.
You’re done.
Enjoy your new flag!
Have an amazing day friends!
What a great idea. Thanks for sharing.
Thank you!!
Love your flag so much! What a creative way to repurpose a spool!
Happy day!
KariAnne
Thank you!! It was so fun!