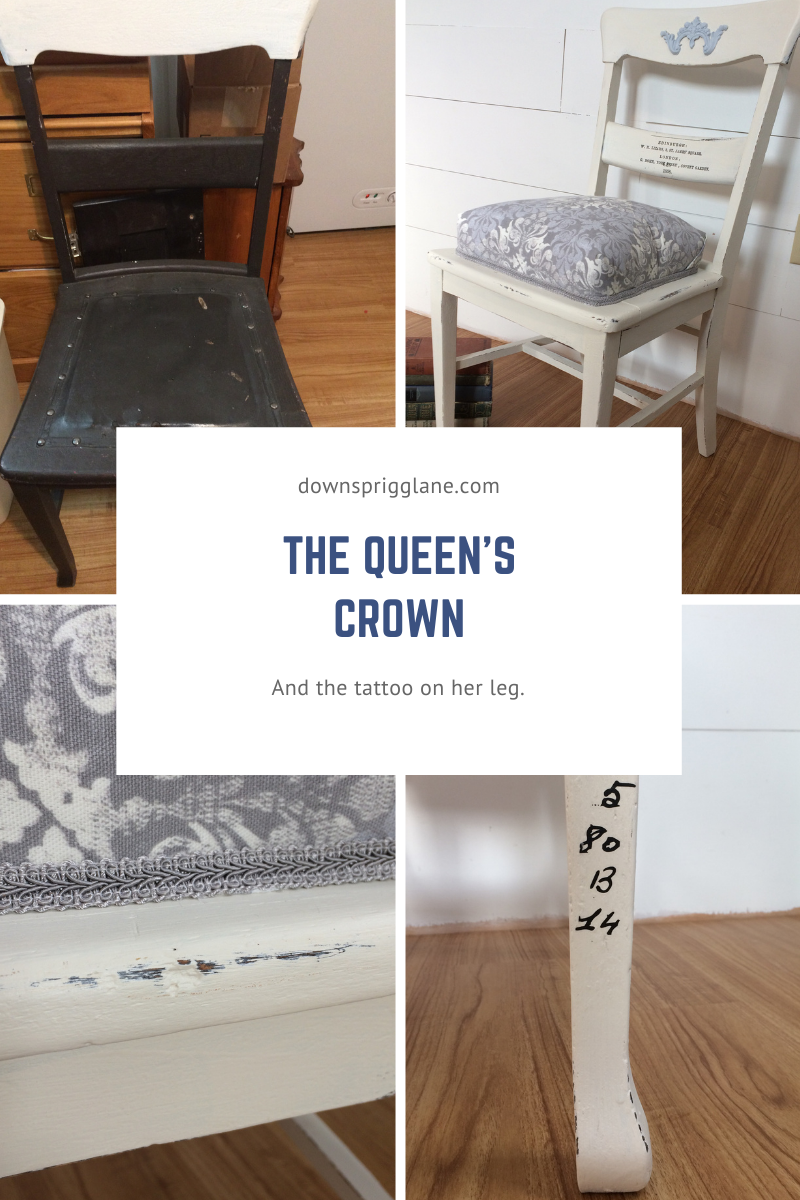
And the tattoo on her leg.
I got this chair for free! You can see why, lol.
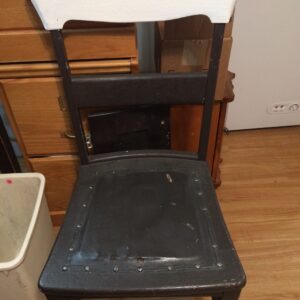
It came with this chair.
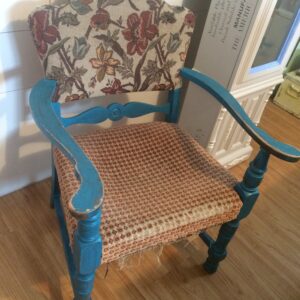
You can see that makeover here.
I only had eyes for the blue chair at first. I had a specific project in mind for it, but the woman giving it away asked if I also wanted the black chair. She just wanted both gone because she was moving and asked if I would take them off her hands. Sure, they were free!
So I don’t know about you but when I get a potential project, it sits and sits, until I can figure out what to do with it. That is why I have a ton of projects to do. BUT, each week I am getting closer to cleaning out my junk room. I have been a good girl and have avoided Goodwill.
I really had no idea where to start on this chair, so it sat. I decided one day that I was just going to start. Sometimes that is all it takes. I tore the bottom of the chair out because it was a hot mess. All that thin wood that was used for the seat was falling apart.
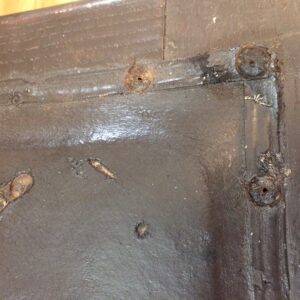
It’s just amazing how dirty and stinky these chairs had gotten!
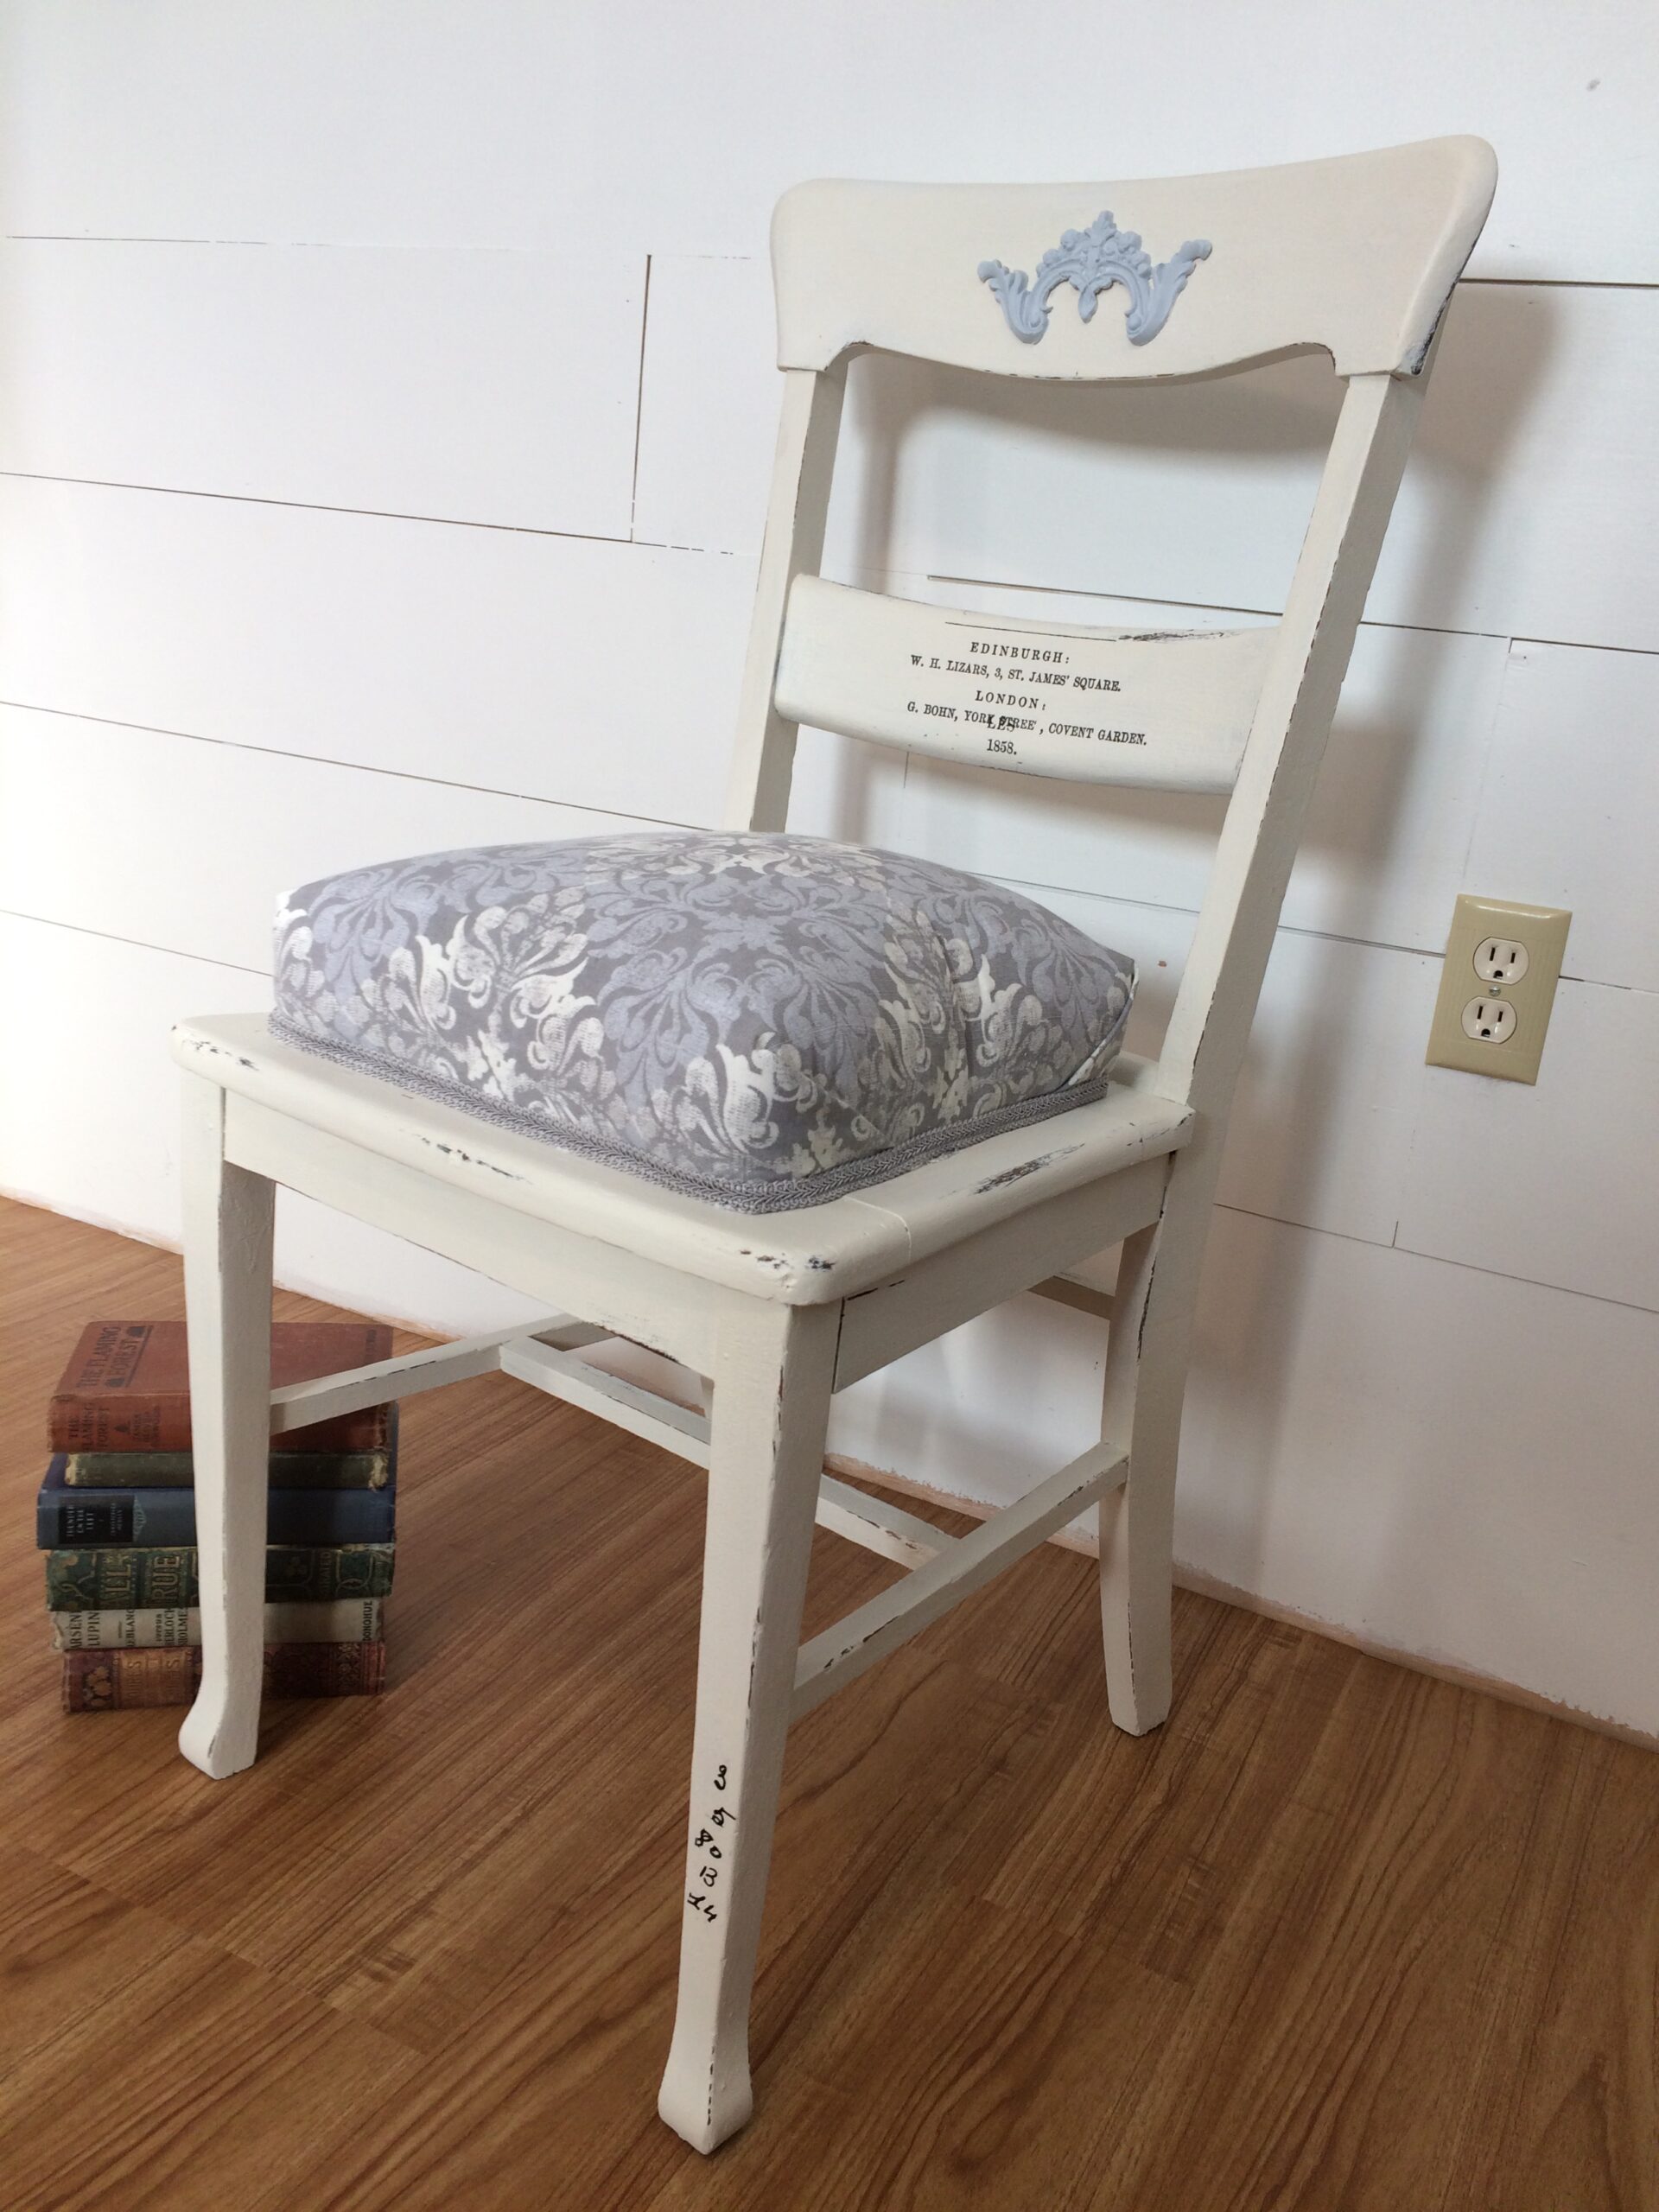
Next step was to paint the chair. I can’t even tell you what the paint color is. My daughter had mentioned that it would be nice to match the paint to the whitish color in the fabric. That is what I did, or at least tried to do. I have three different paints that I mixed into one, and now I don’t think it is as stark white even though it may look like it in certain lighting.
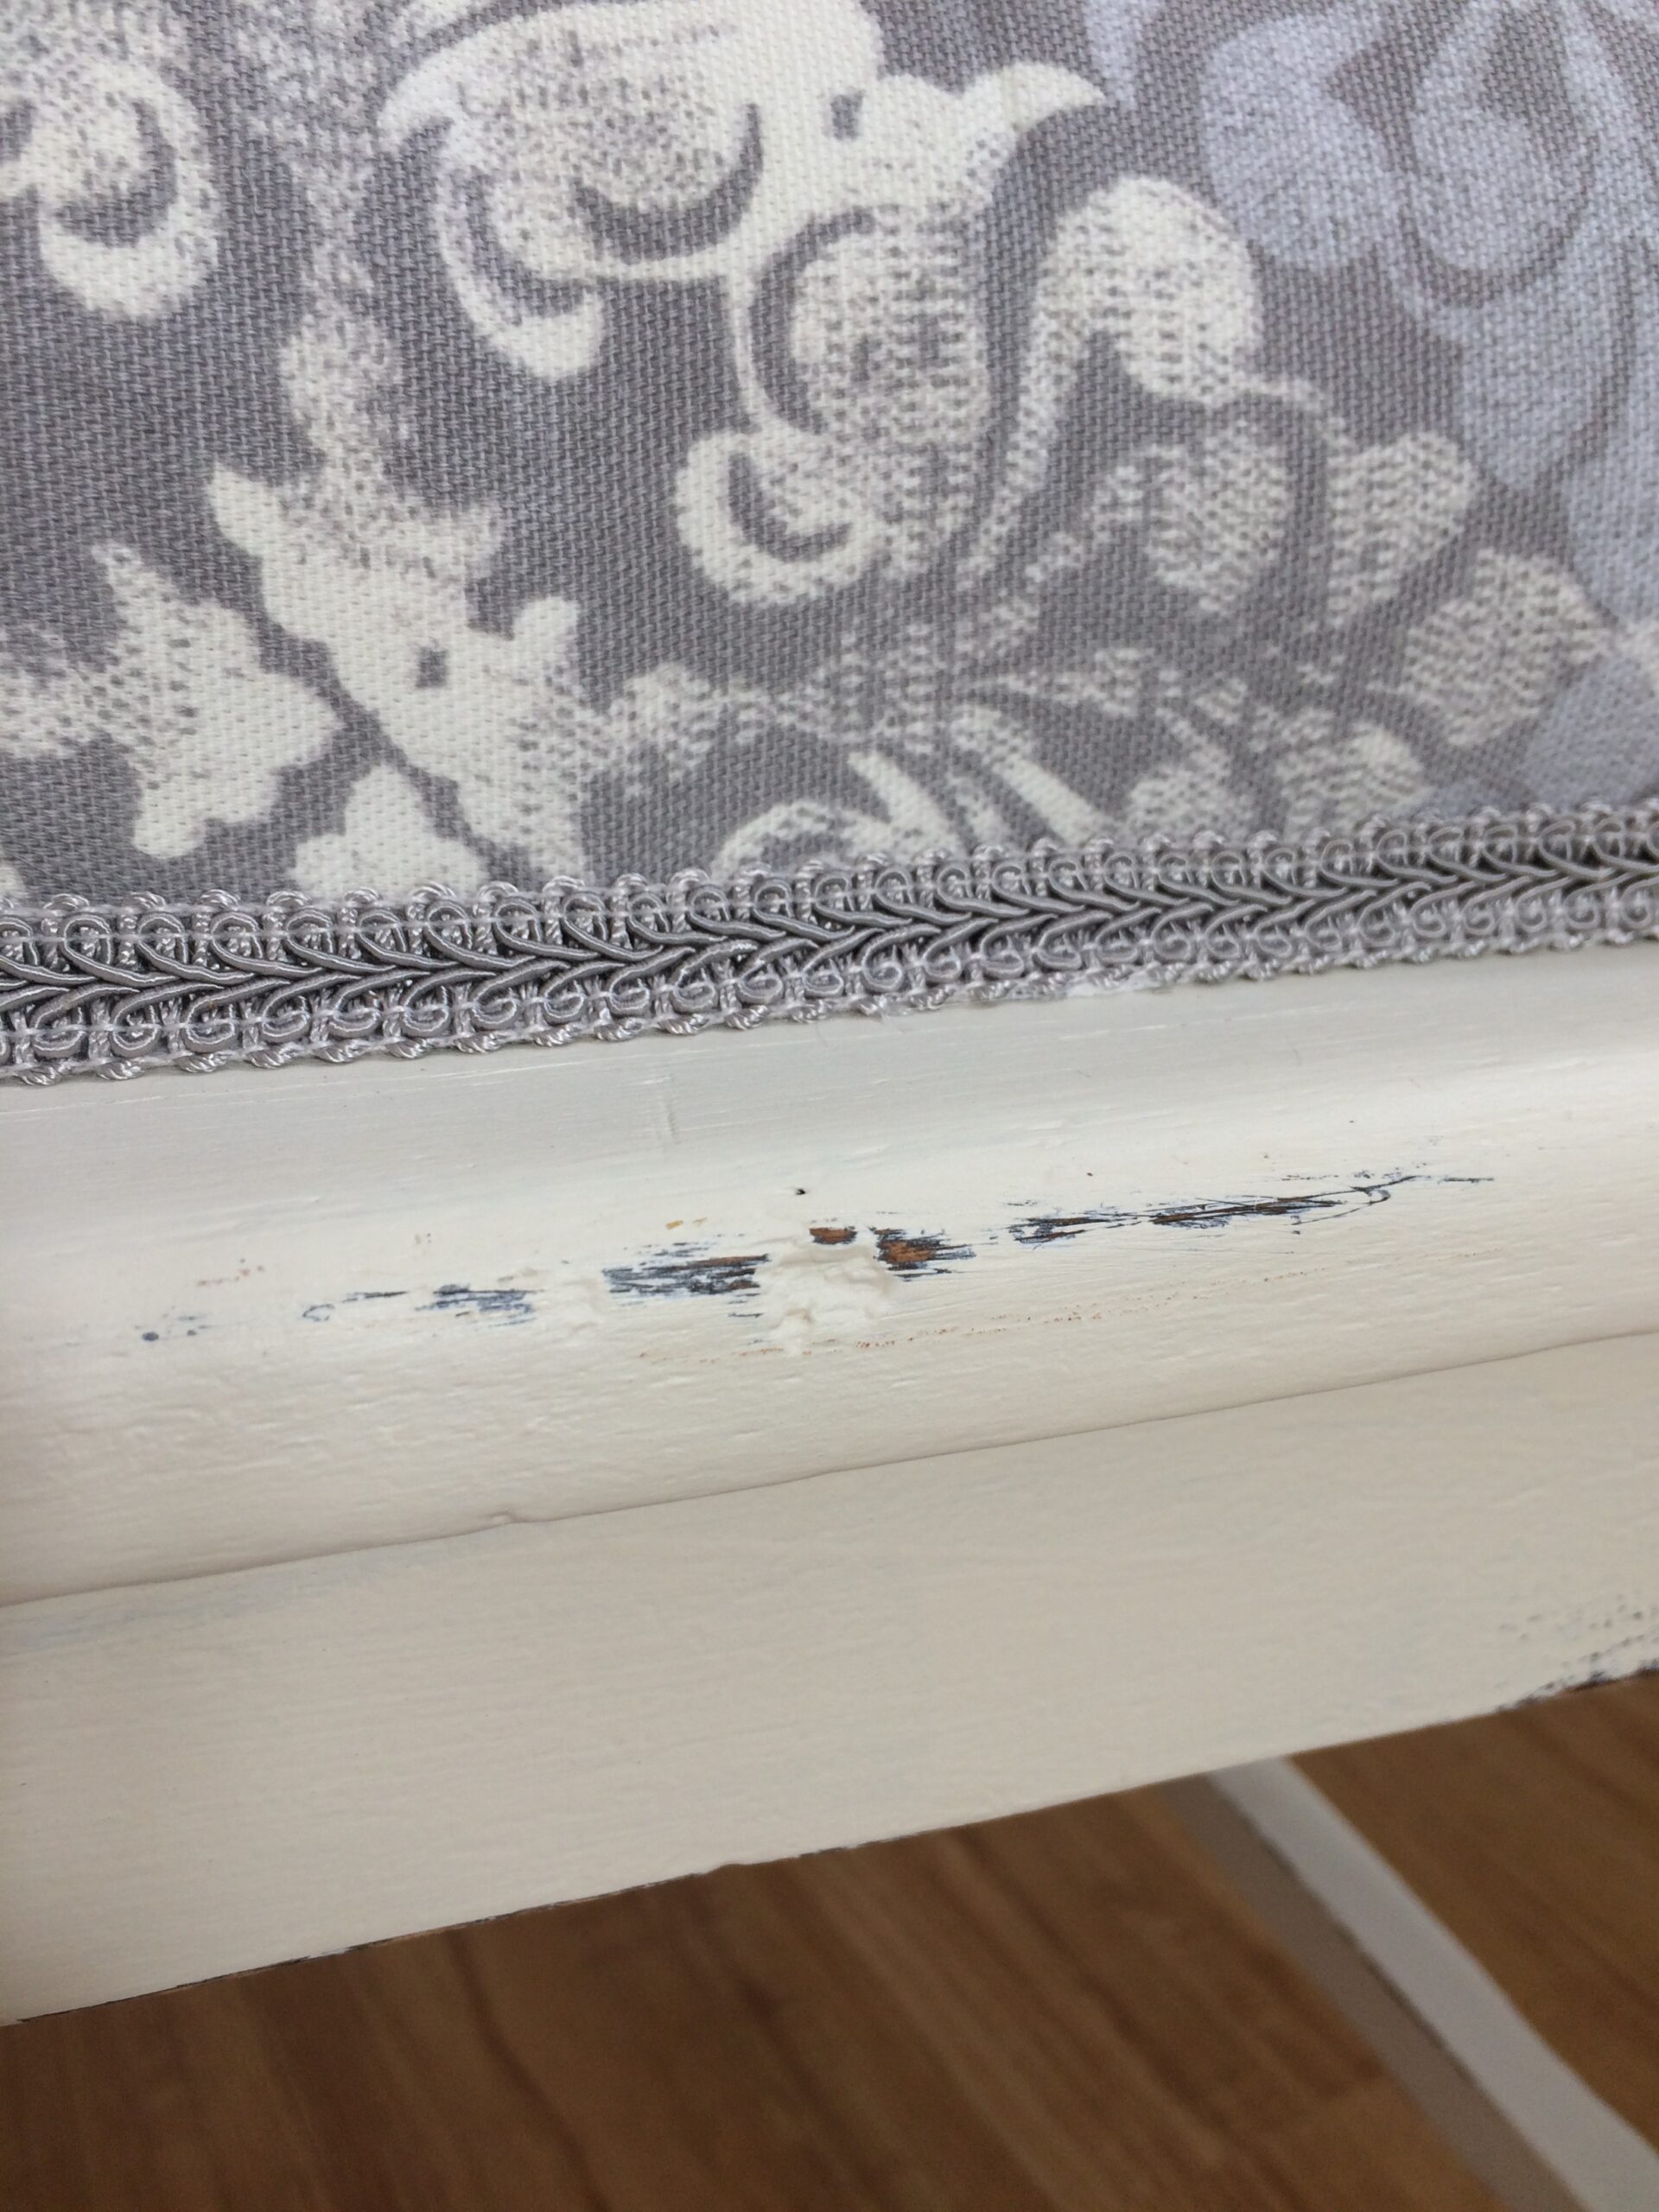
Then, to distress it: I just ran sandpaper along the places I wanted it to look worn.
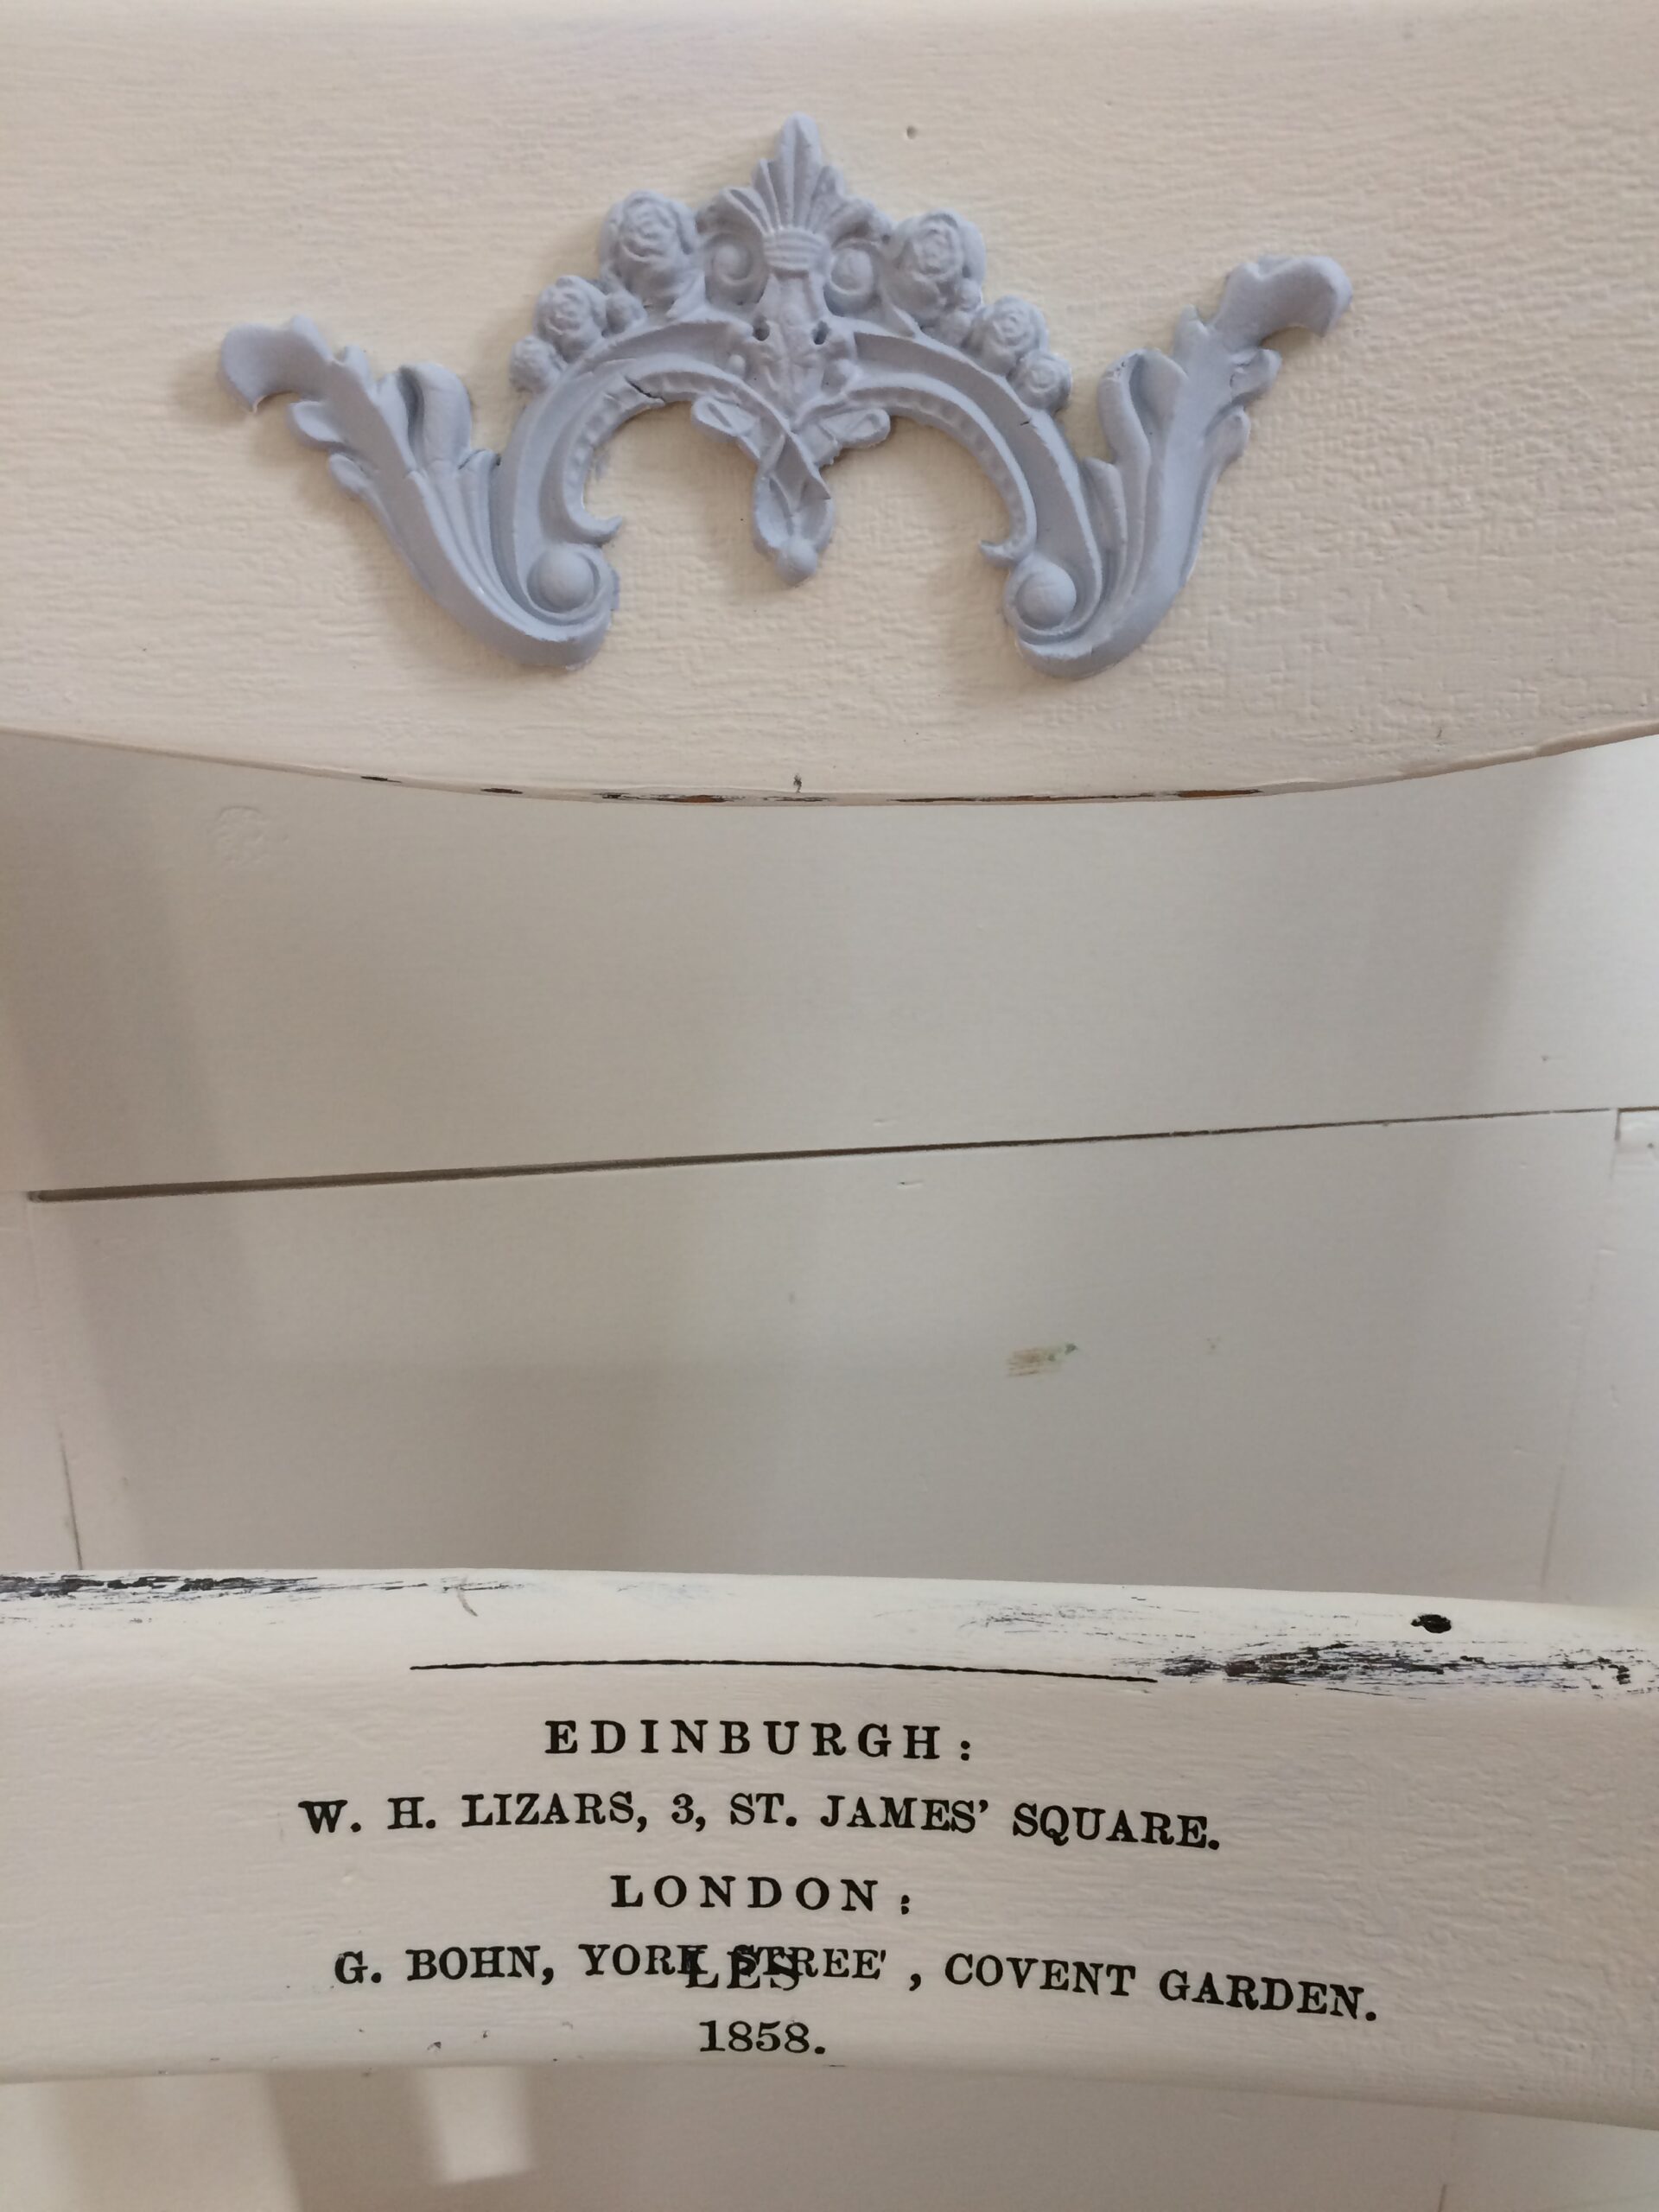
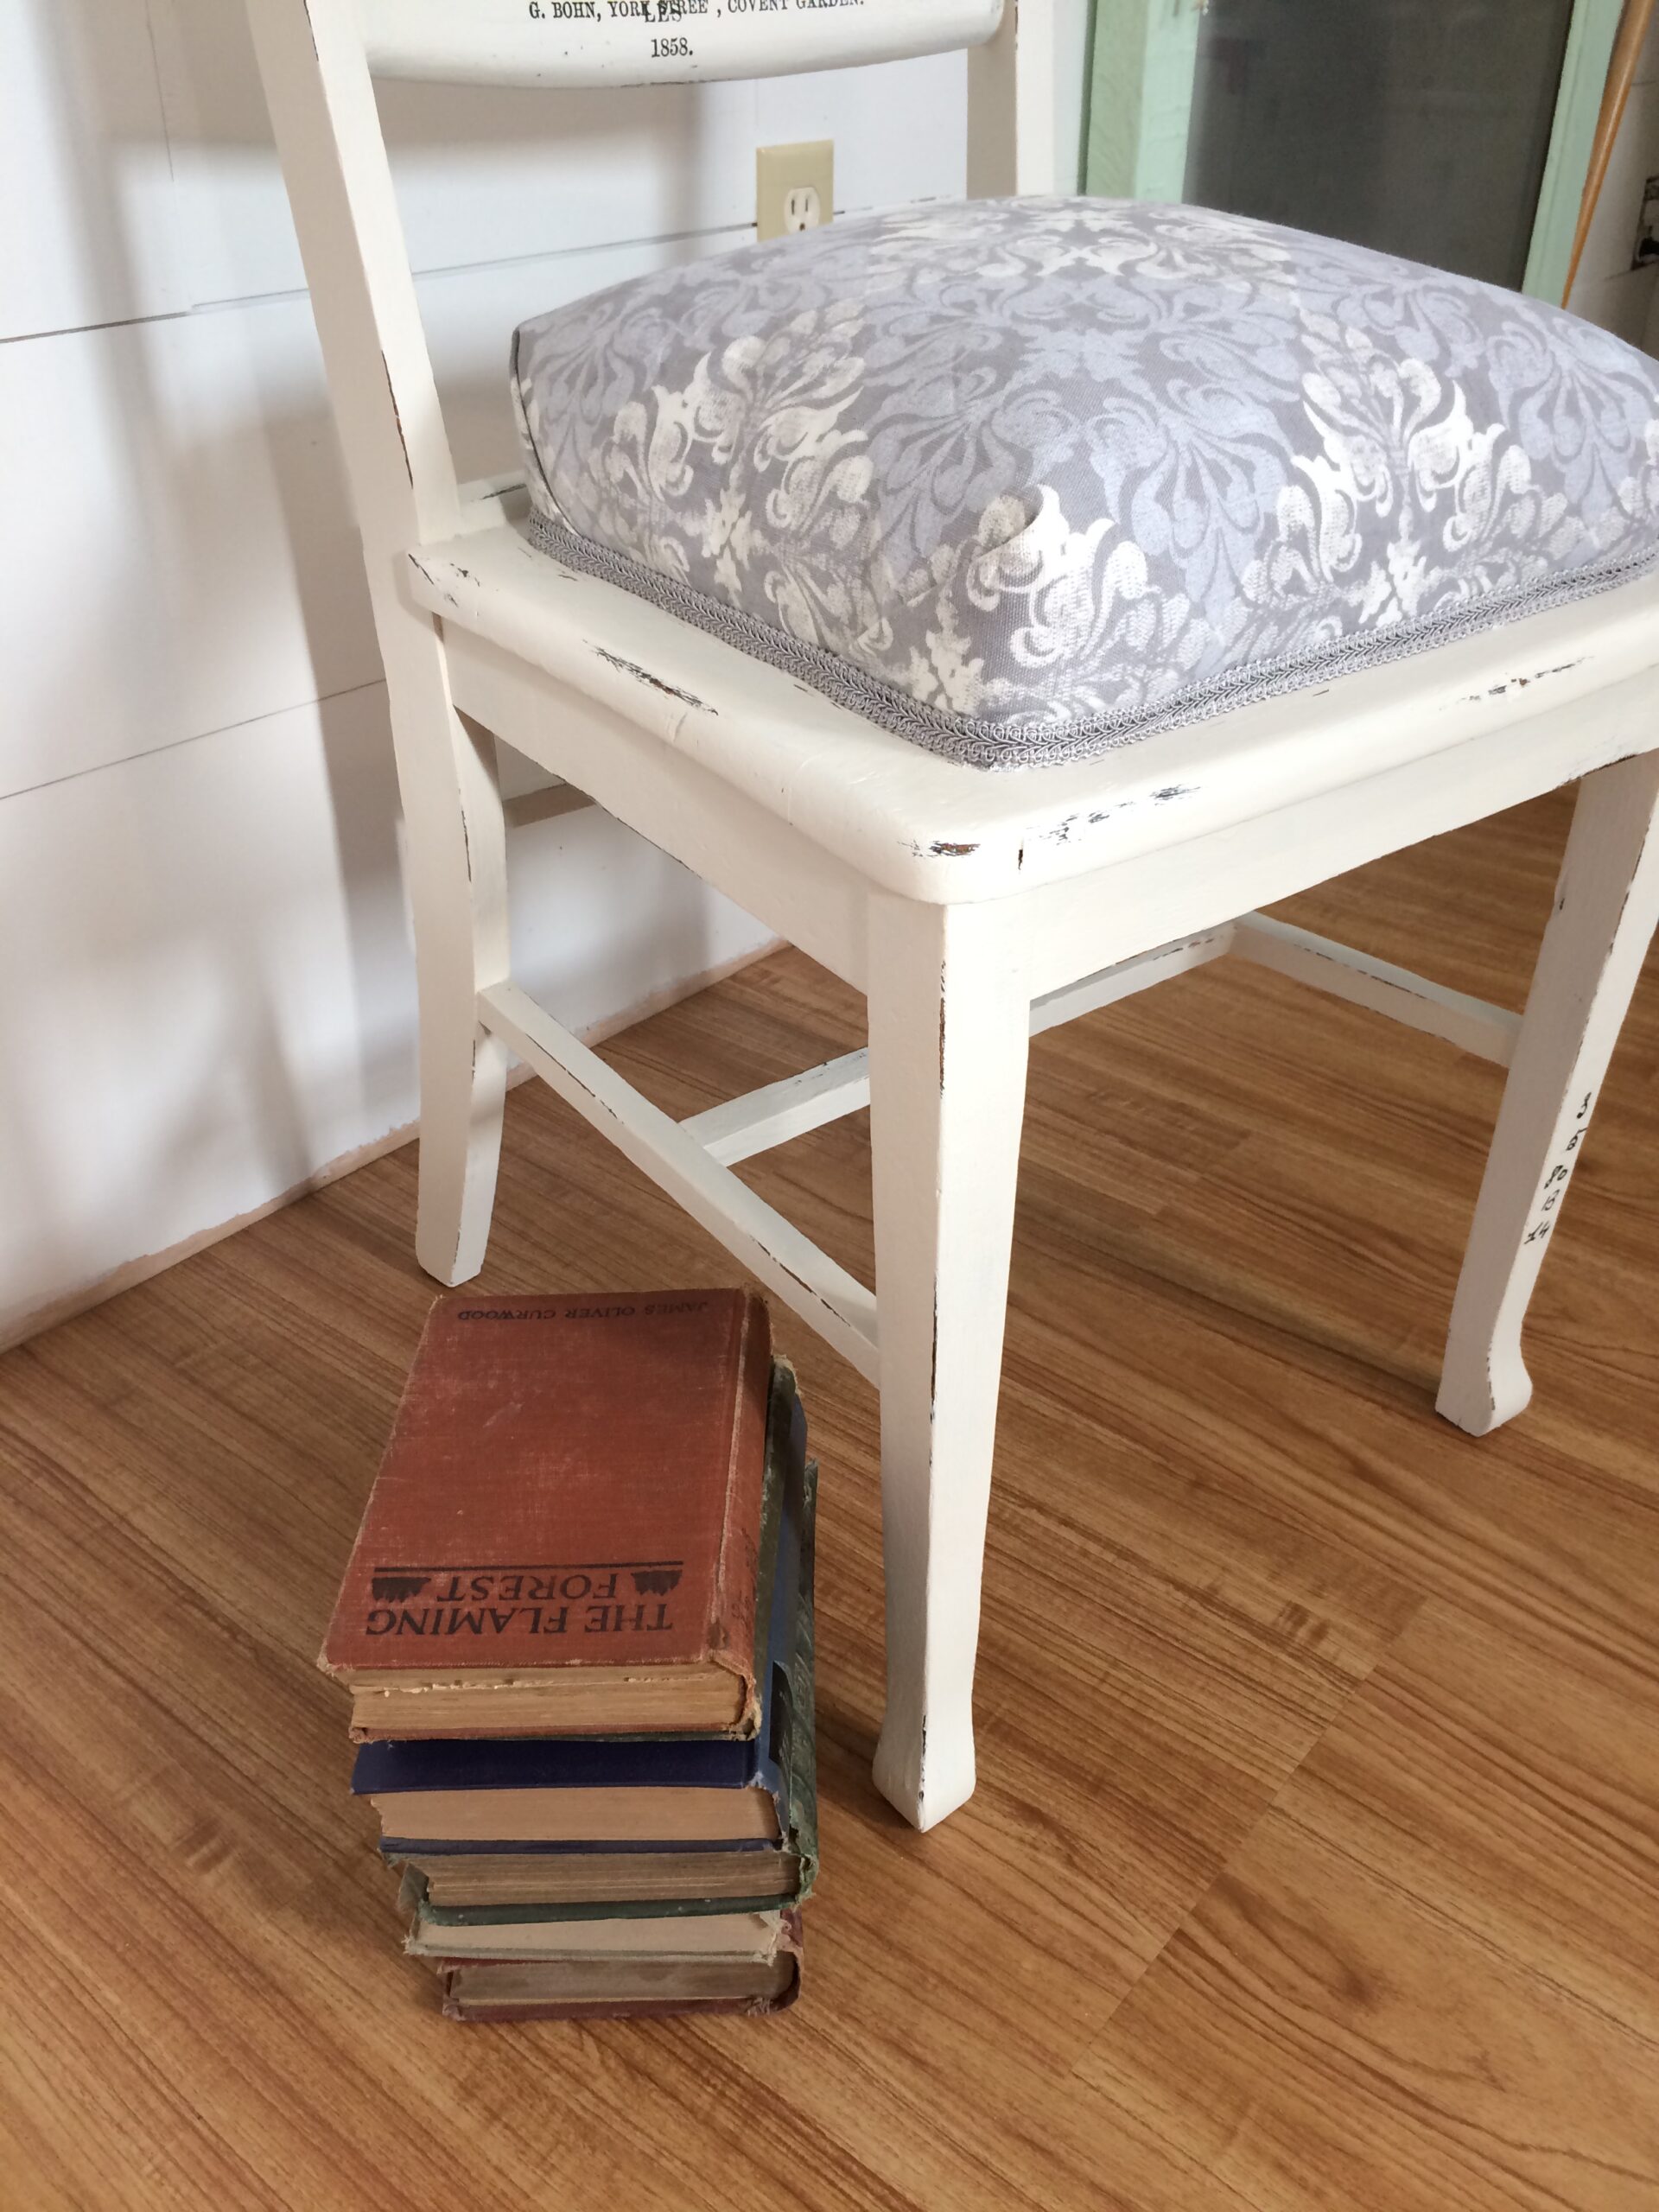
I decided to use my IOD transfers because, why not. I love them. They make everything look better. I put a number transfer on her leg (the tattoo on her leg) and on the back of the chair in the middle I added a phrase. More character building!
I used a clear matt spray to seal the deal.
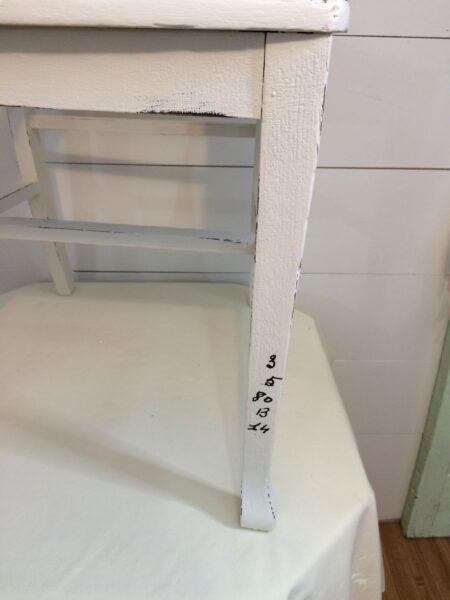
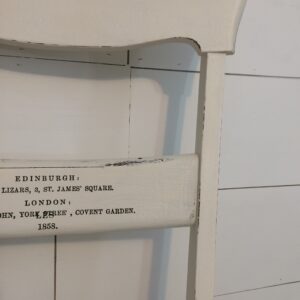
I just want to mention that this chair has some kind of unique texture going on, almost like alligator skin! It was there on the original piece before I started painting it. I didn’t know what it would do if I tried to sand it, and so I didn’t want to take the time to sand it down.
Originally, I had planned to go with a grain sack fabric I had bought from Miss Mustard Seed but made a trip to Joann’s for foam, batting, and gimp and this material changed my mind.
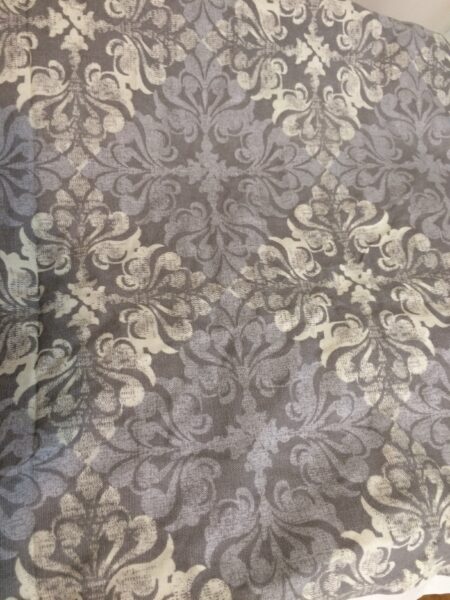
Many people say that you need foam and batting to reupholster furniture but I didn’t have any of that. After seeing what batting and foam cost at Joann’s, I decided to look around home for something that would work, and sure enough, I had a pillow in my craft stash and it fit the chair perfectly. BUT, it is very puffy. Still, I decided my little ol pillow would work. I did buy the fabric from Joann’s but that was it. Did I mention I am cheap? I am!
While at the doctor last week I stopped in at Joann’s again and bought some trim to go with the fabric. Even though I forgot to bring the fabric to match the trim, in the end, I didn’t have to worry, I did good, lol.
Now, I was ready to assemble.
I had to cut out a piece of wood to replace the old seat (that is another long story). I nailed it down, in all four corners, to hold the wood in place.
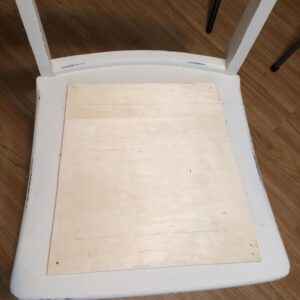
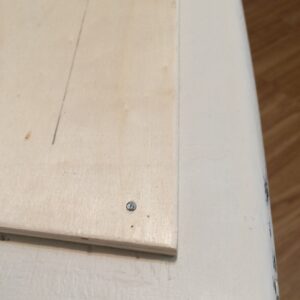
Next, I took the pillow and laid it on top of the new seat. Laughed out loud because it is so puffy. I thought “Everyone will laugh at you!”.
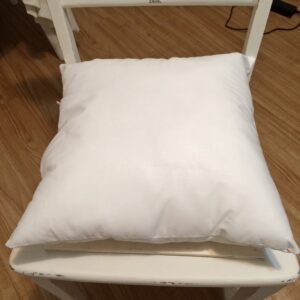
To start stapling, I put the fabric over the pillow and straightened the fabric out until I was happy with it. Started in the middle on one side, added a staple, then went to the opposite side and stapled again. Stapled about 4 staples in each side before tackling the pleated edges.
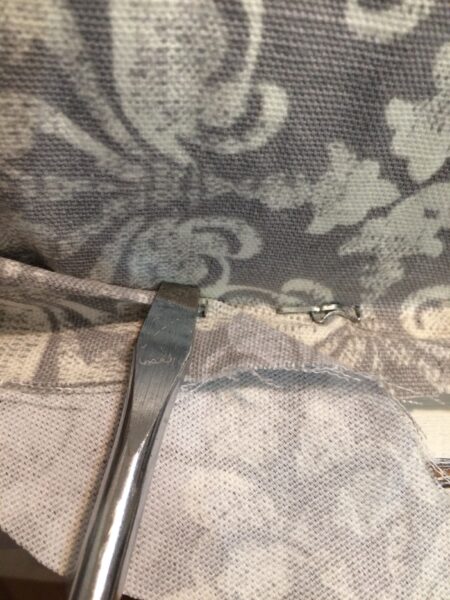
Cut the fabric around the staples. Don’t cut too short or you will be upset. You will have to figure out how to do the pleats so the fabric lays flat on the corners. In the end, mine looks good the way I folded it but I think there is probably a better way. I also added some Fiber-fill to all the corners (because they weren’t fluffy enough) and it makes it look fuller. Staple the corners until you have all the sides done. Look at your staples and realize that most of them are only halfway in. Go back with a screwdriver and a hammer and try to nail them down into the chair or just flatten the staples to the chair because that is how this project is going.
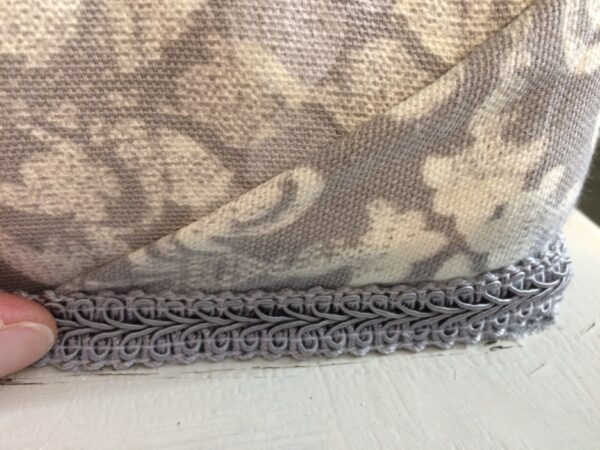
Next is the trim, or gimp. I started the trim in the back of the chair, slowly hot gluing all the way around. When I came back to where I started, I finished gluing it down and cut off the excess with scissors.
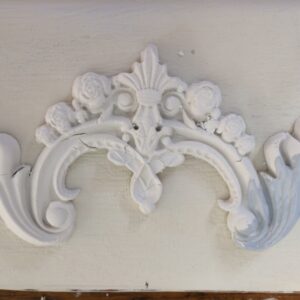
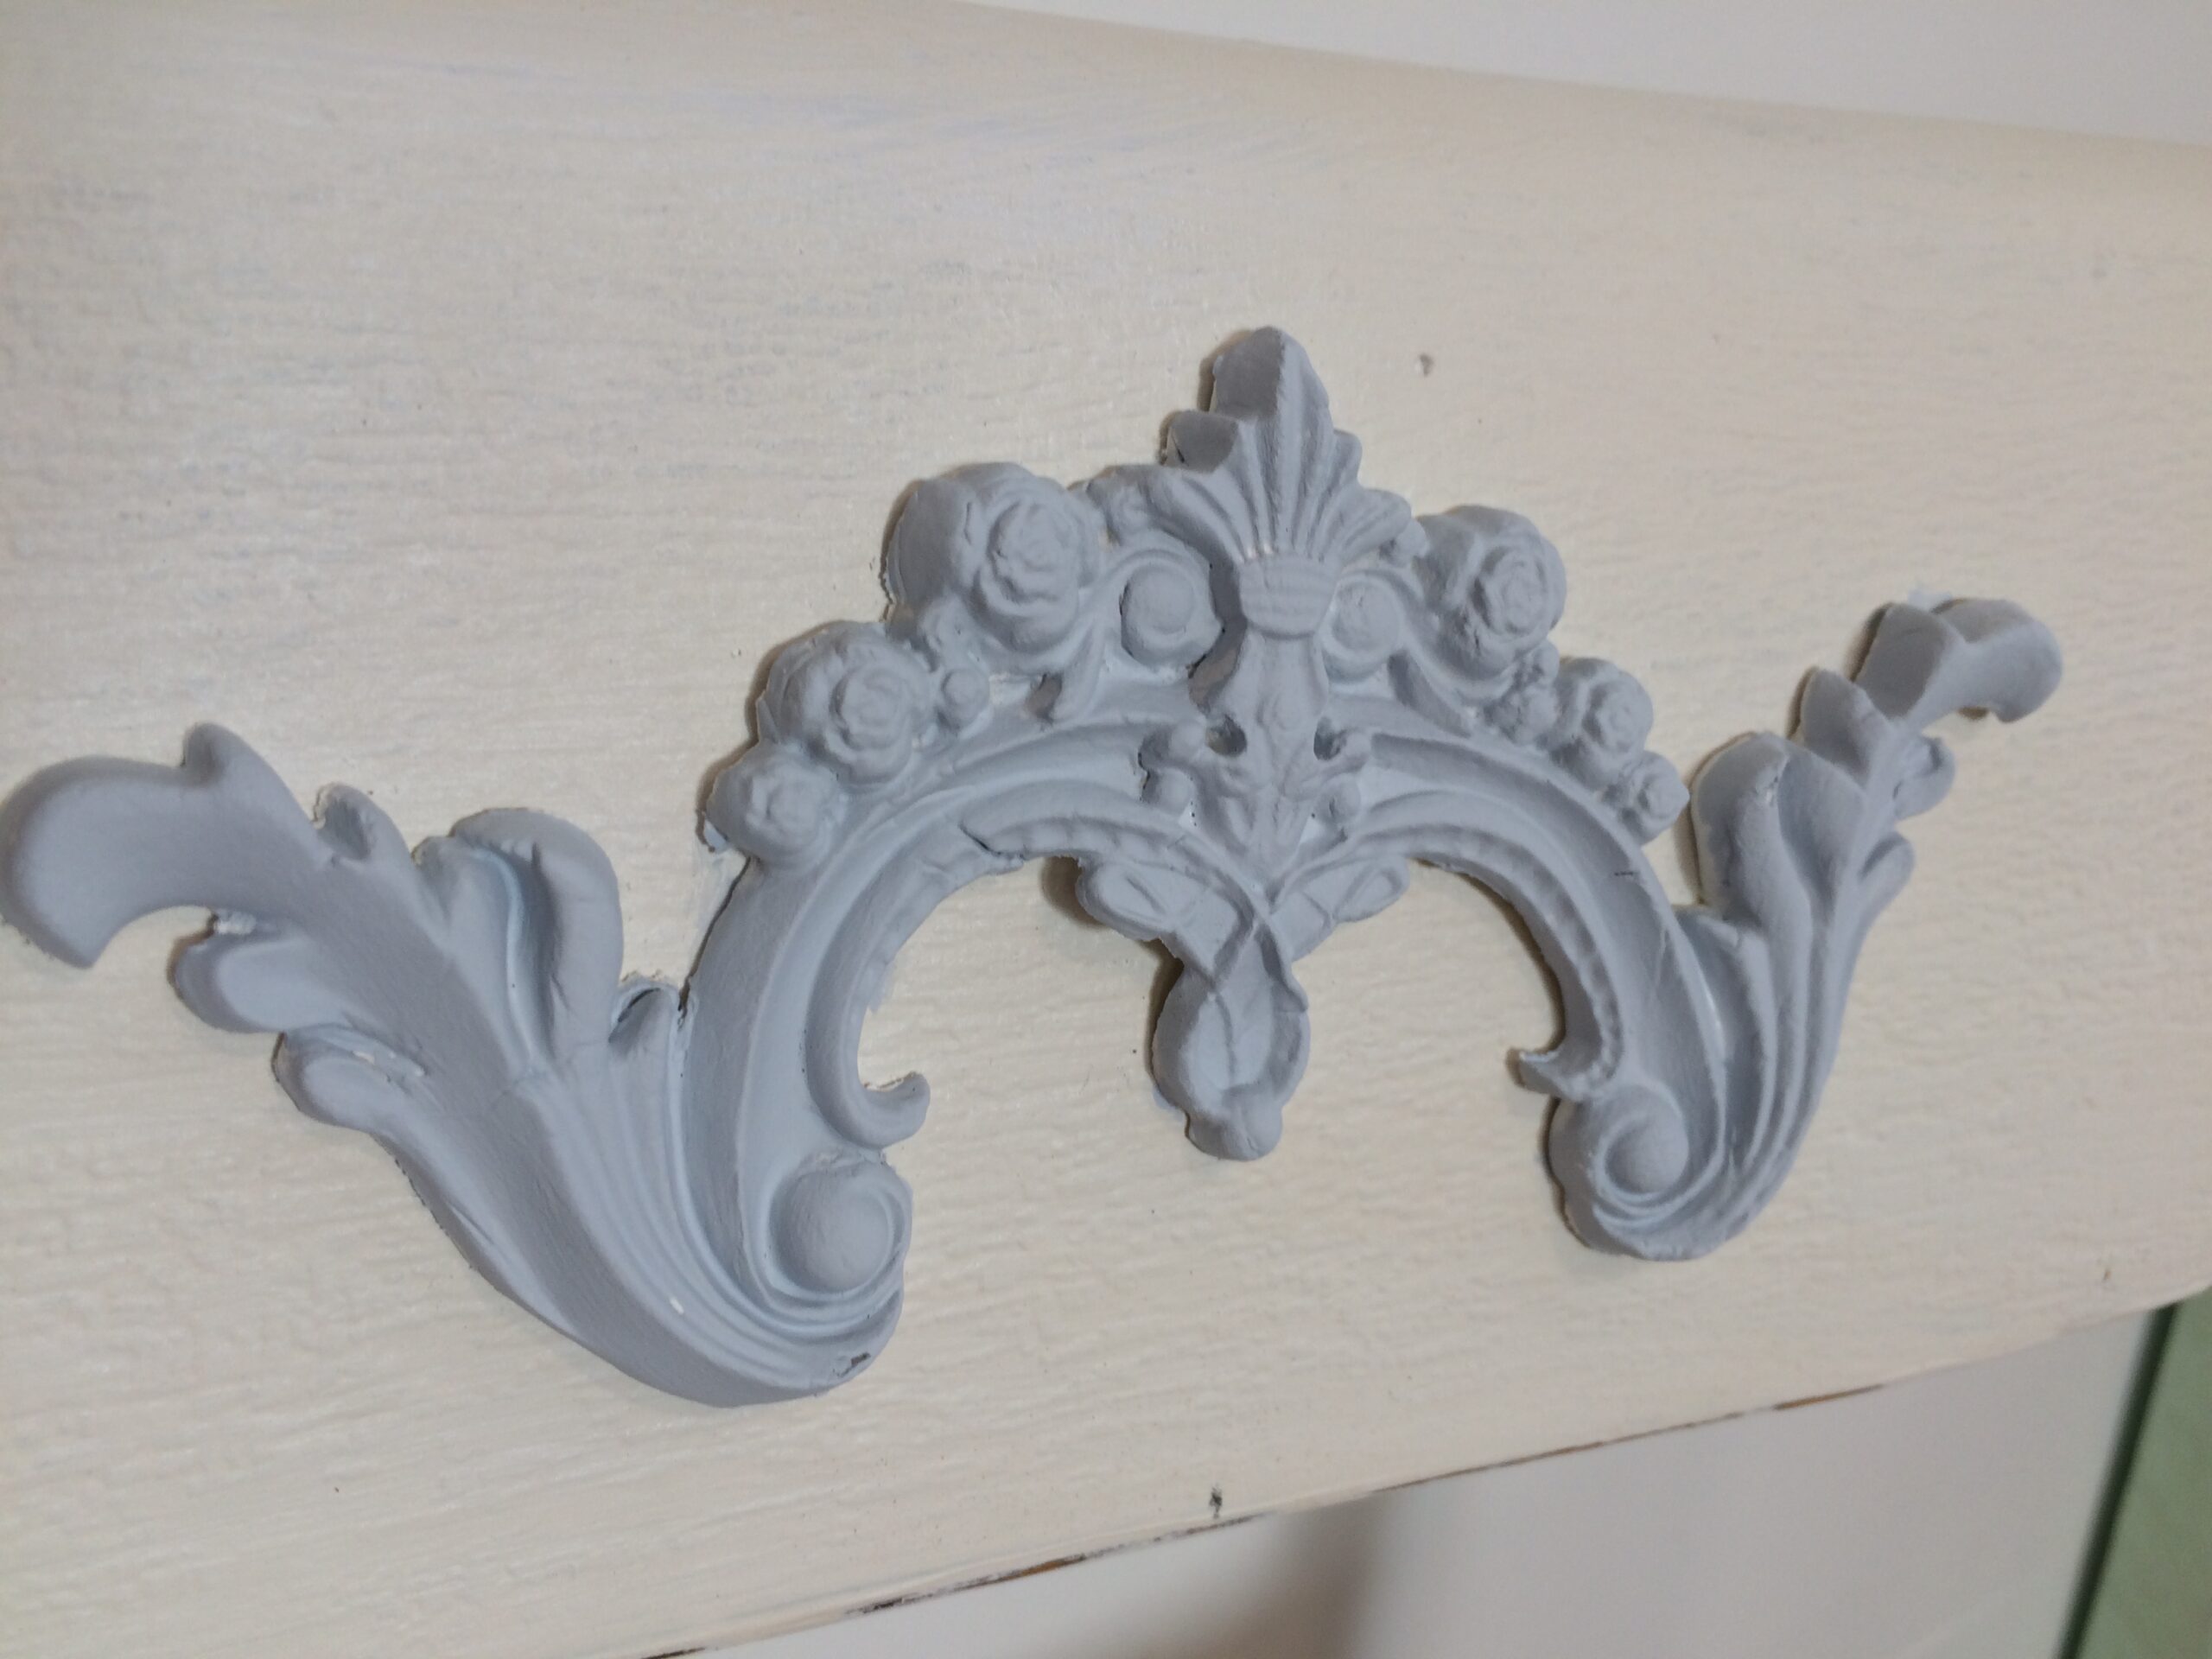
The final touch on your Highness is the IOD molding I added at the top of the chair. This is made with paper clay. I let the paper clay dry overnight, and it will have cracks in it after it dries. Then, I wanted to paint the molding, had to let it dry, and viola, she is now ready to meet her subjects!
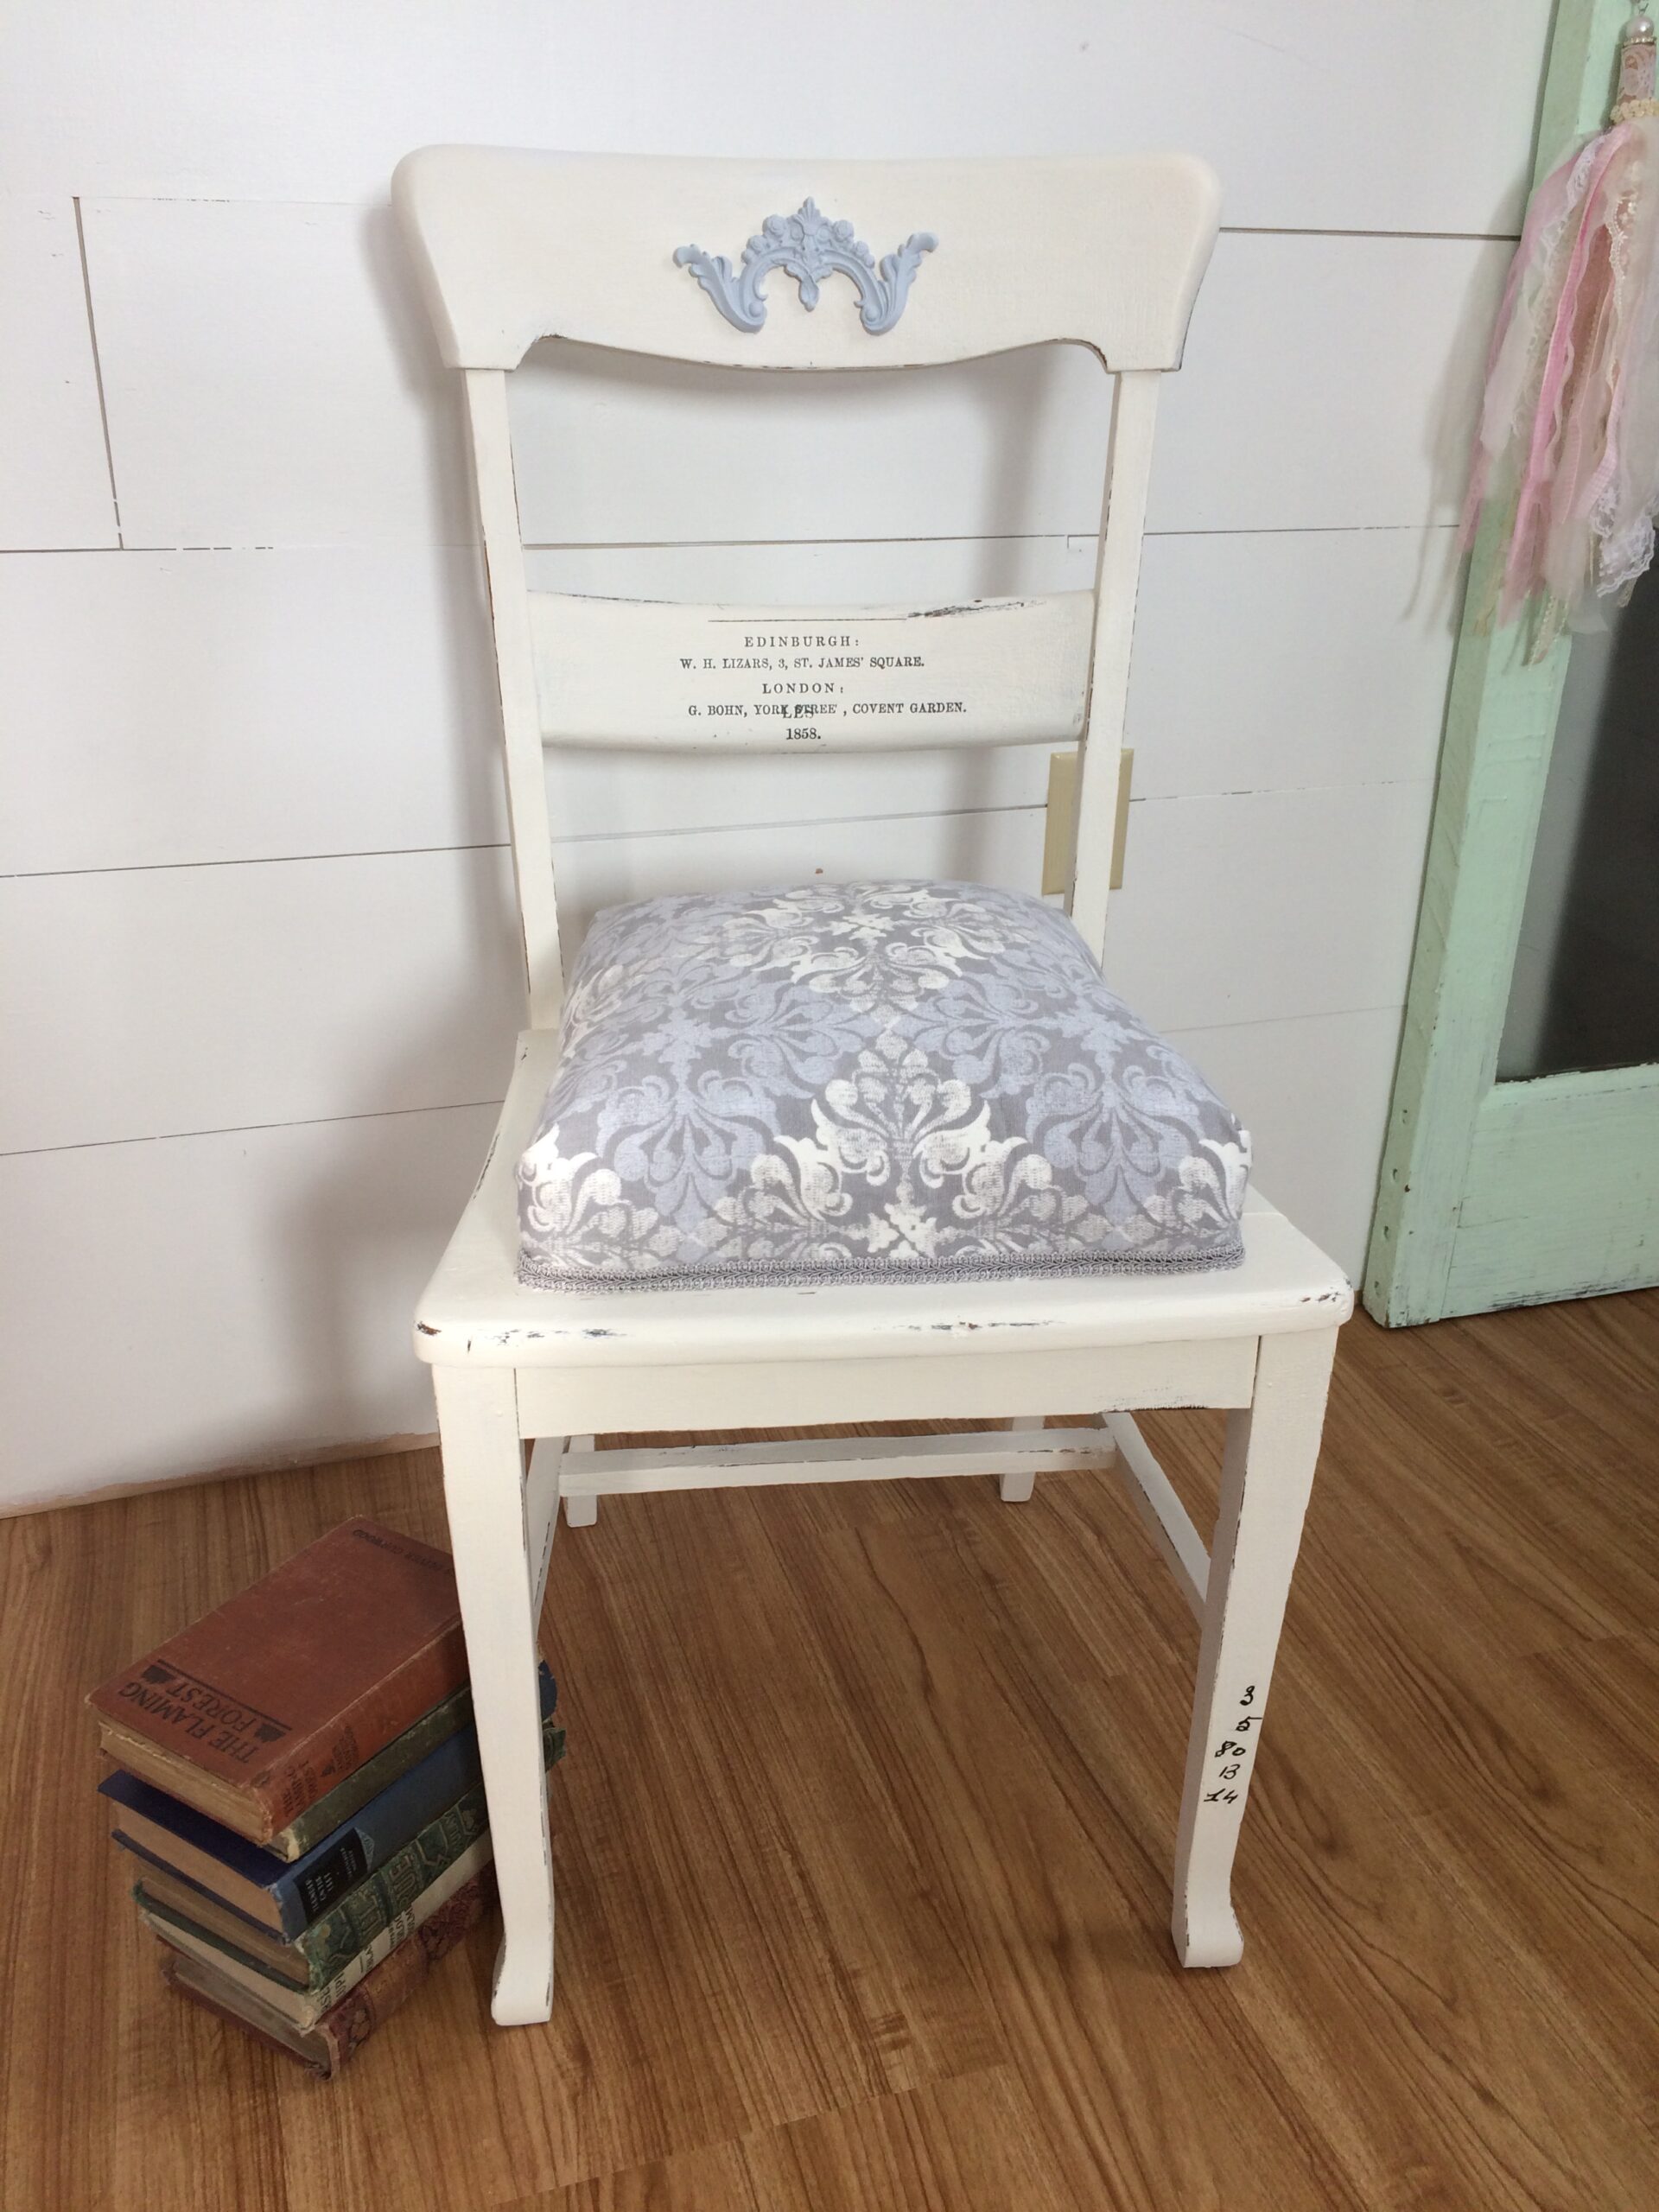
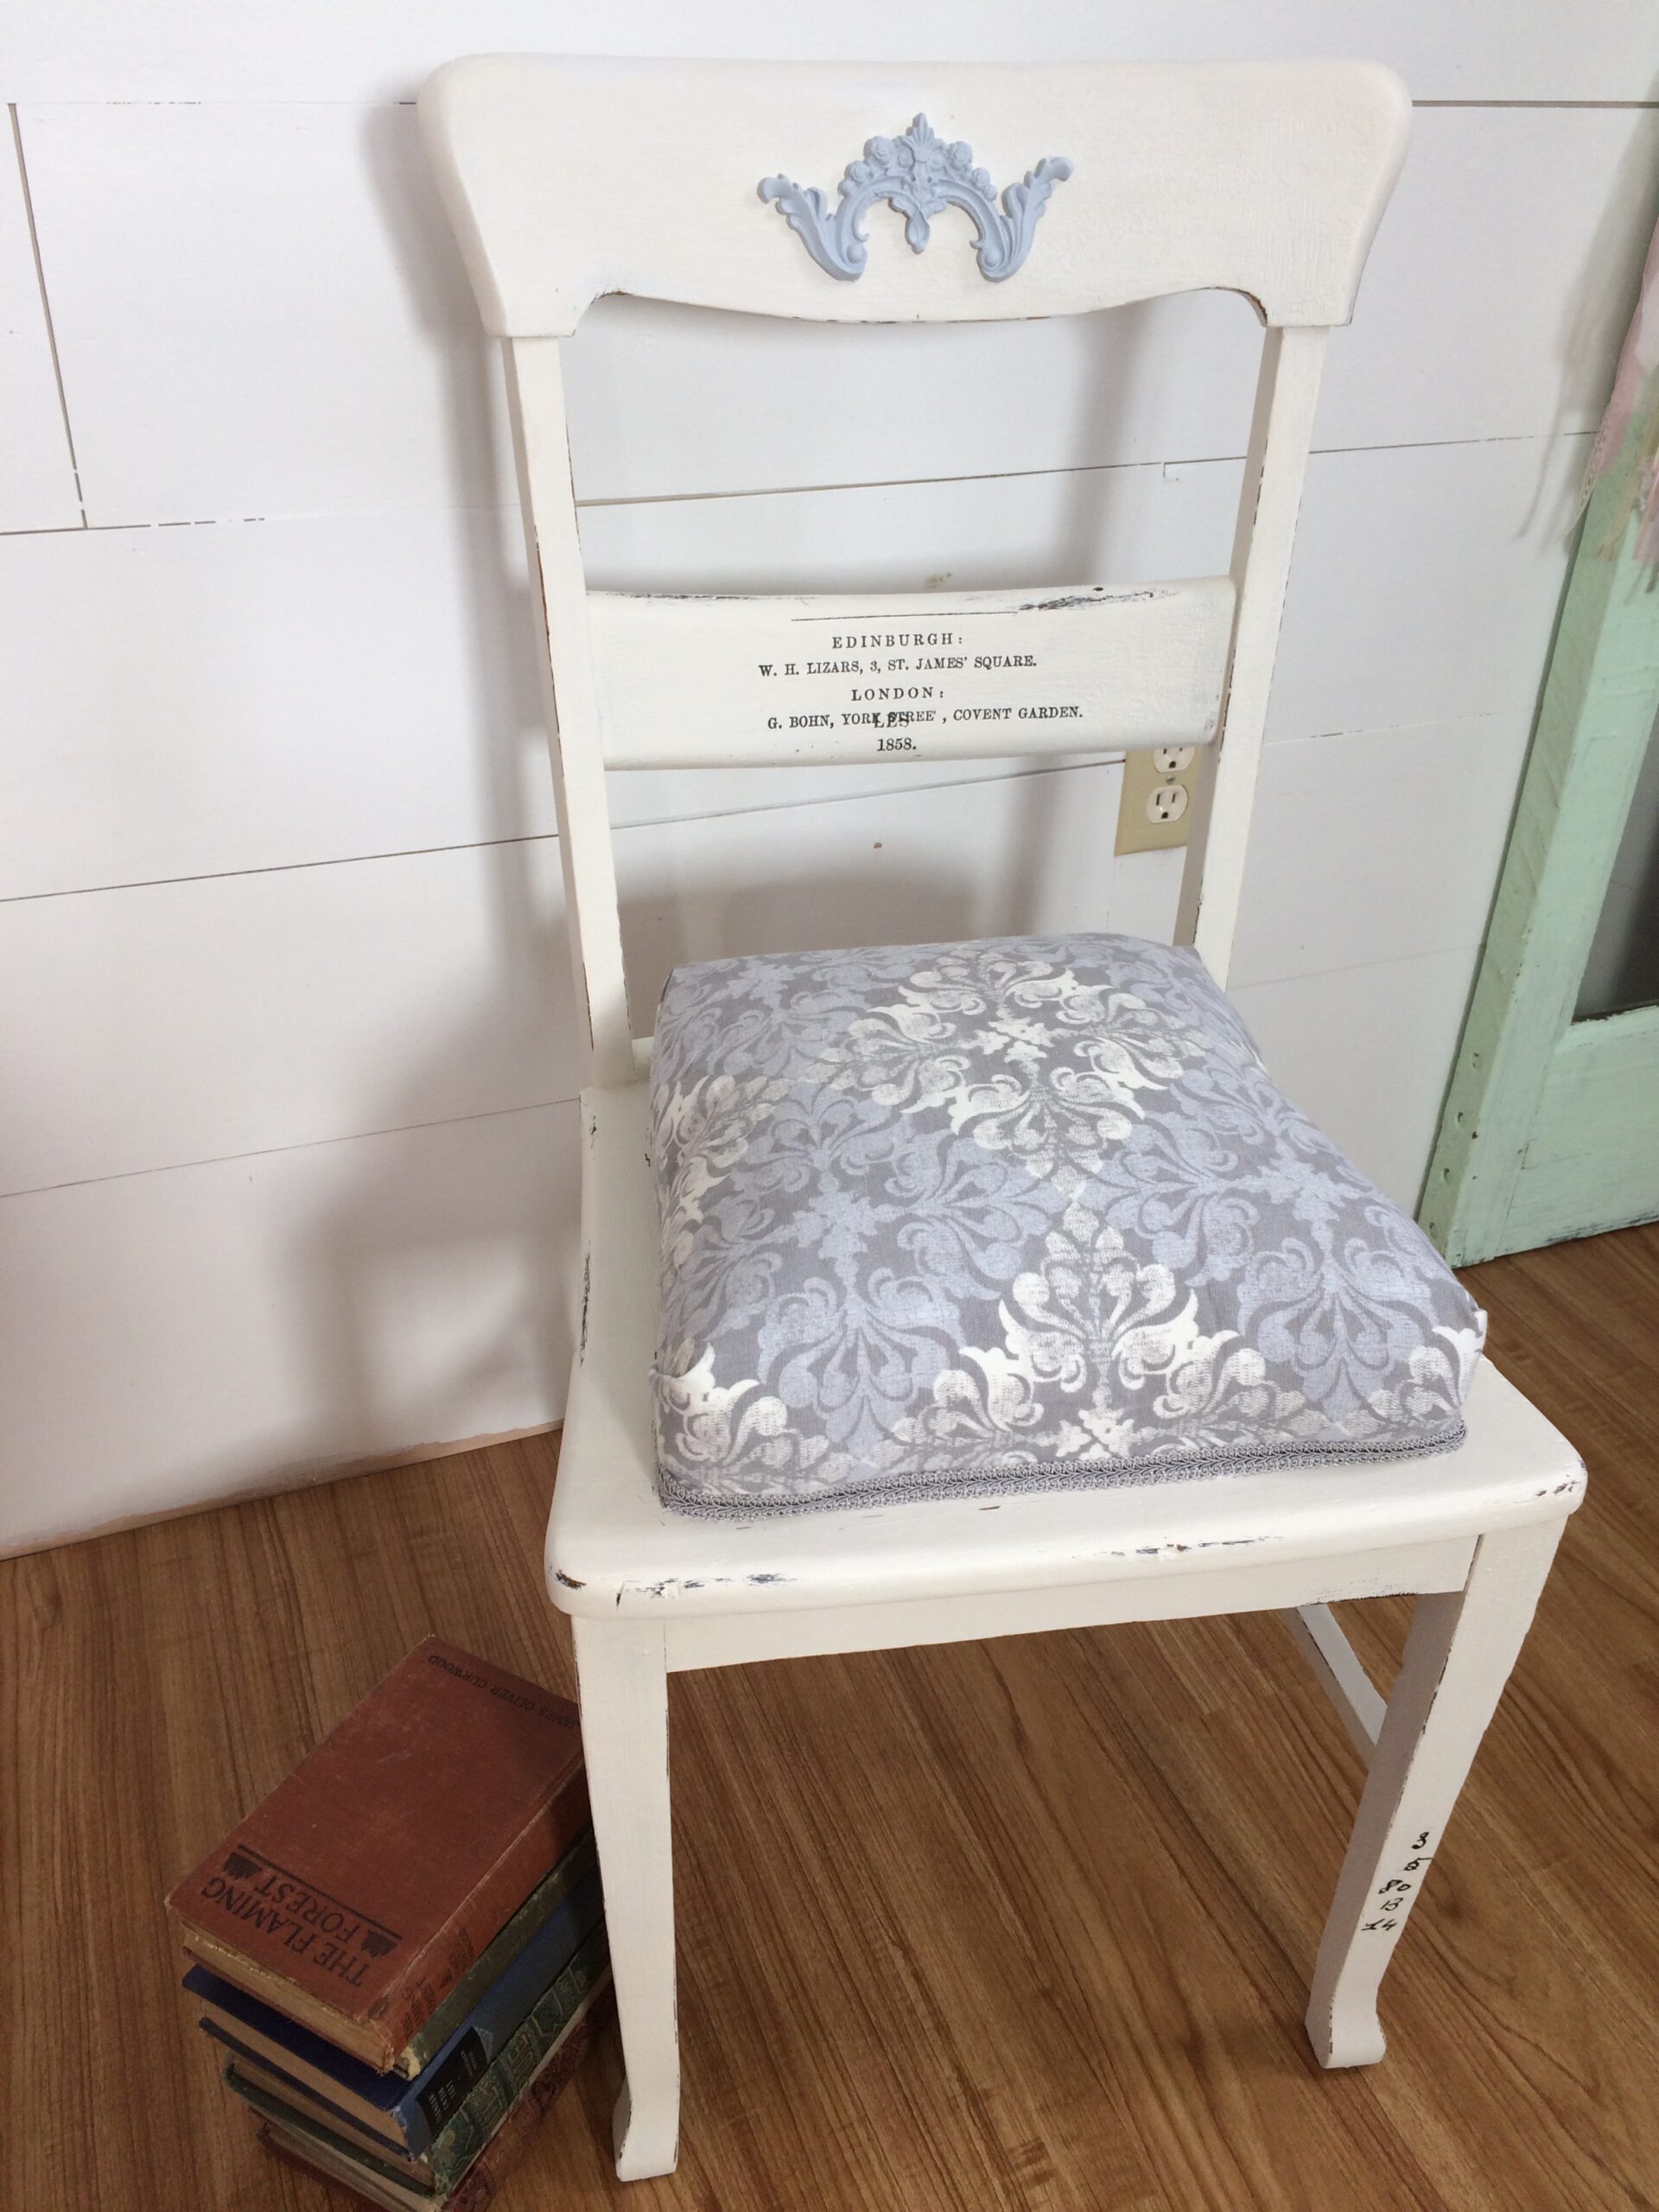
What do you think? Too puffy, too many tattoos for the queen? Just right?
Let me know in the comment section.
Linking up with:
That is so cool! I bet it’s comfy! You give such clear directions, if I were going to refurbish a chair I could probably do it!
Hey Jackie, thank you! I’m glad they were clear enough! Sometimes I wonder if I am explaining it correctly.
I love it. It is beautiful. I would love to see you on flip it flea market
Aw, thank you so much! I love that show!!