Hello Sweet Friends,
I hope your weekend is starting out awesome.
*This post contains Amazon affiliate links in which I earn a small percentage from qualifying purchases through these links, at no extra cost to you. Thank you for helping to support my blog! *
Today I have a simple easy project to share with you. All it requires is paint and of course a transfer.
So here is what we are painting today.
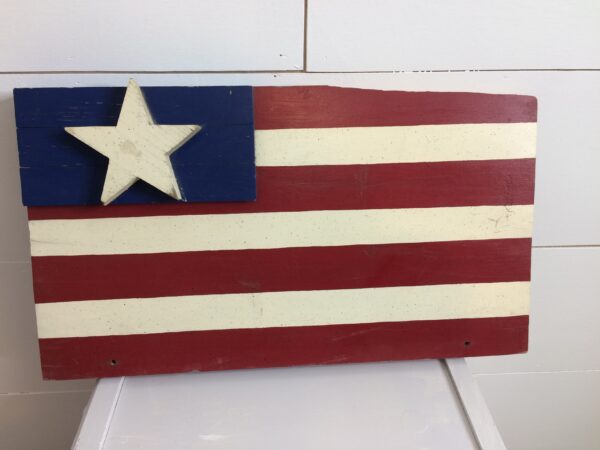
I’ve had this little flag for quite some time. It really doesn’t fit into my decor but I held on to it thinking I might do something with it.
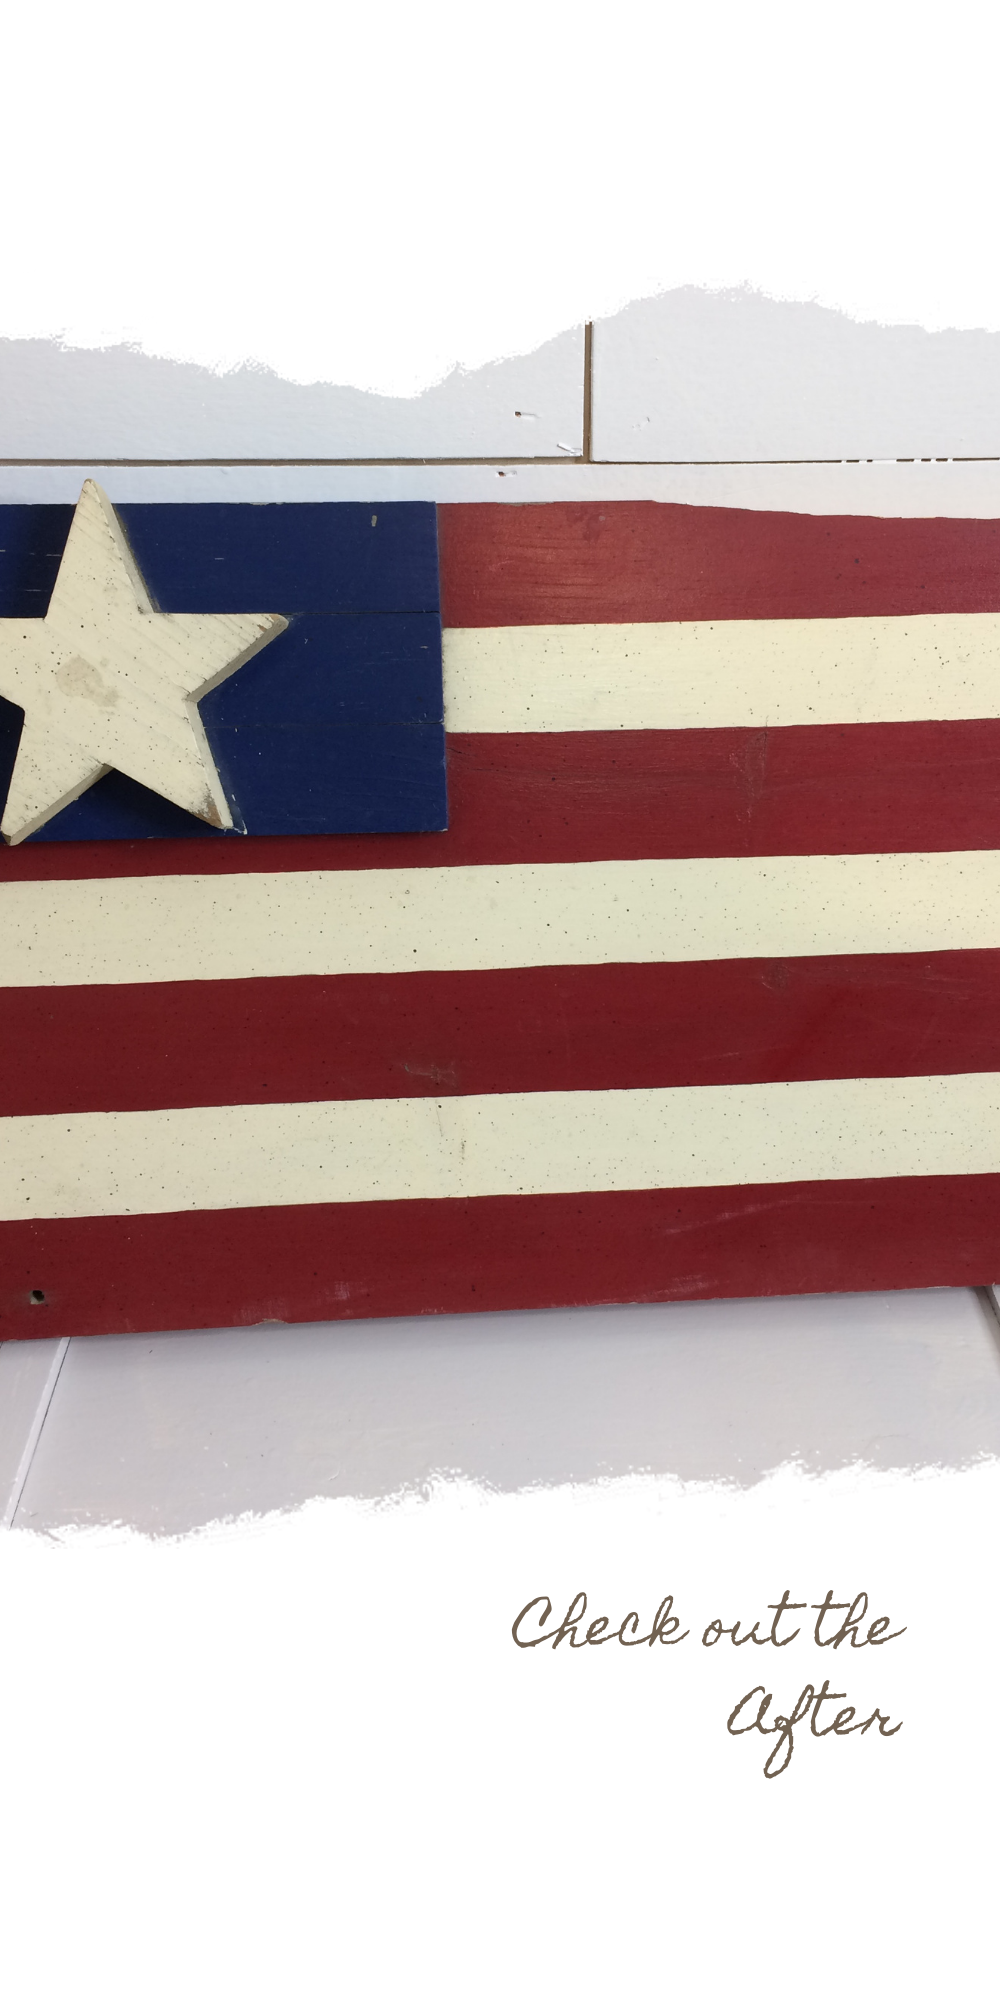
Here is what I decided to do.
First I cleaned it up and gave it a coat of Rust-oleum in Linen White. It’s what I had on hand.
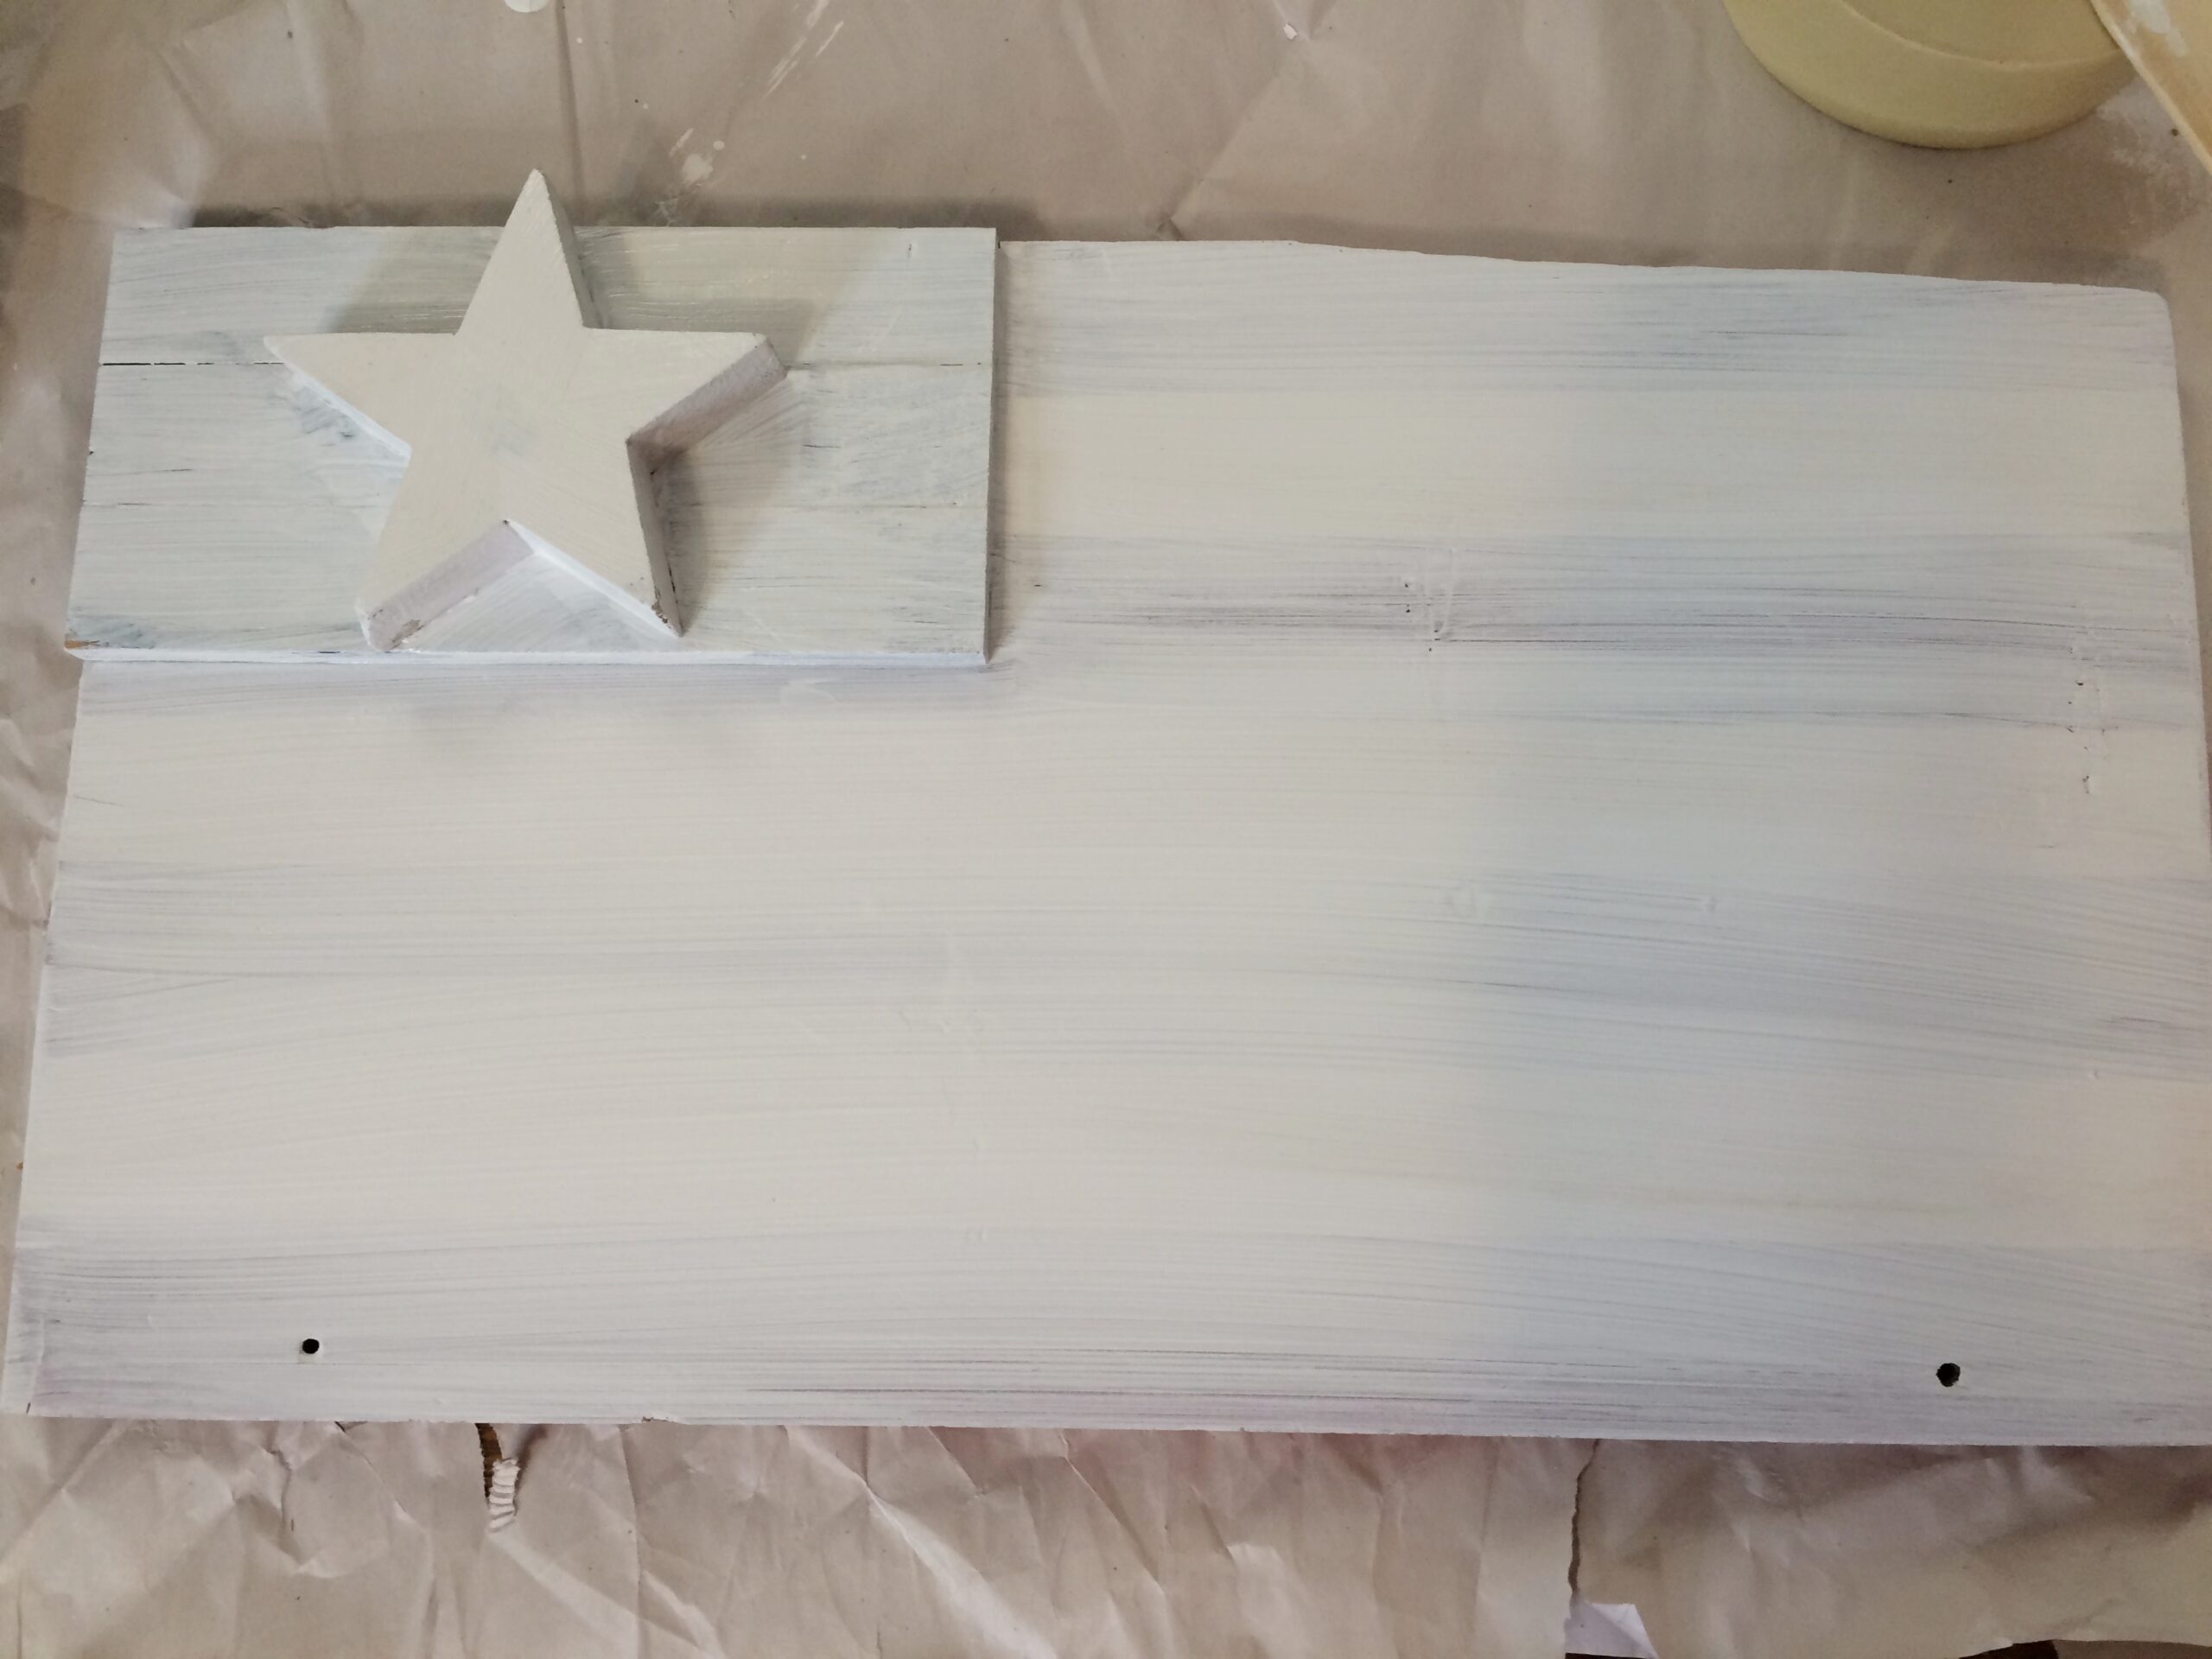
I like using chalk paint because you don’t have to prime it first.
This is one coat of paint all over the flag. The next coat I put on will give it great coverage.
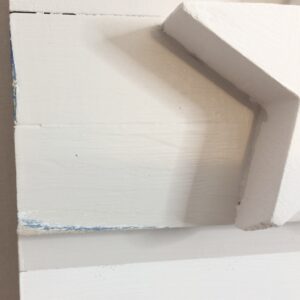
You can tell in the picture that some of the top right board had splintered off. It will give it the character we are looking for when we are all done with this piece.
I taped off the existing lines. I still wanted it to look like a flag but with my colors.
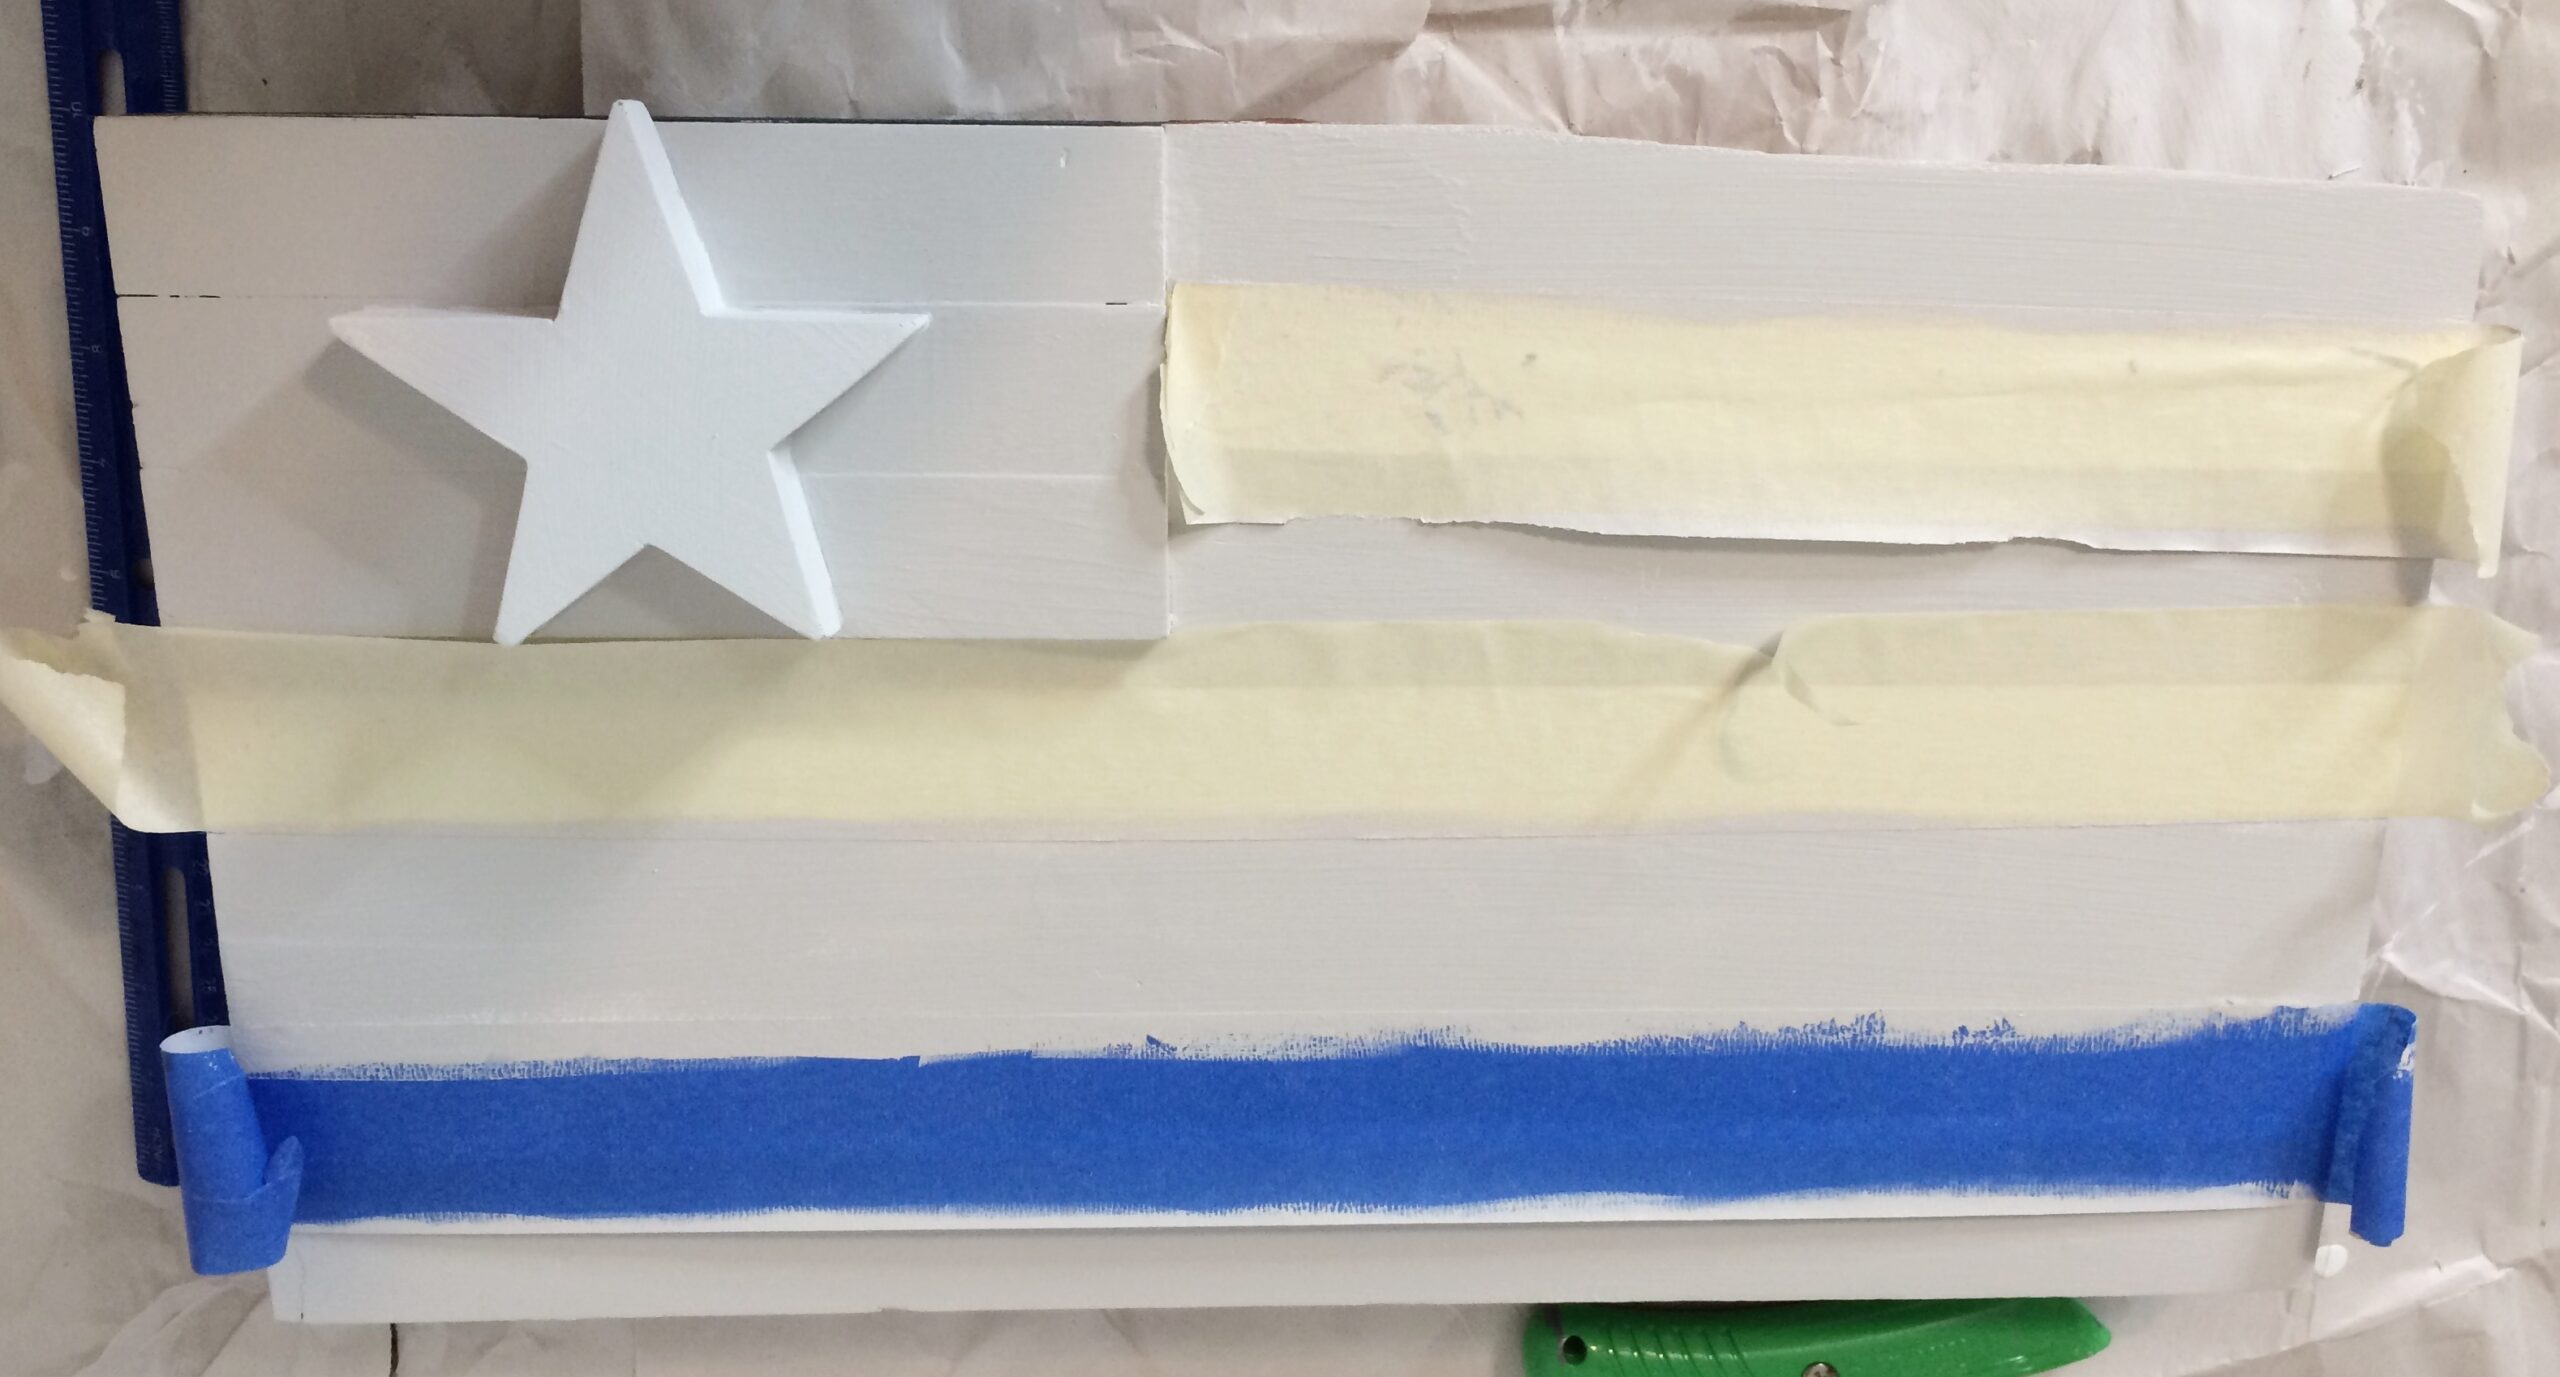
I didn’t have to do anything but follow the lines that were already there.
The original white stripe was painted with the Rust-oleum Linen White and then for the red stripe, I used Burnished Gray by Behr. My favorite paint color in case you are new to this blog.
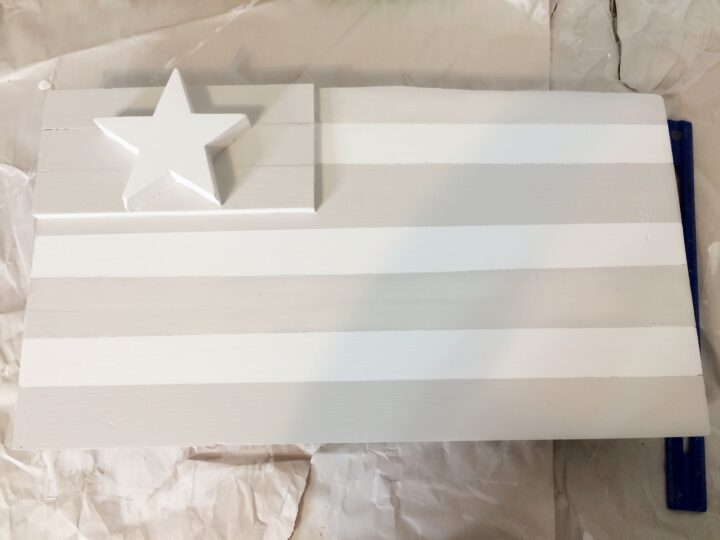
At this point in the project, I had to stop. I was loving it already. It was no longer the bold Red, White & Blue.
Do you love it?
But if you know me, I wanted to distress it a little.
Start by sanding some of the paint off. I wanted to have some of the blue from where the star sits and some of the red on the stripe to come through.
I just randomly put my sander down and didn’t overthink it.
I only wanted a few spots to come through to show it’s original color.
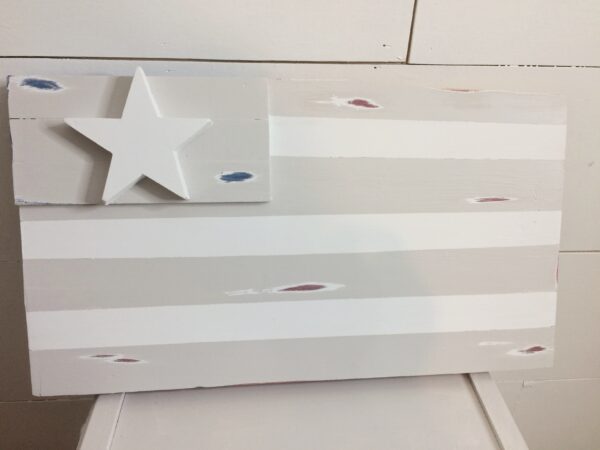
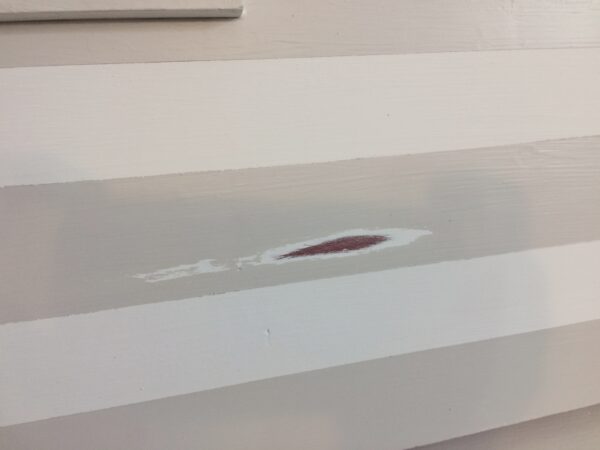
We don’t want to stop here.
You know I love my transfers and this is an awesome place to put them.
I have a few little pieces lying around for projects like this.
Pick your placement and put them down.
They are like stickers, so much fun, and can transform your project completely. See what I mean here, here, and here.

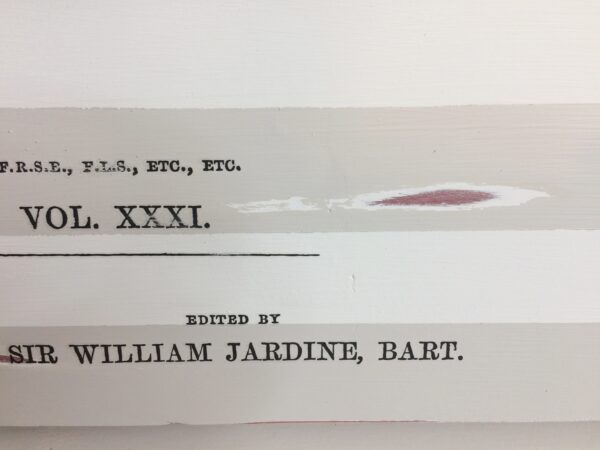
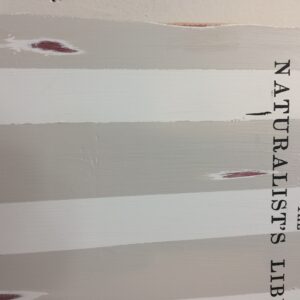
Like it?
I also sanded selected pieces of the transfer just a tiny bit.
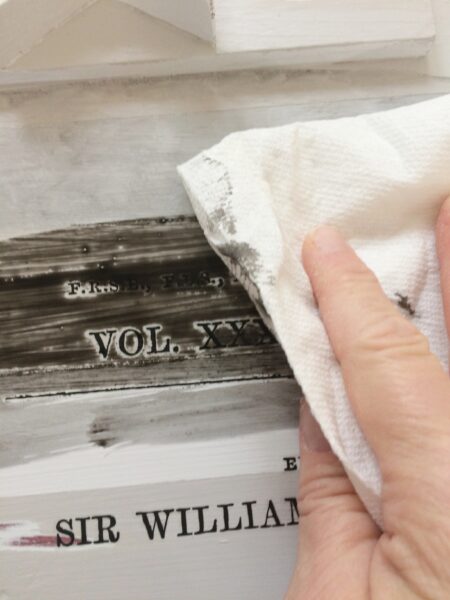
Let’s take it a step farther and do what I like to call “dirty it up”.
Take some black paint (or brown) and add a little bit to a cup and add some water to it. You want it runny enough to apply to your project like a stain.
Then just apply it with a paintbrush all over your project. I worked in sections and then wiped the (stain) off with a paper towel in the picture below.
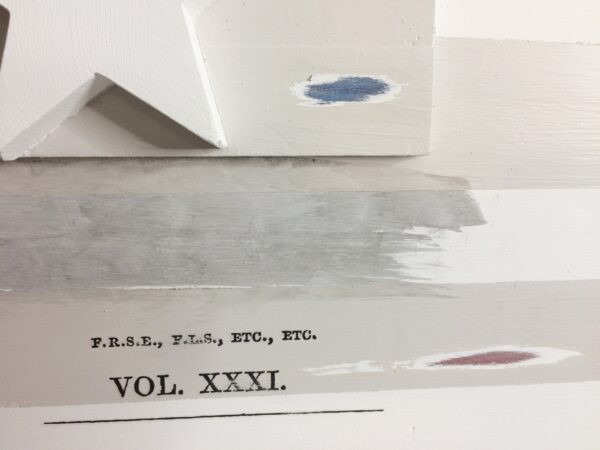
Next, I splattered paint onto the flag with a toothbrush. I used the watered-down paint (stain) and blotted my paper towel over that, then went back over it with the toothbrush again with just black paint!
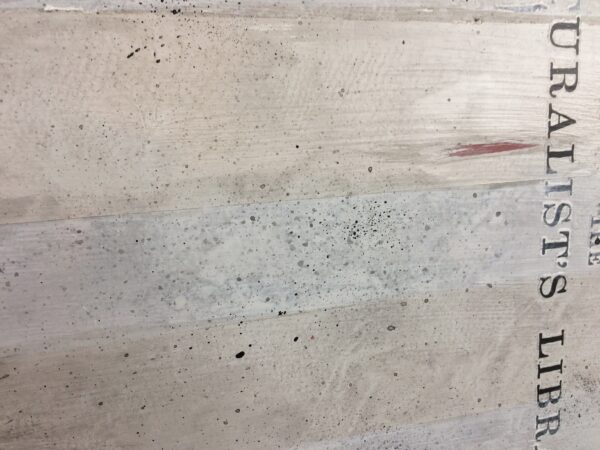
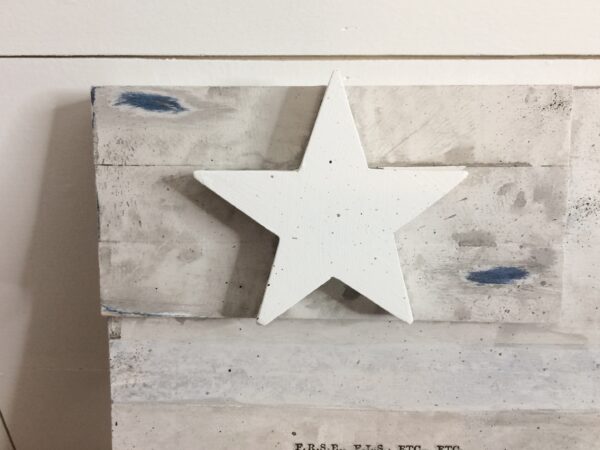
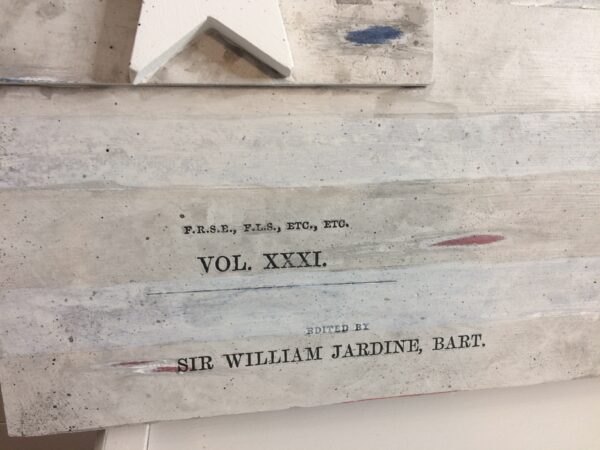
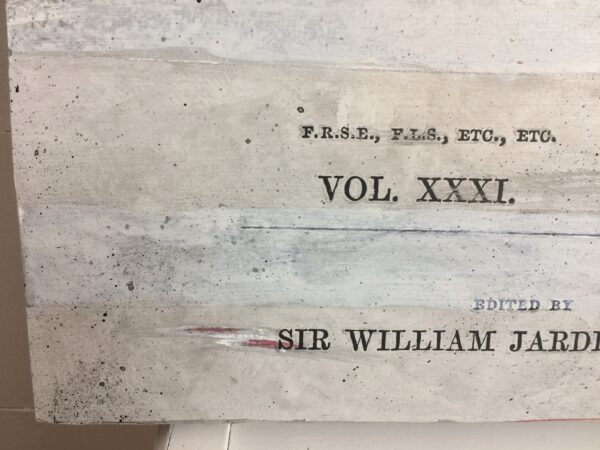 The only thing I left white was the star. Nice and bright like a real star.
Now it looks “dirtied up”.
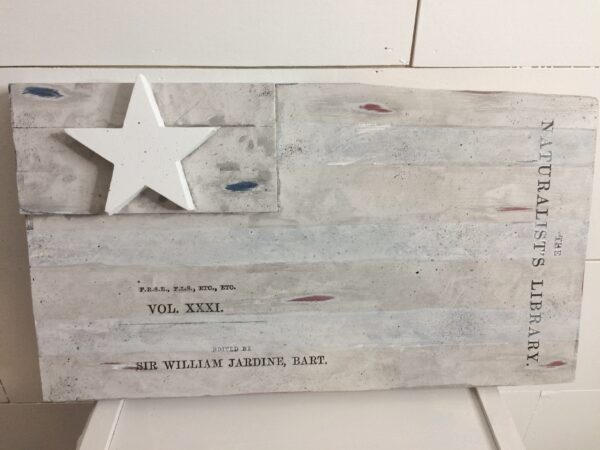 Tell me what you think. Do you like it or would you have left it alone?
I love it and need to find a home for it!
Told you this would be an easy project!
Not happy with the color of something? Change it to your color pallet!
Friends, thank you for stopping by!
Have an amazing weekend and I hope I have inspired you to paint, create or DIY something!
*This post contains Amazon affiliate links in which I earn a small percentage from qualifying purchases through these links, at no extra cost to you. Thank you for helping to support my blog! *
That’s fantastic! Really creative transformation! Great job!
Thank you Allison!