Hi Sweet Friends,
Today is a repurposing project.
*This post contains Amazon affiliate links in which I earn a small percentage from qualifying purchases through these links, at no extra cost to you. Thank you for helping to support my blog! *
Way back when, maybe 5 years ago, my daughter worked for a Starbucks in Colorado.
I guess every now and then, they throw out or sell items they no longer use to the employees, like these pitchers.
I don’t know if they do that with other items they have or not.
My sweet daughter thought of me when they were getting rid of these.
I think it is so nice to have a friend or family member think of you when something is being thrown out!!
Seriously, when people know you love to repurpose or reuse, it is awesome that they think of you.
It is always a challenge to think of what to do to some items but a fun one!!
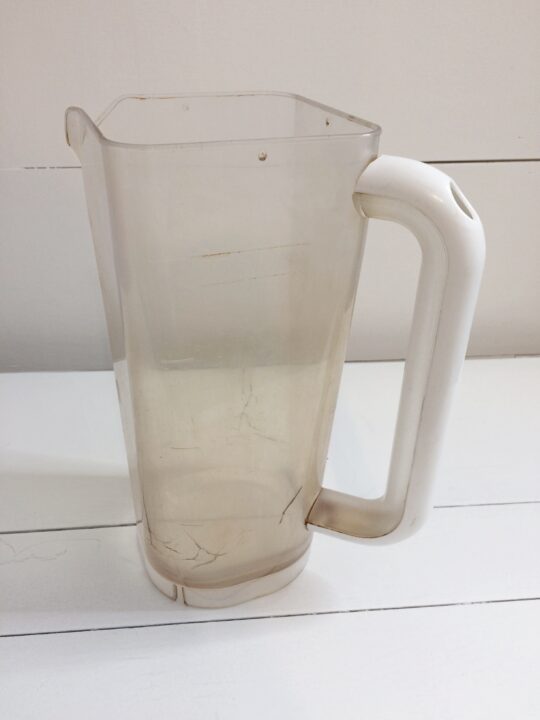
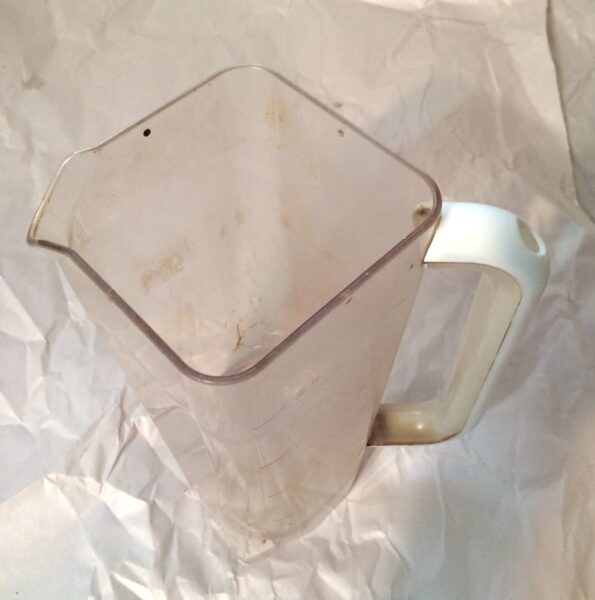
She paid $1 for them. Yep.
You can find a new one here.
They are stained for the many years of coffee that was put into them but that will not matter when you add paper and paint!
At first, I wasn’t sure what to do with them!
What would you do with them?
They sat around for a while until I came up with a simple idea.
I decided that I could use them for flower vases.
I know, right!
If you decorate just the outside of them and leave the insides alone, then you could add water without harming the pitcher.
Brilliant Idea!!!
I have those once in a while, lol.
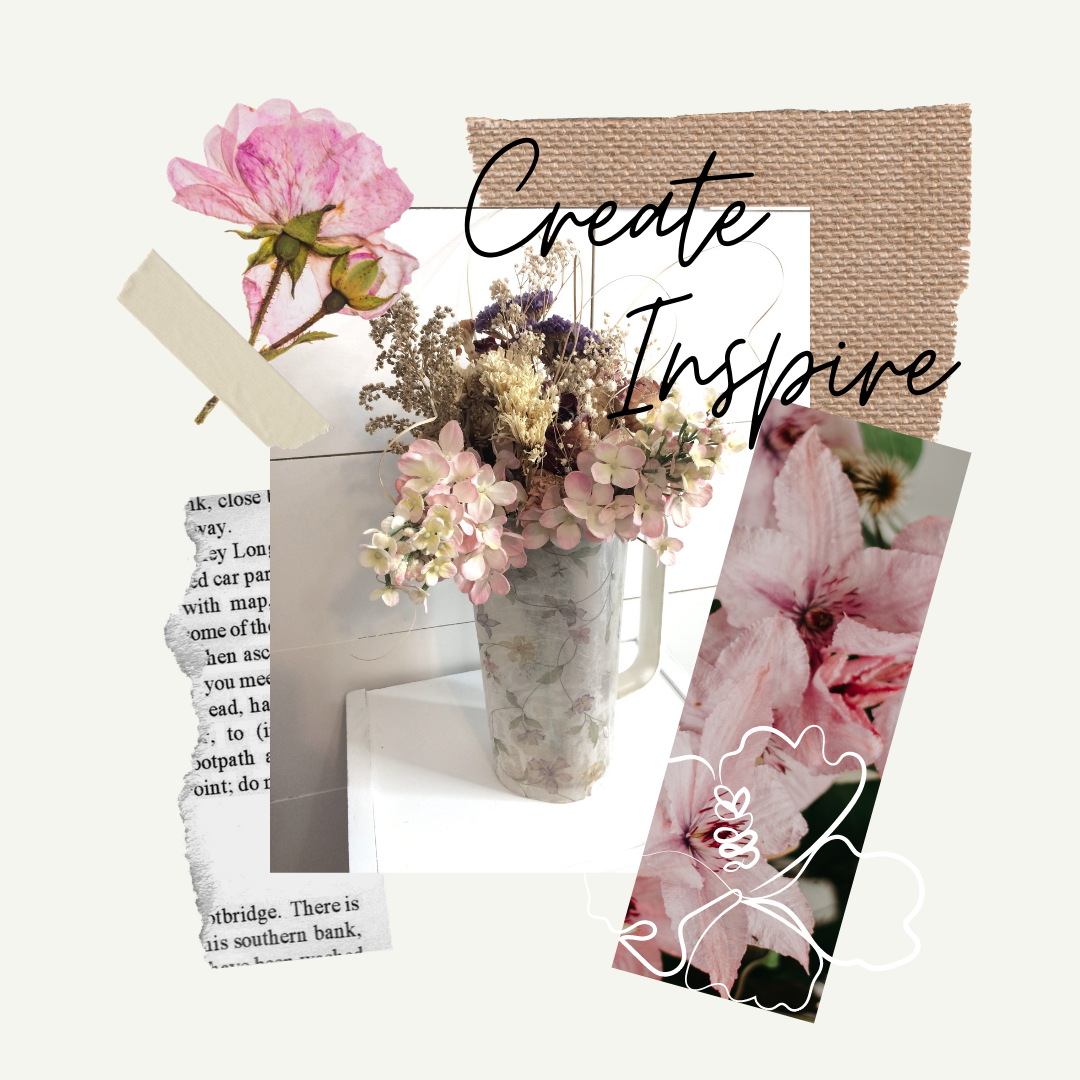
You could also put faux flowers in them as I did.
Now that I am thinking of it, you could probably put plant starts in them as well.
I just keep getting more ideas as I talk to you guys!!
I am absolutely in love with the first one I created.
And look at these tissue paper designs. So cool, I just put them in my cart!
Can you imagine what they will look like on a Starbucks Pitcher?
And just look at those birds!!! That would be great for Christmas!
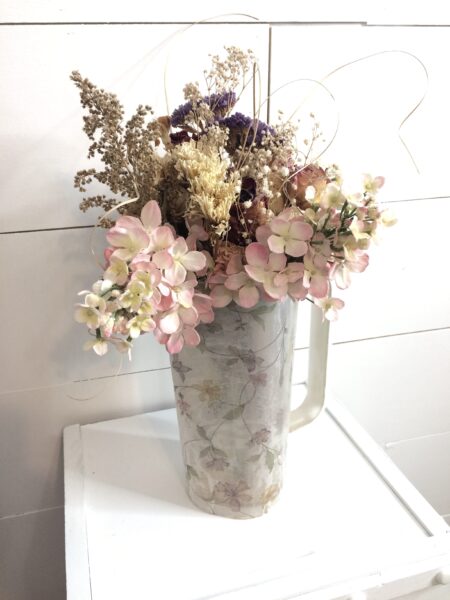
Do you love it?
Did you imagine it this way?
Here is what I did.
I first found the paper I loved. This is a tissue paper I had on hand and I think I bought it from Michael’s.
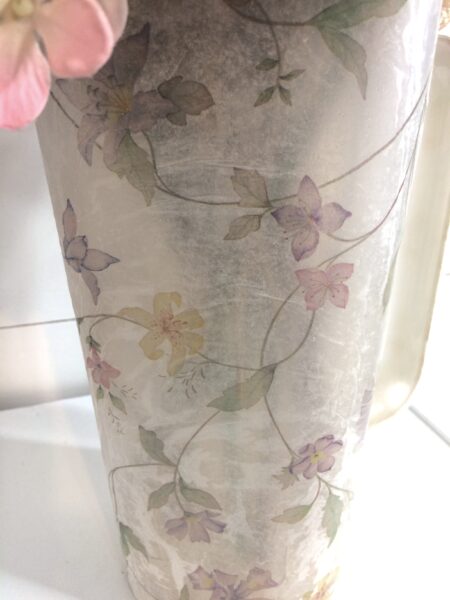
I just love it!
I started by using just Elmer’s glue I had on hand and added a little water, just to thin it out a little and then brushed it onto the pitcher.
I worked in sections. Added the glue, roll the paper into place until I was back at the beginning.
Cut around the sections of the handle, being careful not to rip off the paper. It left a lot of lines or crinkles on the tissue paper, which is what I liked. It gives it texture.
After your paper is dry, you can go back and use sandpaper to get a cleaner edge where the tissue paper might have been longer than needed. Sand away from your project, not into. Does that make sense?
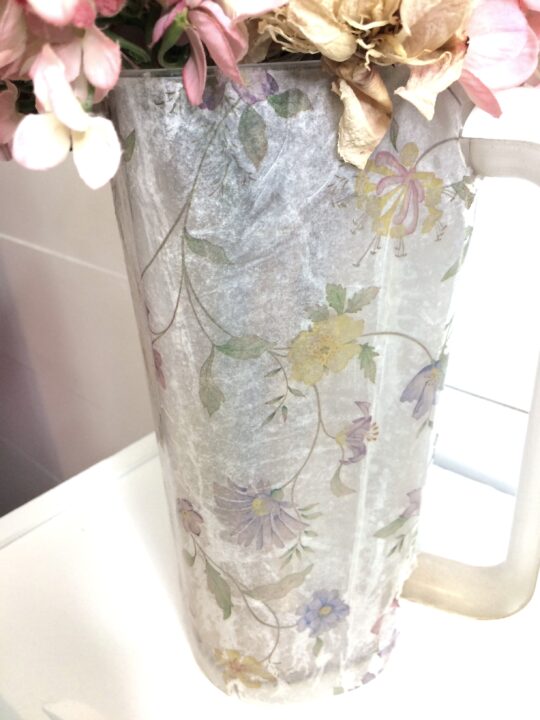
Let it dry and you are ready to seal it! Something that will not turn yellow. Make sure you read the can or container. You really don’t want this to yellow.
The first one is done!
Three to go.
Not gonna lie, it has taken me a couple of years to figure out what I wanted to do with the next one!
Are you like that?
Set a project aside until you have one of those brilliant ideas? Or do you jump right in and know what you want to do?
I usually put things away and think about it for a while. Sometimes it is years you all. Not gonna lie!
But you can’t through it out or give it away because you know your inner Picasa is going to shine through soon, you just know it! Or in my case, DIY’er.
Knowing I was going to use it as a flower vase with possible real flowers, I didn’t want to do anything inside of the pitcher. Just like the first one.
So I decided to do the same thing with a different paper.
The paper I used for this I thought would work great.
However, it was a little heavier paper, and after I had it decoupage onto the pitcher, I didn’t care for it!
BUT friends, let me tell you something!
I loved how it looked inside of the pitcher.
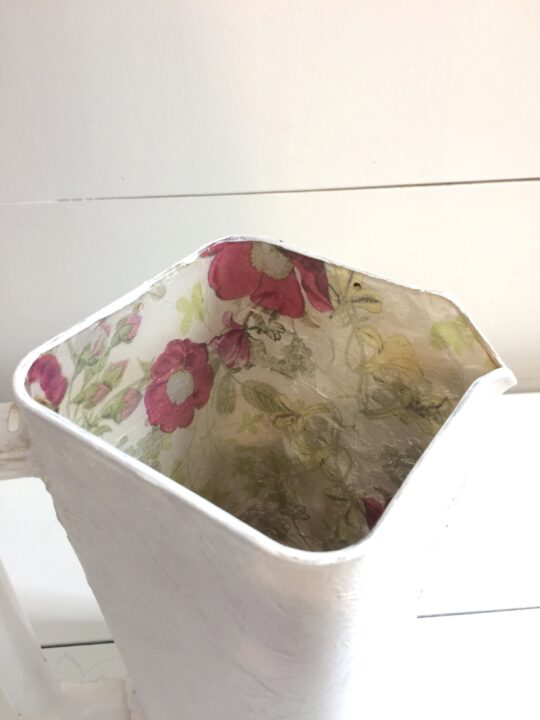
Yes, it is awesome but definitely was not a fan of the outside. (can’t find that picture).
So I decided to paint it. With paint I had on hand.
I know you can’t see the inside after painting it but you guys, it’s like a little surprise when you are filling it!
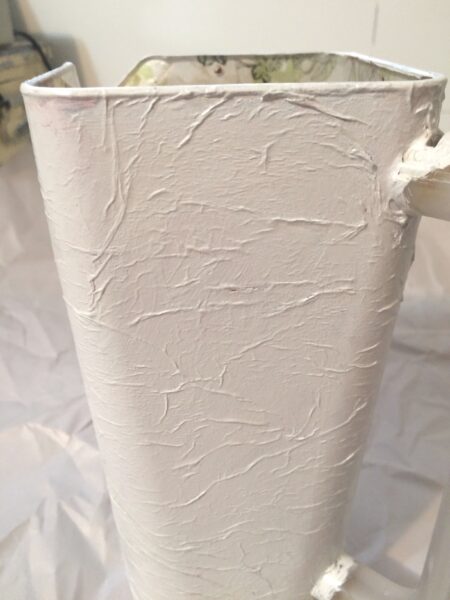
Just paint on top of the paper I had glued down.
I let dry in between each coat and I just added paint until I was happy with the look and couldn’t see the flowered paper on the outside.
I added DIY Mint Chip paint mixed with water (a lot of water) and just brushed it onto the outside of the pitcher and then dabbed it off with a dry paper towel.
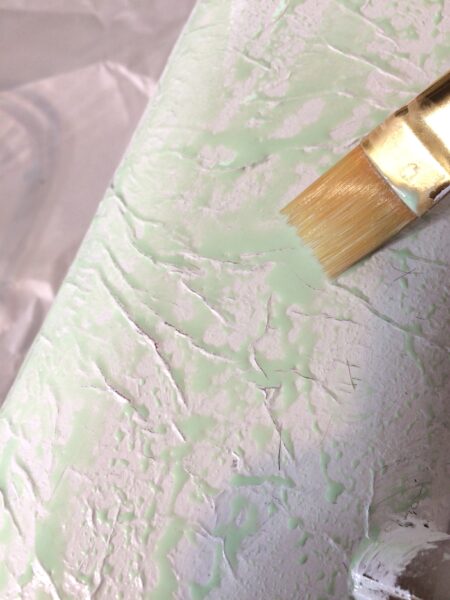
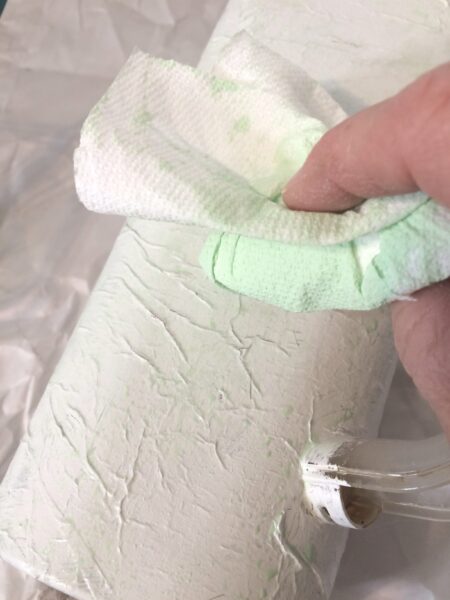
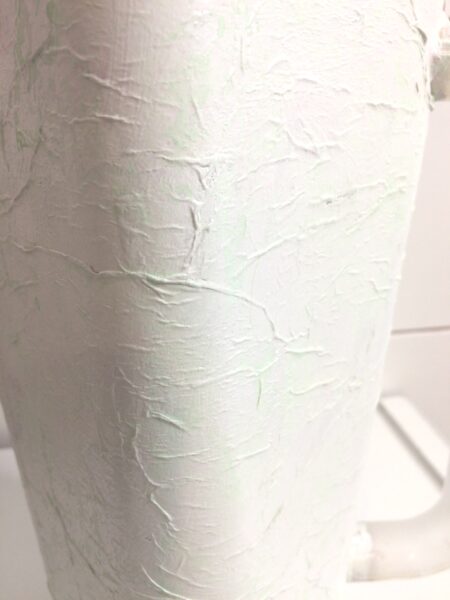
Really simple. Gave it a little more dimension!
The paint color corresponds with the paper! Happy accident!
I’m not quite finished with the second one, it still needs a little more ‘something’ added to it.
Colored wax would be a great option, adding a different colored paint such as black would be another option.
So many possibilities for 1 pitcher.
I need to run to the store and buy flowers but not today!
I am thinking of doing the same thing with the third pitcher (adding tissue paper) and maybe adding IOD molds. Not sure yet but the wheels are turning!
Do you have any containers you can use for a project like this?
Let me know in the comment section.
Have a wonderful day friend!
*This post contains Amazon affiliate links in which I earn a small percentage from qualifying purchases through these links, at no extra cost to you. Thank you for helping to support my blog! *

