Today I have a super cute project that I’m calling Antiquey. This doesn’t mean that I am calling it an “antique”, here is the actual meaning: adjective – informal, having the appearance of an antique.
Let’s move on.
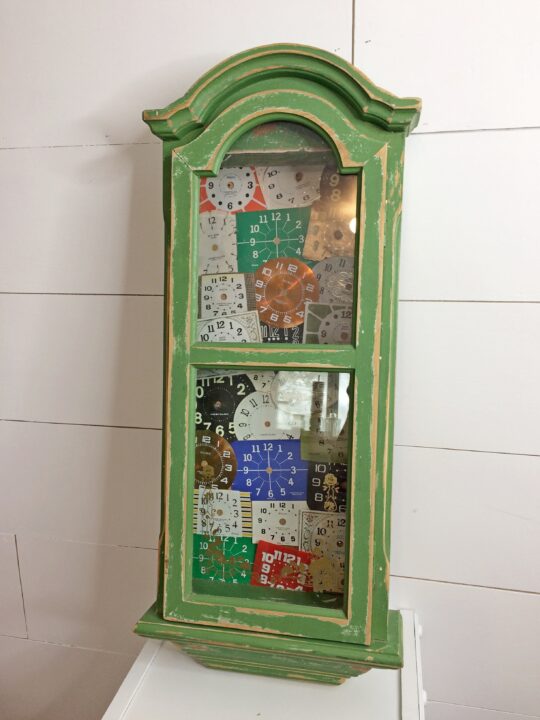
I bought this little cabinet quite a while ago and stuck it in a corner to come back to later.
I have been pulling out so many projects lately and working on them. Maybe one day I will get them rounded up and show you.
It has been so long ago, I can’t remember what this little gem cost me but today it is getting a makeover.
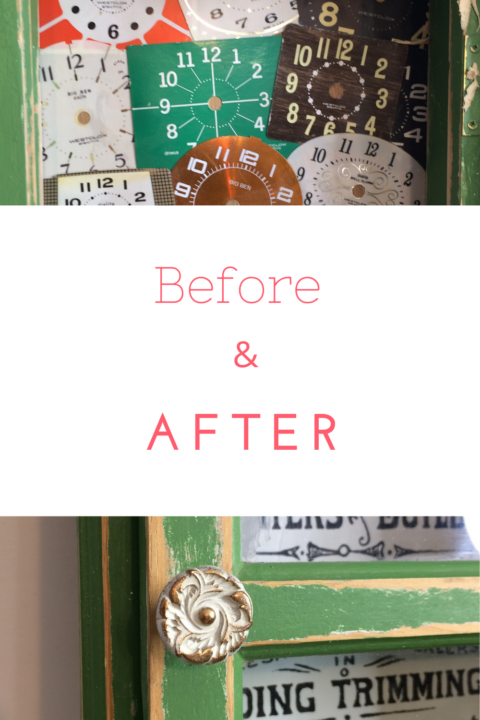
My first thought was to paint it white. It goes with everything.
When I started the process of tearing it apart, plans changed.
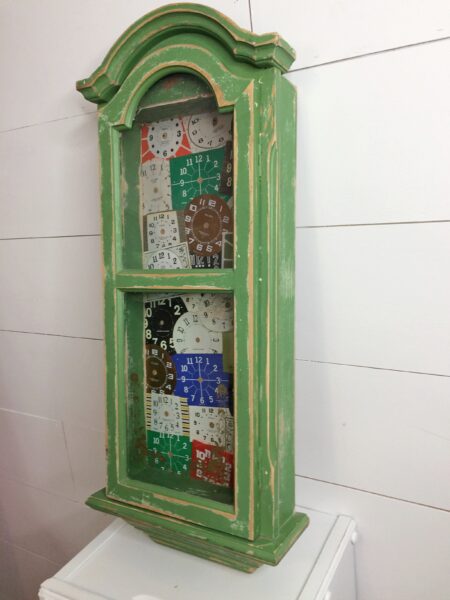
The inside back was covered in paper pictures of clocks. Now I am a HUGE fan of clocks, you can see them Here and Here.
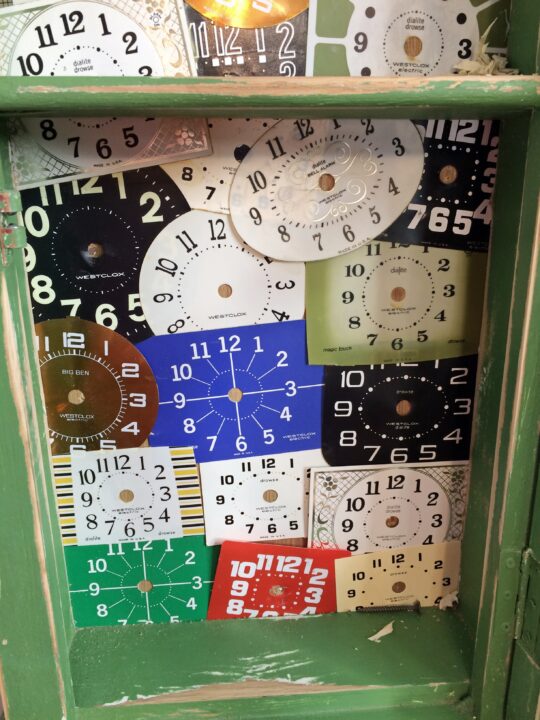
However, I didn’t care for them on this cabinet and I wanted to see if I could update the look to fit into my style.
I had to take the backing off first, making it easier to take the clock images off. Using a paint scraper helped.
I have no idea what they put on the back of that board but the sander just spread it out and didn’t sand it off, AT ALL. It was brown and putty-like but not wet to the touch and it would not come off no matter what I did.
*This post contains Amazon affiliate links in which I earn a small percentage from qualifying purchases through these links, at no extra cost to you. Thank you for helping to support my blog! *
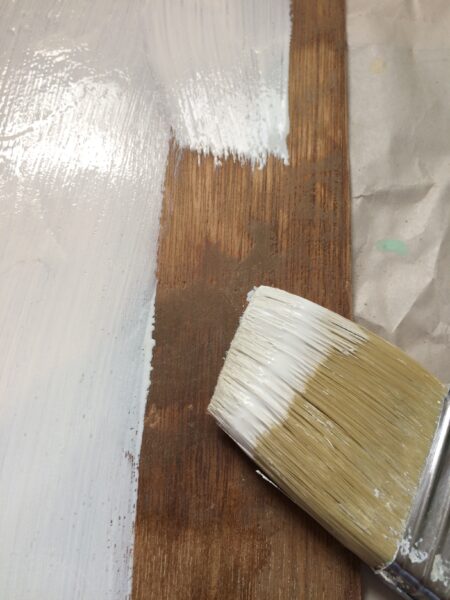
I wanted to paint the back of the board white so I thought I would use a product called Boss by Dixie Belle, hoping it would hide whatever that brown stuff was. I applied it and let it dry.
Then I painted it white. Let that dry and waited to see if it worked.
During this processing time, I decided to keep the green. Honestly, I never have liked green but in the last year, I have found several greens that I love!! This chair redo is one of them.
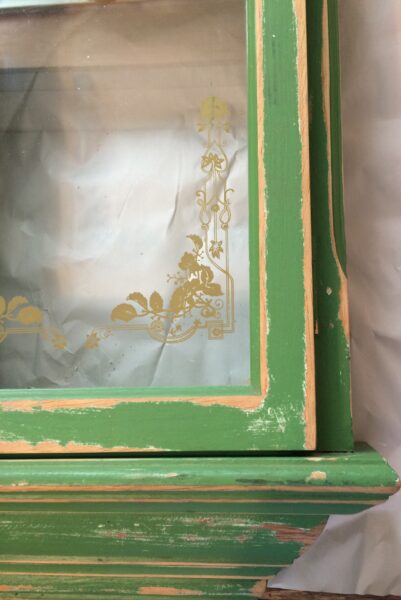
Whoever painted it before did a good job of distressing it. I loved that look!
I had an idea of what I wanted to do to the back of the cabinet!
Also, the gunk that I couldn’t get off? The Boss worked like a charm. I highly recommend it. (I don’t get paid for saying that, I just love the product)!
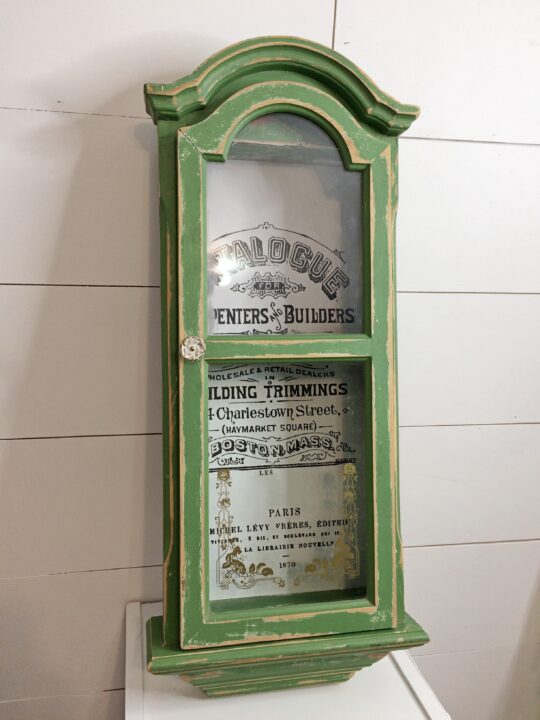
I used the Label Ephemera transfer from IOD.
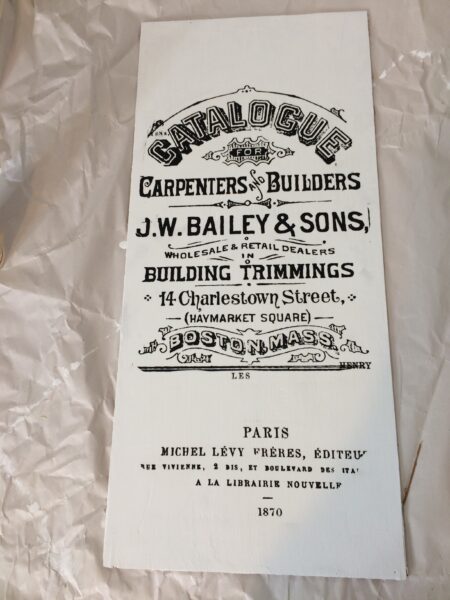
Total aside: I bought two of these transfers and I have used one of them on several projects. You can see those projects here, here, here.
If you haven’t used transfers before I urge you to order one and try it! They will transform your project 100%.
I cut out part of the transfer that fit my project and applied it directly to the newly painted backing.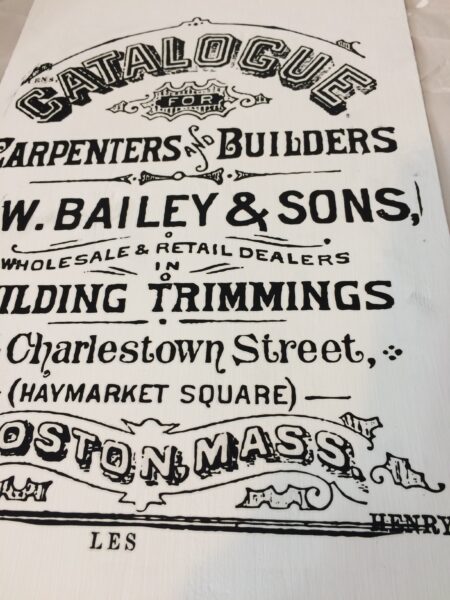

Are you loving it?
Oh wait, I forgot to tell you that on the back of the cabinet was a little sticker that I didn’t notice before but this is what I found.
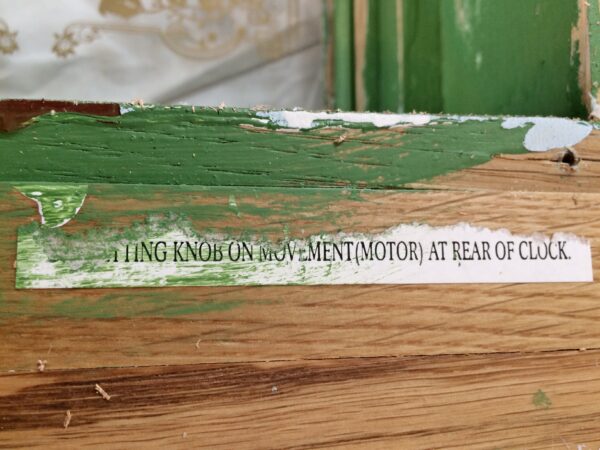
This heavy little cabinet used to be a clock! How awesome is that! Someone had taken out the clock parts and put a shelf in and all the clock images. Makes sense now!
I ended up filling the nail holes in the back and reattaching it to the cabinet.
I also added a cute little knob to the front. It had a magnet inside the door and a little indent to which you could put your fingers in and open it but the magnet was so strong that it was very hard to get it to open. This solves the problem and it matches the white background and the gold on the glass.
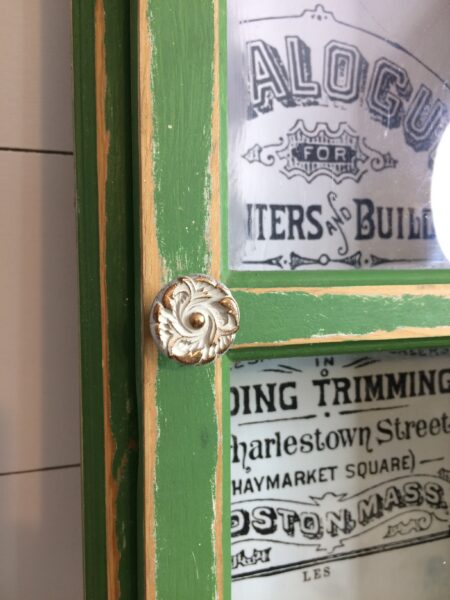
I ordered the 4″ French cleat to put on the back and will have to figure that out when it arrives but for right now I am loving this little cabinet.
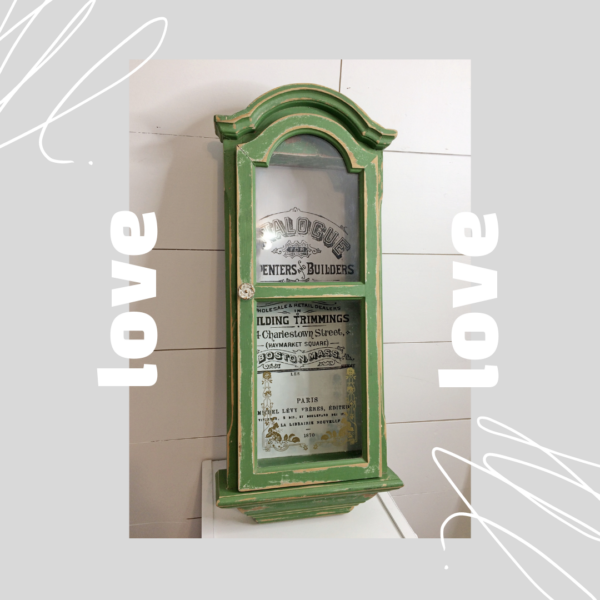
I think I updated it quite nicely!
If you are interested in any of the things I use, feel free to check out Shop My Favorites.
Have a wonderful weekend friends! We will see you next week.
*This post contains Amazon affiliate links in which I earn a small percentage from qualifying purchases through these links, at no extra cost to you. Thank you for helping to support my blog! *